berlinger Q-tag CLm doc User manual


User Manual Q-tag
CLm doc devices
2 — Last update: Aug 13, 2021
Berlinger & Co. AG
Copyright © 2021 Berlinger & Co. AG

Table of Contents
1. Introduction ....................................................................................................................................... 1
1.1. Product Overview....................................................................................................................... 2
1.2. Display explanations .................................................................................................................. 5
1.3. State of delivery / sleep mode .................................................................................................... 6
1.4. Gathering information prior to device activation (in sleep mode)................................................. 7
2. Start it .............................................................................................................................................. 10
2.1. Reading out CID / serial number .............................................................................................. 11
2.2. Activation of a Q-tag CLm doc family device ............................................................................ 12
3. Send it .............................................................................................................................................. 14
3.1. Start delay (optional) ................................................................................................................ 15
3.2. Error messages........................................................................................................................ 16
3.3. Temperature recording / Placing the device ............................................................................. 17
3.4. Add a marker ........................................................................................................................... 18
3.5. Display indication during temperature recording ....................................................................... 19
4. Stop it............................................................................................................................................... 20
4.1. End of temperature recording / STOP mode ............................................................................. 21
4.2. Reading the display after the device has been stopped ............................................................ 22
4.3. Gathering information after activation of the device or in STOP mode ...................................... 23
5. Read out........................................................................................................................................... 26
5.1. Connecting the device with a computer .................................................................................... 27
5.1.1. PDF file – sample of a PDF file generated by a Q-tag CLm doc L .................................... 28
5.1.2. Sample of an ASCII file generated by a Q-tag CLm doc L ................................................ 30
5.2. Remove device from USB port ................................................................................................. 32
6. Important Information ..................................................................................................................... 33
7. Q-tag CLm doc L User Guide Videos.............................................................................................. 35
8. Firmware .......................................................................................................................................... 36
9. FAQ / Glossary ................................................................................................................................ 37

1. Introduction
Q-tag CLm doc family
The Q-tag CLm doc family monitors reliably and precisely preset temperature profiles. It indicates the
current date and time and provides a visual indication of ALARMS on the display. Details about ALARM
events may be obtained upon pressing the INFO-button and/or via a downloaded report achieved
through the USB connection with a computer.
Data control with Berlinger Verifier
The data of each CLm doc device can be verified with Berlinger Verifier.
Data management with Berlinger SmartView
Thanks to Berlinger SmartView, the collected temperature data from Q-
tag CLm doc devices can be analyzed easily and indepth for significant
workflow improvements!
Table of Contents
•Product Overview
•Display explanation
•State of delivery / sleep mode
•Gathering information prior to device activation:
Berlinger & Co. AG User Manual Q-tag CLm doc devices - 2
Page 1 of 37

1.1. Product Overview
Q-tag CLm doc L
The durable one
To monitor your transport and storage
single-use data logger with 38,000 log points
Technical information
Device information
Q-tag CLm doc D
The cool one
To monitor your dry ice packages
single-use data logger with 38,000 log points
Technical information
Berlinger & Co. AG User Manual Q-tag CLm doc devices - 2
Page 2 of 37

Device information
Q-tag CLm doc LR
The profitable one
To monitor your transport
reusable data logger with 38,000 log points
Technical information
Device information
Q-tag CLm doc
The clever one
To monitor your passive cold transport
single-use data logger
Technical information
Device information
Berlinger & Co. AG User Manual Q-tag CLm doc devices - 2
Page 3 of 37

Q-tag CLm Ice
The frosty one
To monitor your frozen packages
single-use data logger with 38,000 log points
Technical information
Device information
Q-tag CLm Ice R
The restartable chilly one
To monitor your frozen packages
reusable data logger with 38,000 log points
Technical information
Device information
Berlinger & Co. AG User Manual Q-tag CLm doc devices - 2
Page 4 of 37

1.2. Display explanations
The Q-tag CLm doc family monitors reliably and precisely preset temperature profiles. It indicates the
current date and time and provides a visual indication of ALARMS on the display. Details about ALARM
events may be obtained upon pressing the INFO-button and/or via a downloaded report achieved
through the USB connection with a computer.
1. OK ( ) or ALARM ( ) indicator
2. Individual ALARM indicators
3. Operating indicator (running indicator)
4. START indicator (device started)
5. TIME EXP: time expired indicator (allowed recording time exceeded, optional)
EXP OFF: device expired
6. OFF indicator (device stopped)
7. Duration display (DAY/h or h/MIN) and temperature display
8. Time display (duration and temperature display in sleep mode)
9. Date display (details of ALARM settings in sleep mode)
Berlinger & Co. AG User Manual Q-tag CLm doc devices - 2
Page 5 of 37

1.3. State of delivery / sleep mode
Q-tag CLm doc devices will be shipped in the “sleep mode”.
In this mode the display is blank. This is the state of delivery of the device. The device is not activated,
and no data is recorded.
Berlinger & Co. AG User Manual Q-tag CLm doc devices - 2
Page 6 of 37

1.4. Gathering information prior to device
activation (in sleep mode)
Diverse information can be read out after the INFO button has been pressed 3 times in one second.
After 1 minute the device goes back into sleep mode; the display is blank again. (The date format is dd/
mm/yyyy.)
1st
display: all segments activated
2nd
display: date and time of production test results
3rd
display: start delay time
4th
display: current date, time and ambient temperature
Berlinger & Co. AG User Manual Q-tag CLm doc devices - 2
Page 7 of 37

5th
display:
temperature, time limits and ALARM type
S: single event
HI: high limit
Time: h 01 00 MIN
Explanation: Alarm occurs if the limit of 44.9°C is exceeded for
1 hour continuously.
6th
display:
*
temperature, time limits and ALARM type
C: cumulative event
HI: high limit
Time: h 10 00 MIN
Explanation: Alarm occurs if the limit of 29.9°C is exceeded 10
hours in total (sum of Hi Range violation).
7th
display:
*
temperature, time limits and ALARM type
S: single event
LO: low limit –0.4°C
Time: h 01 00 MIN
Explanation: Alarm occurs if the limit of –0.4°C is undercut by 1
hour continuously.
8th
display:
*
temperature, time limits and ALARM type
C: cumulative event
LO: low limit –0.4°C
Time: h 01 40 MIN
Explanation: Alarm occurs if the limit of –1.4°C is undercut by 1
h 40 min. (sum of LO range violation).
9th
display:
*
temperature, time limits and ALARM type
S: single event
HI: high limit
Time: h 00 01 MIN
Explanation: Alarm occurs if the limit of 8.9°C exceeds 1
minute continuously.
Berlinger & Co. AG User Manual Q-tag CLm doc devices - 2
Page 8 of 37

10th
display:
time expiry (max. running time in days)
Explanation: TIME EXP appears on the display after 20 days of
operation.
*(only indicated if factory-preset, otherwise skipped)
Berlinger & Co. AG User Manual Q-tag CLm doc devices - 2
Page 9 of 37

2.1. Reading out CID / serial number
Before activation press and hold the INFO button until the display starts up. The CID number
(cofiguration ID) is shown for 10 seconds, after that the serial number is displayed for 10 seconds. Then
the display goes back into sleep mode.
CID (Configuration Identification Number)
Serial number
After activation (start logging) both numbers cannot be read out through the device anymore. After
stopping, the CID and serial number can be read out through the PDF file with a computer.
Berlinger & Co. AG User Manual Q-tag CLm doc devices - 2
Page 11 of 37

2.2. Activation of a Q-tag CLm doc family
device
Q-tag CLm doc devices can be started as follows:
Q-
tag
CLm
doc
L
To initiate a shipment, press and
hold the START/ STOP button
until the display starts up.
Active recording is shown by the
(OK symbol) or (ALARM
symbol) and the flashing dot on
the LCD.
Q-
tag
CLm
doc
D &
CLm
doc
Ice
To initiate a shipment, press and
hold the START/ STOP button
until the display starts up.
Active recording is shown by the
(OK symbol) or (ALARM
symbol) and the flashing dot on
the LCD.
Q-
tag
CLm
doc
To initiate a shipment, break the
respective tab.
Active recording is shown by the
(OK symbol) or (ALARM
symbol) and the flashing dot on
the LCD.
Berlinger & Co. AG User Manual Q-tag CLm doc devices - 2
Page 12 of 37

Q-
tag
CLm
doc
LR
&
CLm
doc
Ice
R
Option 1: To initiate a shipment,
press and hold the START/STOP
button until the display starts up.
Option 2: After reactivation with
the software easy go and
disconnecting the device from the
USB interface
Option 3: After preconfigured
autostart date and time
Important: Before reactivation of
a Q-tag CLm doc LR or Q-tag
CLm doc Ice R device you must
connect the device to a USB port,
please read out the recorded
data, otherwise the recorded data
will be lost!
Active recording is shown by the
(OK symbol) or (ALARM
symbol) and the flashing dot on
the LCD.
Expiry date: Please always verify the expiry date prior to using any device.
Expiry date explanation: Example exp 2020-01: In this example the expiry date of the device is January
2020 or 365 days after first use.
Q-tag easy go software
Reconfiguration and backup
The Q-tag easy go software is used to activate and reconfigure Q-tag CLm doc LR and Q-tag CLm doc
Ice R devices as well as to safeguard the collected data.
More information: www.berlinger.com/easygo
Berlinger & Co. AG User Manual Q-tag CLm doc devices - 2
Page 13 of 37

3.1. Start delay (optional)
If a start delay has been preset, the device starts recording the temperature after the completion of the
start delay time. The start delay time is displayed by the flashing START and the remaining time of the
countdown.
Stopping the device during the start period is not possible.
Berlinger & Co. AG User Manual Q-tag CLm doc devices - 2
Page 15 of 37

3.2. Error messages
An error message can only occur before or during the device activation. If an error message like in the
example occurs, do not use the device in any case!
(Possible error notifications: Err01-Err17)
Please contact the Berlinger support team immediately.
E-mail: [email protected]
For any other purposes please contact our sales team.
Berlinger & Co. AG User Manual Q-tag CLm doc devices - 2
Page 16 of 37

3.3. Temperature recording / Placing the
device
The activated monitor must be placed immediately in its predetermined location. As described in the
SOP, or otherwise it is recommended to place the device as close to the supervised goods as possible.
This is an important prerequisite to ensure the temperatures observed by the device are as close to the
product temperature as possible.
Important: It is recommended to “precondition” the device to the desired mean temperature for about 30
minutes before use, especially if no start delay time has been programmed. This is to ensure against
false readings during start-up.
Berlinger & Co. AG User Manual Q-tag CLm doc devices - 2
Page 17 of 37
Other manuals for Q-tag CLm doc
1
This manual suits for next models
5
Table of contents
Other berlinger Data Logger manuals
berlinger
berlinger SmartSystem SITE L User manual
berlinger
berlinger Fridge-tag 2 User manual
berlinger
berlinger Fridge tag User manual
berlinger
berlinger SmartSystem SHIP L User manual
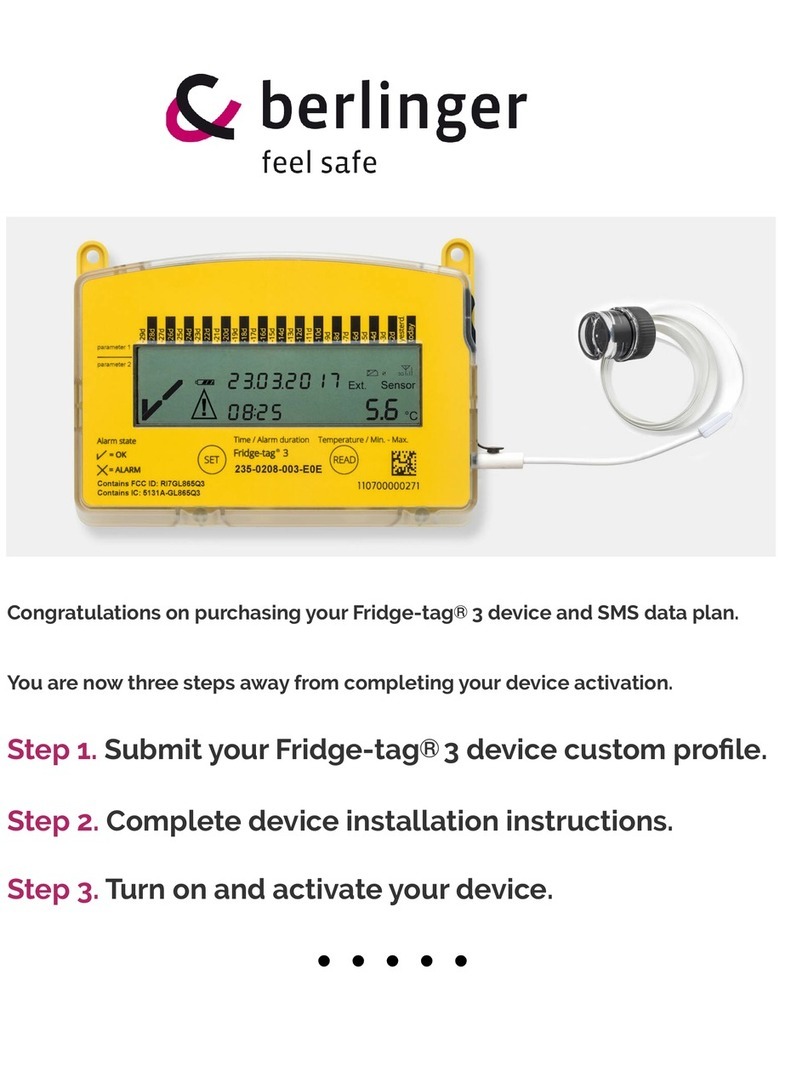
berlinger
berlinger Fridge-tag 3 User manual
berlinger
berlinger Q-tag CLm doc User manual
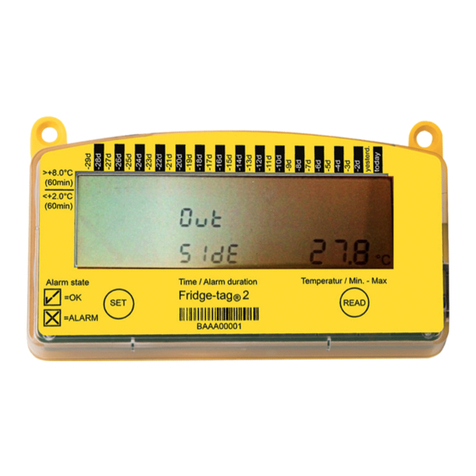
berlinger
berlinger Fridge-tag 2 Instruction Manual

berlinger
berlinger Fridge-tag 2 L Manual
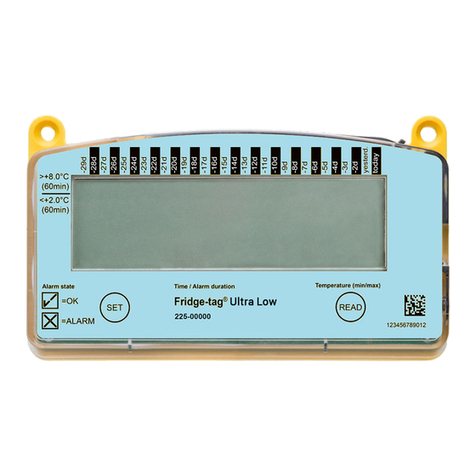
berlinger
berlinger Fridge-tag Ultra Low User manual

berlinger
berlinger Fridge-tag 2 User manual


