manuals.online logo
Brands
  1. Home
  2. •
  3. Brands
  4. •
  5. berlinger
  6. •
  7. Measuring Instrument
  8. •
  9. berlinger SmartMonitor SITE L User manual

berlinger SmartMonitor SITE L User manual

While the device is
establishing connection
to SmartView, the tick in
the cloud symbol ( ) is
blinking and the cellular
symbol ( ) is static.
SmartMonitor information
i
QUICK INFO
SmartMonitor SITE L
State of delivery
You receive the SmartMonitor in sleep mode.
The display is turned off.
 x short press to wake up the device.
Device layout
Battery status
7-digit text field
Battery charging
Alarm status
Measurement
status
WiFi
USB
Warning
symbol
Cloud status
Cellular connection
Bluetooth
How to configure your
device

Automatic configuration
1. Short-press the multifunctional button to
“wake up” the SmartMonitor from sleep mode.
. To configure the device
with the desired config-
uration, triple push the
multifunctional button in
quick succession.
This will initiate cloud syn-
chronization to download
the configuration.
Do not apply force as it will damage
the multifunctional button.
User Manual SmartMonitor
Learn More
For more information scan the QR code or visit
www.berlinger.com/user-manual-smartmonitor.
The screen is indicating that the configuration
download is initiated and all display icons are
loading. This might take several seconds.
If the display indicates MANUAL, automatic
setup was not successful.
Available icons on device display
USB-plug
Removeable cap
LED
Device use
Display1
2
3
4
5
GTIN barcode
Light sensor
Multifunctional button
Humidity sensor
Serial number
7
8
9
10
11
Device type
612 Sensor socket (M5)
Centered hook for mounting on device backside.
. Align the sensor plug
with the sensor socket.
Ensure the Berlinger
eye is facing the
same direction as the
SmartMonitor display.
Now, plug the external
sensor into the sensor
socket.
Warning: Do not apply
force!
. Remove the grey cap
on the right side of the
SmartMonitor device.
Device installation

With external sensor
. Position the external sen-
sor inside (1) and the Smart-
Monitor device outside (2)
the refrigerator/freezer and
wait for the external sensor
to acclimatize.
Attention: The SmartMonitor SITE L requires
permanent charging with the delivered power
adapter.
. Plug in the USB-cable
into the SmartMonitor and
the power adapter into the
power socket for permanent
charging.
Once the download is
successfully completed,
the configuration policy
name of your desired
confiugration policy is
displayed.
. Once correctly applied,
tighten the connector by
screwing clockwise.
Manual configuration
If the SmartMonitor is not able to establish
connectivity with SmartView to download
the configuration, it is required to manually
download the configuration file to the device
via USB.
Follow the instructions in the user manual to
set up the configuration manually.
Need help with Manual configuration?
See user manual «How to configure your device».
7
8
9
10
11 12
1
2
3
4
5
6
smartsystem
Berlinger & Co. AG
Mitteldorfstrasse 2
9608 Ganterschwil
Switzerland
support@berlinger.com
www.berlinger.com
MKT-80027-EN_1
Indication of successful start
Example of an ALARM display
Running device
Start monitoring
The SmartMonitor SITE L has been stopped and
is ready for re-use only when the monitoring
data from the previous run have successfully
uploaded to SmartView.
At the end of its lifetime, dispose of the product
in accordance with the regulation of your coun-
try.
i

Example of an OK display
End of use

To start monitoring, press and hold the multi-
functional button for several seconds until the
letters are replaced with stars. (“*******”).
The record sign ( ) is on
and tick ( ) or cross
( ) will be displayed.
The -digit text field
displays the current tem-
perature.
Need help with how to stop monitoring
See user manual SmartView.
If the long-press is released too early, during the
start process, the LED lights up red. Try again.
Press and hold the
multifunctional button
Start delay
See user manual «How to start your device».
Stop monitoring

Device indicates that
there is no temperature
and/or humidity alarm vio-
lations on the device and/
or on the external sensor.
Device indicates that
there is one or more tem-
perature and/or humidity
alarm violations on the de-
vice and/or on the external
sensor.
Device info & alarms when device is running
See user manual in chapter «Running device»
If a start delay is configured in SmartView, the
device only applies the alarm rules after the start
delay countdown.
Start delay
SmartMonitor SITE L can be stopped via cloud
command only.
To stop monitoring, log into SmartView.
Automated read out
Note: If the device cannot connect to SmartView
to download to upload the data, it is required to
manually upload the data via USB.
Need help with Manual read out?
See user manual «How to stop your device»
Establishing connection to
SmartView. Cellular or WiFi
symbol is blinking.
All data has been uploaded
to the cloud.
Once successful started, the LED blinks once.
More information
For more information scan the QR code or visit
www.berlinger.com/smartsystem-user-support.
Additional product-related information for
SmartMonitor can be found on the
Berlinger website.
For more information scan the QR code or visit
www.berlinger.com/user-manual-smartview.
SmartView
See the SmartView User Manual
for more information.
Other manuals for SmartMonitor SITE L

1

Other berlinger Measuring Instrument manuals

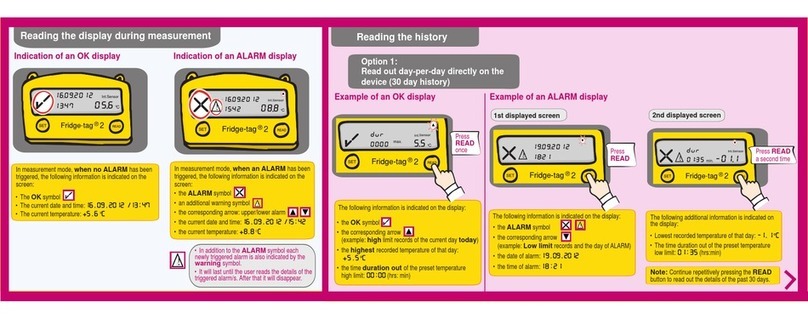
berlinger Fridge-tag 2 User manual

berlinger

berlinger Fridge-tag 2 User manual

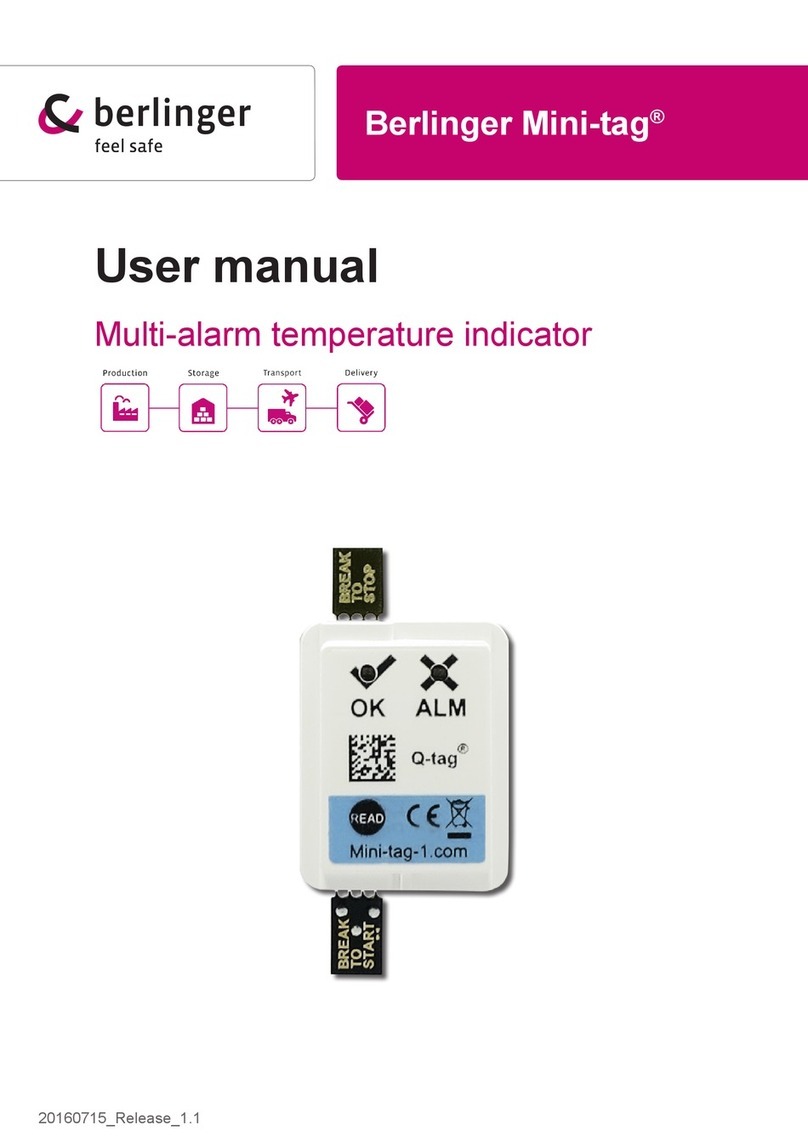
berlinger Mini-tag User manual

berlinger

berlinger Mini-tag User manual

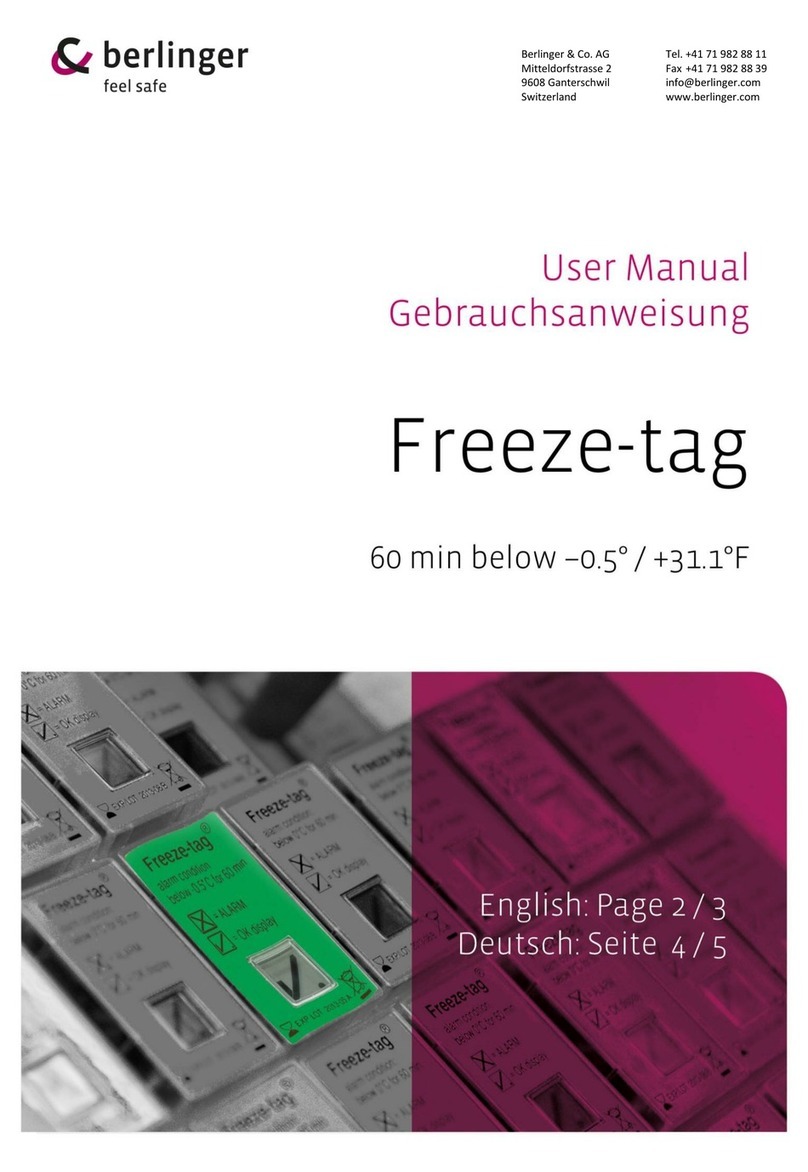
berlinger Freeze-tag User manual

berlinger

berlinger Freeze-tag User manual

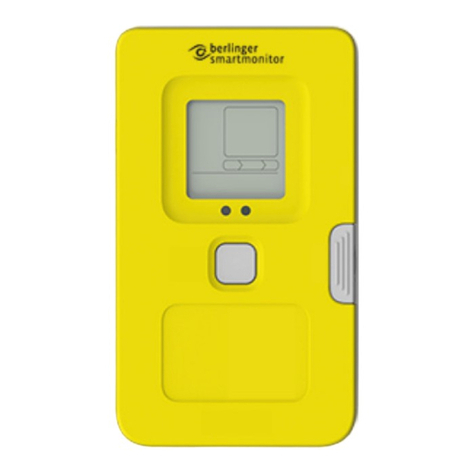
berlinger SmartMonitor SITE L User manual

berlinger

berlinger SmartMonitor SITE L User manual

berlinger Fridge-tag 3 User manual

berlinger

berlinger Fridge-tag 3 User manual

berlinger Fridge-tag 3 User manual

berlinger

berlinger Fridge-tag 3 User manual

berlinger Q-tag Quad User manual

berlinger

berlinger Q-tag Quad User manual

berlinger Fridge-tag 2 User manual

berlinger

berlinger Fridge-tag 2 User manual

Popular Measuring Instrument manuals by other brands

Endress+Hauser Prosonic M FMU40 technical information

Endress+Hauser

Endress+Hauser Prosonic M FMU40 technical information

Malvern Mastersizer Series Getting started

Malvern

Malvern Mastersizer Series Getting started

Keysight N9030B Installation note

Keysight

Keysight N9030B Installation note

Mollet MFB quick start guide

Mollet

Mollet MFB quick start guide

Kamstrup MULTICAL 302 Installation and user guide

Kamstrup

Kamstrup MULTICAL 302 Installation and user guide

MATSYS Fluidized Filling System user guide

MATSYS

MATSYS Fluidized Filling System user guide

Endress+Hauser IO-Link Ceraphant PTC31B operating instructions

Endress+Hauser

Endress+Hauser IO-Link Ceraphant PTC31B operating instructions

Edwards GXS 0-60 SLM instruction manual

Edwards

Edwards GXS 0-60 SLM instruction manual

LOVATO ELECTRIC DMED302MID instruction manual

LOVATO ELECTRIC

LOVATO ELECTRIC DMED302MID instruction manual

Sper scientific 300058 instruction manual

Sper scientific

Sper scientific 300058 instruction manual

Endress+Hauser FMU 40 operating instructions

Endress+Hauser

Endress+Hauser FMU 40 operating instructions

Anritsu MX269018A Operation manual

Anritsu

Anritsu MX269018A Operation manual

BWD minilab manual

BWD

BWD minilab manual

Oxford Instruments ILM200 Operator's handbook

Oxford Instruments

Oxford Instruments ILM200 Operator's handbook

Livorsi GPSS Series installation instructions

Livorsi

Livorsi GPSS Series installation instructions

TSI Incorporated VelociCalc 8345 Operation and service manual

TSI Incorporated

TSI Incorporated VelociCalc 8345 Operation and service manual

WPI OMEGA-TIP Z instruction manual

WPI

WPI OMEGA-TIP Z instruction manual

Schwarzkopf SALONLAB manual

Schwarzkopf

Schwarzkopf SALONLAB manual

manuals.online logo
manuals.online logoBrands
  • About & Mission
  • Contact us
  • Privacy Policy
  • Terms and Conditions

Copyright 2025 Manuals.Online. All Rights Reserved.