Bermar LE VERRE DE VIN tower User manual

tower
Инструкция по установке

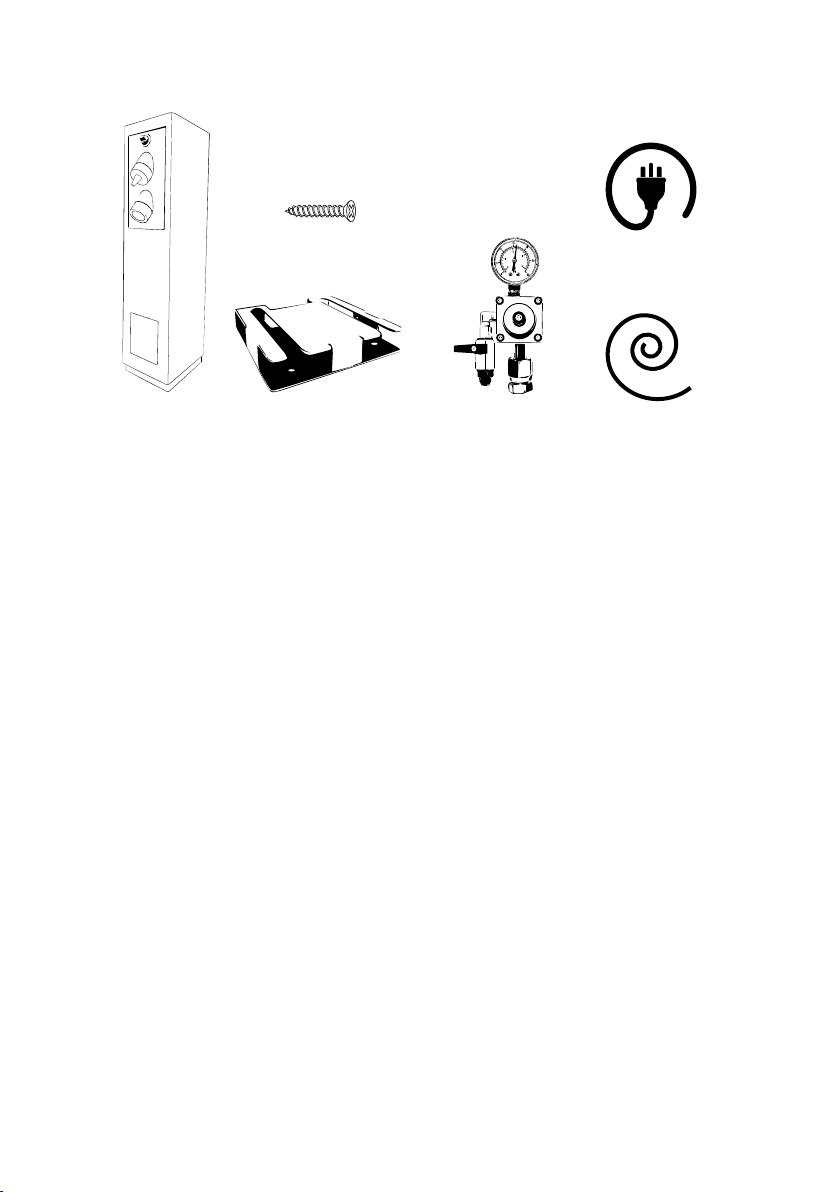
You will also require:
1. A standard 1/8 inch (3mm) drill bit for wooden bars
or A standard 1/4 inch (8mm) masonry bit for solid bars
2.
3.
4.
También requerirá:
o una broca de mampostería estándar de 1/4 de
pulgada (8 mm) para paredes sólidas
2.Un cilindro de C02 de grado alimenticio con
conector universal
3.Una llave ajustable
4.Un destornillador de estrella
Sie benötigen außerdem:
1.
2.
3.
4.
Vous aurez également besoin:
1.
2.
3.
4.
x1 x1
x4
В комплект входит:
x1 x1
x1
Вам также потребуется:
1.Стандартное сверло 1/8 дюйма (3 мм) или
Стандартное сверло 1/4 дюйма (8 мм) для твердых
поверхностей
2.Газовый баллон С02 с универсальным разъемом
3.Разводной ключ
4.крестовая отвертка

Step 1 - Removing the the Stainless Steel Trim
Then slide the stainless steel trim off the base to expose the mounting plate.
Paso 1 - Retirar la moldura de acero inoxidable
tornillos laterales (a).
Luego deslice la moldura de acero inoxidable de la base para exponer la placa de montaje.
Schritt 1 - Entfernen der Edelstahlverkleidung
Schieben Sie dann die Edelstahlverkleidung von der Basis, um die Montageplatte freizulegen.
Étape 1 - Retrait de la garniture en acier inoxydable
Faites ensuite glisser la garniture en acier inoxydable hors de la base pour exposer la plaque de montage.
(a)
Шаг 1 - Снятие накладки из нержавеющей стали
Ваша система Tower будет поставляться с монтажной панелью и отделкой из нержавеющей стали, которые уже
установлены на основании устройства. Эти части должны быть удалены. Вы можете легко снять обшивку, удалив два
боковых винта (а).
Затем сдвиньте накладку из нержавеющей стали с основания, чтобы открыть монтажную пластину.

montaje.
(b)
Шаг 2 - Снятие монтажной пластины
Ослабьте четыре болта (b), которые крепят башенный блок к монтажной плите. Нет необходимости полностью
снимать болты. Когда болты достаточно ослаблены, башню можно отделить от монтажной пластины.

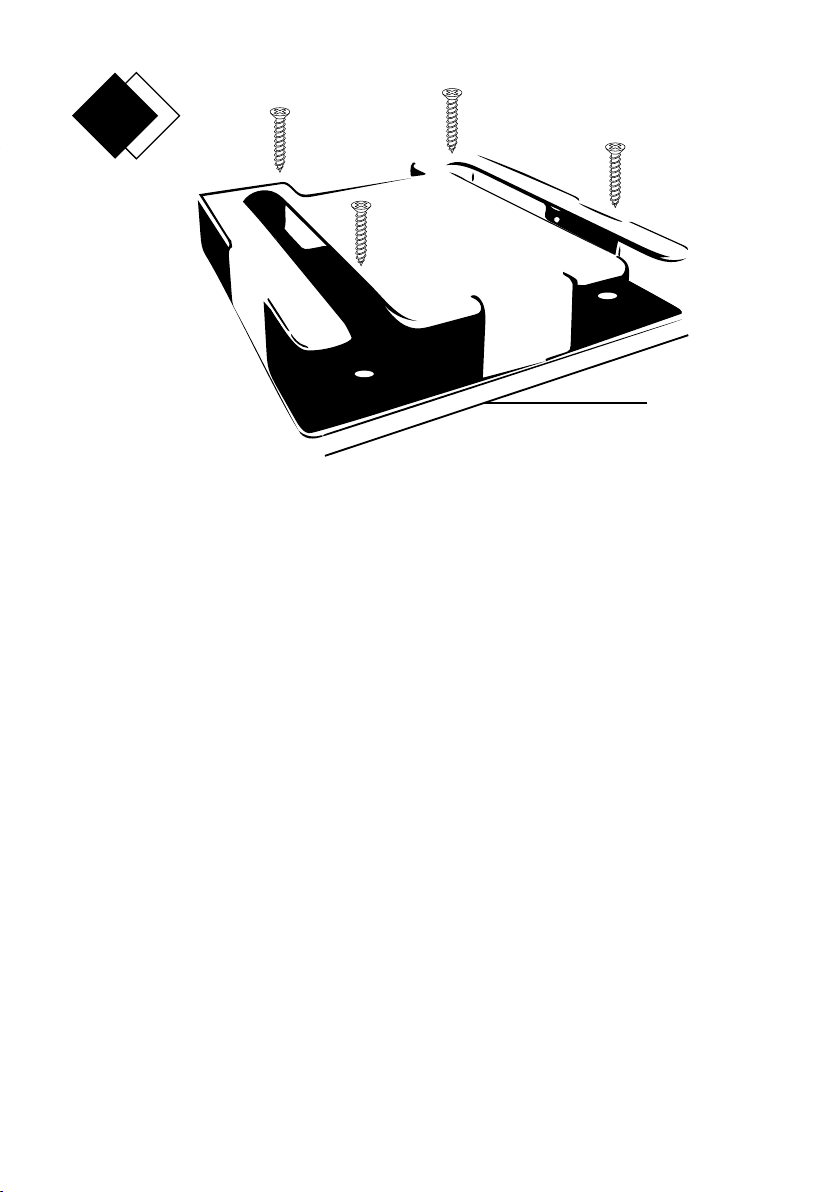
Please note: the mounting plate has two pre-cut slots. The open edges must be pointing forwards.
necessary to
drill pilot holes first).
Tenga en cuenta: la placa de montaje tiene dos ranuras precortadas. Los bordes abiertos deben apuntar hacia adelante.
Bitte beachten Sie: Die Montageplatte hat zwei vorgestanzte Schlitze. Die offenen Kanten müssen nach vorne zeigen.
front
frente
Vorderseite
De face
Перед
Шаг 3 - Установка монтажной пластины на планку
Поместите монтажную пластину на верхнюю часть стержня там, где вы хотите разместить башню.
Обратите внимание: монтажная пластина имеет два прорезанных паза. Открытые края должны быть направлены
вперед.
Закрепите монтажную пластину на месте с помощью четырех прилагаемых крепежных винтов. (Может потребоваться
сначала просверлить направляющие отверстия).

Step 4 - Securing the system to the Bar
1.
2. 13mm spanner.
Paso 4 - Asegurar el sistema a la barra
1.
2.
Schritt 4 - Befestigen Sie das System an der Stange
1.
2.
Étape 4 - Fixation du système à la barre
1.
2. de 13 mm.
Шаг 4 - Закрепление системы на панели
1. Ослабив крепежные болты, совместите болты на нижней стороне башенного блока с предварительно прорезанными
пазами на монтажной плите и осторожно вставьте на место, насколько позволят пазы. Убедитесь, что вы надели прибор
так, чтобы сопла были направлены вперед.
2. После того, как башня будет полностью вставлена в монтажную пластину, затяните крепежные болты с помощью 13-
мм гаечного ключа.

Step 5 - Adding the trim
cada lado.
Schritt 5 - Hinzufügen der Verkleidung
Шаг 5 - Добавление отделки
В обратном порядке шага 1 наденьте накладку из нержавеющей стали и вверните крепежные болты обратно в каждую
сторону.

1. Affix the regulator and gently screw the connecting nut onto the top of the upright cylinder
2. Secure the regulator by tightening the nut with an adjustable wrench. Place C02 cylinder and regulator in a safe
place where they cannot be knocked over.
1.
2.
1.
2.
1.
2.
Шаг 6 - Подключение регулятора к баллону с диоксидом углерода (СО2).
Регулятор имеет универсальный фитинг, который будет соответствовать всем стандартным пищевым баллонам С02.
Рабочее давление предварительно установлено и не требует регулировки.
1.Установите регулятор и аккуратно прикрутите соединительную гайку к верхней части вертикального цилиндра.
2.Закрепите регулятор, затянув гайку с помощью разводного ключа. Поместите цилиндр C02 и регулятор в безопасное
место, где их нельзя опрокинуть.

1.
2.
3.
1.
2.
3.
1.
2.
3.
1.
2.
3.
(x)
Шаг 7 - Подсоедините черную трубу подачи C02 от регулятора к задней части системы.
1.Убедитесь, что на трубе нет перегибов и препятствий.
2. Надежно вставьте подающую трубу C02 в золотой разъем (x) в основании системы Tower, чтобы закрепить
ее. (Пожалуйста, убедитесь, что подача CO2 отключена, прежде чем подсоединять трубу подачи CO2).
3. Потяните трубу вниз, чтобы проверить соединение.
Труба теперь безопасна и герметична. Включите питание C02 и проверьте на утечки (слушайте шипящий звук)

1. Connect the power supply into the base of the system. (y)
2. Push the plug into the mains power socket and turn on the electrical power.
3. Switch on the system using the on/off switch at the top of the system.
Your Le Verre de Vin+ Tower is now ready to use. Please now refer to the User Instruction Manual.
1. Conecte la fuente de alimentación a la base del sistema. (y).
2. Introduzca el enchufe en la toma de corriente y encienda la alimentación eléctrica.
3.Encienda el sistema con el interruptor de encendido / apagado en la parte superior del sistema.
Su torre Le Verre de Vin+ ya está lista para usar. Consulte ahora el Manual de instrucciones del usuario.
Schritt 8 - Stromversorgung
1. Schließen Sie das Netzteil an die Basis des Systems an. (y)
2 .Stecken Sie den Stecker in die Steckdose und schalten Sie den Strom ein.
3. Schalten Sie das System mit dem Ein- / Ausschalter oben am System ein.
Ihr Le Verre de Vin+ Tower ist jetzt einsatzbereit. Bitte beziehen Sie sich jetzt auf die Bedienungsanleitung.
Étape 8 - Alimentation
1. Connectez l'alimentation à la base du système. (y)
2. Enfoncez la fiche dans la prise secteur et mettez sous tension.
3. Allumez le système à l'aide de l'interrupteur marche / arrêt en haut du système.
Votre tour Le Verre de Vin + est maintenant prête à l'emploi. Veuillez maintenant vous référer au manuel d'instructions
de l'utilisateur.
(y)
Шаг 8 - Блок питания
1. Подключите блок питания к задней части системы (у).
2.Вставьте вилку в розетку и включите электропитание.
3.Включите систему с помощью выключателя на передней панели системы.
Ваш Le Verre de Vin + Compact теперь готов к использованию. Пожалуйста, обратитесь к руководству пользователя.
Step 8 - Power Supply


Официальные представители в России Салон Винных Шкафов Винкейс.
Санкт-Петербург, пр. Энергетиков 19, офис 215
bermar.ru | +7 (952) 372-75-95 | [email protected]
Table of contents
Other Bermar Wine Cooler manuals
Popular Wine Cooler manuals by other brands

Caple
Caple WI6235 instruction manual

Caple
Caple WF1544 instruction manual

Whirlpool
Whirlpool WWC287BLS - Wine Cooler Use & care guide

Vestfrost
Vestfrost Tecfrigo 32 Installation, use and maintenance

Transtherm
Transtherm MAS 1T owner's manual

Vinotemp
Vinotemp WINE-MATE WM-4520SSH Installation, operation & care manual