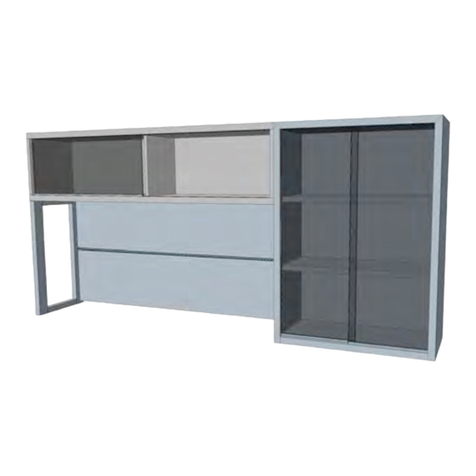
BERNHARDT design Code Modular Unit User manual
Other BERNHARDT design Indoor Furnishing manuals
Popular Indoor Furnishing manuals by other brands

Knight
Knight Team Table 4 Legs Assembly instructions

Better Homes and Gardens
Better Homes and Gardens Aster BHF136158813001 manual
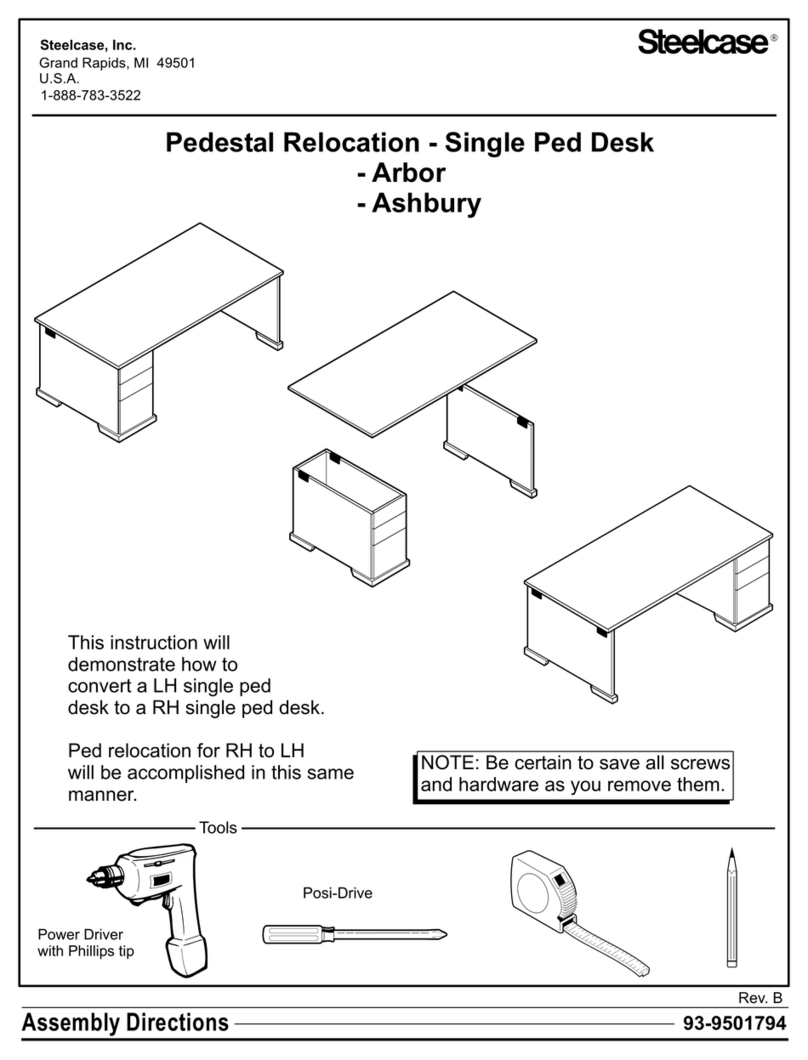
Stellcase
Stellcase RH quick start guide
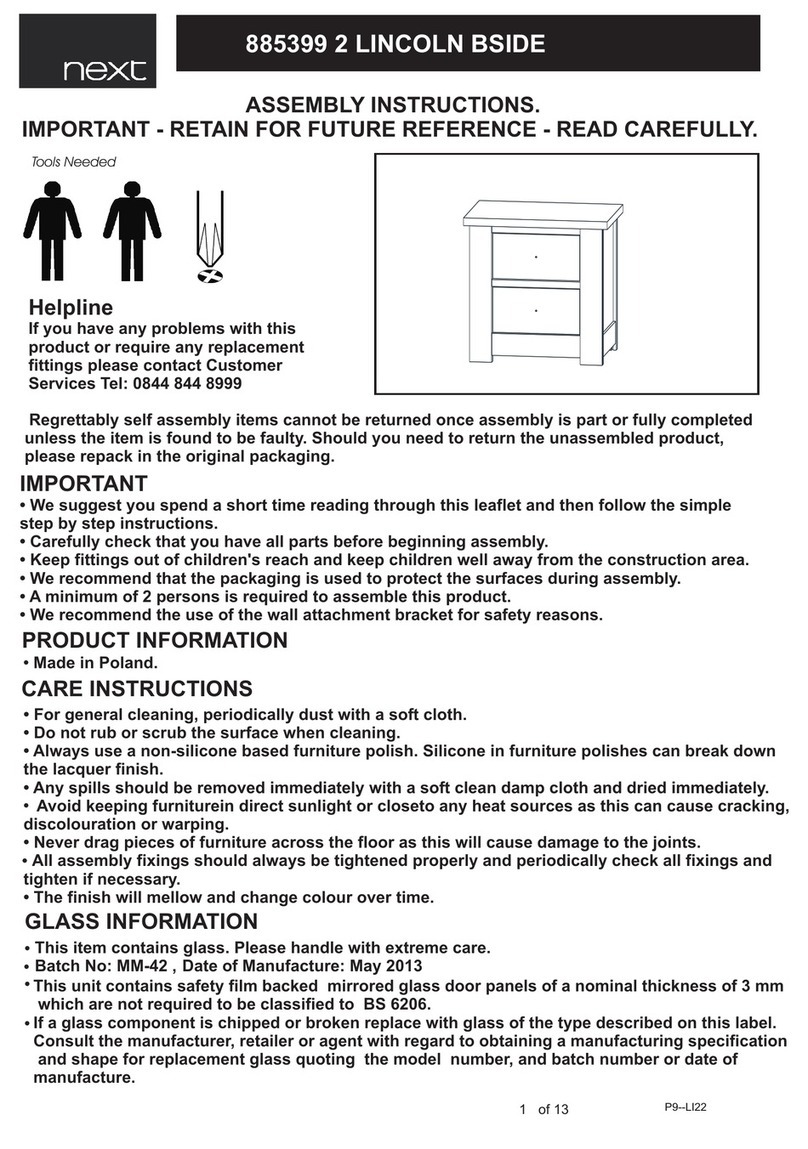
Next
Next 885399 2 LINCOLN BSIDE Assembly instructions

Okay
Okay STELLA 60/1S Assembly instruction

Bell'O
Bell'O CD8841 Assembly instructions
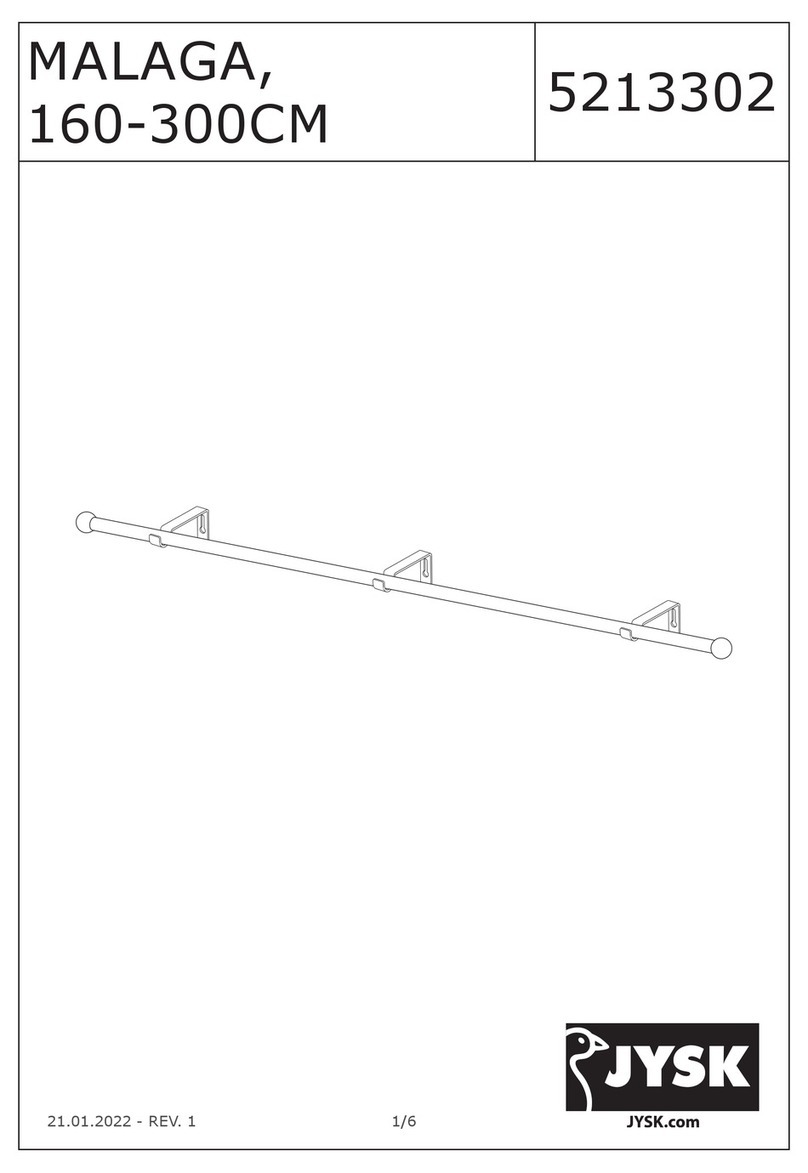
Jysk
Jysk MALAGA 5213302 quick start guide
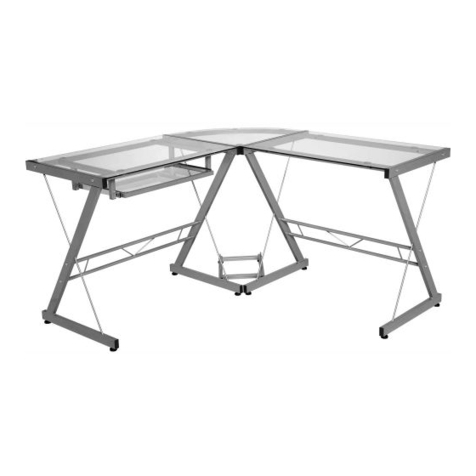
Onespace
Onespace 50-JN110400 Assembly instructions
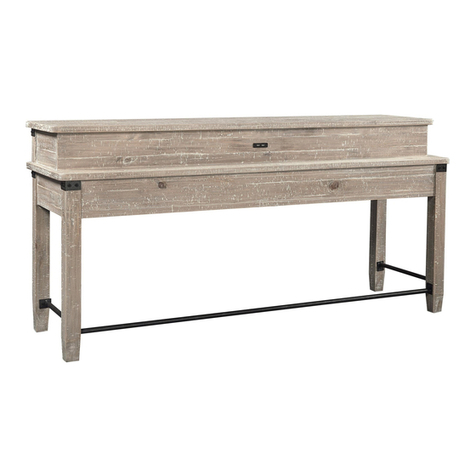
aspenhome
aspenhome I349-9150-WST Assembly instructions

Floyd
Floyd Media Console manual

Furniture of America
Furniture of America Kassel CM6496LV Assembly instructions
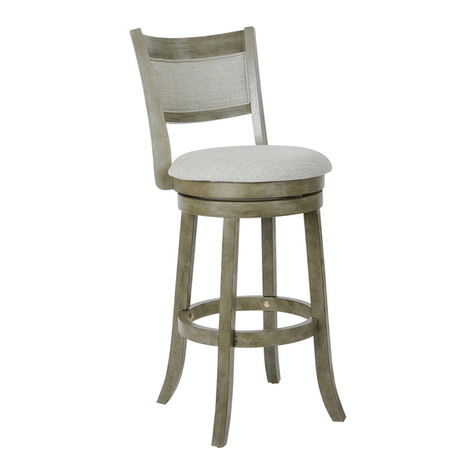
OSP Designs
OSP Designs MET12430 Assembly instructions


