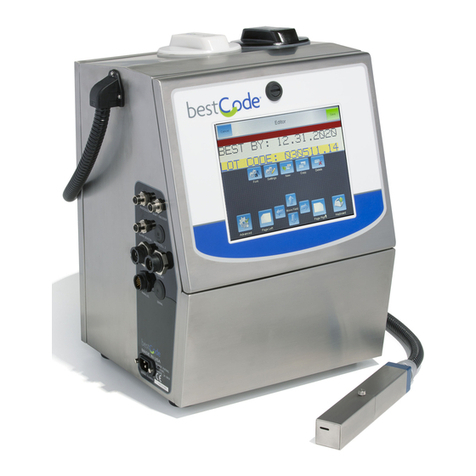
BestCode Next 8 Series Manual

Next Series 8 CIJ Printer
Operators guide
Part Number: 49-0001-01
Software version 01.04.07+ , Jan 2020

PERSONAL INJURY: ALWAYS WEAR RUBBER GLOVES AND SAFETY GLASSES WHEN HANDLING
INKS AND SOLVENTS.
PERSONAL INJURY: ALWAYS WEAR RUBBER GLOVES AND SAFETY GLASSES DURING FLUIDIC
MAINTENANCE.
PERSONAL INJURY: INKS AND SOLVENTS ARE POISONOUS, DO NOT INGEST.
PERSONAL INJURY: DO NOT USE SOLVENT TO WASH INK FROM SKIN. IF EXPOSED, GENTLY
RINSE AREA WITH SOAPY WATER. IF IRRITATION PERSISTS, SEEK MEDICAL ATTENTION.
PERSONAL INJURY: BE AWARE OF DANGERS ASSOCIATED WITH FLUIDS. DO NOT USE A FLUID
UNTIL YOU ARE FAMILIAR WITH THE SDS AND THE INGREDIENTS.
PERSONAL INJURY: FOLLOW ALL SAFETY GUIDELINES OUTLINED IN THE SDS OF THE FLUIDS
BEING USED.
EQUIPMENT DAMAGE: DO NOT ADD FLUIDS UNLESS INSTRUCTED BY INDICATORS.
EQUIPMENT DAMAGE: THE PRINTHEAD MUST BE DRY BEFORE STARTING PRINTER.
EQUIPMENT DAMAGE: THE PRINTHEAD SHOULD NEVER BE COMPLETELY SUBMERGED IN
SOLVENT.
EQUIPMENT DAMAGE: DO NOT ATTEMPT TO USE MULTIMETER TO TAKE MEASUREMENTS ON
ANY COMPONENT WHILE THE MACHINE IS POWERED ON.
EQUIPMENT DAMAGE: DO USE MULTIMETER TO ATTEMPT TO MEASURE THE CHARGE
VOLTAGE AT THE PRINTHEAD. THIS WILL PERMANENTLY DAMAGE THE MAIN BOARD
FIRE HAZARD: INKS AND SOLVENTS ARE HIGHLY FLAMMABLE. NO SMOKING OR OPEN FLAMES
NEAR PRINTER OR FLUID STORAGE.
ELECTRICAL SHOCK: DISCONNECT MAIN POWER CABLE PRIOR TO SERVICING MACHINE.
ELECTRICAL SHOCK: NEVER RUN MACHINE WHILE ELECTRONICS COMPARTMENT DOOR IS
OPEN.

EQUIPMENT DAMAGE: The Next Series 8 CIJ must be Grounded/Earthed! Failure to
provide adequate grounding/earthing will result in damage to the circuit board,
printhead, and the power supply. This damage will occur over time. The Next Series 8
CIJ Power Supply generates a DC Ground to support the function of the Printer, but
this does not protect from static or power surges.
PERSONAL INJURY & EQUIPMENT DAMAGE: Do not use any power cord that is not provided by
BestCode. Power cords must have 3 prongs, live, neutral, and ground provided. Power socket-outlet
must provide reliable earth ground. Power cord and outlet must remain clean and dry. The socket-
outlet shall be installed near the equipment and shall be easily accessible. Do not use extension cords!
Follow all local safety regulations during installation and operation of the Next Series 8 CIJ.
Ideal Mounting
Setup Time: 30 minutes
1. Follow instructions included with 40-0019-01
Controller Stand.
2. Plug the attached power cord into the power socket.
The socket-outlet shall be installed near the
equipment and shall be easily accessible.
Printhead mounting
Setup Time: 15 Minutes
1. Secure the printhead into the printhead clamp.
Clamp is included with:
Kit 40-0003-01 Printhead Floor Mount
Kit 40-0004-01 Printhead Conveyor Mount
2. The gutter should always be towards the floor.
3. Keep the gap between the product and the print slot
at 1/16”-1/2” inch.
4. Keep printhead square to the product to prevent print
distortion.
A 5°-10° angle between head and product may be
necessary in high static environments.
1
2

Power On / Off
Power On
Power Off
Start / Stop Jet
Start Jet
Stop Jet
Clean Start & Clean Stop are the normal production starts and stops. These use a small amount of makeup per
routine. The software will automatically protect the operator from adding too much makeup. When the
operator is logged in using the Technician Level Password, all Starts & Stops from the Home screen will be clean
stops. This is to help diagnose Cleam Start and Clean Stop problems.
Selecting a message for print
1. Press the Messages
Button.
2. Select the desire message.
3. Press the Select button.
4. The selected message will
now be the actively
printed message.

When to Add Ink
The BestCode Next Series 8 CIJ will begin requesting
an Ink bottle be added when the Float switch in the
Ink Tank is in the low state.
An on-screen pop-up Ink Warning, 10-0003 will
occur every 6 minutes while the Ink Tank is in this
State.
After 250,000,000 drops have been printed while in
the low state, the system will give the Empty
warning 10-0002.
A bottle of SmartFill Ink must be added to the
machine before the Jet can be started.
How to Add Ink
1. Place 1 capped bottle of Ink in the Ink
Smartfill Cup.
2. Make sure the SmartFill symbols are
aligned.
3. Press the Ink Status button on the
Screen.
4. This process works for Low and Empty
situations.
Low
Empty
5. Wait for the pop-up (10-0001)
6. DO NOT PRESS OK

Heavy Pigment fluids must
be shaken for 1 to 2 minutes
to ensure that the pigment is
suspended in the fluid and
not caked to bottle. Failure
to shake to bottle will result
no pigment being in the tank.
This will make faint print that
is not bright.
7. Remove the Ink bottle, and remove the
cap
8. Insert the bottle and press firmly to
break the foil seal
9. Wait for 1-2 minutes for the bottle to
drain
10. Discard the empty ink bottle in
accordance with local regulation.
11. Press OK on the Success screen pop-up
(10-0001)
When to Add Makeup
The BestCode Next Series 8 CIJ will allow a
Makeup bottle to be added when the Float
switch in the Makeup Tank is in the OK state.
The BestCode Next Series 8 CIJ will begin
requesting a Makeup bottle be added when the
Makeup float switch in the Makeup Tank is in the
low state.
An on-screen pop-up Makeup Warning, 11-0003
will occur every 6 minutes while the Makeup
Tank is in this State.
When the Makeup float switch is in the low
state, 15 Makeup Adds will be allowed, and then
a Makeup Fault 11-0002 will occur.
The Jet cannot be started again until a new
bottle of SmartFill Makeup is added.

How to Add Makeup
1. Place 1 capped bottle of Makeup in the
Makeup Smartfill Cup .
2. Make sure the SmartFill symbols are aligned.
3. Press the Makeup Status button on the
Screen.
4. This process works for Low, Empty, and OK
situations.
Empty
Low
OK
5. Wait for the pop-up (11-0001)
6. DO NOT PRESS OK
7. Remove the Makeup bottle, and remove the
cap
8. Insert the bottle and press firmly to break the
foil seal.
9. Wait for 1-2 minutes for the bottle to drain
10. Discard the empty Makeup bottle in
accordance with local regulation.
11. Press OK on the Success screen pop-up (11-
0001)

Backflush Nozzle
1. Place the Printhead into the Printhead Clean Station
(P/N 40-0020-01)
2. Press the Back Flush button (Service screen OR Clean
screen).
3. Using the cleaner for the ink type of the machine,
immediately spray makeup directly onto the nozzle plate
for 10 seconds. (50-100ml of cleaner).
4. Focus on cleaning the Drop Generator Nozzle, Phase
Detector, Charge Electrode Slot, High Voltage Plates,
Gutter, and Print Slot.
5. Allow the head to completely dry before starting the jet.
BestCode Information
3034 SE Loop 820 Phone: (+1) 817-349-8555 For product questions email:
Fort Worth TX Fax: 817-349-8480 info@bestcode.co
76140 USA
www.bestcode.co
BestCode product and fluids are available through distribution around the globe.
Contact your local BestCode distributor for ordering information.
Made in the USA
Other manuals for Next 8 Series
2
Table of contents
Other BestCode Printer manuals
Popular Printer manuals by other brands
Epson
Epson SC-p400 series user guide
Seiko I Infotech
Seiko I Infotech IP-5620 user guide
Epson
Epson Stylus Pro 7880 ColorBurst Edition - Stylus Pro 7880... user guide
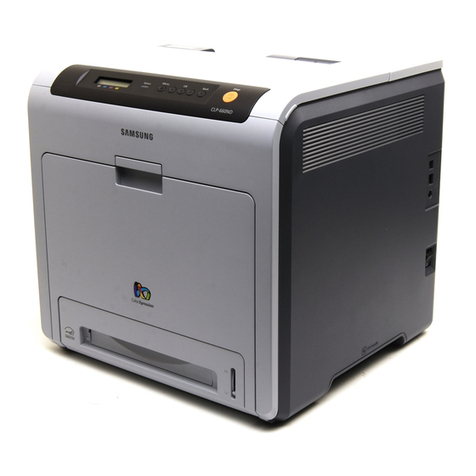
Samsung
Samsung CLP 610ND - Color Laser Printer Service manual
NSR Marine
NSR Marine NPT-100 user manual
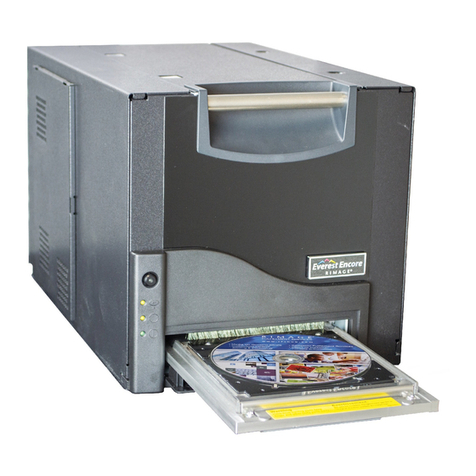
Rimage
Rimage Everest Encore Setup and installation guide
