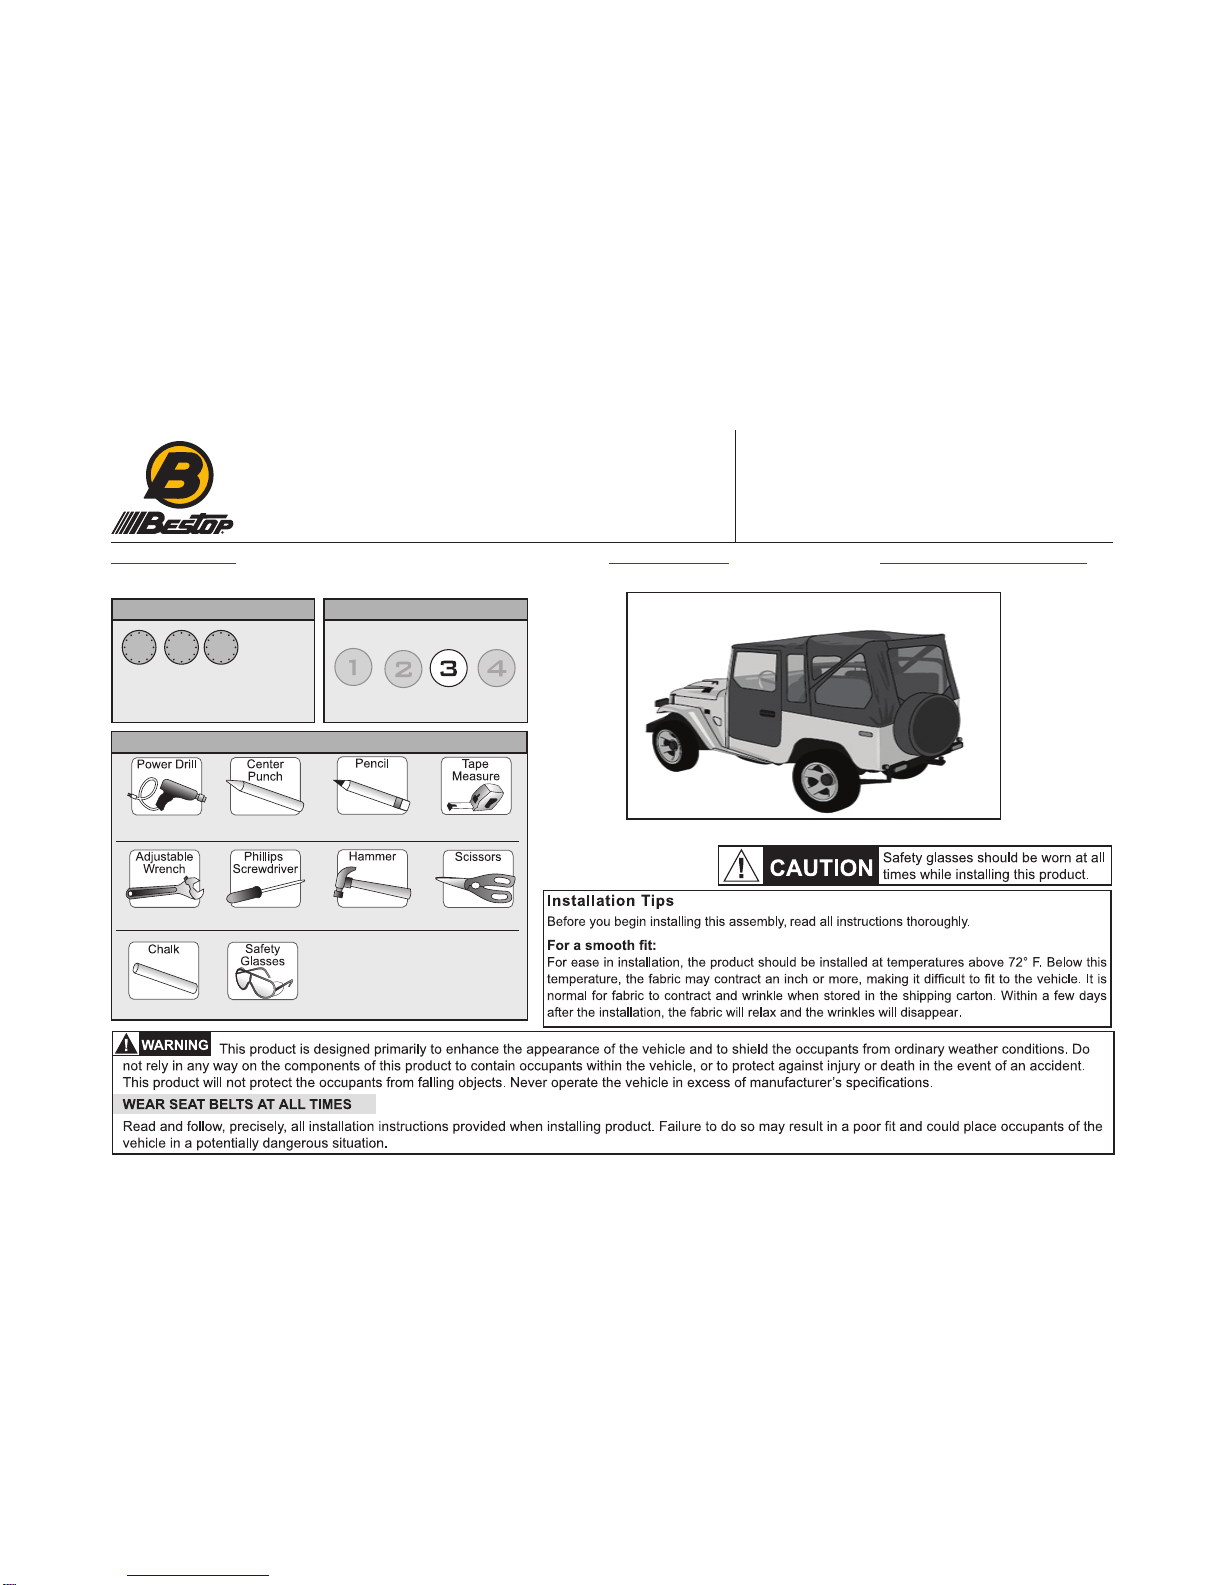
Tigertop™ – Installation Instructions
Rev. E 0207 51443 pg. 4
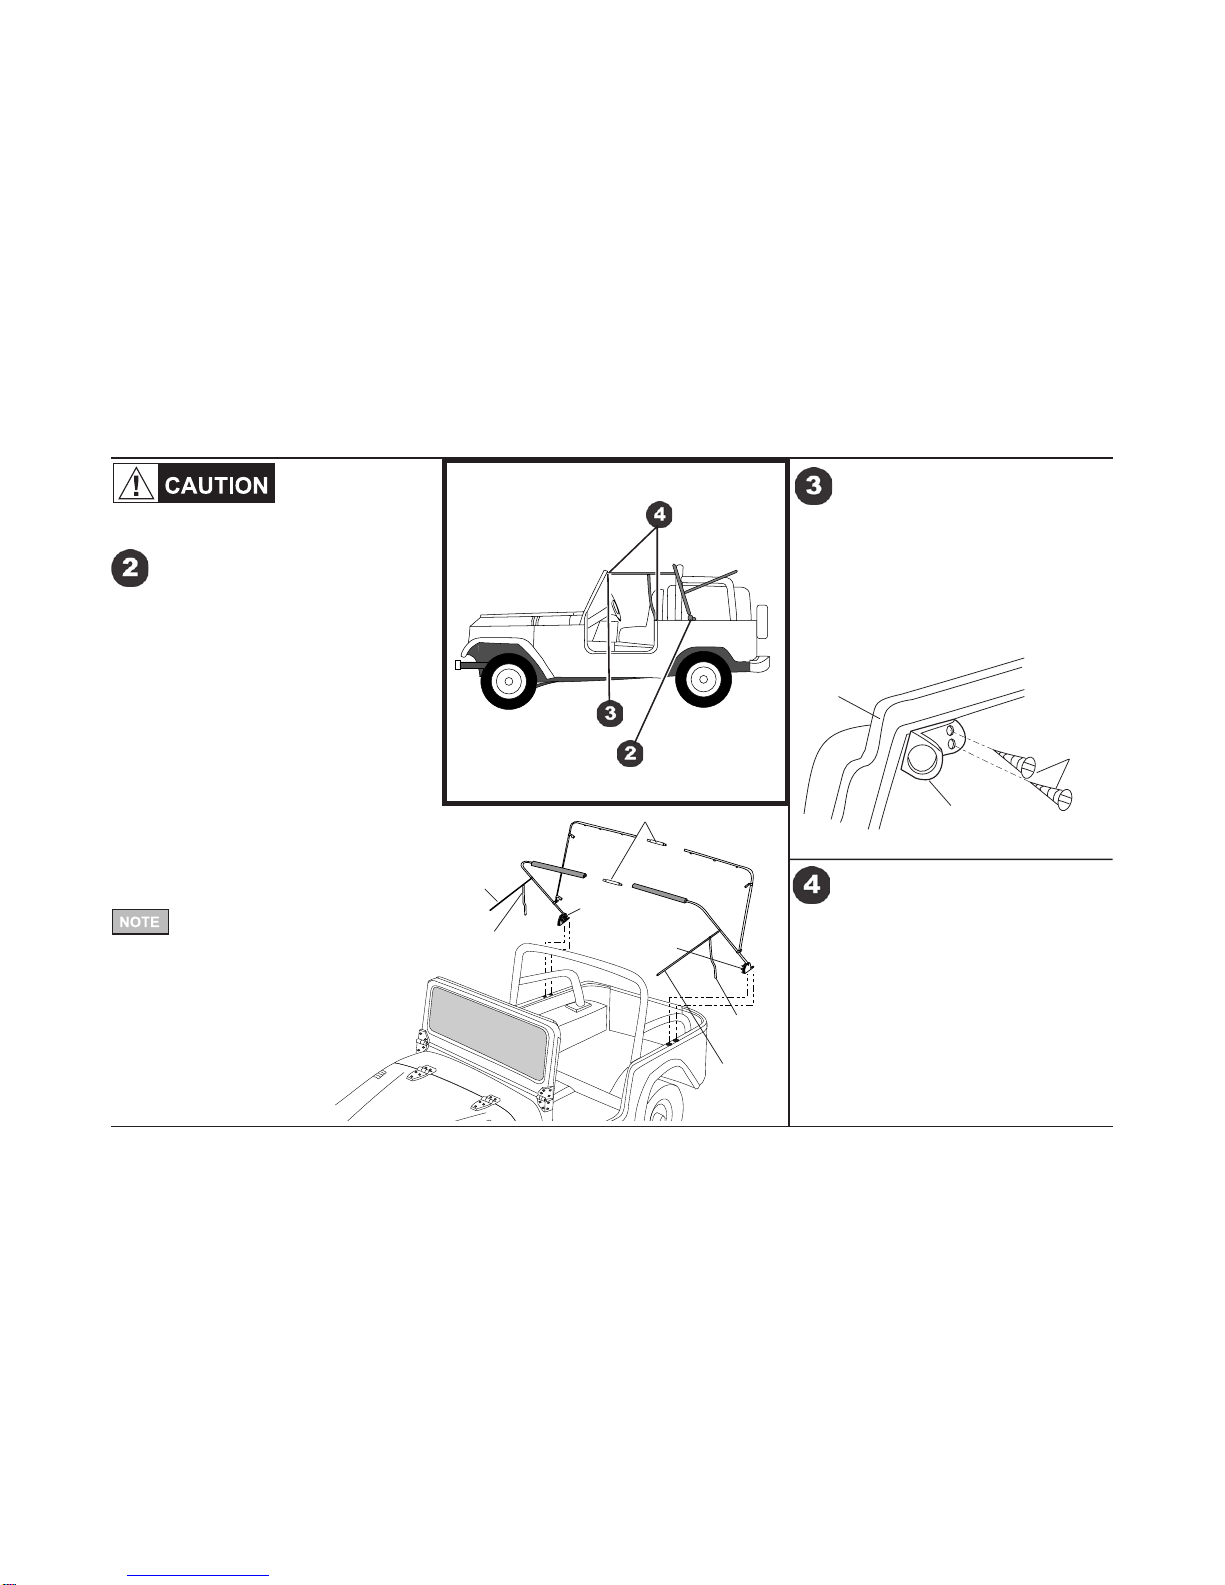
Install Bow Assembly
When drilling in the top
edge of the vehicle body,
check underneath for
wiring for the rear lights. Pull the wiring out of the
way before drilling.
This step will require two people.
Locate the left and right Bow Assemblies in the parts
kit. Select one of the assemblies and lay the assem-
bly on the body. Center the front hole of the Bow
Assembly Mount Bracket on the 15 1/2 inch mark.
Using the Bow Mounting Bracket as a template,
center punch and drill a 3/16" hole. Secure the front
hole of the Bow Assembly Mount Bracket with a #14
Sheet Metal Screw. Lift up the BowAssembly and,
again, using the Bow Assembly Mounting Bracket as
a template, mark, center punch and drill a 3/16 inch
hole for the rear of the bracket. Secure the rear hole
with a #14 Sheet Metal Screw. Repeat this proce-
dure on the opposite side of the vehicle. Lay the
Bow Assemblies down onto the body and connect
the Bow Halves together with the Bow Couplers.
Slide the foam sleeves on the front bow to the cen-
ter of the Bow Coupler on the front Bow Assembly.
Left Bow
Assembly
Bow Couplers
Right Bow
Assembly
Mounting
Bracket Left Bow
Assembly
Mounting
Bracket
Left Vertical
Assembly
Right Vertical
Assembly
Left Horizontal
Assembly
Right
Horizontal
Assembly
Right Bow
Assembly
The flat side at the front of the Hori-
zontal Assemblies will mount to the
outside of the existing windshield brackets.
Install Horizontal Rod
Brackets - If Necessary
If your vehicle does not already have Horizontal
Rod Brackets, position the Horizontal Rod Bracket
in the upper corner of the windshield, flush with the
frame. Using the bracket as a template, mark the
location of the (2) holes. Center punch and drill the
5/32" holes. Secure the bracket to the windshield
using (2) #10 Sheet Metal Screws. Repeat this
procedure for the other bracket.
Horizontal Rod
Bracket
#10 S/M
Screws
Windshield
Frame
Rotate the Front Bow Assemblies forward and
insert the VerticalAssemblies into the existing hole
on the top of the body at the rear of the door open-
ings. Secure the front of the Horizontal Assemblies
to the outside of the existing brackets in the upper
corners of the windshield frame using a 5/16 x 3/4"
Hex Bolt and Wing Nut.
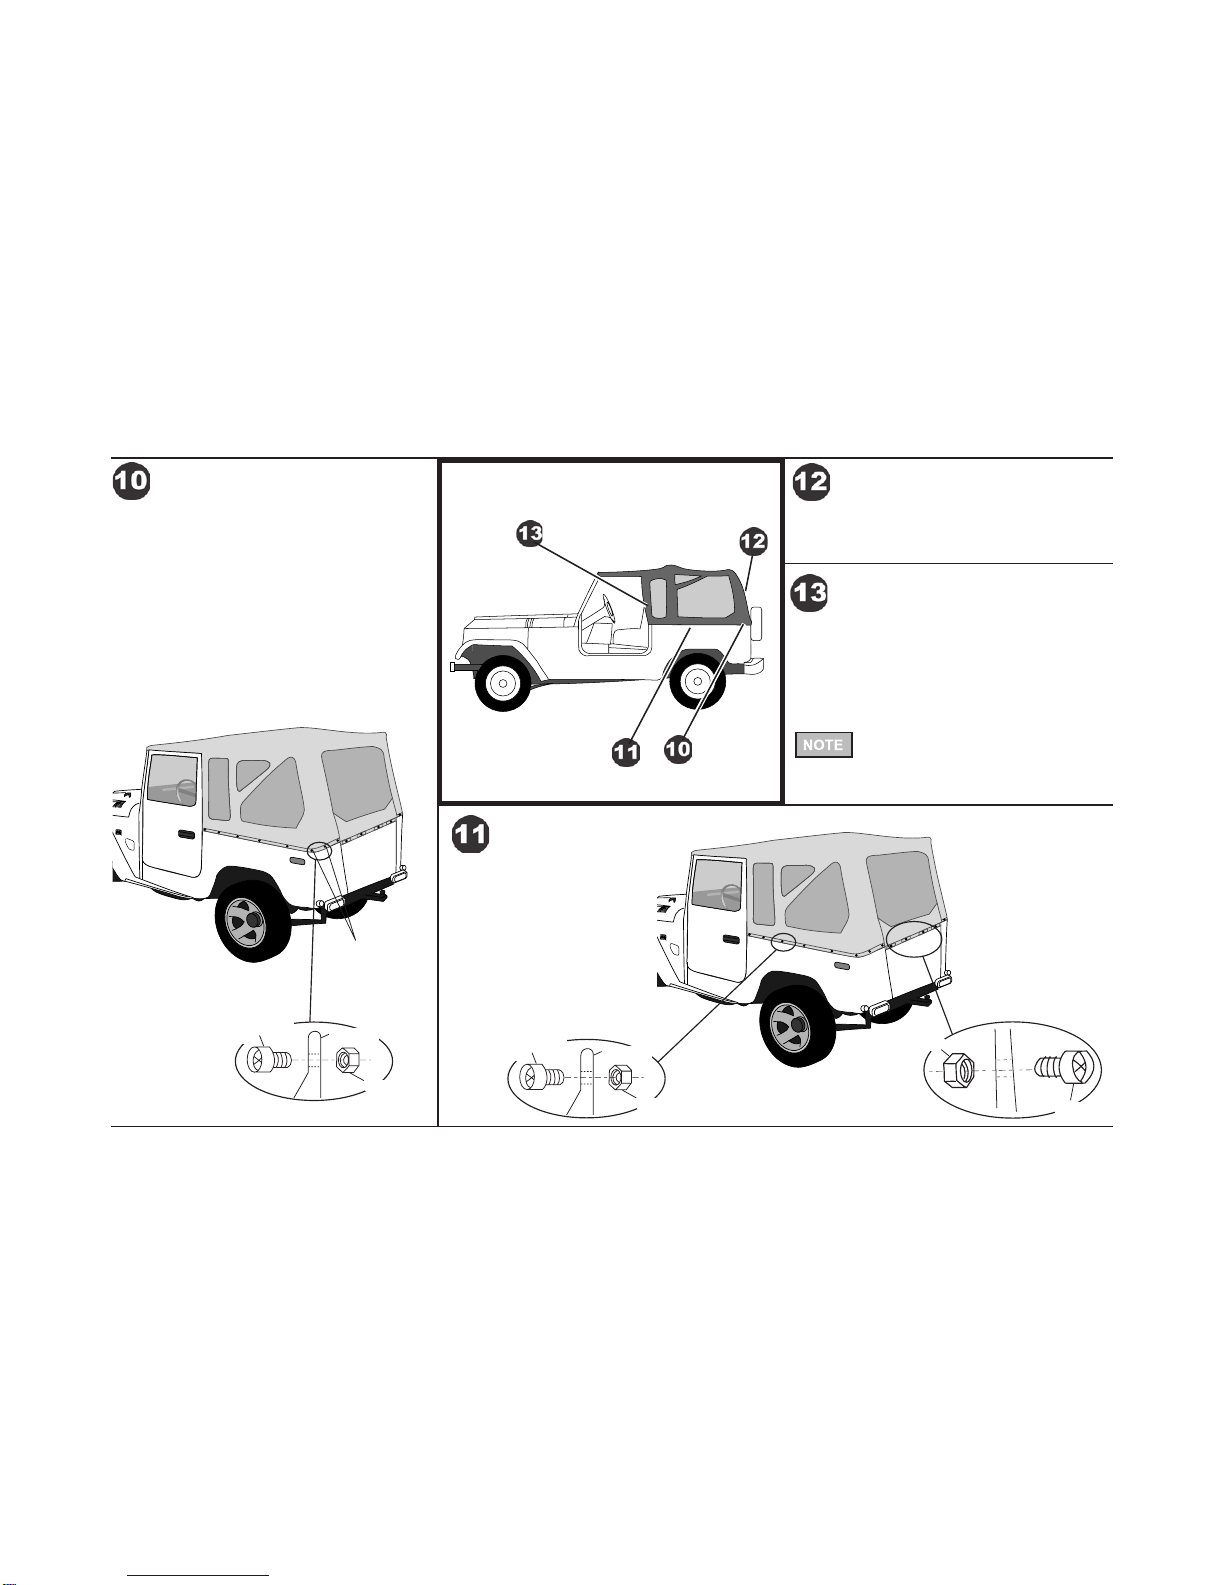
Secure Horizontal and Vertical
Assemblies