Bierer HP72-DCXL User manual

Manufacturing & Service: Bierer & Associates Inc.
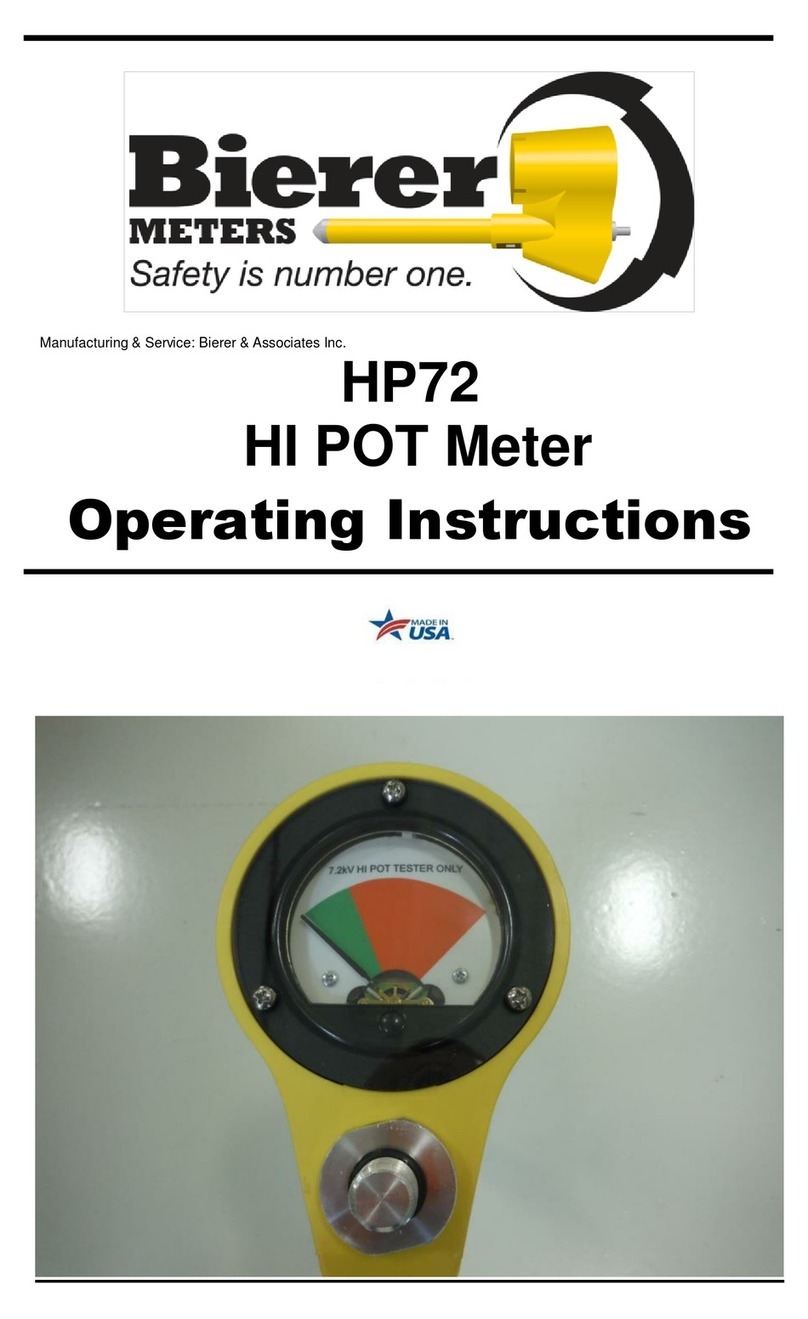
HP72-DCXL
HI POT DEVICE
Operating Instructions

2
Limitation of Warranty and Liability
Bierer & Associates Inc. warrants this product to be free from defects in workmanship and
material, under normal use and service conditions for a period of one year from date of
shipment.
Due to continuous product improvement and development, Bierer & Associates Inc.
reserves the right to modify product designs and specifications without notice.
It is impossible to eliminate all risks associated with the use of high voltage electrical
devices including this device. Risks of serious injury or death are inherent in working
around energized electrical systems. Such risks include but are not limited to variations
of electrical systems and equipment, manner of use or applications, weather and
environmental conditions, operator mentality, and other unknown factors that are
beyond the control of Bierer & Associates Inc.
Bierer & Associates Inc. do not express or imply to be an insurer of these risks, and by
purchasing or using this product you AGREE TO ACCEPT THESE RISKS. IN NO EVENT SHALL
Bierer & Associates Inc. BE LIABLE FOR ANY INCIDENTAL, CONSEQUENTIAL OR SPECIAL
DAMAGES RESULTING FROM THE USE OR HANDLING OF THIS PRODUCT.
SAFETY MESSAGE DEFINITIONS per ANSI Z535
These instructions contain important safety messages to alert the user to
potentially hazardous situations, how to avoid the hazard, and the
consequences of failure to follow the instruction.
The safety alert symbol identifies a safety message. The signal word
following the symbol indicates:
DANGER A hazardous situation which, if not avoided, will result in
death or serious injury and equipment damage.
WARNING A hazardous situation which, if not avoided, could
result in death or serious injury and equipment damage.
CAUTION A hazardous situation which, if not avoided, could
result in minor or moderate injury and equipment damage.
NOTICE Important safety message relating to equipment damage
only.

3
PRODUCT SAFETY INFORMATION
WARNING
1. Meter assembly, interconnect cable assembly, and live line tool adapters
shall be considered non-insulating. Do not let live line tool fittings come
in contact with energized or grounded conductors. The live line tool
adapters, fittings, and handles supplied with meters shall not be used
on any other devices.
2. Use appropriate length live line tools for voltage being worked and
maintain minimum approach distances as outlined in OSHA 1910.269,
Table R-6.
3. All Phasing Meters and Voltage Detectors manufactured during and after
2007 will have a limit mark engraved on the high voltage probe(s) 2.5
inches from the tip to indicate to the user the physical limit that should
not be exceeded when approaching and contacting an electrical
conductor or other electrical test points. Zero Ohm insulated adapters
(81280IE) should be used if limit mark will be exceeded.
4. This equipment should be used only by qualified employees, trained in
and familiar with the safety-related work practices, safety rules and
other safety requirements associated with the use of this type of
equipment.
5. These instructions are not intended as a substitute for adequate training,
nor do they cover all details or situations which could be encountered
when operating this type of equipment.
6. Before operating this equipment, read, understand and follow all
instructions contained in this manual. Keep instructions with
equipment.
INSPECTION & MAINTENANCE BEFORE USE
WARNING
1. Prior to using any high voltage test equipment a careful inspection
should be made to ensure the unit is free from any contaminants such
as dirt, grease, etc. and that there are no apparent physical damages.
2. High voltage probe assemblies shall be wiped clean prior to each use
with a silicone impregnated cloth and kept clean and free of
contaminants. This will prevent tracking on the outside of the probe and
meter error.
3. Always confirm internal battery voltage before and after each use.
4. Unit shall be tested before and after each use on a known voltage source.
Failure to do so could result in false negative indications

4
DESIGN and FUNCTION
The HI POT DEVICE is designed to HI POT de-energized 15kV class cables. The tools
transforms 18 volts from the battery to approximately 8,000 volts DC. When the
battery is installed and the safety switch is in the closed position, the unit is in
voltage detection mode. Unit should be in this position when installing the device
as it will sound a warning alarm if you approach an energized source. When the
safety switch is open and the toggle switch is switched ON (forward), the unit is
in the Hi-Pot mode and the high voltage DC is being applied.
BATTERY REPLACEMENT
There is an 18V battery on the base of the unit. On the front of the battery is a
built in battery test button. If the battery test results in 2 or less lights, it is
recommended to remove the battery by pressing both buttons on the sides, and
sliding the battery out of the device to be charged. Once the battery is fully
charged, you can resume any testing required.
METER SET-UP and TESTING
WARNING
See “Product Safety Information”, page 3.
See “Inspection & Maintenance”, page 3.
1. Ensure the safety switch is in the closed position. This ensures the high
voltage doesn’t become active when installing the battery.
2. Install the 18V rechargeable battery.
3. To test the meter, attach the ground clamp to the probe tip. Then flip
the safety and power switch to the open and ON position. If the meter
and tester are working properly, the needle will move the 100% full
scale position. This indicates a full short on the line. Once complete you
can flip the safety switch closed, which will automatically switch the
toggle OFF, at which point the high voltage is removed. The unit is ready
for operation.

5
URD CABLE DC LEAKAGE TESTER “Hi-Potting”
WARNING –see “Meter Set-Up & Testing”, page 4.
Testing De-Energized URD cable
1. Attach Meter to appropriate length live line tools for the voltage being
worked.
2. Attach a bushing adapter to the end of the meter probe.
3. Attach alligator clip to any ground, being sure to observe all safety
methods while doing so.
4. Isolate both ends of the cable to be tested, use a feed-through bushing
on the near end.
5. Approach the other side of the feedthrough bushing slowly with the
meter. An audible sound will indicate voltage is still on the line. If
voltage is present, remove the tool and follow appropriate procedures
to isolate the cable to be tested.
6. If no horn sounds, you can push the meter all the way onto the
feedthrough bushing.
7. Flip the red safety cover up and then the power switch up to activate
the high voltage test.
8. A good cable may show a rise as far as the 100% mark but will then go
back down to near 0%.
9. A bad cable will either show a steady high percentage on the scale or
the meter will continuously bounce up and down.
10. After completion of the test, flip the red safety switch down, there may
be a horn sound momentarily as the unit is discharging the DC voltage
off the cable.
11. Remove all equipment and return the tested cable to its normal
configuration.
NOTE 1: The section of cable under test must be isolated on both ends and
cannot be connected to/or through equipment or lighting arrestors.
NOTE 2: The maximum reading during the hi-potting test is 100% which
represents a “bolted” fault. Readings near zero represent a good cable with
little or no cable leakage. Readings in between near zero and 100% could be
high leakage or bad cable.

6
NOTES______________________________________________________
____________________________________________________________
____________________________________________________________
____________________________________________________________
____________________________________________________________
____________________________________________________________
____________________________________________________________
____________________________________________________________
____________________________________________________________
____________________________________________________________
____________________________________________________________
____________________________________________________________
____________________________________________________________
____________________________________________________________
____________________________________________________________
____________________________________________________________
____________________________________________________________
____________________________________________________________
____________________________________________________________
____________________________________________________________
____________________________________________________________
____________________________________________________________
____________________________________________________________
____________________________________________________________
____________________________________________________________
____________________________________________________________
____________________________________________________________
____________________________________________________________
____________________________________________________________
____________________________________________________________
____________________________________________________________
____________________________________________________________
____________________________________________________________
____________________________________________________________
____________________________________________________________
____________________________________________________________
____________________________________________________________
____________________________________________________________
____________________________________________________________

7
PARTS & ACCESSORIES
PART NO.
DESCRIPTION
3402
Quick Change to Grip All Adapter
3403
Quick Change to Universal Adapter
8128EALB
15 –25kV Elbow Adapter
8128TBALB
15 - 25kV Bushing Adapter
Technical & Service
Bierer & Associates Inc.
Manufacturing & Repair
10730 Farrow Rd.
Blythewood, SC 29016
Tel: (803) 786-4839
Fax:(803)786-5457
bierermeters.com

8
Table of contents
Other Bierer Measuring Instrument manuals


