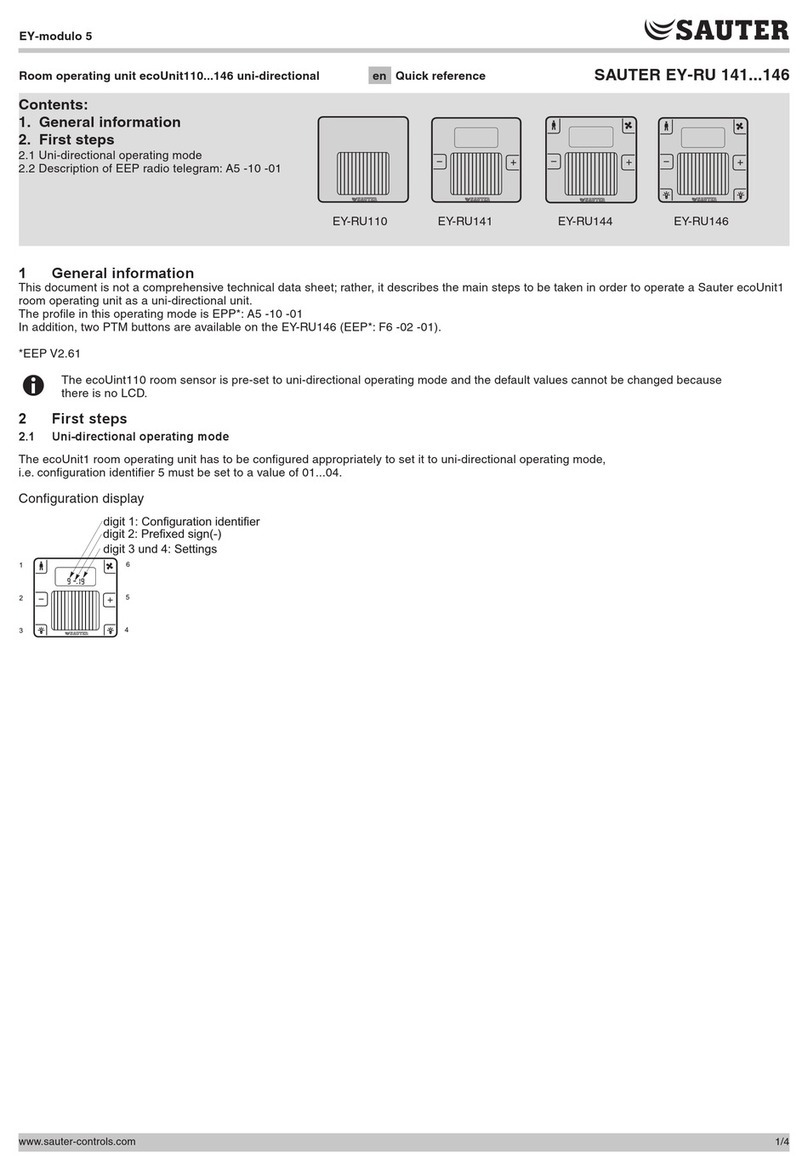
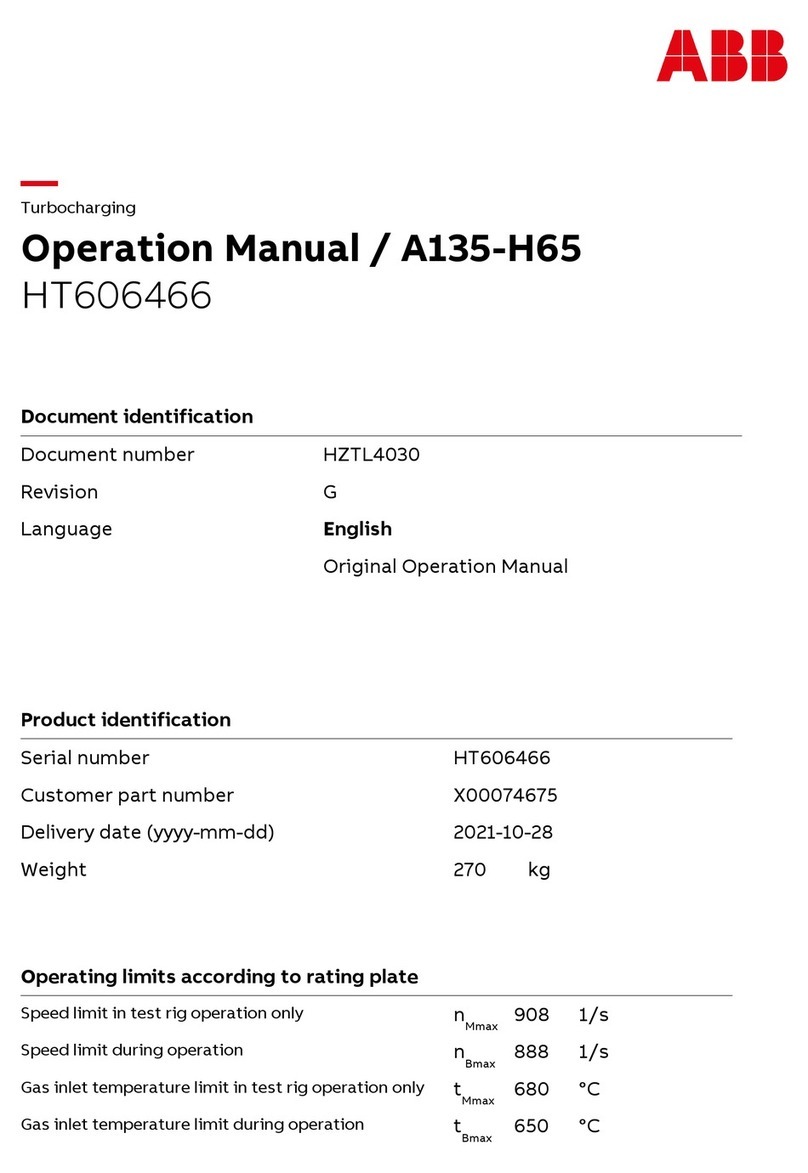
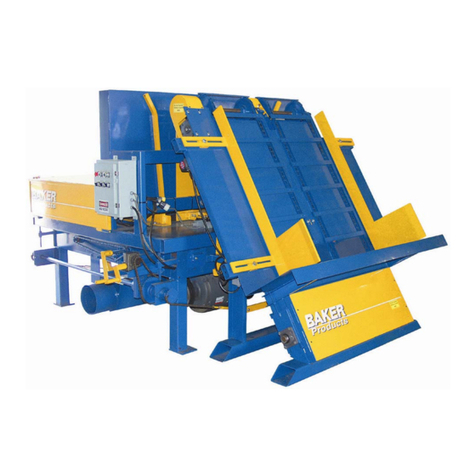
Bihong Q-JET User manual

广州碧宏印刷设备有限公司
地址:广州市番禺区石碁镇南浦村市莲路 32 号众信企业园 B栋
Guangzhou Bihong Printing Equipment Co., Ltd.
ADD: Building B, No. 32 Nanpu Village, Shilian Road, Shiqi Town, Panyu
District, Guangzhou City, China
0
Q-JET
Operation Manual
This Manual is including introduction, operating, maintenance and information about
electrical parts and pressure of the printer

1
Chapter 1 Safety!………………………………………………Page 2
Chapter 2 Company Profile ……………………………………Page 7
Chapter 3 Product Introduction ………………………………Page 8
Chapter 4 Operation Instruction ………………………………Page 12
Chapter 5 Electricity, Air Pressure and Ink
Channels ……………………………………………………Page23
Chapter 6 Service and
Maintenance …………………………………………………Page 28
Chapter 7 Common Problems
and Treatment ………………………………………Page 32
目录

2
Those signs are to make sure operators to use the machine safely, prevent injuries to human and damages
to machine. There are 3 levels as 'Note, Warning, Danger' due to different damages or urgency. Safety is
priority when operating this machine!
Note
Risk of injuries to someone and damages to parts if mis-operation.
Warning
Risk of huge injuries or death to someone if mis-operation
Danger
Risk of huge injuries or death to someone if no avoid of this urgent danger
Warning
1. The usage of this product is determined and responsible by the designer or constitutor, because
of the diversification of working conditions, and the necessity of analyzing and testing the
expected performance and safety of this system. If reconstruction, please refer to newest product
information and specification, and consider of potential malfunction.
2. This product must be mechanically installed, operated, and serviced by personnel who has
enough knowledge and experience.
3. Make sure to use and disassemble this product under mechanic/equipment safety.
Use or maintenance mechanic parts/equipment after confirming prevention of
incontrollable falling parts and moving.
Disassemble mechanic parts/equipment after safety precautions above are confirmed, main
power is cut off and specific attentional items are clear.
Reboot mechanic parts/equipment after confirming prevention of un-expectable movement
and malfunction
4. Consult our company beforehand if use this product under conditions or environment below,
meanwhile considering safety regulations.
Outdoor or direct sunlight or other conditions and environment not mentioned in this
manual.
Near nuclear, railway, aircraft, spaceship, ship, vehicle, military, medical, drink/food
equipment. Near burning unit, entertainment facilities, emergency cut-off circuit, Clutch for
punching machine, brake circuit, safety equipment and etc.
In the condition of greatly effecting human body and property, especially safety caution
needed.
When using interlock circuit, set double interlock and mechanically protect against
malfunction. Also periodically check these protection system if working properly.
Chapter 1 Safety!

3
Warning
This product is provided to manufacturing industry and peaceful places. For other
purposes, please advise to our company and change specifications and agreement.
■Limited Warranty/Applicable Conditions
This product is applied to “Limited Warranty”,“Applicable Conditions” below
Please use this product based on content below
『Limited Warranty』
1. Warranty is 1 year from start of using this product. (※1)
2. Replacement or Parts changing is under 1 year warranty only/if we are responsible
to those errors and damages.
3. Please refer to other warranty specifications.
※1 Print-head is not applicable to this warranty statement
『Applicable Conditions』
Must comply with local currency and trading laws and regulations when exporting this
product.
■Sign Description
Sign
Meaning of signs
Prohibited (Not allowed )
Details will show in the signs or indicated by drawing or in literal
Force to(Must do)
Details will show in the signs or indicated by drawing or in literal
■About Operator
1. This manual is for operator who has enough knowledge and experience, to operate, assemble
and maintenance the equipment

4
2. Please read and understand this manual carefully, to assemble, operate and maintenance the
equipment.
■Safety Attentions
Warning
■Don’t disassemble/rebuild/fix by oneself (including PCBs and Print-heads)
Could cause human injuries or machine damage
■Don’t use this product out of specification range
.Don’t use flammable or human-harmful gas or airflow
.Using this product out of the range could cause fire, malfunction, damage and etc.
.Please use it base on specifications confirmed.
■Don’t use it in inflammable and explosive condition
Could cause fire and explosion
This product is not constructed with anti-explosion system
■Don’t use it in electrostatic field
Could cause system errors
■In the case of using in interlock circuit
.Please set multiple interlock circuit constituted by other systems(mechanically protection
function)
.Periodically check the protection system if working properly
Could cause accident by malfunction
■In service or maintenance
.Main power off
.Air pressure released
Could cause human injuries
Warning
■Don’t touch wire connectors and terminals when power is on
Could get a electrical shock, malfunction, switch damage and etc
■After service or maintenance, check appropriate function and leakage.
When there is malfunction or leakage, stop running it
When there is leakage or sensor damage, must turn off power and air pressure
Don’t supply air pressure when there is leakage

5
Mis-operating without safety sense is not allowed
■Operation Attentions
●Operation Matters
* Assembly and installation
.Please follow rules to tighten screws
If over tight, could break the screws or tools. If not tight enough, screws and parts to be
tight could loose and move
.Do not touch surface of print-head by hand during installation, or it could reduce print
quality
.Leveling
If not leveled, will cause bad print and Print-head damage
.Do not drop, hit, crash
It could damage the accuracy of assembly, and make parts malfunction.
.Make sure tubes and fittings are firmly connected when installing tubes in the machine
If not, could cause air or ink leakage
.Use an air-gun to blow out dust or dirt before assemble the tubes
Or it could cause parts damage or malfunction
* Operation Condition
.Do not use it near water place.
Or it could cause error, malfunction. Please use isolation room or chamber.
.Do not use it near corrosive gases or liquid.
It could cause parts/equipment damage, print-head damage, malfunction
.Do not use it near electricity surge place.
It could cause damage circuit element or relative parts by electricity-surge equipment
such as electromagnetic elevator, electromagnetic oven, motors etc. Please also separate
the cables from electricity surge of power supply and do not use electricity-surge load.
.There is no specific tolerance of thunder-strike in CE certification, please set up protection
unit from lightening for the equipment. Excessive interference will change settings even if
this is a CE certificated product.
.Please install it in a non-quake, non-crash place.
Or it could cause errors and malfunction
.Please avoid of any wiring debris falling into the equipment

6
Or it could cause errors and malfunction
.Do not use it in widely-fluctuate temperature place.
Over the normal temperature, it could effect badly the ink and inner parts of the
equipment.
.Do not use it in direct sunlight
Shelter from direct sunlight, or could cause errors and malfunction
.Make sure temperature of ink and working condition, and humidity is within the specific
range when using the equipment
Temperature is at the range of 20~30 °C, humidity is at a range of 60%~70%RH
If the temperature is too low or too high, print heads could be damaged because the ink
characteristics change. If the humidity is too low, ink will dry up at the surface of nozzle of
print head.
.Pleas do not use it in a place containing hot resource and radiation.
Or it could cause bad movement

7
Bihong○
TM Printing Machinery Co, Ltd ( Pingyang Shunlong Packaging Machinery Co, Ltd )was
founded in 2008, owns the brand machine, cutting machine, bag-making machine and other
related equipment.
BIHONG○
TM and Guangzhou Bihong Printing Equipment Co. Ltd was established in 2016. We
have our own professional R&D team, specialized in researching, producing and selling high
quality automatic screen printing machine, digital printing
For now, most enterprises face with the recruitment difficulty, especially the work of screen
printing type is more difficult to recruit, the product profit shirking. Our company adheres to
the "improve the production efficiency, reduce production costs, reduce the number of
labor"as our own duty, and is committed to providing customers with high quality digital
printing machine and automatic oval t-shirt printing machine. Our equipments are now
widely used in printing material of t-shirt, PVC/PET/PC/PE, paper, cloth, leather, sticker,
non-woven fabric, textile and so on.
We enjoy much reputation abroad due to our strong ability, professional staff and perfect
after-sales service. Recently, with our continuous efforts, innovations and rigorously quality
control, we have received increasing orders from all over the world.
We will continue to develop our skills and designs to meet the demands of our clients all
over the world
Copy rights reserved by Bihong○
TM , any infringement will be investigated and affixed
legal liability. There may be some errors in the manual, it is welcome to point out and
correct them. To make better manual to make better service.
Chapter 2 Company Profile

8
1. Overview
Q-Jet is specially built by Bihong○
TM , for combining oval machines. This hybrid system
can print very accurate, with less screens but more colorful digital printing images,
while oval machine is doing traditional screen printing such as water-base, binder,
plastisol, flock, foam, flicker, cube, jelly, cracker, metal etc. It is a combination, can
fulfill garment and cut-piece print, of advantages of traditional printing technology and
modern digital printing technology.
Q-Jet is installed by Dimatix SG1024 industrial print-heads (made in USA), 4-color
printing, with high speed and resolution.
2. Structure
A. Overview Description
a. 3-Color ALARM, to give alarm when there is an attention or problem
Light color
status
Alarm for
Note
b. LCD Display
c. Electrical Cabinet
d. Operating Platform
f. Pallet
g. Head Carriage
a.3-Color ALARM
Chapter 3 Product Introduction
e. Front Door

9
Green
Blinking
Printing
Yellow
On
Ready
Red
Blinking
Error Alarm
Need to check or inquire of supplier
b. LCD display, for the computer controlling system
c. Electrical Cabinet, main control circuit and ink and air channels
d. Operating Platform, operating and controlling the equipment
e. Front Door (Back Door), do not open the doors when operating the equipment
f. Pallet, the main platform for printing for loading fabrics
g. Head carriage, a core component for digital printing
B. Operating Platform
a. P. pressure gauge, displays Positive Pressure.
b. N. pressure gauge, displays and controls Negative Pressure
c. Emergency Stop button, stops danger movement but not powers off.
d. Start button, turns the power on.
e. Mouse, controls the computer
f. Keyboard, controls the computer
g. Touch Screen, a control interface of the equipment
e. Mouse
f. Keyboard
g. Touch Screen
a. P. pressure gauge
b. N. pressure gauge
c. Emergency Stop
d. Start Button

10
C. Head Carriage
a. Head Board, Control and drive print heads
b. Ink Cartridges, Core Parts for Printing to supply ink
c. Ink Recirculation Cartridges, same like ink cartridge but lower For ink
recirculation
d. Ink Supply Distributor, Core Parts for printing to supply ink
e. Right Safety Bar, to avoid hitting the heads in case of getting obstacles inside
f. Left Safety Bar, to avoid hitting the heads in case of getting obstacles inside。
g. Print Heads, Most Core Print Components
h. N. pressure box, stabilize Negative Pressure and store waste ink if bubbles come
in
a. Head Board
b. Ink Cartridges
c. Ink Recirculation Cartridges
d. Ink Supply Distributor
e. Right Safety Bar
f. Left Safety Bar
g. Print Heads
h. N. pressure Box

11
D. Capping and Cleaning Component
a. Capping Station, Capping the nozzles when the machine is turned off, to avoid
air comes in to dry up and make clogging. And please note, these caps need to
be cleaned every day
b. Cleaning Station, when cleaning , the wipers will wipe off the ink drops on the
nozzles. And please note, these wipers need to be cleaned every day
Capping Station
Cleaning Station

12
1 Touch Interface
1.1 Homepage (Main Interface)
1Set number of printed to clean heads automatically
2Production Count, reset to zero
3Set correct fabric thickness to keep correct print height
4Show status including pumps, online/offline, n.pre. cartridge, more details in Para.4
this chapter.
5Show current height
6Clean heads when there are clogging or white lines. Please refer to [Chp4-1.3
Settings] to set more
7Clean and cap the nozzles before powers off automatically
8Production mode active/de-active with oval machine.
9Pause printing
10 Provide information about our company
11 Press to change CHN/ENG language
12 Set parameters and adjustment for equipment in settings interface
13 Operation related to Printing
2
1
3
7
6
10
9
8
4
11
12
13
5
Chapter 4 Operation Instruction

13
1.2 Printing Interface
1Press to print selected image in PrinterManager (computer interface)
2Print Nozzles Check pattern
3Pause/Resume current print job
4Abort current print job
1.3 Settings
A. Pneumatic and Ink system
1Set purge time to clean heads
2Purge and wipe to clean heads
②
③
④
①
1②
②
③
④
⑥
⑤
⑦
⑧
⑨
⑩

14
3Not Full:Waste ink is not full in the N. pres. cartridge (normal)
Full:The N. Pres. Cartridge is full of waste ink, this is abnormal. Must use N.
Pres. Pump to pump out the waste ink.
4N. Pres. Pump:For pumping out the waste ink in the N. Pres. Cartridge (it works
only when pressing)
Note:In case of air leakage, the tube below is normally disconnected. Connect it
by the quick couplers before pumping.
5Ink Channel Selection:Selection working ink channels, normally CMYK all
selected.
6Stop Recirculation:Stop recirculation pump separately in maintenance if needed
7Stop Supplying:Stop supplying ink if needed
8Force Recirculation:Keep recirculation pump running all the time
9Force to supply ink:Force to keep supplying pump on all the time
10 Purge all:Purge all will purge all colors, purge single color if press K/C/M/Y
separately

15
B. Manual Interface
1Off line mode, move head carriage/crossbar to 4 directions manually.
2Move head carriage (Z) up or down. Back to Homepage at normal height
3Move Capping Station up or down, with lights on up/down limit
4Move Maintenance tray up or down, with lights on up/down limit
5Turn off power of the boards separately
6Show current Z-position
7Adjust the speed of manual Y (crossbar) movement
8Adjust the speed of manual X (head carriage) movement
C. I/O Monitoring
Check all current I/O status, to help solve problems.
2②
1②
3②
4②
8②
5②
7②
6②

16
D. Alarm Record
Recording Alarm information
E. Advanced Setup
For advanced engineer limited mode, please contact us for further information
F. Homepage
Back to homepage (main interface)
1.4 Status
1Show Offline mode status, can’t print in this mode
2Show Full/Not Full in Negative Press Cartridge
3Ink supply timeout, press indicated color if supplying needed
4Recirculation timeout, press indicated color if recirculation needed.
2
1
3
4

17
2 Printer Manager (PM)
A. Homepage
1Functional settings
2Preview Image. Please note, color and direction showed are not correct.
3Define work fold and show preview of prt files.
4Print list. Add print-able prt files to the list and select it then press
to print
5Error List. List error messages and codes.
6Main Menu. To adjust set parameter backup, calibration and voltage, etc
7Show image information
8The printer's current status display, and printing can be done only when it is ready.
Functional settings
Icon
Function
Details
Note
Add new job
Add new print job, ripped by PP
Delete
Delete selected print job in the list
Print
Print selected job
Pause/Resume
Pause/Resume Printing job
Abort
Abort printing job
4
7
3
2
6
8
5
1

18
Nozzles Check
Check nozzles, clean it if needed
Clean
Clean heads if needed
Spray
Spray ink to jet out little surface
clogging
Move to left or
right
Move the head carriage manually
Forward/Backw
ard
Move the head carriage manually
X home
Move head carriage to X home
position (note 1)
Y home
Move head carriage to Y home
position (note 1)
Printer settings
set print mode, feathering, language
and so on
Set X origin
Print starts at this point on X direction
Set Y origin
Print starts at this point on Y direction
Step
Step adjustment with different pass
modes
Select Pass
Select correct pass with RIPPED
file(note 2)
Select speed
Select different speed with different
print quality (not3)
Bi-direction
Check box with bi-direction print,
uncheck with right-direction print(not
3)
Y back home
Check box, head carriage auto-move
back to home position
Note 1:the home position means head carriage in standby position
Note 2:pass mode selection, 4 pass means 720(600)x800dpi, 6pass means
720(600)x1200dpi
Not e 3:check bi-direction value in the calibration menu when use
bi-direction print. Adjust the value when there are double lines or printed
image is fuzzy.

19
B. Printer settings
1. Printer settings
1.1 Printer Settings(Note 4)
a. Auto Skip White:The white edge of the image will be skipped without
printing or scanning
b. Y continue print :
if check box, print starts from current Y position. Uncheck
is default
c. Feather Type:different feather type options.
d. Feather:Choose the degree of feathering according to the need, weak,
medium, strong and none. The higher the degree of feathering, the lower the
printing efficiency.
e. Multiple Ink: you can increase the amount of printing ink, while printing the
number of Pass also need to be increased by the same multiple.
1.2 Media
a. X Width:Set the printer's X-direction working width, which is the software
limit protection.
b.Y Height:
Set the printer's Y-direction working paper height, which is the limit
protection of software.
1.3 clean Settings
Table of contents
Other Bihong Industrial Equipment manuals
Popular Industrial Equipment manuals by other brands

Eaton
Eaton Airflex DBB Assembly instructions

Kooltronic
Kooltronic KNHE24 Operator's manual
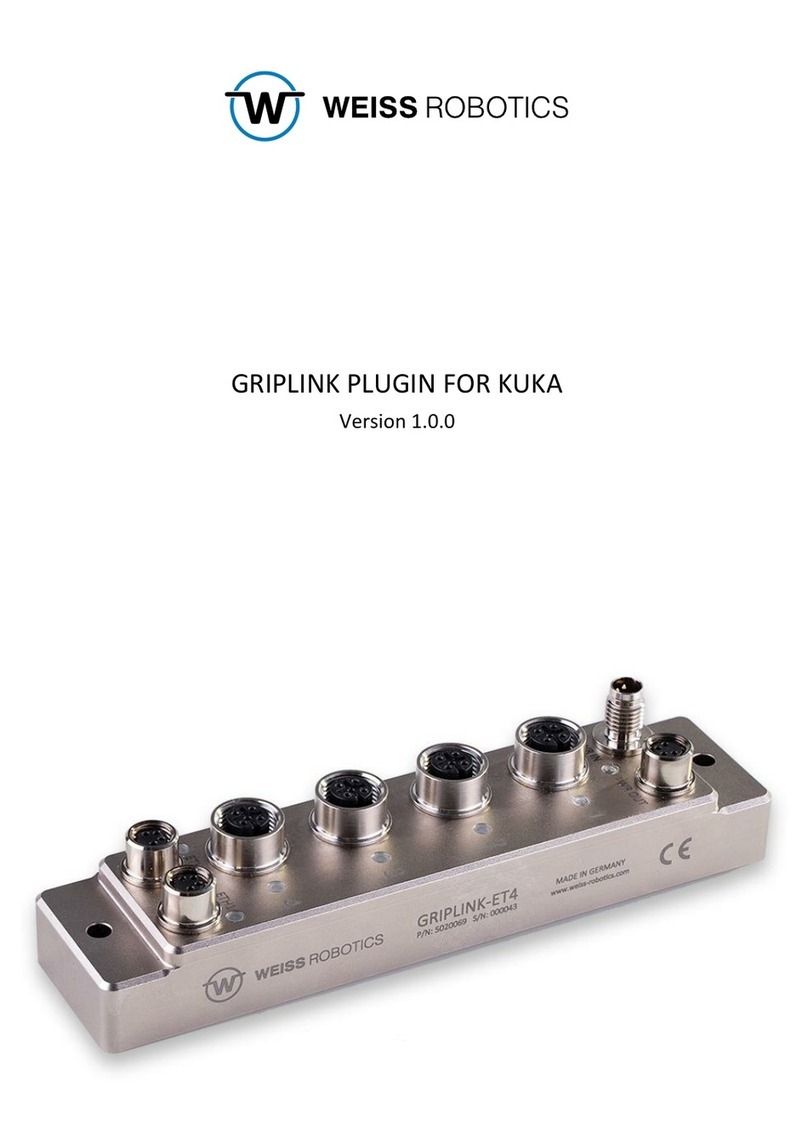
WEISS ROBOTICS
WEISS ROBOTICS GRIPLINK manual
Stuart Turner
Stuart Turner FLANGE SIDE ENTRY installation instructions
Emerson
Emerson Yarway Installation, operation and maintenance instructions

Hawk
Hawk 2082-MF instruction manual
Zimmer
Zimmer MATCH LWR50L-27 Series Installation and operating instructions
Bradley
Bradley Lenox Lockers Installation
Cassese
Cassese 910 JR owner's manual
Mitsubishi Electric
Mitsubishi Electric MDU-BN instruction manual
Husky
Husky 33157 Assembly, Installation, Operation and Maintenance Instructions
Virutex
Virutex EB140PLC Premilling Annex Operating Instructions
