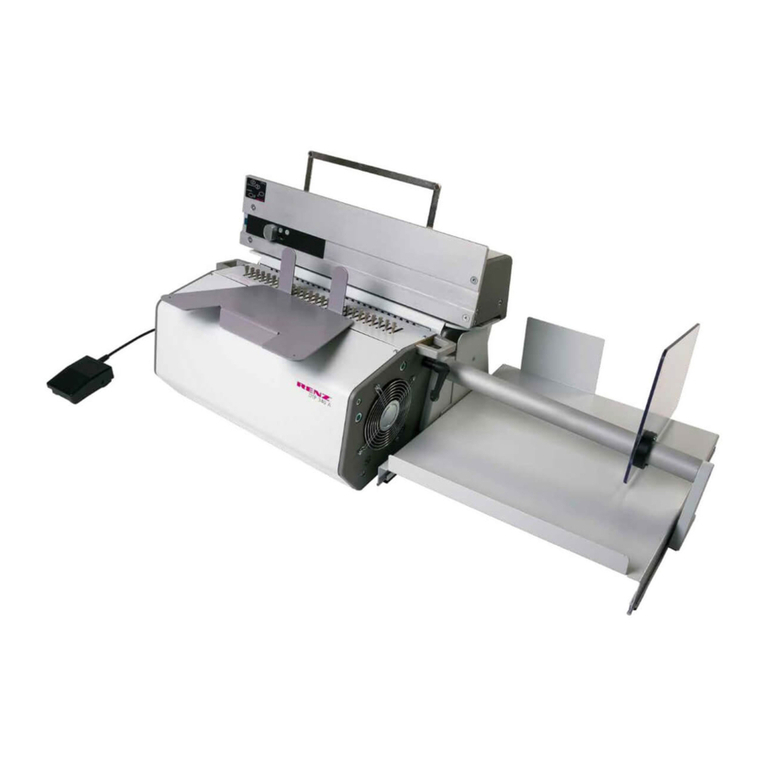
BINDTEC YL-200PB User manual

YL-200PB
Automatic Time Printing Bill Binder
User Manual

Contents
1. For your safety
2. Product Introduction and package details
3. Part name and function
4. Installing and removing of Tape.
5. How to control the temperature
6. How to control the length
7. How to bind and print
8. How to change ink cartridge
9. Checking before troubleshooting
10. Product specifications
Product warranty

1
For your safety
For your safety
Please carefully read this user manual before operating
the machine.
Maintenance requirements
1. Make sure AC 220V power is supplied. The voltage fluctuation must
be kept at a minimum.
2. High temperature, high humidity or any other environmental
conditions may render the unit not operational due to the tape being
jammed around the roller or otherwise.
3. Please clean the unit once every week. It is particularly important to
keep the roller and sensor clean.
4. The warranty is void if the unit is tampered with or disassembled by
anyone other than the designated service personnel.
5. Touching the heater when the unit is operational or within 10
minutes of the shutdown of the machine may cause a burn injury.
6. Make sure the power is off after using the unit.

2
Product Introduction and package details
Automatic Time Printing Bill Binder (YL-200PB)
Package details
*Manual --------1pcs
*Ink cartridge --1pcs
*paper band----1roll
*Cable --------- 1pcs
*Multi Systems
-It is able to bind cash at the same time print the time of
when it was bound.
*Multi Tasking Function
-It is not always clarified that the user would want to print
the date, therefore this model is given two modes where:
1. ON mode : Binds the cash and afterwards prints the
date.
2. OFF mode: Only binds the cash.
*Print content
-The following will be the content on the print
respectively in this order.
-Serial number (three digits), Year, Month, Date, Hour,
Minute
*Affordable cost for operation and maintenance
-It uses a dot printer with ribbon for printing

3
Part name and function
[ Print part ]
1. Name of button
2. Display Mode
a, Time Display Mode
b, Distance Setting up Mode
c, Time Setting up Mode
d, Serial number setting up Mode
a. Time Display Mode
b. Distance Setting up Mode
power
select
up
down
save
*Turn the power on at first the mode is Time Display Mode.
*Above line indication: Year-month-day (ex 2015-01-16)
*Under line indication: Time: Min Sec (ex15:34 11)
*: is blinking if the time setting up is regular.
*Adjust the strapping position at Time Display Mode or Distance
Setting up Mode
*press Up or Down button for around 3~4sec.
It move Min26 ~Max59mm (ex dSt- 26)
*Press Select button it move to Time Display Mode at Distance
Setting Mode.

c. Time Setting up Mode
d. Serial number Change Mode
[ Binding Part ]
*Press Select button to set up Min-Time-Sec-Month-Year in
regular sequence with Up or Down button at Time Display
Mode.
*Press Save button to save the Min-Time-Sec-Month-Year
*Turn Off and then turn On the power pressing Select button at the
same time.
*Leave the finger from Select button
*Set up the Serial Number using Up or Down button.
*Press Save button to save the Serial number.
power switch
start/backward(green)button
auto/forward(yellow)button
power/re-set(red)button
Spacer
Beak
Reverse click
Toggle switch
Length control volume
Idle roller
Guide roller
Main roller
Roll fixing
(Tape holder)
Tape direction

4
Installing and removing of Tape
a. Open the front plate. The toggle switch can change the mode between "inserting tape mode"
and "strapping mode". If the switch is in the upper position, it is "inserting tape mode" and the
lamp of the power switch will start blinking. Put tape in the tape holder. Make sure paper tape
will unroll in the right direction.
c. If too much of the tape is rolled in or jammed around the rollers, press the Start/Re-set button
and then the roller will turn the other way around to allow removal of the tape.
d. Adjust the tape feeding control to change the length of the tape fed on the unit by turning the
volume in your direction or the opposite direction to increase or decrease the length, respectively.
e. Push down the toggle switch. It will convert to strapping mode and the heater be heated. If the
current temperature is far below the set value, the Start/Re-set button will be lit up. If it is a little
below the set value, the Automatic/Forward button will be lit up. If the power switch blinks, it
indicates that the current temperature has reached the set value, when pushing the power switch
will cause any leftover tape will be cut off, and new tape will be put in place. (During automatic
cutting, please do hold the end of the tape)
f. When failed to insert the tape into the machine or re-insert the tape for re-arrangement, press
power switch and hold 2seconds for the tape to be cut off and machine will re- strap.
5
How to control the temperature
Set the dip switches to set the optimal temperature for the material of the
tape and other conditions. You may open the front plate to set the
applicable dip switch for the desired temperature.
[Example]
Set the switch no. 3 to set the temperature at 160℃.
CAUTION! If you make turn on over two deep switch at the same time, the
temperature is not right.
b. Hold the end of the tape, push it through the guide
roller and then between the Idle roller and the main roller.
Press the Automatic/Forward button, then the rollers will
turn to move the tape forward. At this point, allow the tape
to roll in automatically as shown in the diagram.
Toggle switch

6
How to control the length
7
How to bind and print
CAUTION! Please surely check the tape direction when install the tape and push the tape roll to
machine body.
[Manual Mode]
1. The unit is in the manual operation mode after tape feeding.
2. Put 100bills to be bundled inside the tape ring. (The start
button will start blinking if the automatic sensor detects the objects.)
3. Press the start button and then binding and printing operation will begin, and the tape will be
cut off at the same time. After binding with printing, more tape will be in place for the next
bundle.
*To be converted to manual mode, press Auto button
[Automatic Mode]
1. Press the automatic button, then it will be lit up and the unit will switch to the auto mode.
2. Put 100bills to be bundled inside the tape ring in place.
3. The objects are automatically bundled when the sensor detects them
*During automatic operation, Bundling is performed without the Start button being pushed.
Use the length control volume to adjust the length of tape
Short
Long
[Preparations]
1. Connect the power cable to the power inlet.
(the fuse hold and power switch are integrated).
2.Turn the power switch on.
3. Feed the unit with tape as explained above.
4. Push down the toggle switch than will convert
to strapping mode
5. Power(red)button is blinking and start(green)button is
on at the same time press power button.
Start(manual)button
버튼
Auto Button

8
How to change ink cartridge
*Open the up case.
*Up the A and B like a picture then ink cartridge will
come out.
*Insert the ribbon of new ink cartridge between
C and D and then press ink cartridge to A and B.
9
Checking before troubleshooting
Follow as below if there is operation trouble or machine cannot operate
1) Turn on the power switch and then check if the power/re-set button(red) and start/backward
button(green) are on
2) If only power/re-set button(red) is blinking open the front door and then push down the toggle
switch (If toggle switch is up it is feeding mode).
3) There are not any objects on the machine but start button(green) is blinking it is not match the
back case with sensor. Adjust the case with sensor position.
4) If the tape is not stick check the tape direction or try to re feeding.
5) The tape cannot be cut the cutter life is expired so ask to A/S.
6) Change the ink cartridge if not print.
*If open the front door in strapping mode, should change to manual mode.
B
A
D
C

10
Product specifications
Speed
16 cycles/minute
Dimension of bundle
Max:100 (w) x 70(H) mm
Power supply
AC 220V 50/60Hz 1.6A
Power consumption
150W
Heater type
Plate
Tape width
paper 30,40mm
Products size
324 (W) ×210 (D) ×500 (H) mm
Weight
24kg
Use of the tape supplied by BINDTEC CO., LTD is recommended to maintain optimal
performance of the binder.

Product warranty
BINDTEC CO., LTD warrants that we will repair and replace parts in accordance with the
following terms if any “defects in the material or workmanship of the machine occurs
within 12 months from the day on which the user purchases it”.
A purchase receipt or other evidence of the date of purchase must be shown in order to
receive warranty services.
Warranty terms
This warranty is valid only while and if product is used and handled in a normal and
reasonable manner in accordance with the User Manual and installation instructions.
Paid services
* Please carefully read the User Manual as you will be charged for any services requested
except for product malfunctions guaranteed under the warranty.
* The product is not covered under warranty if damage or defects have occurred due to:
- Customer misuse or unauthorized tampering or repairs;
- The replacement of parts other than those designated by BINDTEC CO., LTD; or
-An act of God or the normal service life of any expendable parts being expired.
Model
Applicable bands
Date of purchase
Serial no.
Purchased at

#1011,177 Sagimakgol-ro, Jungwon-gu, Seongnam-si,
Gyeonggi-do, S. Korea
TEL :+82-31-734-2868 / FAX : +82-31-734-2869
E-mail:sales@bindtec.kr http://www.bindtec.kr
Table of contents
