The Locking Brakes and Swivel Casters
(See Figure 2.)
The locking brakes and swivel casters allow this table to
glide effortlessly on hard surfaces and across firm rugs.
1. To release the brakes, use your toe to lift up on the
caster locking lever (located at the head end of the table).
2. To lock the brakes and roll the table, step down on the
caster brake lever.
3. The Foot End Casters are locked and released individu-
ally. Press down on the caster brake lever to lock, pull
up on the caster break to release.
Figure 2. Locking brakes and swivel casters.
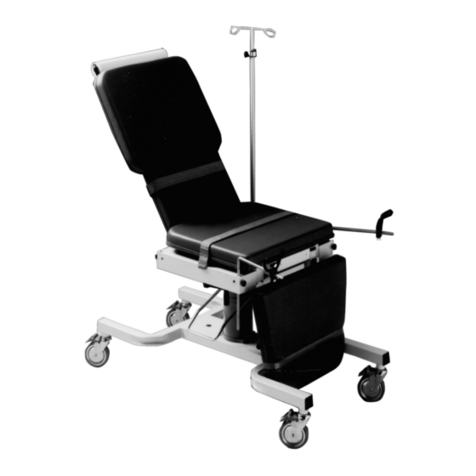
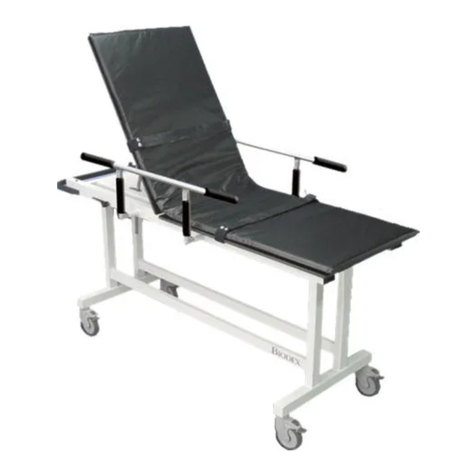
The Fowler Back
The Fowler Back, manually adjustable to an 80-degree angle (20°,
30°, 40°, 50°, 60°, 70°, 80°) incorporates a touch-handle
lock/unlock mechanism for effortless patient positioning.
CAUTION: You must support the Fowler Back as it
is being raised or lowered. The back must lock into
one of the eight positions provided.
ATTENTION: On doit soutenir le dossier Fowler pen-
dant quíon líéléve ou quíon líabaisse. Le dossier doit
síenclencher dans líune des huit positions de ver-
rouillage.
1. To raise the Fowler Back, press the back lock release
button on the underside of the Fowler Back handle
grasp. Keeping the release button depressed, lift up on
the Fowler Back until it attains the desired position. The
Fowler Back must be set in one of the eight positions
provided.
2. To lower the Fowler Back, depress and hold the Fowler
Back button on the underside of the Fowler Back grip
and position the top as desired.
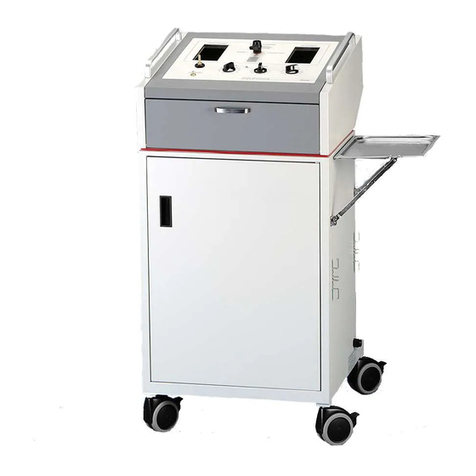
Using the Main Control anel
The CD Screen of the Main Control Panel displays actual
tabletop position (all axes) in real time, and provides
menus and prompts for positioning the table and saving up
to ten table position settings which can be recalled.
The Main Control Panel can operate off battery or AC
power. When the table is turned ON, the display shows the
current table position.
The table motion buttons (tabletop X,Y, Trendelenburg,
reverse Trendelenburg and lateral roll) are located on the
right side of the Main Control Panel and correspond to the
illustrations on the display panel. To activate any table
motion button, press and hold the Activate button on the
bottom left side of the control panel. While holding the
Activate button down, press any of the table motion buttons
to move the table to the desired position.
At the bottom right of the display, a evel button can be
pressed (while holding down the Activate button) to bring
the tabletop level at any time. The Home button, located
next to the evel button, is used to bring the table to its
lowest, level position.
Up to ten table set positions can be stored from the Current
Table Position screen using the Main Control Panel.
Buttons to perform the save procedure are located immedi-
ately to the right of the screen. To save any position in
which you place the table, press the Save (top) button. The
system will save the appropriate information and assign a
numeric value from one to ten for that position. The posi-
tion values will be displayed on the screen.
If all ten position set values are stored, the display will ask
if you would like to delete a position. If so, allow the screen
to return to the Current Table Position screen, then press
the button opposite the “Display Saved Table Positions”
prompt. You can now use the top button to scroll through
the position set values until the one you wish to delete is
displayed. Press the button opposite the prompt “Delete
Saved Position Set.” The system will request confirmation
to delete. Press the button opposite "Yes" to confirm.
At this point, you can follow the prompts to delete another
table position set, choose to move the table to the currently
displayed position, or select another position.
-4-


