"/,6*205.8(2,9(5+!=0<,3(9:,89
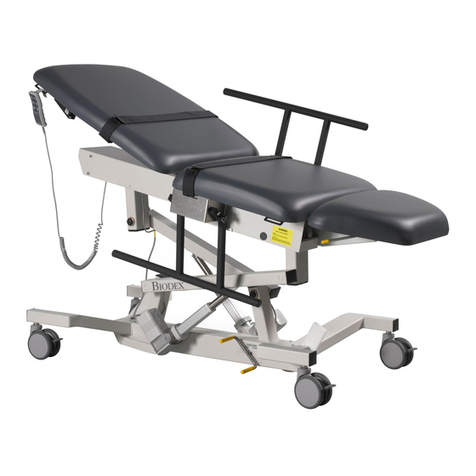
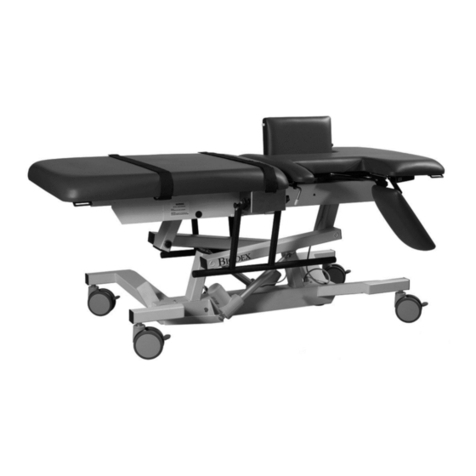
(See Figure 2.)
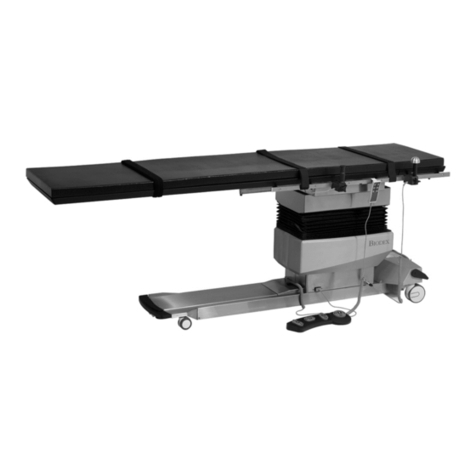
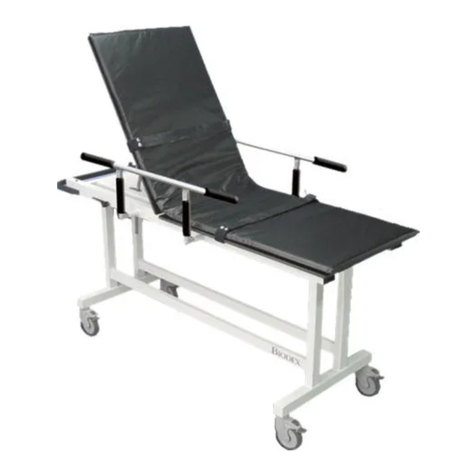
The locking brakes and swivel casters allow this table to
glide effortlessly on hard surfaces and across firm rugs.
The foot end casters are locked from either side of the
table while the head end casters are locked together using
the Caster Brake Locking Bar.
1. To release the lock on the brakes and swivel casters at
the foot end of the table, use your toe to lift up on the foot
end caster brake locking lever on either side of the table.
2. To lock the foot end brakes and swivel casters, step
down on the foot end caster brake locking lever on
either side of the table.
3. To lock the brakes and swivel casters for the head end
of the table, use your toe to press down on the head
end caster brake locking bar.
4. To release the head end brake and swivel casters, use
your toe to lift up on the head end caster brake locking bar.
NOTE: The head end caster brake locking bar, when
pressed down in the lock position, raises the head end
casters slightly off the ground. The amount that casters are
raised can be adjusted by simply using a 5/8" open-end
wrench to adjust up or down the support foot located under
the head end caster brake locking bar.
Figure 2. Locking brakes and swivel casters.
#905.:/,(5+,3+65:8633,8
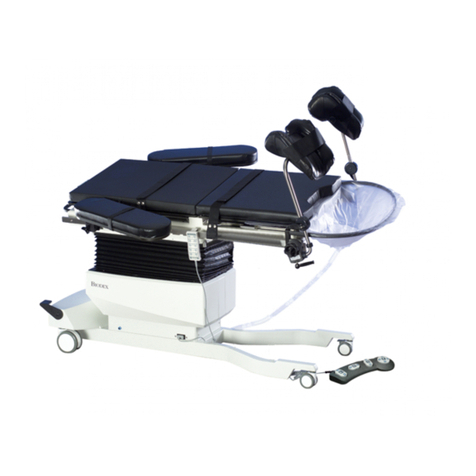
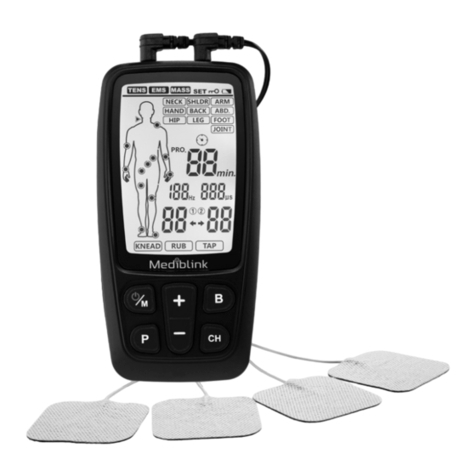
The hand-held controller may be used to adjust table
height, Trendelenburg/Reverse Trendelenburg, lateral roll
and X-Y positioning. When not in use, the Hand-Held
Controller can be hooked onto the metal loop on the
restraining strap, or on the accessory rail.
CAUTION: Before moving the tabletop, be sure
that all I.V. lines, attachments and restraining
straps, etc., are out of the way . Ensure the patient
is fully secured to the tabletop by the restraining
straps.
ATTENTION: Avant tout déplacement du dossier,
veiller á en dégager les lignes de goutte-á-goutte
intravéneux, les accessoires, les laniéres díimmo-
bilisation, etc. Síassurer que le patient est solide-
ment fixé au dossier á líaide des laniéres díimmo-
bilisation.
To adjust the table position, press and hold the appropriate
switch on the hand-held controller. The tabletop will move or
rotate in the direction indicated by the switch. Release the
switch when the tabletop achieves the desired position.
6:680@,+6:,-68(5+,3+(5+66:65:8633,89
NOTE: The table can perform only one motorized function
(i.e. raising or lowering the tabletop, lateral roll, X-Y move-
ment, Trendelenburg/ everse Trendelenburg) at a time. If
you press a second button on the Hand-Held Controller (or
the Foot Controller) while the table is already performing a
motorized function the tabletop movement will stop. At that
point, you will need to release all buttons before you can
resume the selected function.
NOTA: La table ne peut exécuter quíun seul déplacement
motorisé á la fois (p. ex.: élévation ou abaissement du
dossier, rotation á gauche ou á droite sur líaxe longitudinal,
déplacement le long des axes X et Y, position de
Trendelenburg / position de Trendelenburg inversée). Le
fait díappuyer sur un second bouton de la commande á
main (ou sur une seconde pédale) en cours de déplace-
ment de líappareil provoque líarrÍt du mouvement du
dossier. Il faut alors rel‚cher tous les boutons avant de
reprendre la fonction choisie.
#905.:/,66:65:8633,8
The Foot Controller activates all motions. The four separate
rocker style pedals control two movements each. From left
to right on the Foot Control, press and hold down the
appropriate rocker switch to adjust Trendelenburg/Reverse
Trendelenburg positioning, lateral roll, tabletop height, and
X-Y motion. Releasing the rocker switch at any time imme-
diately stops the motion.
NOTE: When the table is used in a wet environment, it is
recommended that the Foot Controller be covered with a
plastic bag and sealed as watertight as possible.
(9:,88(2,
6*205.,<,8


