manuals.online logo
Brands
  1. Home
  2. •
  3. Brands
  4. •
  5. Bioenno Power
  6. •
  7. Controllers
  8. •
  9. Bioenno Power SC-122030WM series User manual

Bioenno Power SC-122030WM series User manual

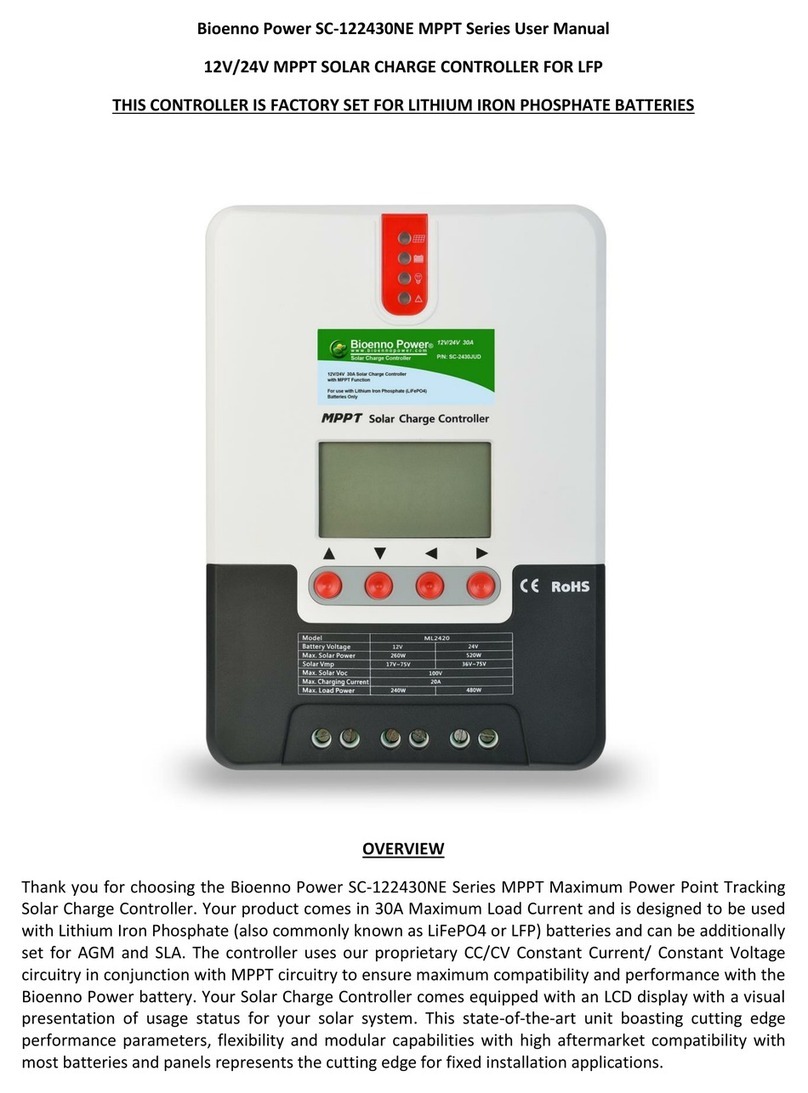
Bioenno Power SC-122030WM MPPT Series User Manual
SOLAR CHARGE CONTROLLER WITH MAXIMUM POWER POINT TRACKING
THIS CONTROLLER IS FOR USE WITH LITHIUM IRON PHOSPHATE BATTERIES ONLY
OVERVIEW
Thank you for choosing the Bioenno Power SC-122430WN Series MPPT Enhanced Solar Charge
Controller. Your product comes in 30A Maximum Load Current and is designed to be used with Lithium
Iron Phosphate (also commonly known as LiFePO4 or LFP) batteries only. The controller uses our
proprietary CC/CV Constant Current/ Constant Voltage circuitry to ensure maximum compatibility and
performance with Bioenno Power battery. Your Solar Charge Controller makes use of MPPT Maximum
Power Point Tracking technology and is compatible with a multi-panel solar set-up and additionally
features our smart technology chipset which allows your Solar Charge Controller to automatically
function at the correct mode of operation.
SPECIFICATIONS
Rated Voltage: 12V/24V
Maximum Load Current: 30A
Input Voltage Range: 12V~24V/24V~40V
Float/Absorption: 13.7V~14.4V/27.4V~28.8V
Load Disconnect: 10.5V~11V/ 21V~22V
Efficiency: 95%~97%
Operation Temperature: -13°F ~ 131°F (-25°C ~ 55°C)
Dimensions: 7.6 in. x 4.3 in. x 2 in. (193 mm x 109.2 mm x 55 mm)
Weight: 1.4 lbs. (0.6 kg.)
OPERATION
1) Make sure the total rated current of the solar panel and loads are less than the rated current of
your Solar Charge Controller –in this case your maximum current is 30A
2) Make sure the polarity of the wiring from your panel, battery and load correctly match the
polarity of the screw terminals on you Solar Charge Controller
3) Mount you Solar Charge Controller to your selected surface and fasten it securely using screws
4) Check whether the battery voltage and solar panel array voltage is within the requested range
5) Loosen the screw terminals on your Solar Charge Controller –there are 6 screw terminals total
from left to right in this order: Solar Panel Positive, Solar Panel Negative, Battery Positive,
Battery Negative, Load Positive and Load Negative
6) Connect the battery to you Solar Controller using the two screw terminals in the middle marked
with the Battery pictogram –attach the wiring securely but do not over-torque your Solar
Charge Controller’s terminals
7) Connect the load to you Solar Controller using the two screw terminals on the right marked with
the Load pictogram –attach the wiring securely but do not over-torque your Solar Charge
Controller’s terminals
8) Connect the solar panel array to the Solar Panel Input on your Solar Charge Controller using the
two screw terminals on the left marked with the Solar Panel pictogram –attach the wiring
securely but do not over-torque your Solar Charge Controller’s terminals
9) Your Solar Charge Controller should assume standard operation herein
STATUS CODES
INDICATOR
LED COLOR
STATUS
MEANING
CHARGE
RED
CONSTANT ON
Battery is ON
RED
ON/FLICKERING
Your Solar Controller is conducting
MPPT Charging
RED/OFF
OFF
Battery charging is OFF
LOAD
GREEN
CONSTANT ON
Load is ON
GREEN/OFF
OFF
Load is OFF
Battery
RED
CONSTANT ON
Battery requires charging
GREEN
CONSTANT ON
Battery is fully charged
ORANGE
CONSTANT ON
Battery is operating normally
CLEAR/OFF
NOT ON
Battery is not attached
FAULTS AND REMEDIES
FAULT
PHENOMENON
REMEDY
Battery voltage is too low
Green Load LED Indicator OFF
Battery LED Indicator RED
Detach Load, check the battery
voltage and manually recharge
the battery if necessary
Excessive load current/
Short circuit*
Battery LED Indicator ORANGE and
Load LED Indicator GREEN, attached
Load remains OFF and will not turn on
Reduce the load current at the
load output
Check if there is a short circuit in
*Note: In the event of a short circuit, your Solar Charge Controller trip an auto-reset fuse –disconnect unit, let it
stand for 10-20 minutes, the internal fuse will automatically reset during this period. Before resuming operation,
confirm your load does not exceed the 30A Maximum Load Current of your Solar Charge Controller.
the load or wing

Other Bioenno Power Controllers manuals

Bioenno Power MPPT Series User manual

Bioenno Power

Bioenno Power MPPT Series User manual

Bioenno Power SC-122420JUD CC Series User manual

Bioenno Power

Bioenno Power SC-122420JUD CC Series User manual

Bioenno Power CC Series User manual

Bioenno Power

Bioenno Power CC Series User manual

Popular Controllers manuals by other brands

Danfoss EKC 414A manual

Danfoss

Danfoss EKC 414A manual

Tol Watertechniek HD 200 manual

Tol Watertechniek

Tol Watertechniek HD 200 manual

Linak Homeline KA20IC user manual

Linak

Linak Homeline KA20IC user manual

Siemens 3RT2.1.-1 Original operating instructions

Siemens

Siemens 3RT2.1.-1 Original operating instructions

Mitsubishi Electric MELSEC iQ-F FX5 user manual

Mitsubishi Electric

Mitsubishi Electric MELSEC iQ-F FX5 user manual

Castle Creations Pixie-7 quick start guide

Castle Creations

Castle Creations Pixie-7 quick start guide

sparkfun Servo Trigger HOOK-UP GUIDE

sparkfun

sparkfun Servo Trigger HOOK-UP GUIDE

Gira 0566 Series installation instructions

Gira

Gira 0566 Series installation instructions

Dwyer Instruments DH-006 Installation and operating instructions

Dwyer Instruments

Dwyer Instruments DH-006 Installation and operating instructions

Wecon LX Series Programming guide

Wecon

Wecon LX Series Programming guide

Unitronics Vision OPLC V130-33-TA24 installation guide

Unitronics

Unitronics Vision OPLC V130-33-TA24 installation guide

SMC Corporation LECA6 Series Operation manual

SMC Corporation

SMC Corporation LECA6 Series Operation manual

THORLABS LDM9T user guide

THORLABS

THORLABS LDM9T user guide

Gioco Solutions GSR 36/48V Technical manual

Gioco Solutions

Gioco Solutions GSR 36/48V Technical manual

Yaesu G-5500 instruction manual

Yaesu

Yaesu G-5500 instruction manual

YASKAWA YASNAC J50 Connecting manual

YASKAWA

YASKAWA YASNAC J50 Connecting manual

KIOUR VD1F quick start guide

KIOUR

KIOUR VD1F quick start guide

Carrier TruVu VVTZC-E2 Installation and startup guide

Carrier

Carrier TruVu VVTZC-E2 Installation and startup guide

manuals.online logo
manuals.online logoBrands
  • About & Mission
  • Contact us
  • Privacy Policy
  • Terms and Conditions

Copyright 2025 Manuals.Online. All Rights Reserved.