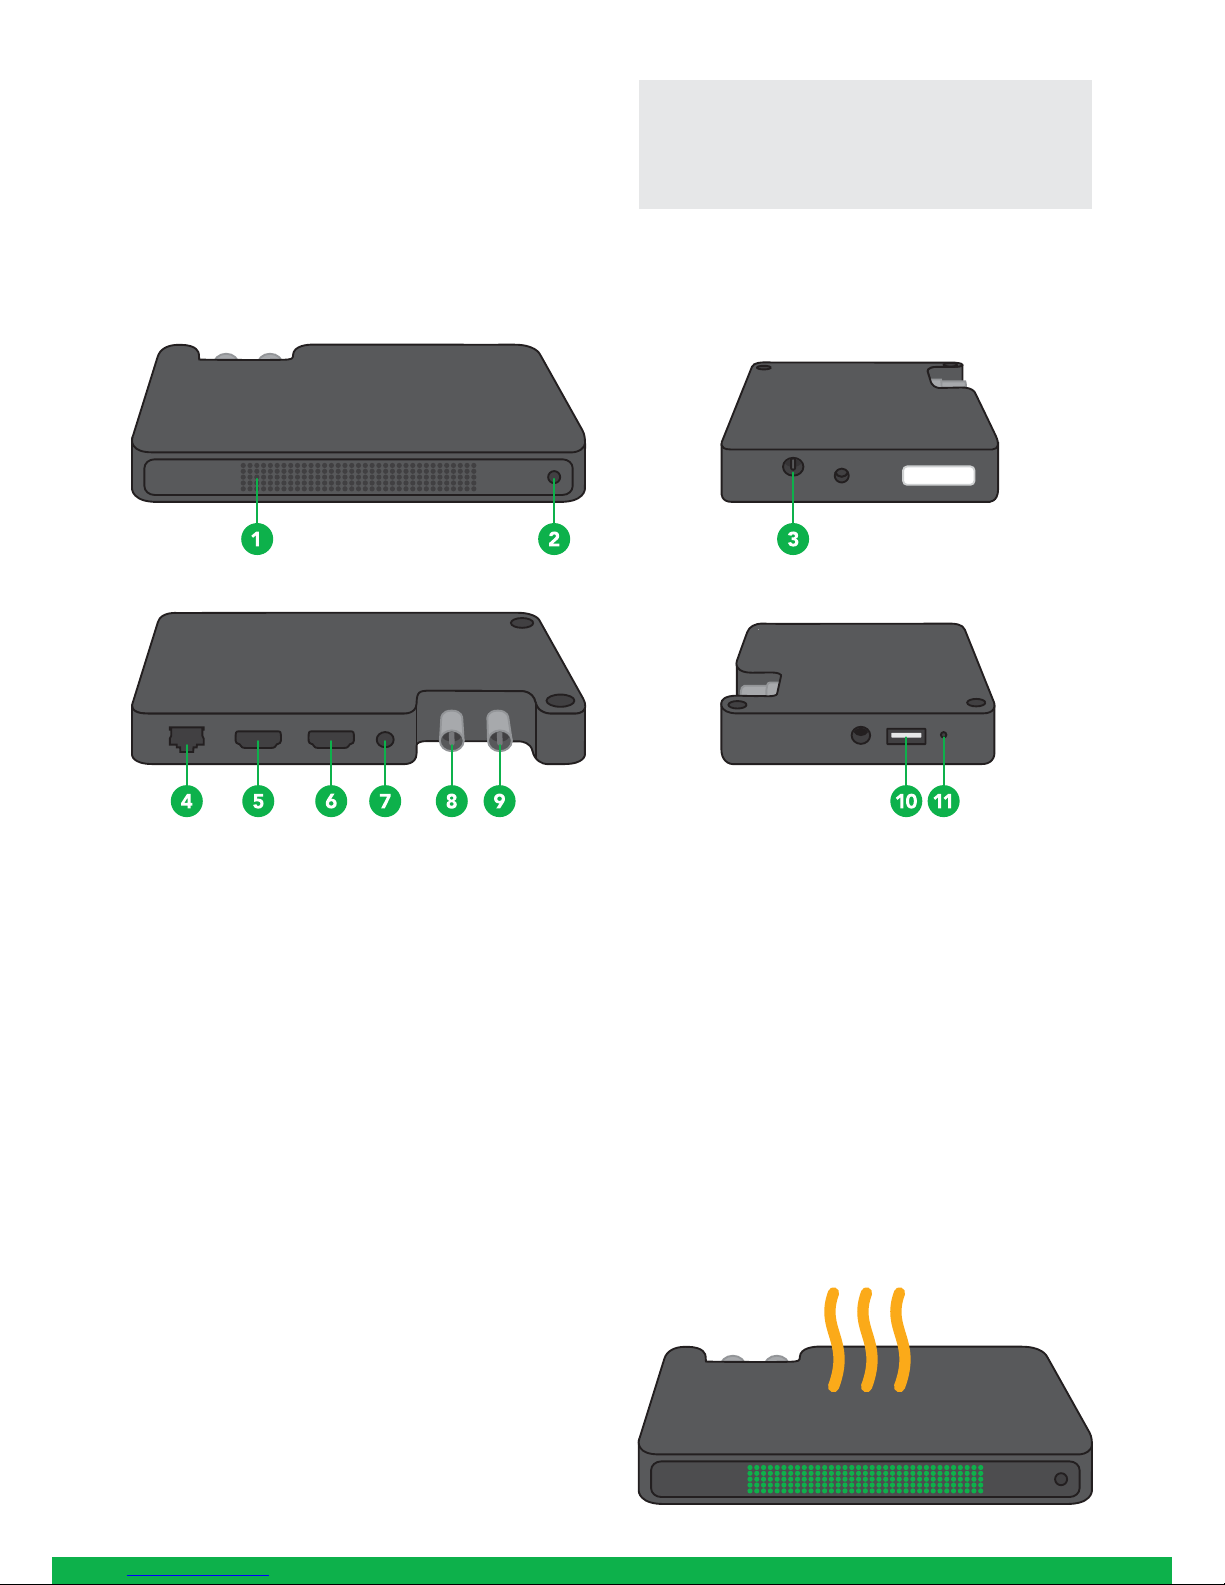
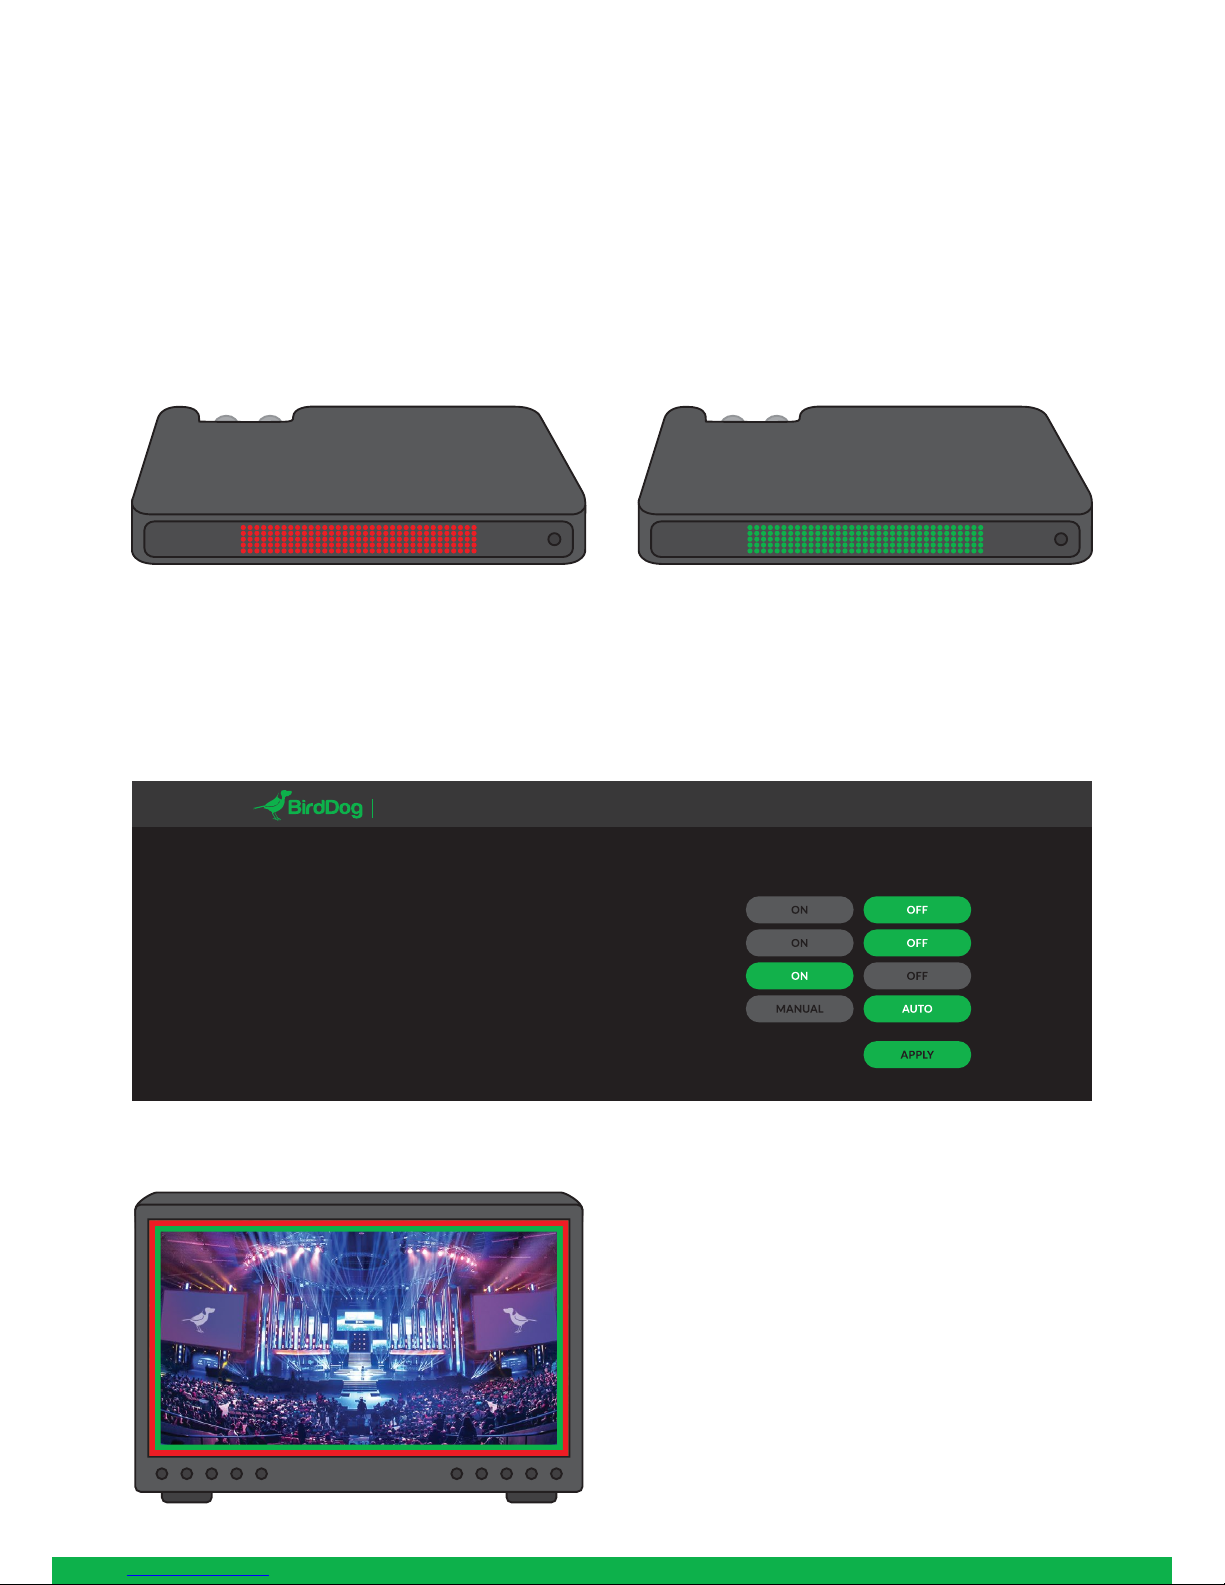
POWERING ON SEQUENCE
Indication of system boot process
When BirdDog is initially powered it will immediately indica-
te on the LED screen ‘STARTUP’, there are two stages to
startup and you will notice after around 5 seconds the text
becomes brighter indicating the unit is in the final stages of
powering up.
Once the unit has finished the initial bootup sequence it will
display several informational pages, firstly the IP address,
this is only displayed if the BirdDog is set to acquire an IP
address from a DHCP server (see Network Settings section
for more detail).
After displaying the IP address of your device, the page will
then display the input detected, including the source
(HDMI/SDI) and the detected rate. (ie. 1080i50).
Once completely booted and with a valid video source the
BirdDog will settle to a ‘CAM1’ display, this name is custo-
mizable, settings can be accessed via the web configuration
panel.
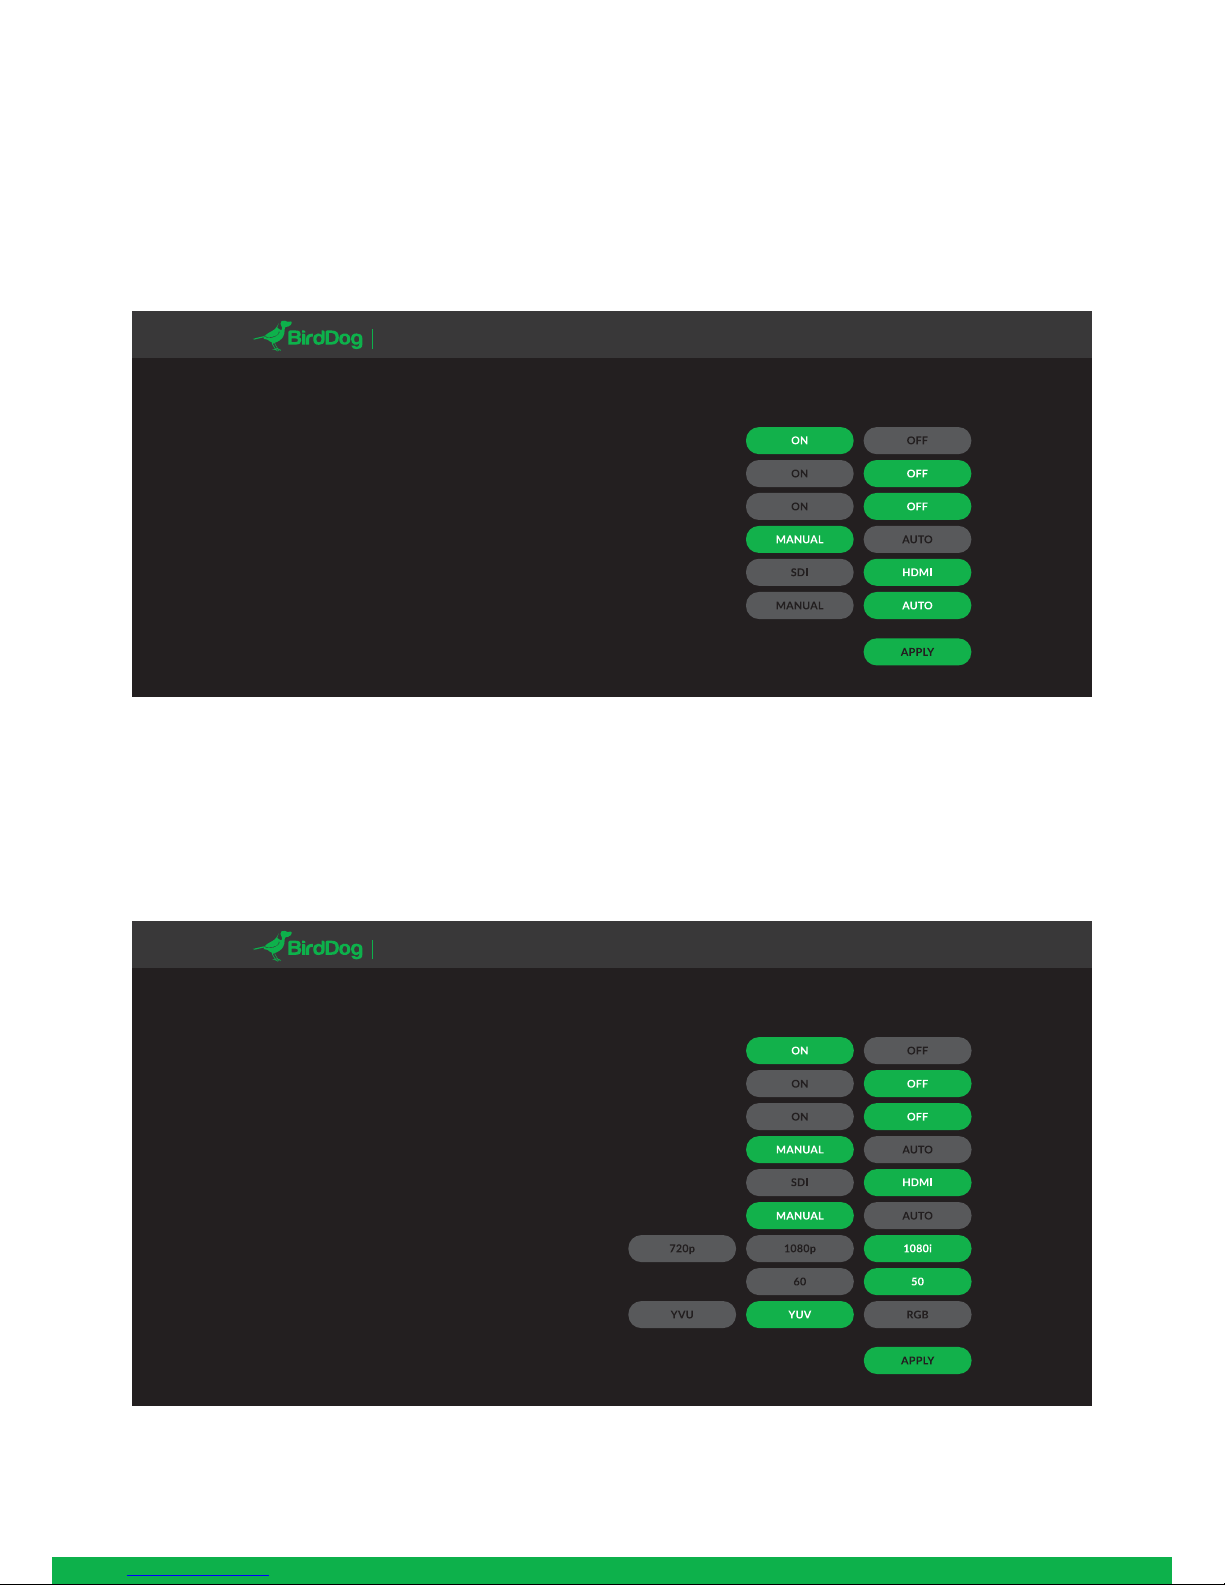
OPERATING STUDIO NDI
Web configuration panel
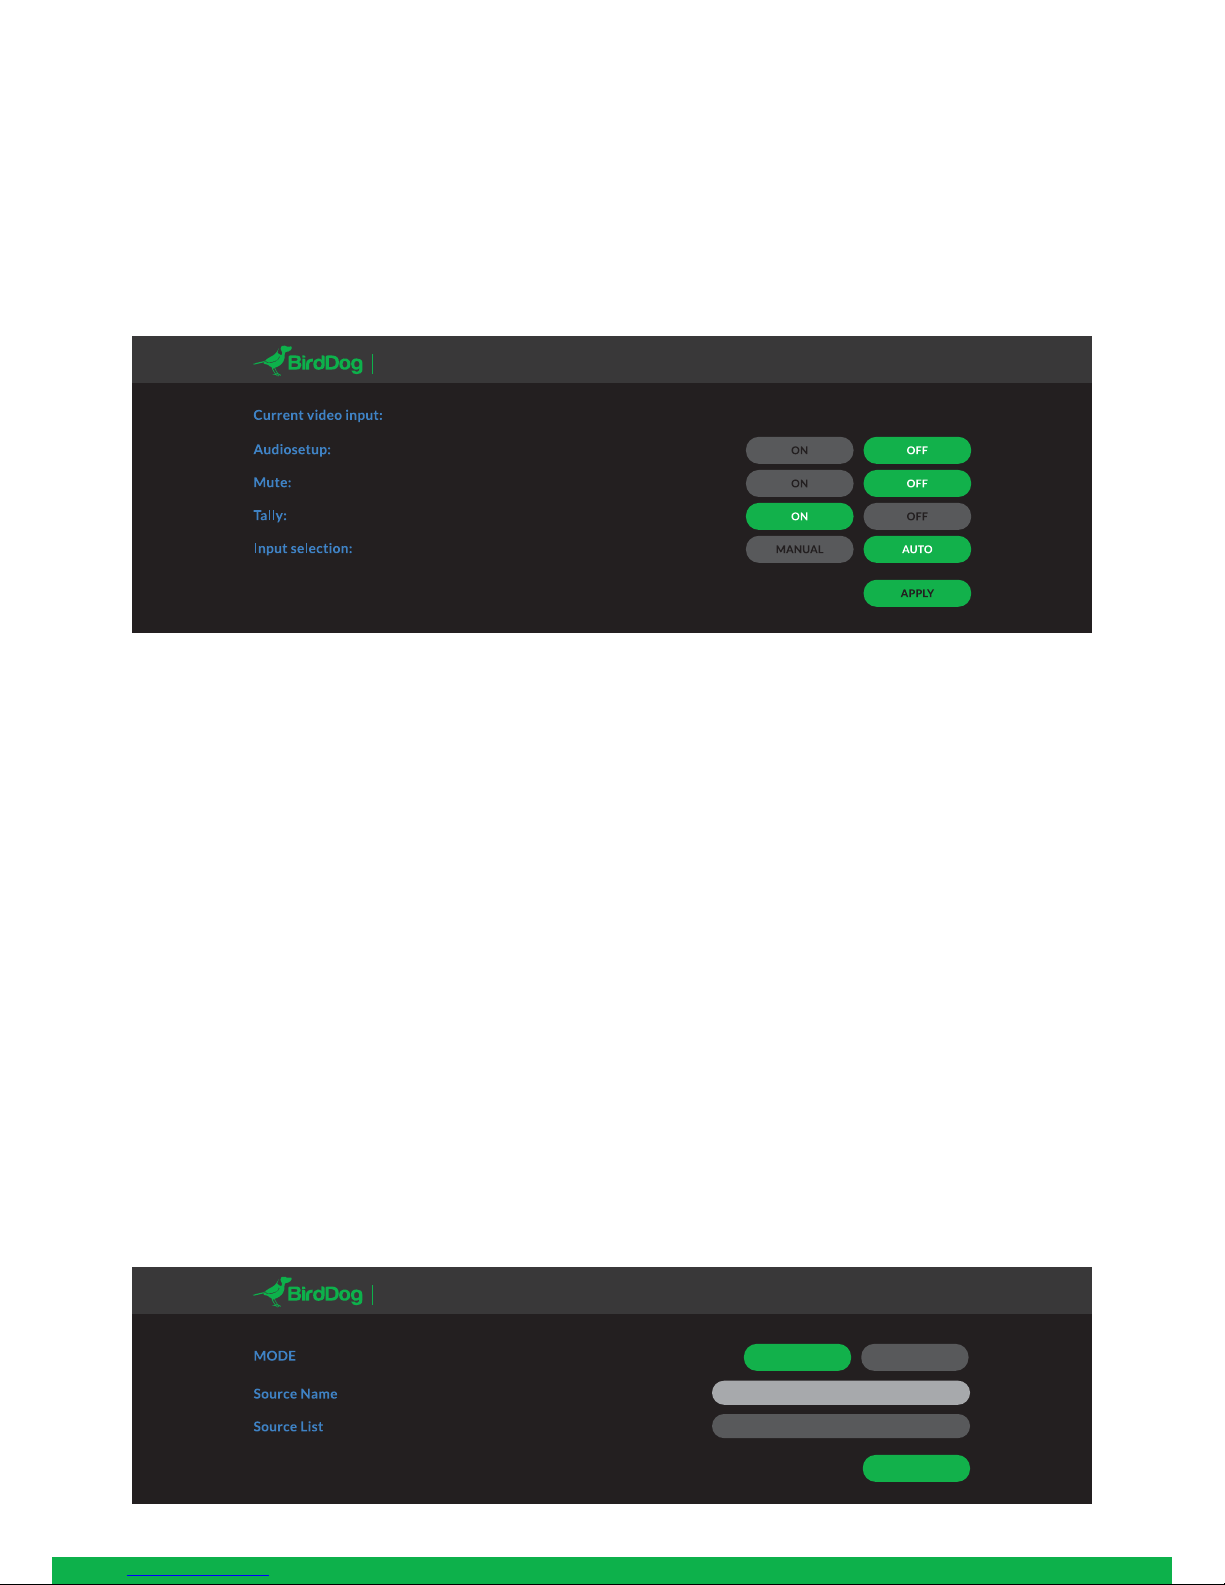
In this release, the web configuration panel allows you to
alter key settings of Studio NDI, specifically video source
(HDMI/SDI), and video frame rates, restarting the video
processing engine, changing networking parameters, and
applying firmware updates.
Access via web browser (URL)
To access the web configuration panel please point your
computer web browser to: http://birddog-xxxxx.local/
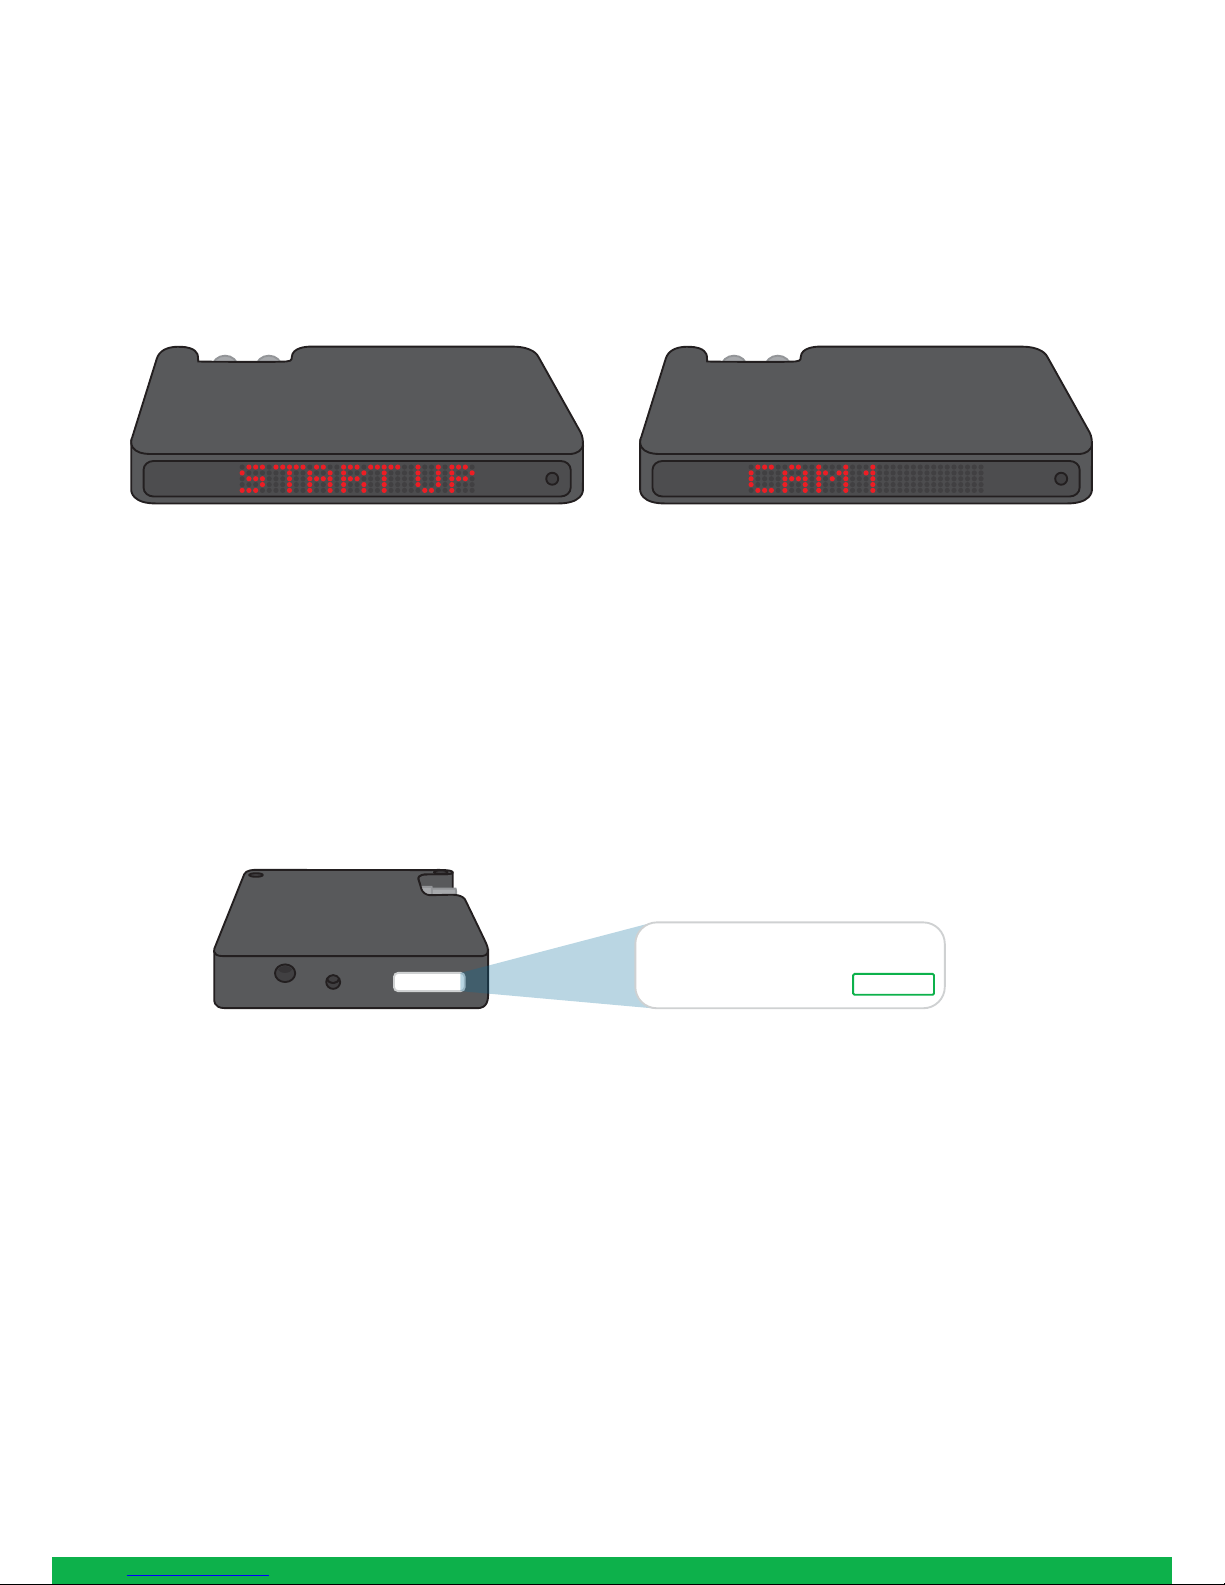
“xxxxx” is the serial number of the Studio NDI, the serial
number is printed on the box and on the main unit. Note
the web address is case sensitive and should be all lower
case. Your computer will need to have ‘Bonjour’ services
loaded in order to access the unit via it’s ‘friendly’ name
described above.
Apple devices come pre-installed with Bonjour, while
Windows devices need a small plugin available here:
https://support.apple.com/kb/dl999?locale=en_AU
BirdDog Finder application
In addition to typing this URL in manually there is an applica-
tion: BirdDog Finder, which is available from http://www.-
bird-dog.tv/firmware-updates. This application looks on the
local network for any NDI capable Studio NDI and launches
the web configuration interface directly from the application.
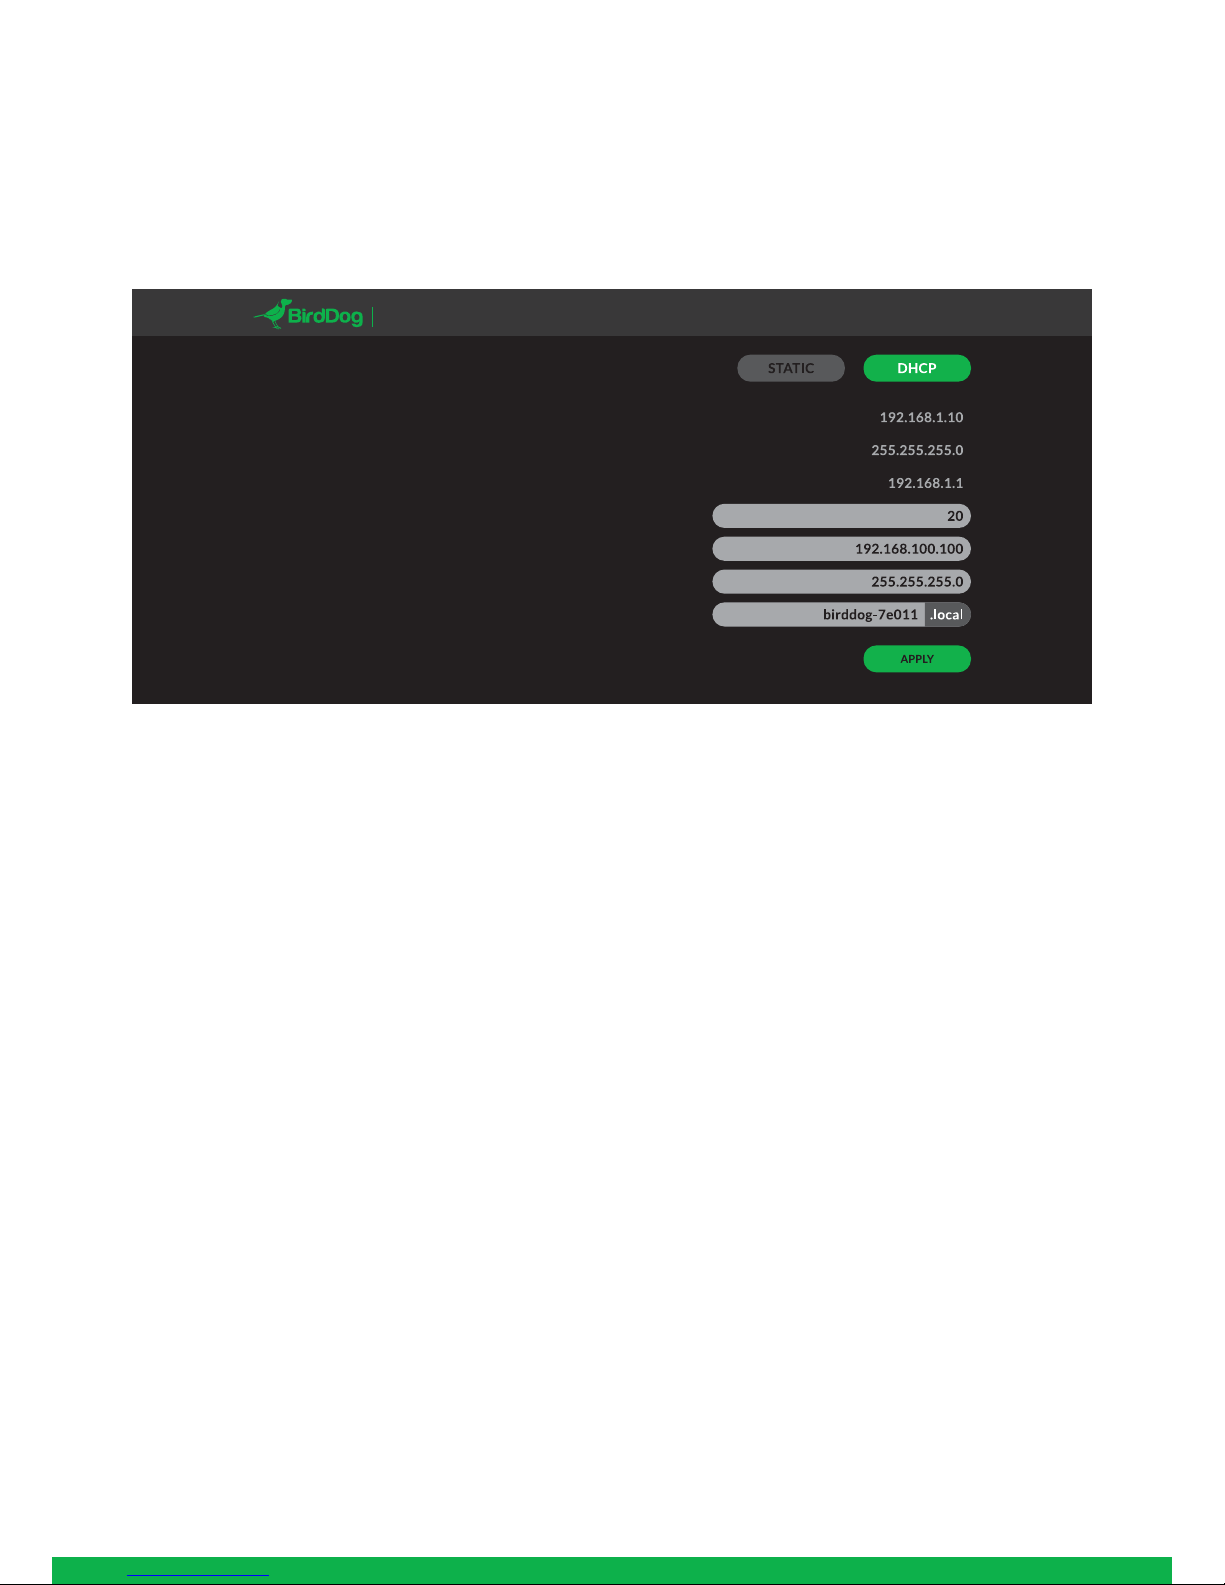
Accessing Studio NDI via an IP address
Studio NDI is configured to automatically receive a network
(IP) address from the computer network via DHCP (Dynamic
Host Configuration Protocol). Most corporate, education
and home networks have a DHCP server present on the
network to allow this to occur. Usually your Internet Router
provides this.
If Studio NDI receives an IP address automatically from this
server (DHCP) the IP address can be discovered in several
ways, including the BirdDog Finder application available
from: http://www.bird-dog.tv/firmware-updates
Accessing Studio NDI on a network without a DHCP server
Some standalone or private networks may not have a DHCP
server. After 15 seconds of searching for an automatically
assigned IP address Studio NDI will fall back to a default
address which is:
192.168.100.100
In order to access the web configuration panel on a network
which is configured to a different subnet, change your
computers IP address to match the BirdDog unit. Once you
gain access to the BirdDog web configuration panel choose
your IP address to match the rest of the devices on your
network.
For instructions on setting your computers IP address
please consult your computer operating system manual or
IT support resources.
BirdDog Studio NDI - REV nº
SERIAL xx:xx:xx:x x:xx:xx
5
Note: only the last 5 digits are required
for accessing the web interface.