Bizfon 680 User manual

Setting Up and Using Multi-Tenant
Bizfon Multi-Tenant Addendum 1
Setting Up and Using
Multi-Tenant
The multi-tenant option allows up to three companies to share
the resources of a Bizfon 680 configuration while maintaining
separate telephone lines and extensions for each company (ten-
ant).
Multi-tenant allows you to assign incoming lines and exten-
sions to up to three tenants. Extensions assigned to tenant one,
for example, can call other extensions in tenant one, but cannot
call extensions in tenants two and three. Incoming lines can be
assigned to a particular tenant.
Multi-tenant requires the multi-tenant card. This cards plugs
into the Bizfon 680. If you have a multi box installation, you
plug the card into Unit 1.
You can set up the way that the multi-tenant works, which
extensions will be in which tenant, and which incoming lines
access a tenant. For detailed steps for setting up multiple ten-
ants, follow the worksheet example on page 2.
The first step to set up multi-tenant, is to determine which
incoming lines belong to which tenant. Initially, all incoming
lines are part of tenant one. Each incoming line can be part of
only one tenant. This means that if CO1 is a member of tenant
one, it cannot be in tenant two or three.
The second step is to determine which extensions belong to
which tenant. Initially, all extensions are part of tenant one. Any
extension can be a member of any tenant and can belong to
more than one tenant. For example, extension 205 can be a
member of tenant two and tenant three.
The third step is to record the greetings for each tenant.

Setting Up and Using Multi-Tenant
2Bizfon , Inc.
Multi-Tenant Worksheet Example
Use this example to help you fill in your own worksheet. The
steps to set up this example follow the worksheet.
This example shows a doctor’s office with three doctors who
each maintain separate telephone lines. Terry, the system
administrator and the operator, is at extension 201. In this
example, extension 201 is part of all three tenants since Terry is
the operator for all three tenants.
TIP! Each tenant has its own operator extension and settings.
Administrator: Terry
Password: 1234 Ext.: 201
Tenant One Tenant Two Tenant Three
S
T
E
P
A
Company Name Dr. Jones Dr. Smith Dr. Howard
CO/Telephone Number 1/555-1212 4/555-1215 6/555-1217
CO/Telephone Number 2/555-1213 5/555-1265
CO/Telephone Number 3/555-1214
CO/Telephone Number
CO/Telephone Number
S
T
E
P
B
Extensions 201 201 201
202 203 206
204 207
205
Operator Extension 201 201 201
S
T
E
P
C
Day Greetings Thank you for
calling Dr. Jones. Thank you for
calling Dr. Smith. Thank you for call-
ing Dr. Howard.
Night Greetings
Thank you for
calling Dr. Jones.
We are out of the
office.
Thank you for
calling Dr. Smith.
We are out of the
office.
Thank you for call-
ing Dr. Howard.
We are out of the
office.

Setting Up and Using Multi-Tenant
Bizfon Multi-Tenant Addendum 3
Multi-Tenant Worksheet
Use the following worksheet to help you determine and keep
track of which incoming lines and extensions are associated
with each tenant. Make copies of this page if necessary.
Administrator: ______________________________________________
Password: _____________________ Ext.: _______________________
Tenant One Tenant Two Tenant Three
Company Name
CO/Telephone Number
CO/Telephone Number
CO/Telephone Number
CO/Telephone Number
CO/Telephone Number
CO/Telephone Number
CO/Telephone Number
CO/Telephone Number
CO/Telephone Number
Extensions
Operator Extension
Day Greetings
Night Greetings
Setting Up and Using Multi-Tenant
4Bizfon , Inc.
To set up the example shown on page 2, follow these steps:
A. Add the incoming lines (COs) to a tenant.
1. Pick up any Bizfon telephone extension and access
Settings.
NOTE: If you have not yet set up the extension, you must
press
before you can access settings.
2. Dial extension 200, then enter the system password (if
one has been configured) to access General Settings.
3. Press
to access Additional Settings.
4. Press
to access tenant configuration.
5. Press
to access the tenant line configuration.
6. Press
to hear the tenant associated with a line.
7. Enter the telephone line from 1 to 6 followed by
.
By default, all lines start in tenant 1. Therefore, we do
not need to change the settings for CO1, CO2, or CO3.
However, we do need to change CO4, CO5, and CO6.
In our example, we will start with CO4, so press
and
then
. The Bizfon tells you what tenant the line is
associated with.
8. To associate the line with a different tenant, press
.
9. Press
to associate CO4 with tenant 2.
10. Repeat steps 6 through 9 to associate CO5 with tenant 2
and CO6 with tenant 3.
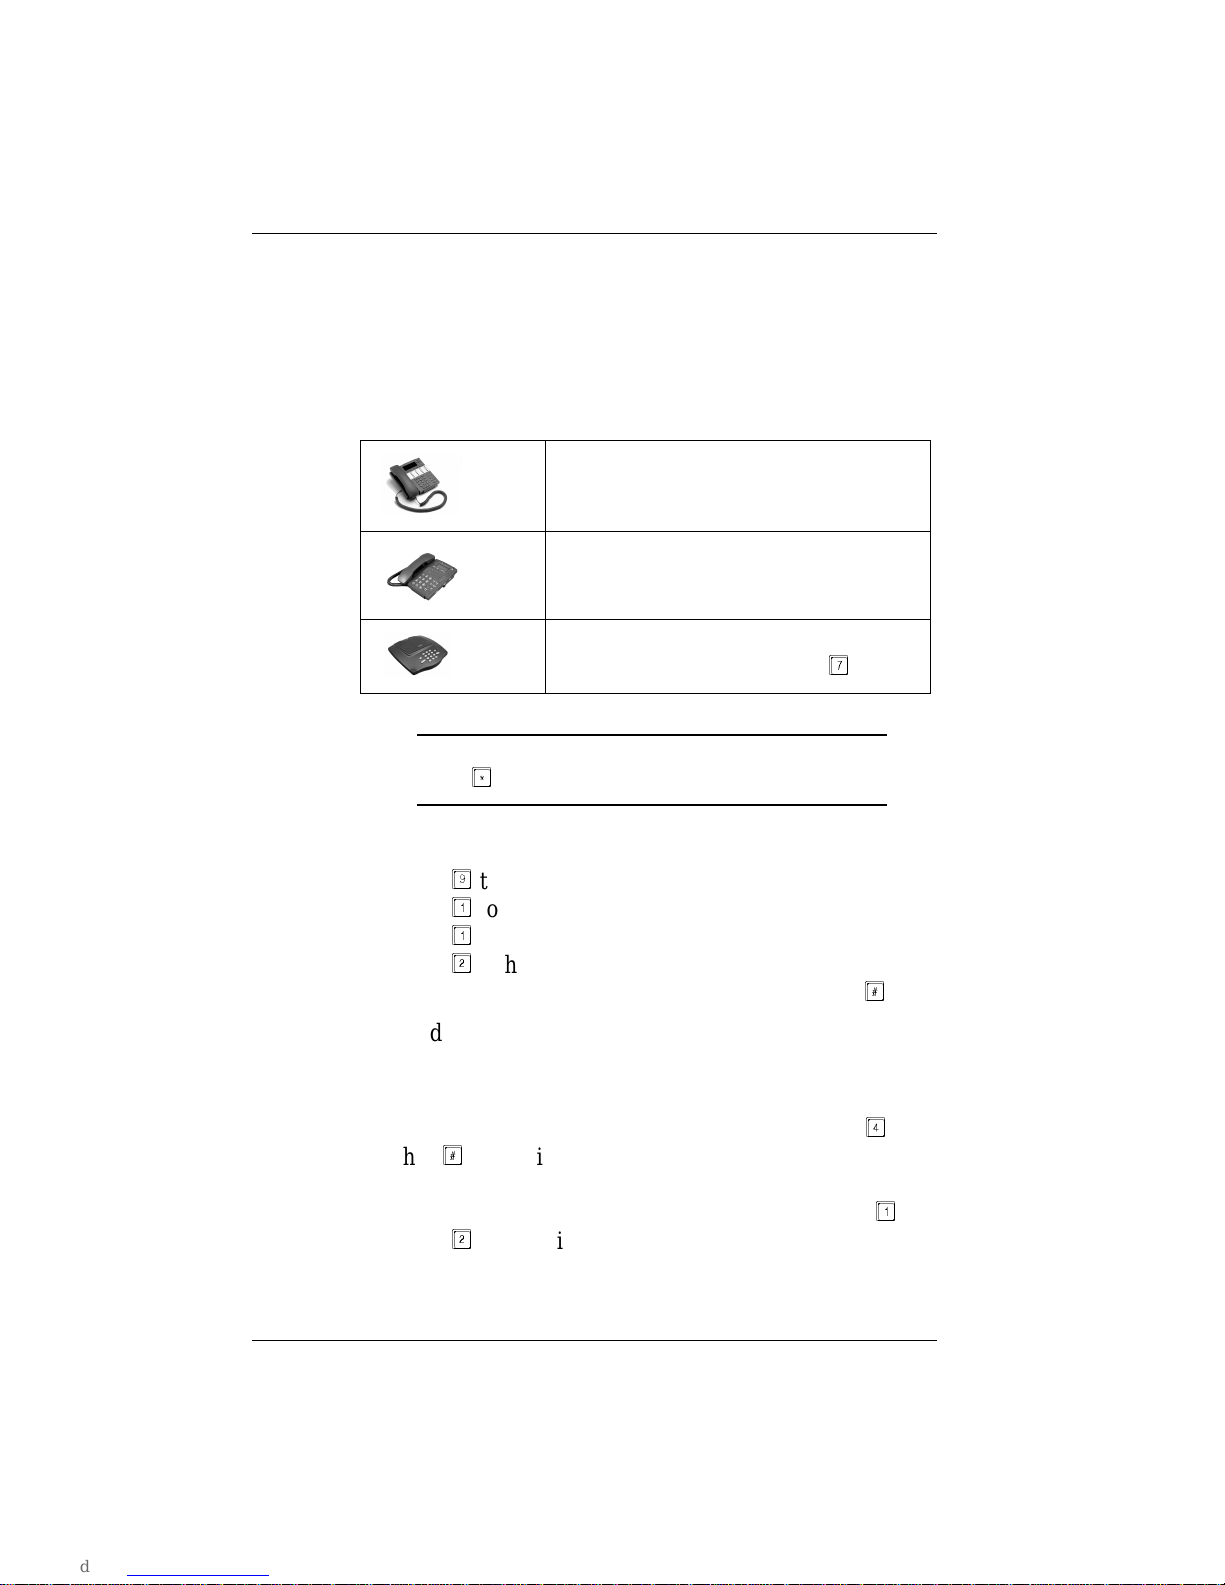
BizTouch 3: Press SETUP, select
SETTINGS, press ENTER.
BizTouch 2 or BizTouch 1: Press
SETTINGS.
Bizfon conference series phone or
non-BizTouch phone: Press
.
Setting Up and Using Multi-Tenant
Bizfon Multi-Tenant Addendum 5
B. Add the extensions to their tenants.
1. Pick up any Bizfon telephone extension and access
Settings.
NOTE: If you have not yet set up the extension, you must
press
before you can access settings.
2. Dial extension 200, then enter the system password (if
one has been configured) to access General Settings.
3. Press
to access Additional Settings.
4. Press
to access tenant configuration.
5. Press
to access the tenant extension configuration.
6. Press
for the list of tenants that an extension is
associated with.
7. By default, all extensions are members of tenant one.
8. We first need to add extension 201 to tenants two and
three, so enter extension 201.
The Bizfon tells you what tenants the extension is
associated with.
9. Press
to add the extension to another tenant.
10. Press
to add 201 to tenant two.
11. Press
again and then
to add 201 to tenant three.
Since by default, all extensions are members of tenant
one, we will move some extensions from tenant one to
tenants two or three.
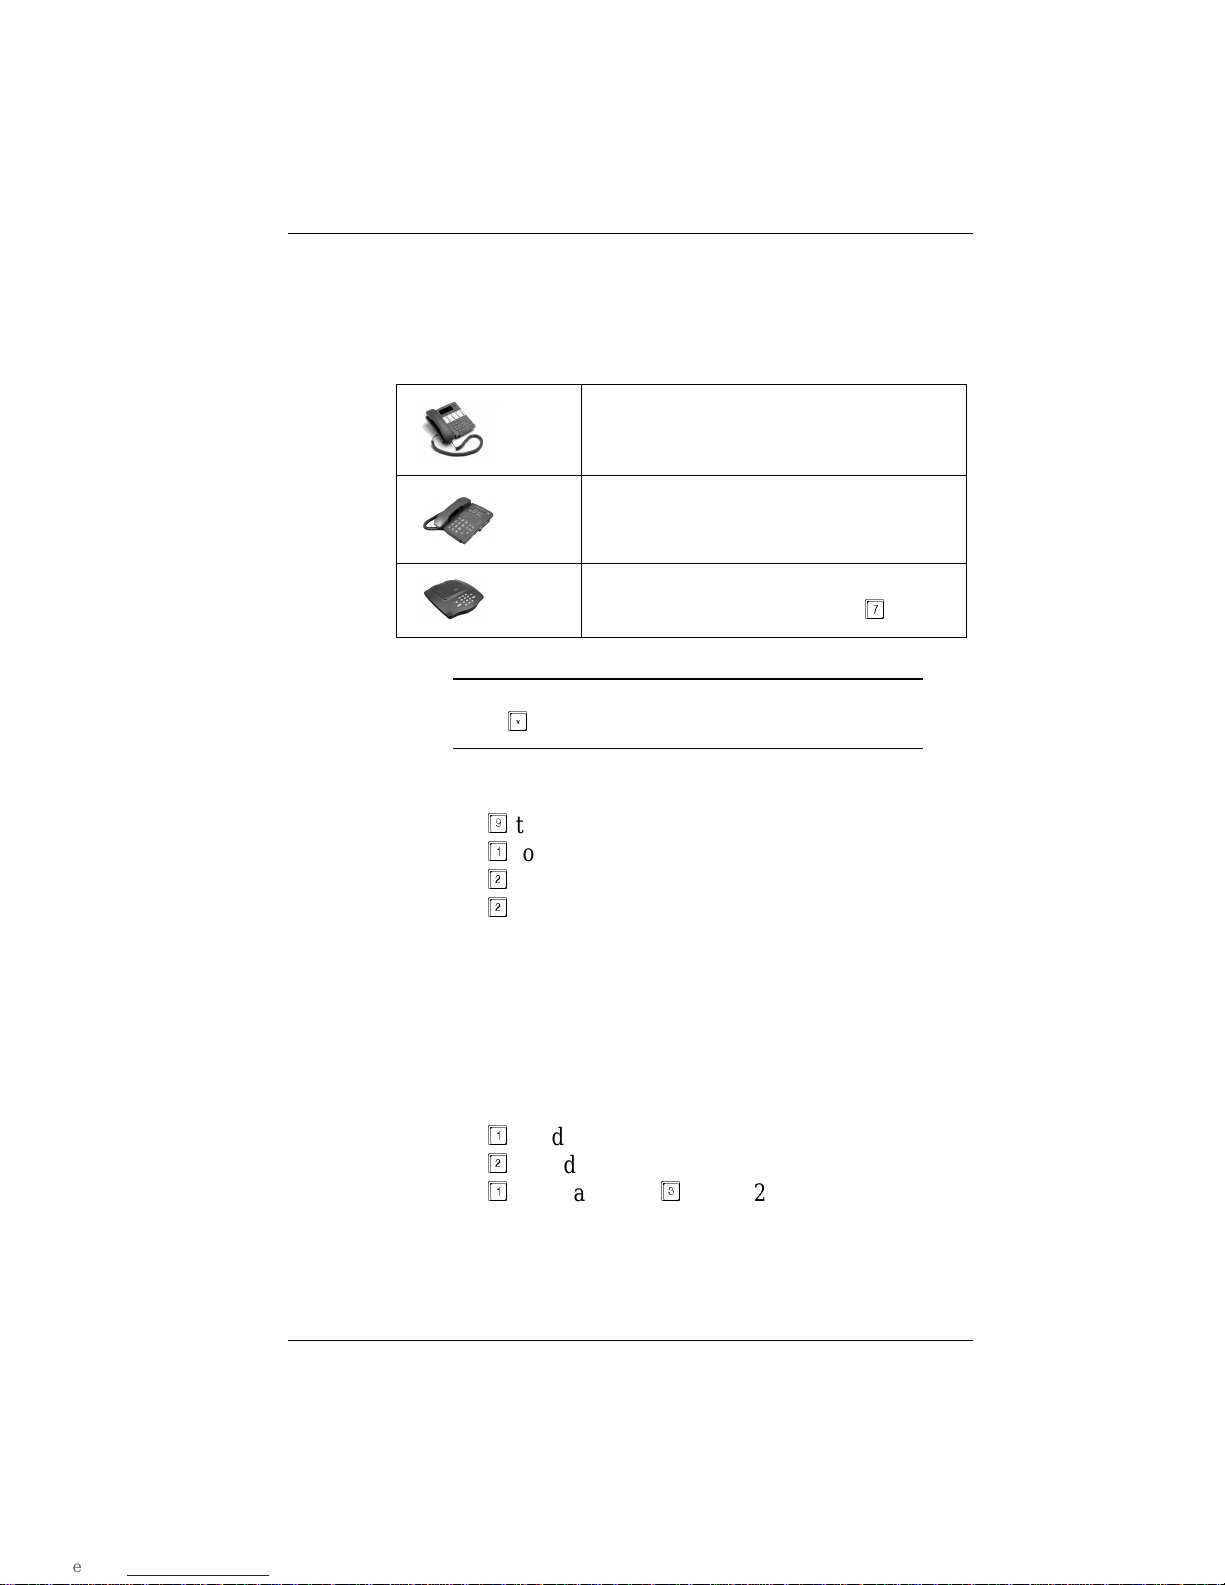
BizTouch 3: Press SETUP, select
SETTINGS, press ENTER.
BizTouch 2 or BizTouch 1: Press
SETTINGS.
Bizfon conference series phone or
non-BizTouch phone: Press
.
Setting Up and Using Multi-Tenant
6Bizfon , Inc.
NOTE: If an extension is already a member of all three ten-
ants, you are not given the option to add it to a tenant.
12. From step 6 above, enter extension 203.
13. Press
to move the extension to a different tenant.
14. Press
to move extension 203 to tenant two.
15. Repeat these steps until you have placed each extension
into their appropriate tenant and then hang up the
telephone.
TIP! Virtual extensions can be a member of a tenant.
NOTE: In our example, extension 201 is a member of each
tenant since we made 201 the operator for all three
tenants.
C. Record the Auto Attendant day and night greetings.
1. Pick up any Bizfon telephone extension and access
Settings.
NOTE: If you have not yet set up the extension, you must
press
before you can access settings.
2. Dial extension 200, then enter the system password (if
one has been configured) to access General Settings.
3. Press
to change Automated Attendant greetings.
BizTouch 3: Press SETUP, select
SETTINGS, press ENTER.
BizTouch 2 or BizTouch 1: Press
SETTINGS.
Bizfon conference series phone or non-
BizTouch phone: Press
.

Setting Up and Using Multi-Tenant
Bizfon Multi-Tenant Addendum 7
4. Select the tenant for which you want to change the
greeting.
5. Press
to change the System greeting.
or
Press
to change the After Hours greeting.
or
Press
to create an information message.
The current greeting is played and you are prompted to
accept the greeting or change it.
6. Press
to record the new greeting.
7. Press any key when you are done recording the new
greeting.
8. The new greeting is played. Press
to use the greeting
or press
to re-record the greeting.
To verify your settings
1. Pick up any Bizfon telephone extension and access Settings.
NOTE: If you have not yet set up the extension, you must
press
before you can access settings.
2. Dial extension 200, then enter the system password (if one
has been configured) to access General Settings.
3. Press
to access Additional Settings.
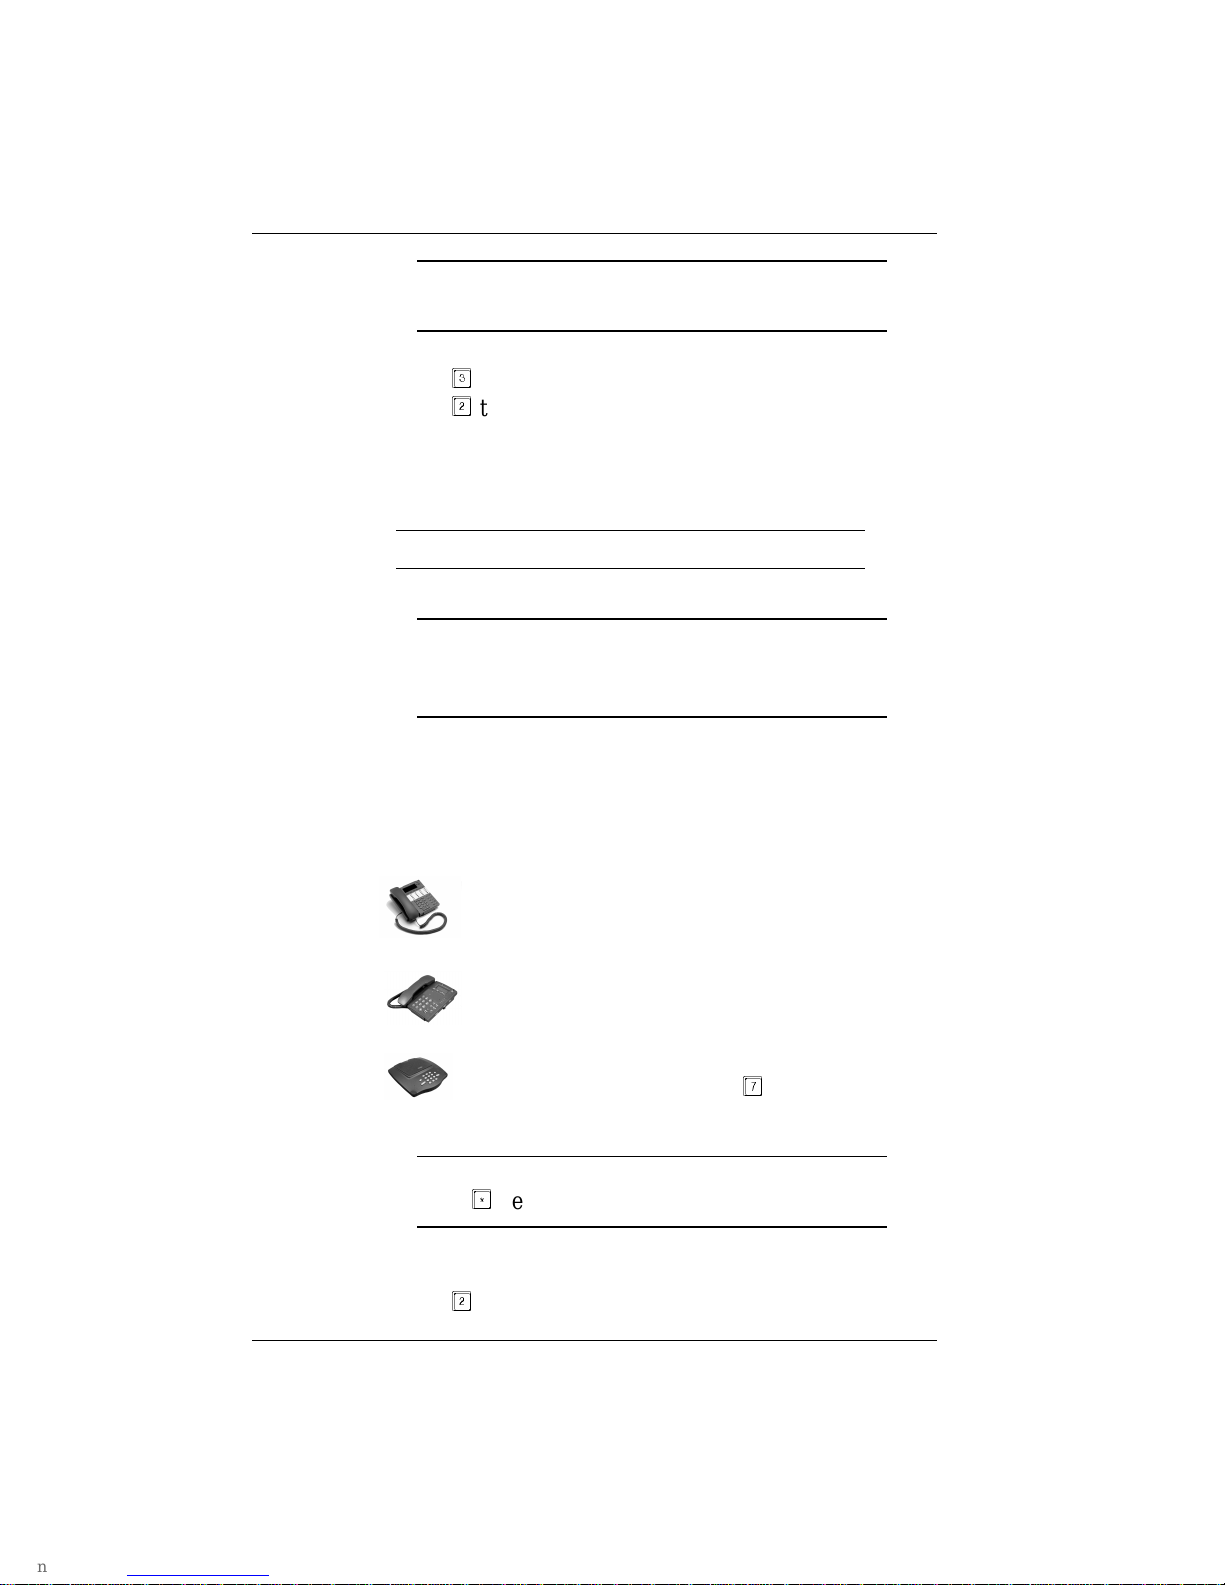
BizTouch 3: Press SETUP, select
SETTINGS, press ENTER.
BizTouch 2 or BizTouch 1: Press
SETTINGS.
Bizfon conference series phone or
non-BizTouch phone: Press
.

Setting Up and Using Multi-Tenant
8Bizfon , Inc.
4. Press
to access tenant configuration.
5. Press
to access the tenant line configuration.
6. Press
to hear the list associated with a tenant.
7. Press
,
, or
to hear the list of lines that a tenant con-
tains.
8. The Bizfon plays the lines associated with the tenants.
9. Listen to the announcement then press
.
10. Press
to access the tenant extension configuration.
11. Press
to hear the list of extensions associated with a ten-
ant.
12. Press
,
, or
to hear the list of extensions that a tenant
contains.
The Bizfon plays the extensions associated with the tenants.
Important Points About Multi-Tenant
Incoming lines can access only those extensions that are mem-
bers of their tenant. For example, if extension 205 is in tenant
two only and incoming CO1 is not a member of that tenant, then
calls into CO1 cannot access extension 205.
You can access outside lines only if that CO line is part of your
tenant. For example, if your extension is in tenant one, but CO2
is in tenant three and not tenant one, you cannot use it to make
or receive calls.
You can call another extension only if it is in your tenant.There-
fore, if your extension is part of tenant one, but not of tenant
two and three, you can call only those extensions in tenant one.
Each tenant has its own operator. When you set up operator
extension options, such as voice mail, you are prompted for
multi-tenant information as well. Each group can use the same
operator extension if you wish. If this is the case, you would set
up one extension to be dialed when someone dials 0. Refer to

Setting Up and Using Multi-Tenant
Bizfon Multi-Tenant Addendum 9
the Bizfon 680 Administrator’s Guide for more information
about the Operator extension.
Each tenant has its own Automated Attendant. Therefore, each
tenant should have its own greeting. Be sure to record appropri-
ate day and night greetings. For example, tenant one’s auto-
mated attendant greeting might say “You have reached the
office of Dr. Jones...” while tenant two’s automated attendant
would say “You have reached the office of Dr. Smith...”
You can use a fax machine on any extension.
Virtual extensions can be members of a tenant.
Bizfon recommends that you use a password for the general set-
tings (system) to help protect the configuration. You access the
system password settings by entering Setup and then dialing
extension 200. Passwords can be from three to ten digits.
You must contact your telephone company to set up hunt groups
when you have multiple incoming lines. In our worksheet
example, if 555-1212 is busy, the call “bounces” to 555-1213.
For tenant two, if 555-1215 is busy, the call bounces to 555-
1216 and so on. In order to keep the tenants separate, do not
have a hunt group include telephone numbers in a different ten-
ant. For example, you would not have 555-1213 bounce to 555-
1215.
In a multi-tenant configuration where one person is the operator
for all tenants, you need to use a BizTouch 3 feature phone in
line mode in order to know which line is ringing. This lets the
operator know how to answer the phone depending on which
line is blinking. In our example, the operator would know
whether to answer the phone “Dr. Jones’ office,” Dr. Smith’s
office,” or “Dr. Howard’s office.

Setting Up and Using Multi-Tenant
10 Bizfon , Inc.
Other manuals for 680
9
This manual suits for next models
3
Other Bizfon Telephone System manuals


