BJS Biotechnologies xxsealer User manual
PCR plate heat sealer with programmable
temperature and dwell
User Manual
This Manual Copyright © 2014 BJS Biotechnologies

Page | 2
All rights reserved. No part of this manual may be reproduced, stored in
a retrieval system, or transmitted, by any means or in any form, without
the prior permission of BJS Biotechnologies Ltd (BJS Bio).
The information contained in this manual is subject to change without
notice. BJS Bio
assumes no responsibility for any errors that may
appear in this or related documentation.
Document: XP-5003-01-1
Revision: 1.0 Jan 2014
xxpress® xxplates, and xxsealer are the brand names for BJS
Biotechnologies own range of PCR thermal cycler products and
accessories. For further details please visit our web site.
www.xxpressPCR.com
All sales and technical enquiries should be addressed to:
BJS Biotechnologies Ltd
65 Bideford Avenue
Perivale
Greenford
Middlesex
UB6 7PP
United Kingdom
+44 (0)203 021 3750
sales@xxpressPCR.com or support@xxpressPCR.com
XXSEALER USER MANUAL - 1.0

Page | 3
Contents
1Glossary of Terms and Abbreviations .....................................................4
2Symbols Used in this Instruction Manual ................................................5
3Unit Description.......................................................................................6
4Technical Specification............................................................................9
5Safety Precautions and Limitations of Use............................................10
6Unit Installation......................................................................................14
7Unit Operation .......................................................................................16
7.1 User Display and Controls.....................................................................16
7.2 Operating the Controls of the xxsealer..................................................17
7.3 Performing an xxplate Sealing Operation..............................................18
7.4 Switching Off the Audible Alert..............................................................20
8Maintenance and Servicing...................................................................21
8.1 Replacing the Unit Fuse........................................................................21
8.2 Over Temperature Safety Cut-out.........................................................22
8.3 Routine Cleaning and Inspection ..........................................................22
8.4 Decontamination Procedure..................................................................23
8.5 Transportation and Storage...................................................................23
9Warranty and Returns ...........................................................................25
10 Product Disposal ...................................................................................26
Tables
Table 1: Advisory Symbol Meanings.............................................................5
Table 2: Unit Features.....................................................................................6
Table 3: Plate and Adaptor Block Types.......................................................7
Table 4: Recommended Film and Foil Types ...............................................8
Table 5: Mains Voltage Selection.................................................................14
Table 6: User Buttons and Status LEDs......................................................16
XXSEALER USER MANUAL - 1.0

Page | 4
1 Glossary of Terms and Abbreviations
ANSI
BJS Bio
American National Standards Institute
BJS Biotechnologies Limited, UK Company
Number 02959160
Deepwell Plate Plate with an SBS footprint featuring 48, 96 or
384 wells with a larger volume than microplates
DWP
Deepwell plate
EMC
Electro-Magnetic Compatibility
Microtitre Plate Plate with an SBS footprint featuring 24, 48, 96
or 384 wells
MTP
Microtitre plate
PCR
Polymerase Chain Reaction
PPE
Personal Protective Equipment
SBS
Society for Bio molecular Screening
Semi-skirted PCR
Plate PCR plate with an outer surrounding half edge
Skirted PCR Plate PCR plate with an outer surrounding edge
Un-skirted PCR
Plate PCR plate without an outer surrounding edge
Well
xxplate
A single sample cavity in a Microtitre plate,
PCR plate or Deepwell plate
BJS Bio PCR test plate for the xxpress real-
time thermal cycler. Available in 24, 54, and 96
well formats.
XXSEALER USER MANUAL - 1.0

Page | 5
2 Symbols Used in this Instruction Manual
The following advisory symbols are used in this manual.
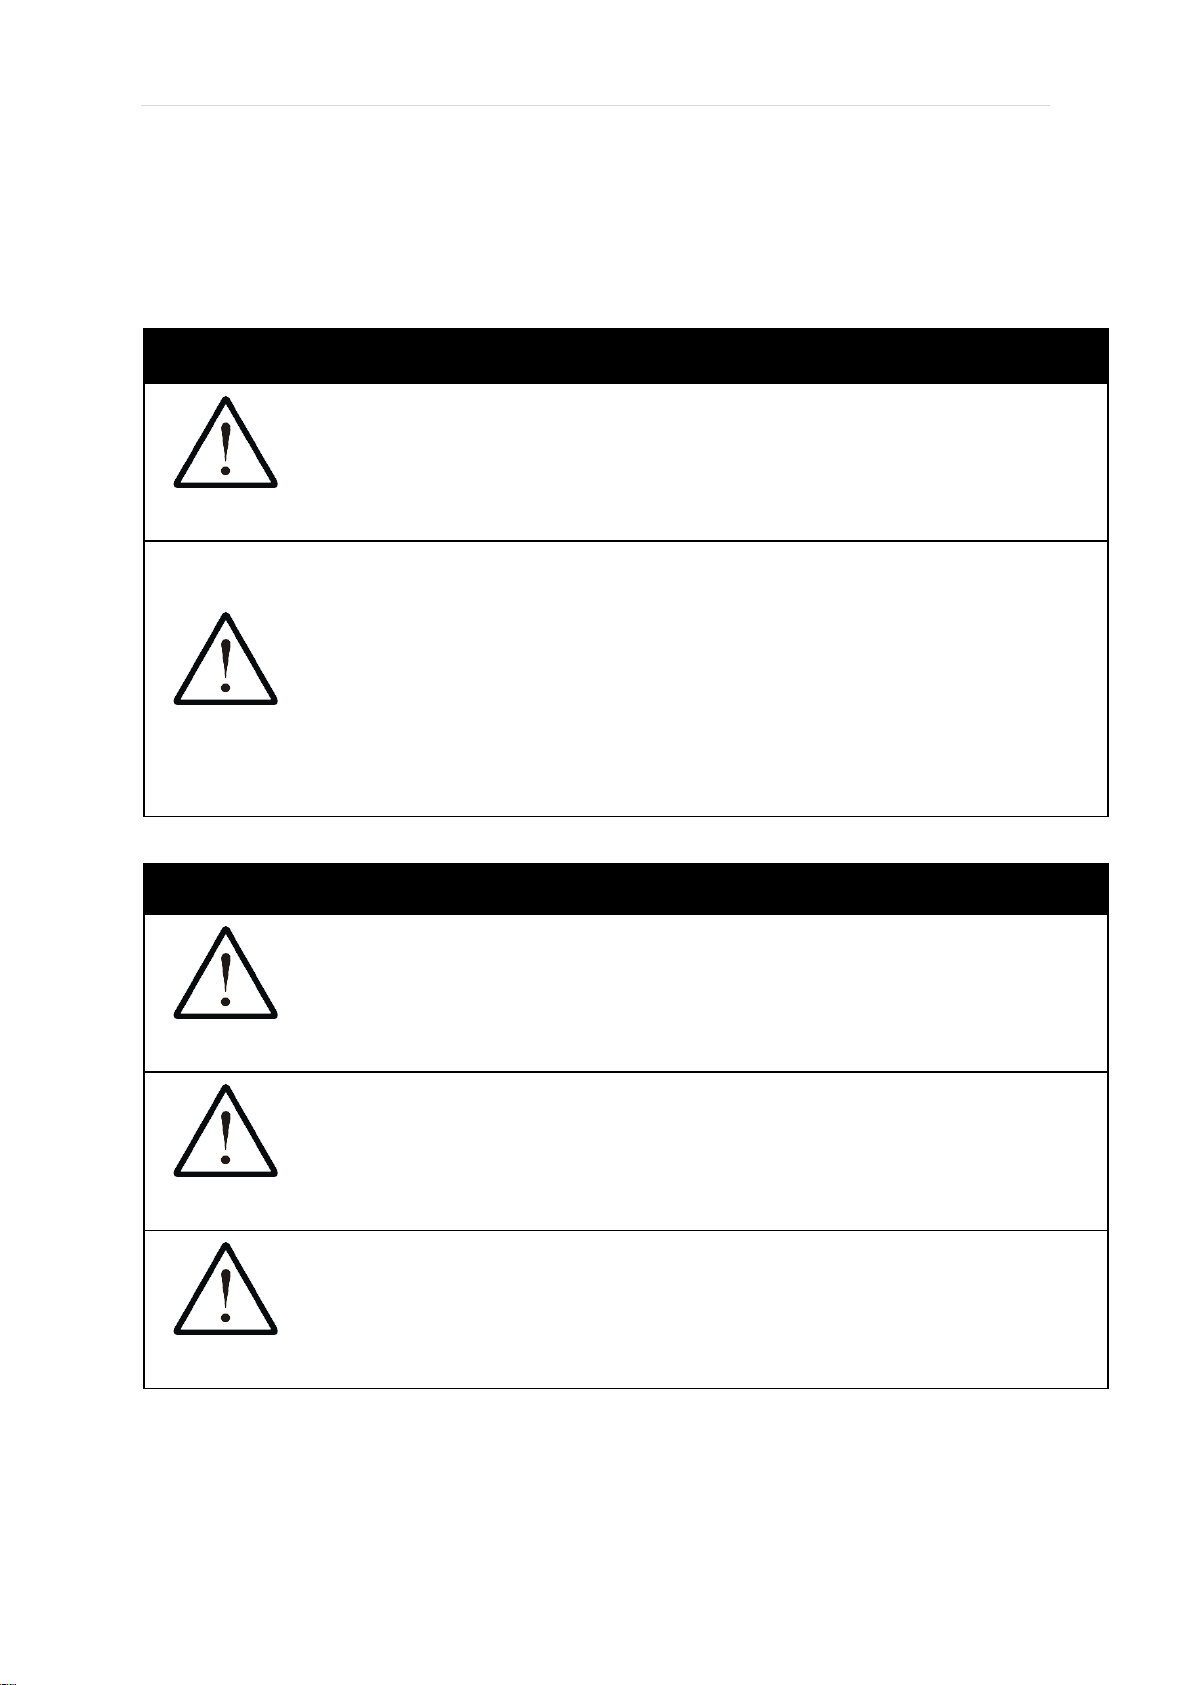
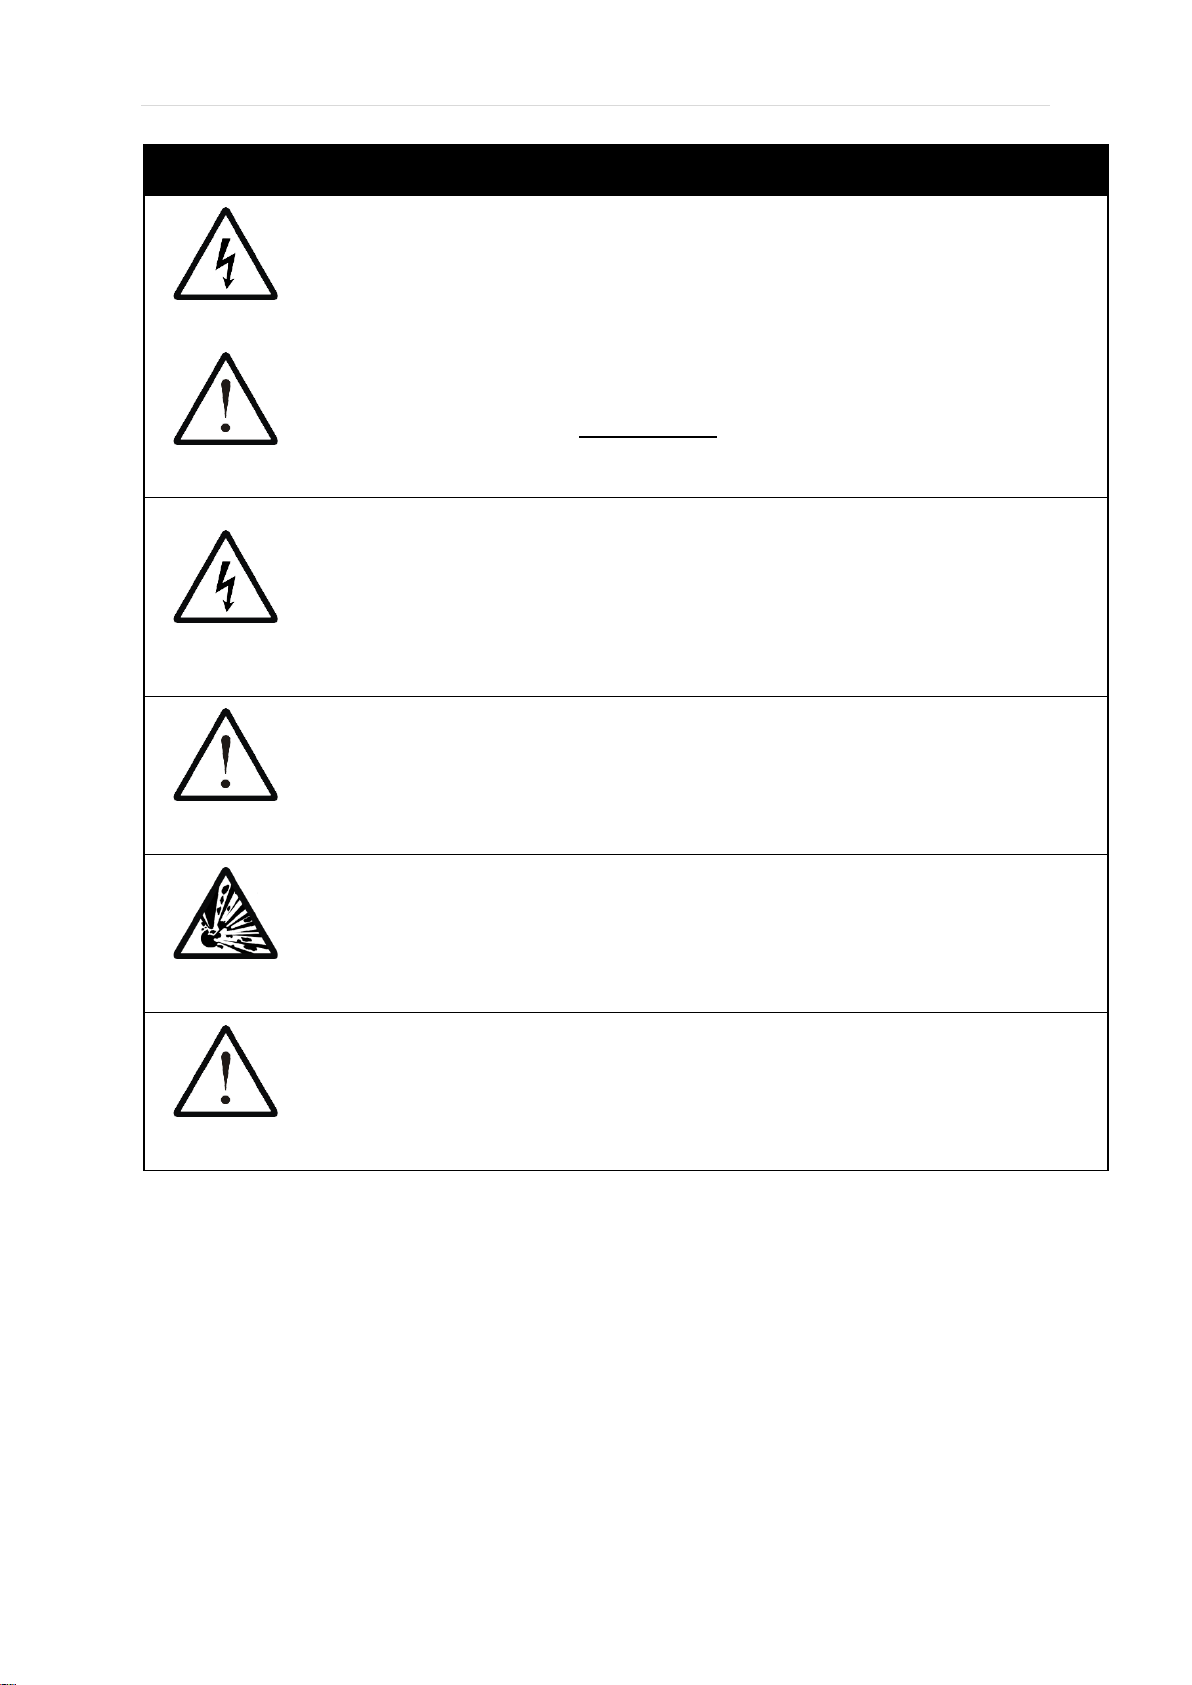
Table 1: Advisory Symbol Meanings
DANGER
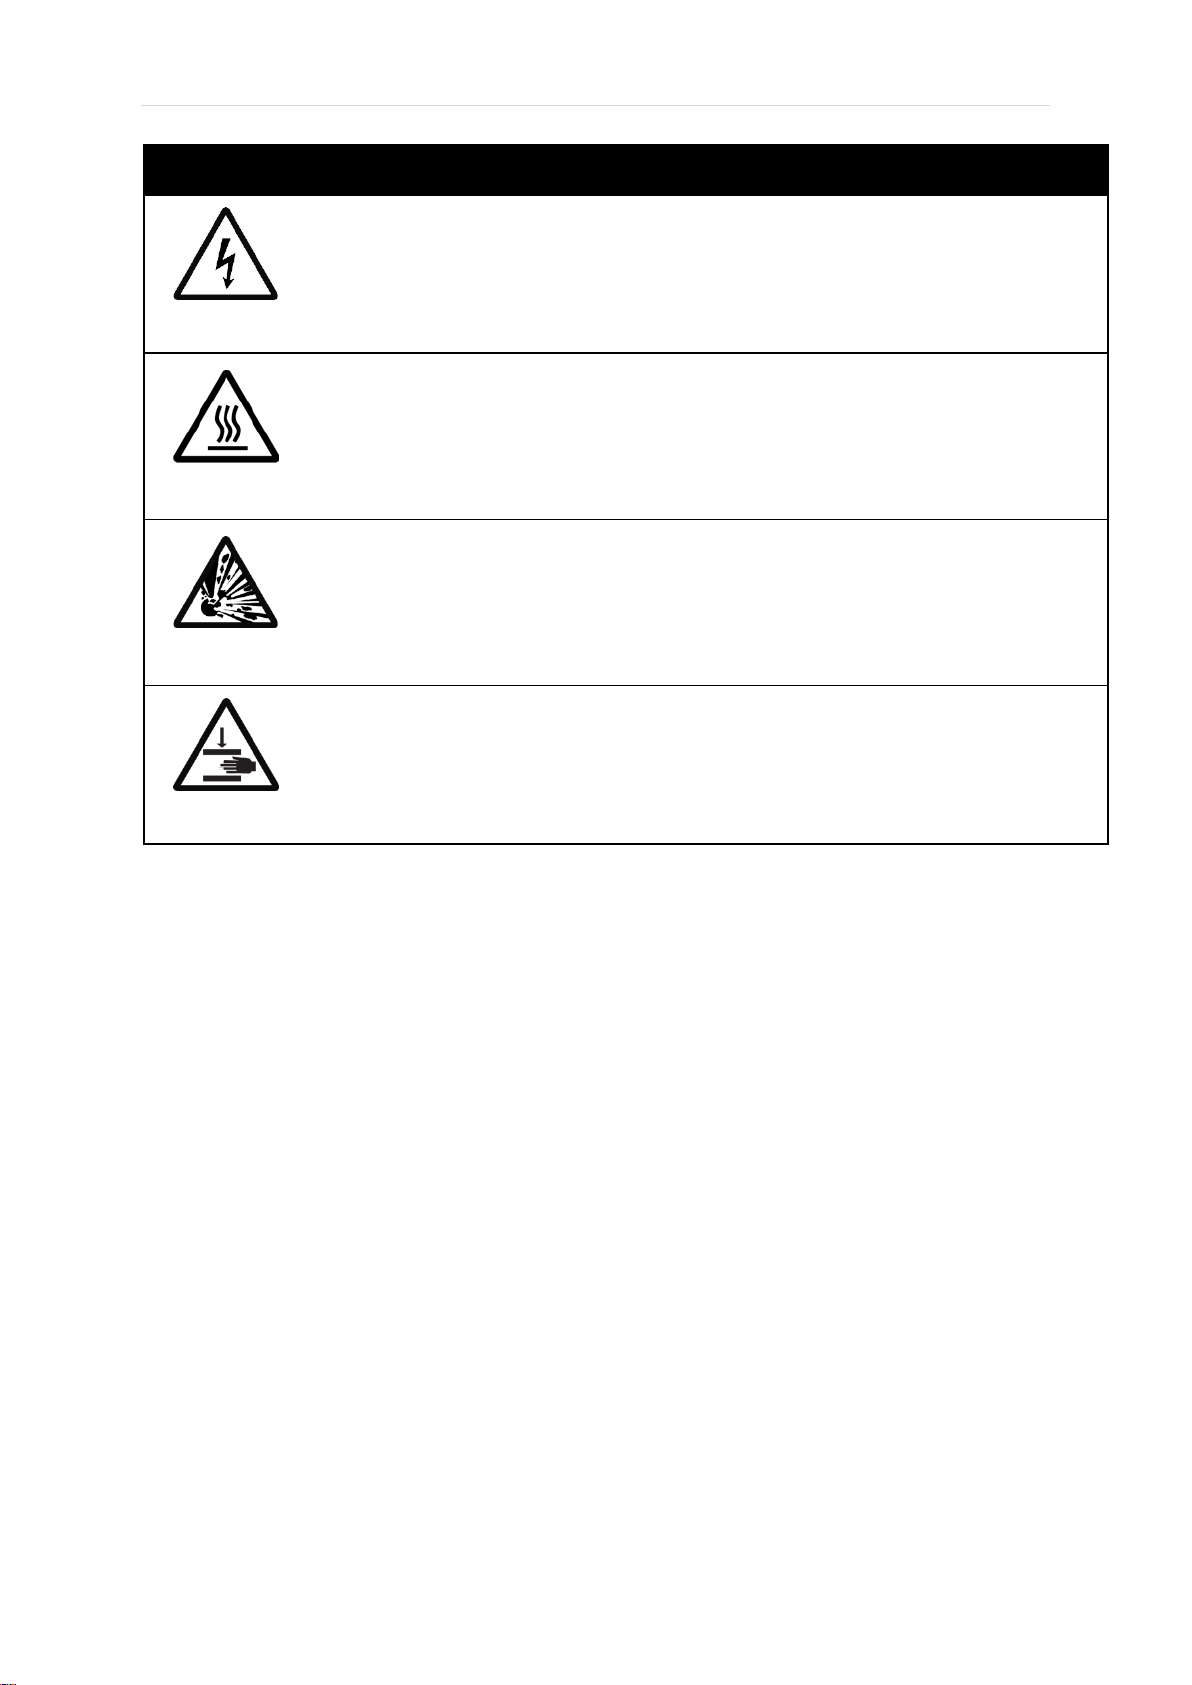
Indicates a Risk of Electric Shock which could, if not
avoided, result in serve injury or death.
DANGER
Indicates a Burn Hazard which could, if not avoided,
result in serve injury or death.
DANGER
Indicates a Risk of Explosion which could, if not
avoided, result in serve injury or death.
WARNING
Indicates a hazardous situation which could, if not
avoided, result in serve injury or death; or severely
damage the unit.
CAUTION
Indicates a hazardous situation which could, if not
avoided, result in minor or moderate injury; or degrade
or impair the functionality of the unit.
CAUTION
Indicates a Risk of Crush hazard due to moving parts
which could, if not avoided, result in minor or moderate
injury.
Advisory note or other useful information.
NN Refer to “Section NN” for more details.
XXSEALER USER MANUAL - 1.0
Page | 6
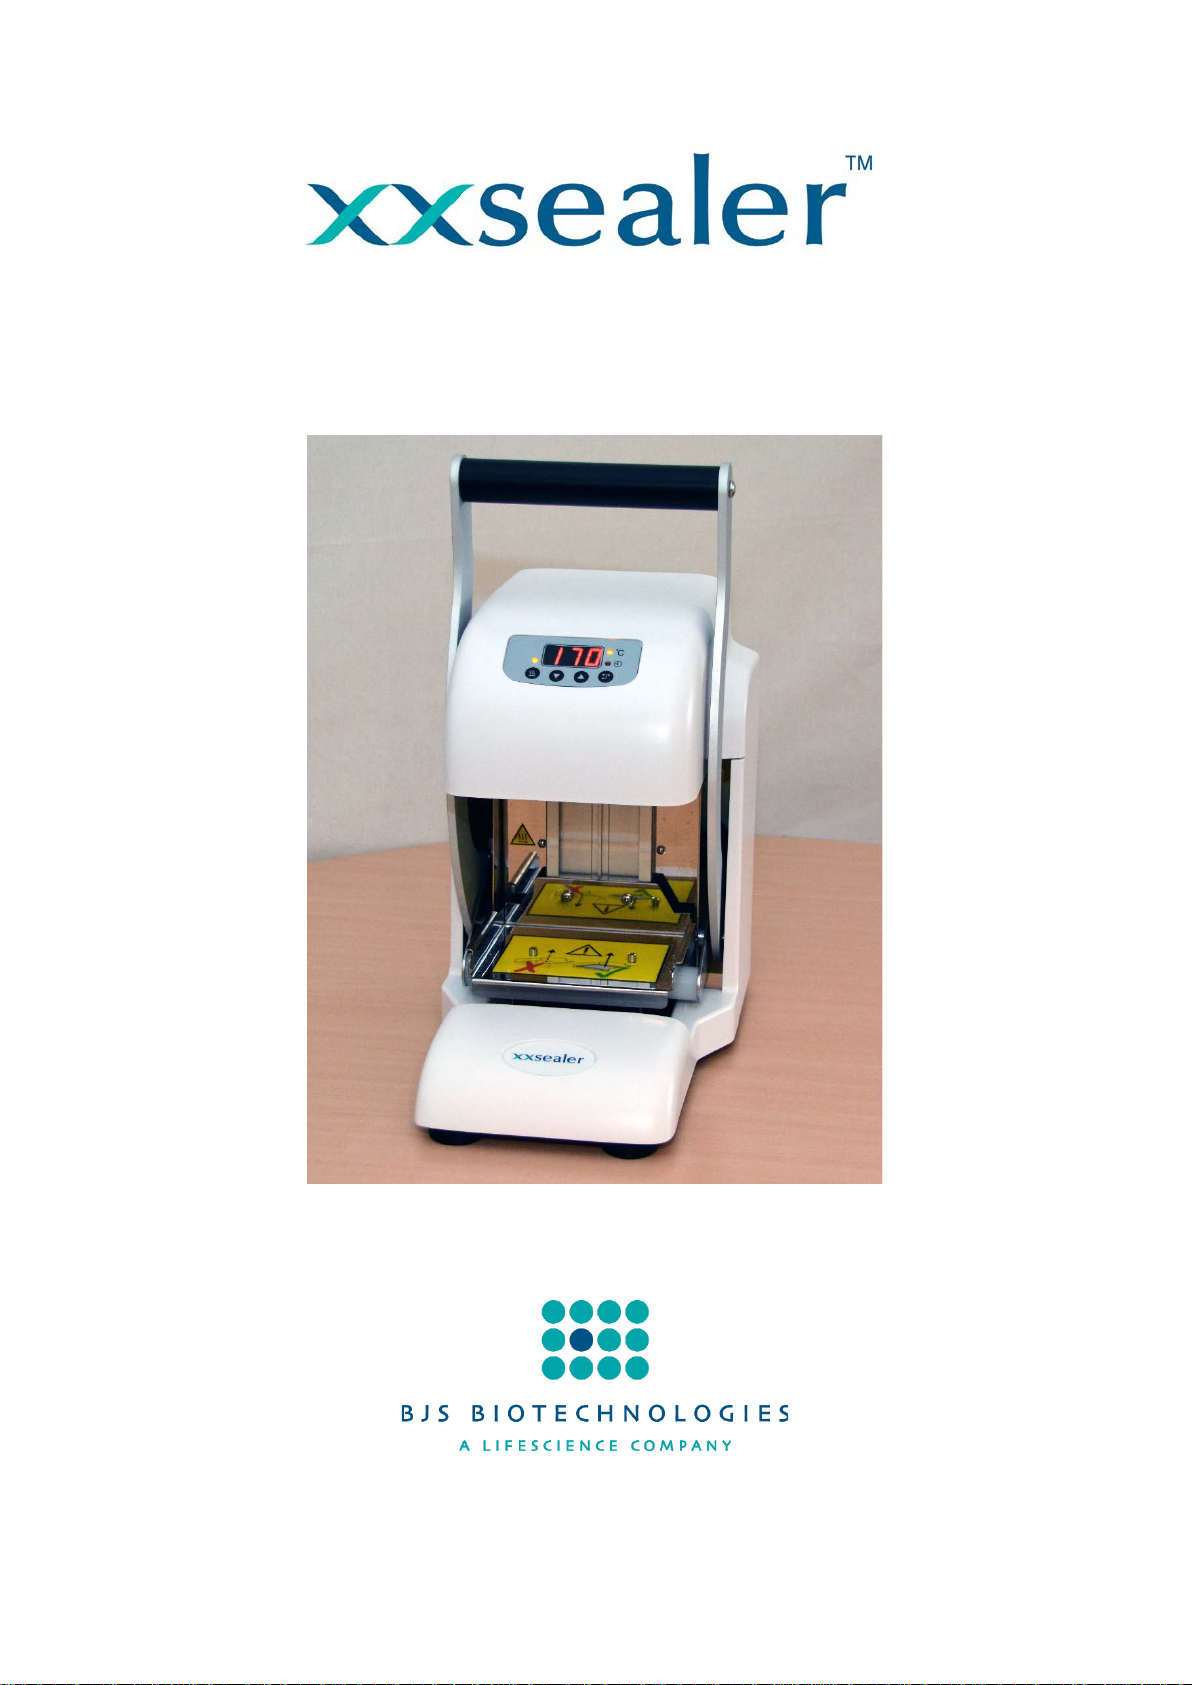
3 Unit Description
The xxsealer provides a safe and controlled method for sealing plastic
sample plates to protect the samples from evaporation and contamination
during the heating and cooling of a PCR process. The sealer is adjustable
for both the sealing time and temperature, and gives a visual countdown
display during the sealing process for consistent results.
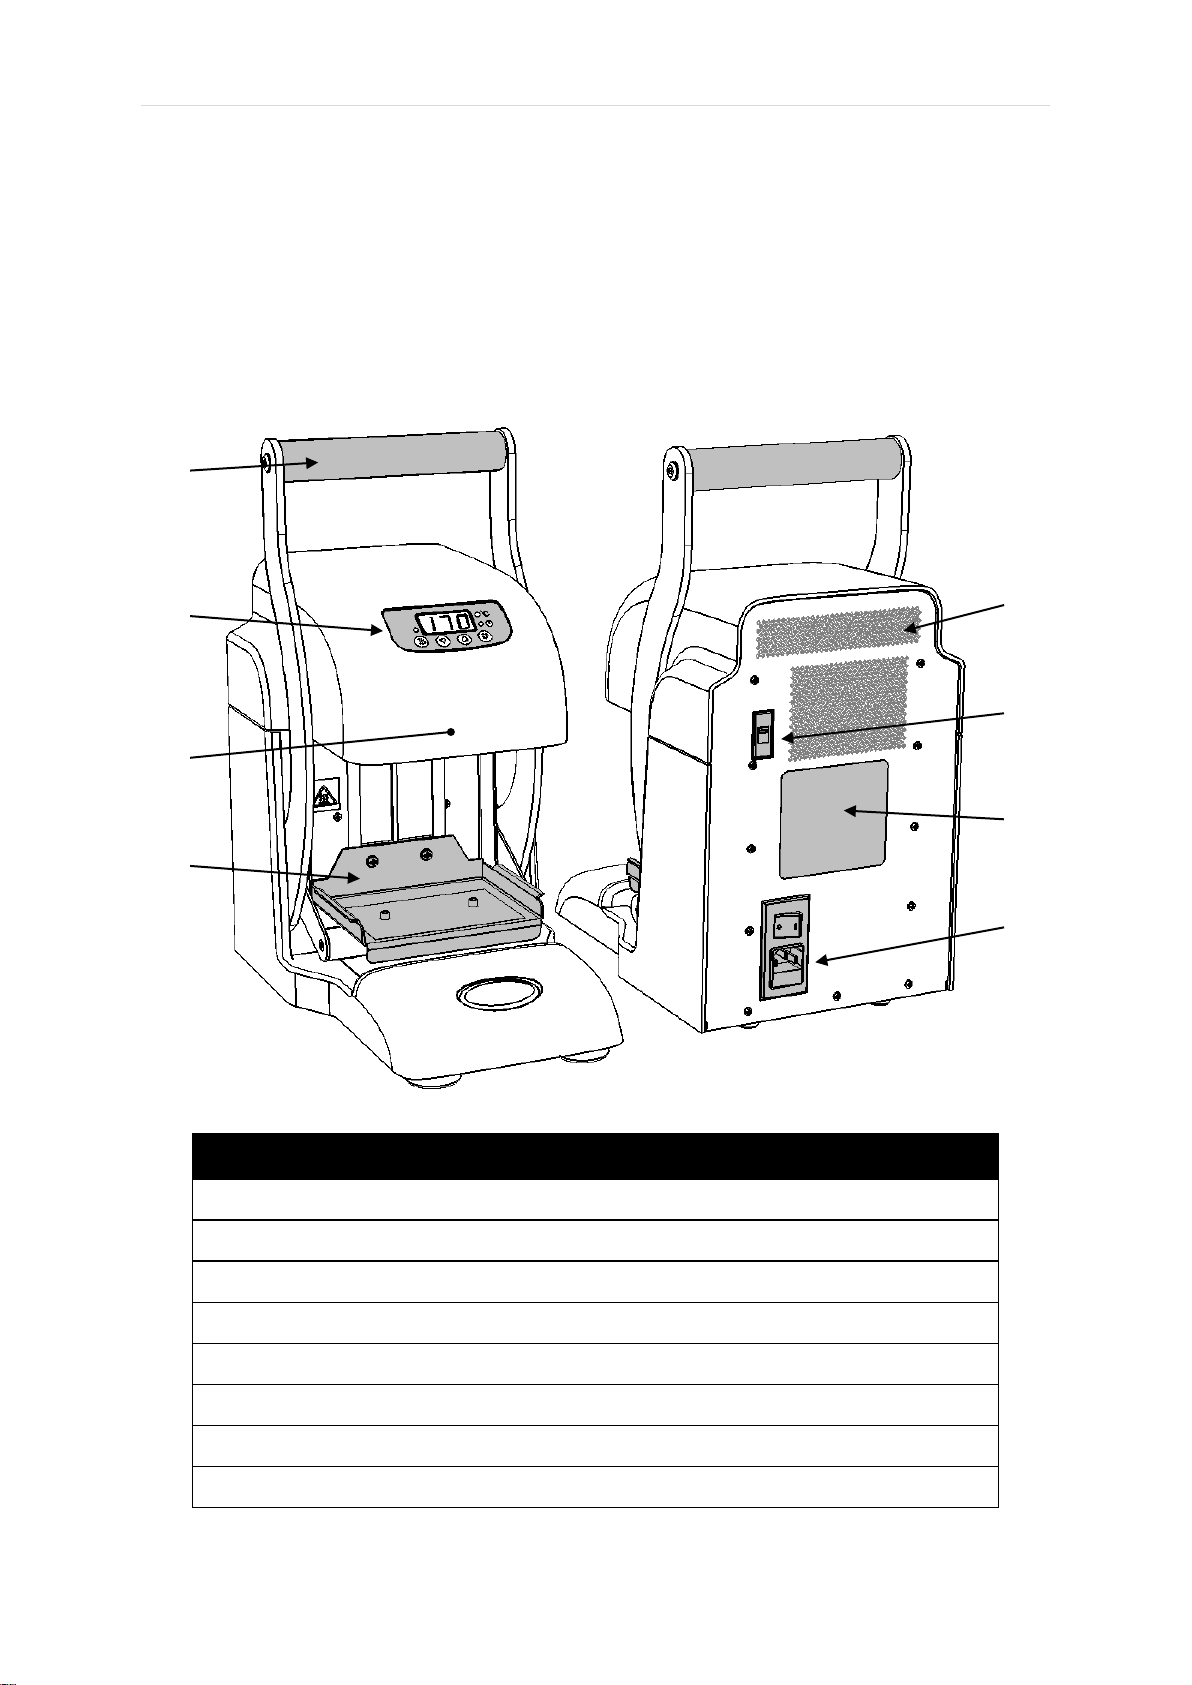
The unit has the following external features:
Table 2: Unit Features
Seal Activation Handle
7.2
User Interface Display and Control Buttons
7.1
Heater Plate (Internal)
7.1
Adaptor Block Carrier
Table 3
Rear Ventilation Holes
5
Mains Voltage Selector
5
Product Information Label
4
Power Inlet, On/Off Switch and Fuse Holder
5
XXSEALER USER MANUAL - 1.0
Page | 7
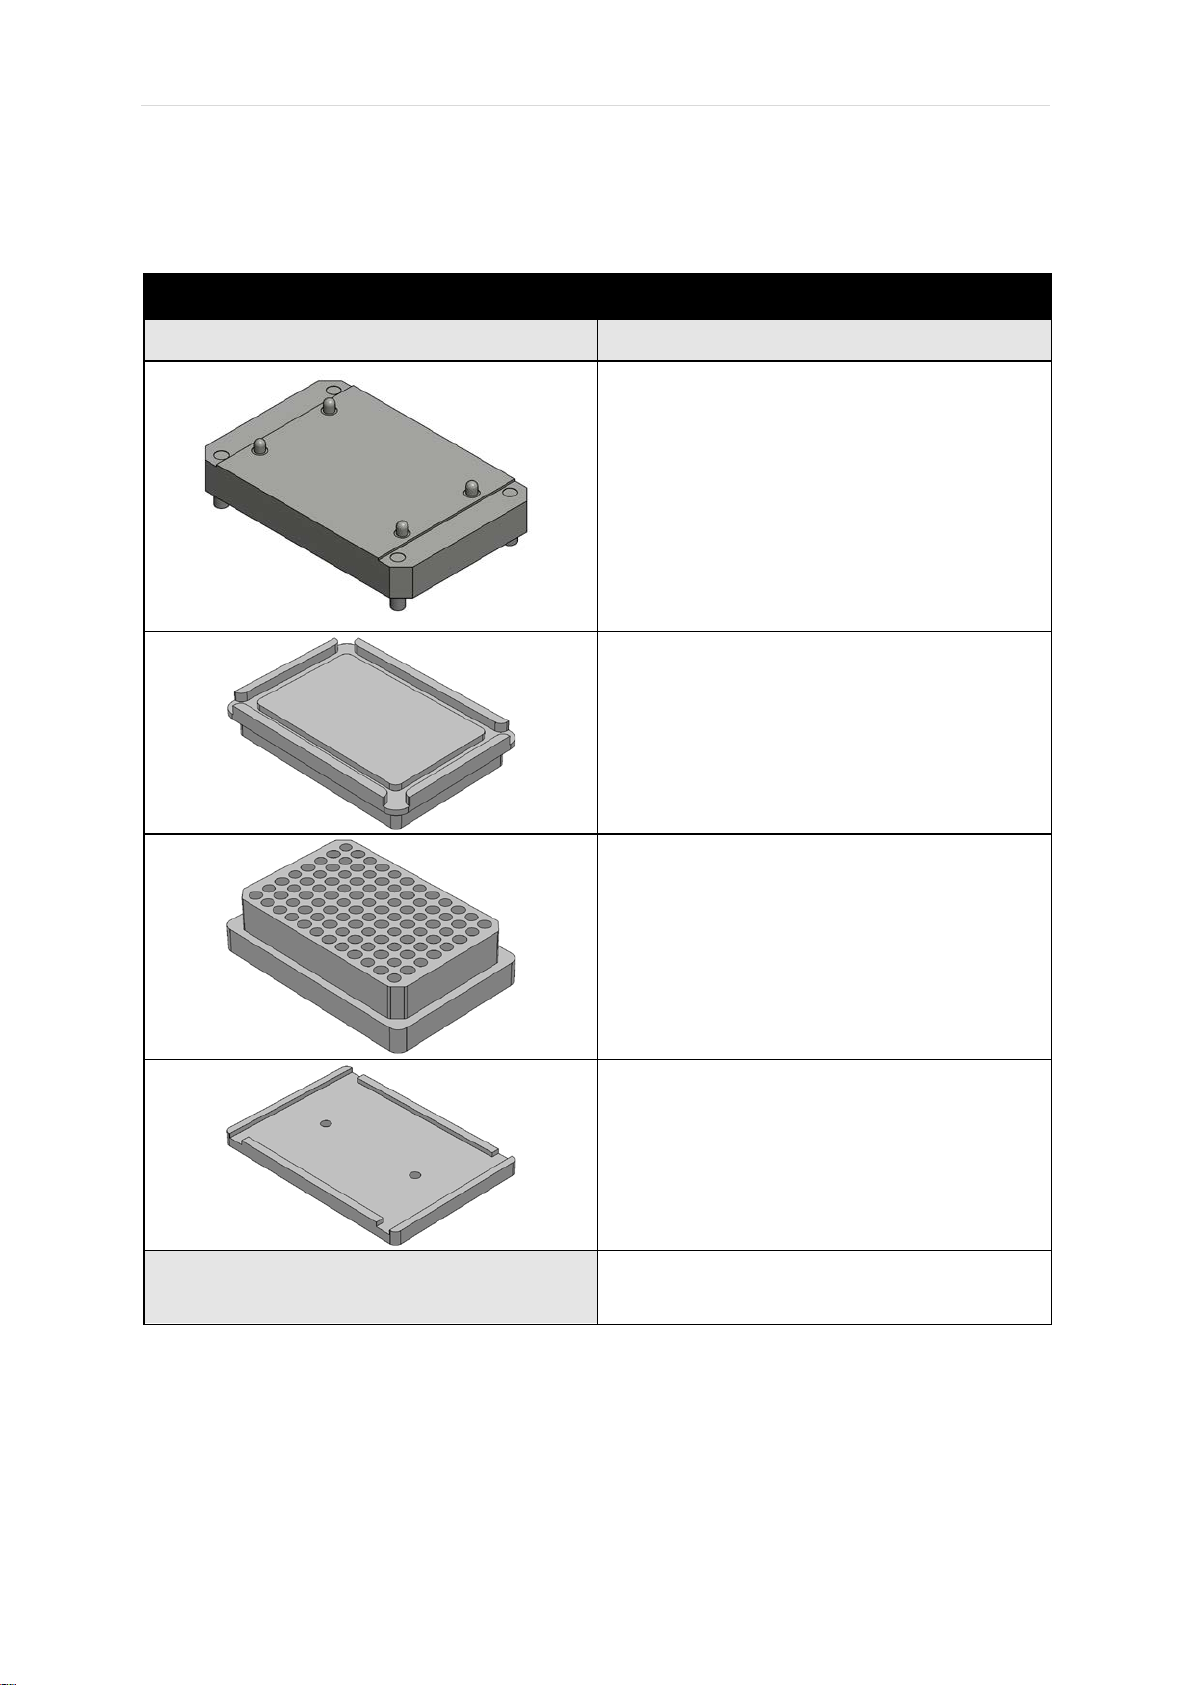
The xxsealer unit is designed to be used with a range of sample plates
and consumables – some of which are listed below:
Table 3: Plate and Adaptor Block Types
Adaptor Block Type
Suitable Plate Types
BJS xxplate
(Suitable for 24, 54, and 96 well
xxplates)
96 Well Microtiter Plate
384 Well Microtiter Plate
PCR 96 Well Skirted Plate
PCR 96 Well Semi-skirted Plate
PCR 96 Well Un-skirted Plate
Deepwell Plates
Plate Material Types
Polypropylene, Polyethylene or
Polystyrene
Other specialist adaptor plates may be available at request. Please
contact your distributor for details.
XXSEALER USER MANUAL - 1.0
Page | 8
Table 4: Recommended Film and Foil Types
Films
Clear Polyester/Polypropylene
Laminate
Clear Polymer
Thin Clear Polymer
Foils
Foil Polypropylene Laminate
Foil Laminate
Foil
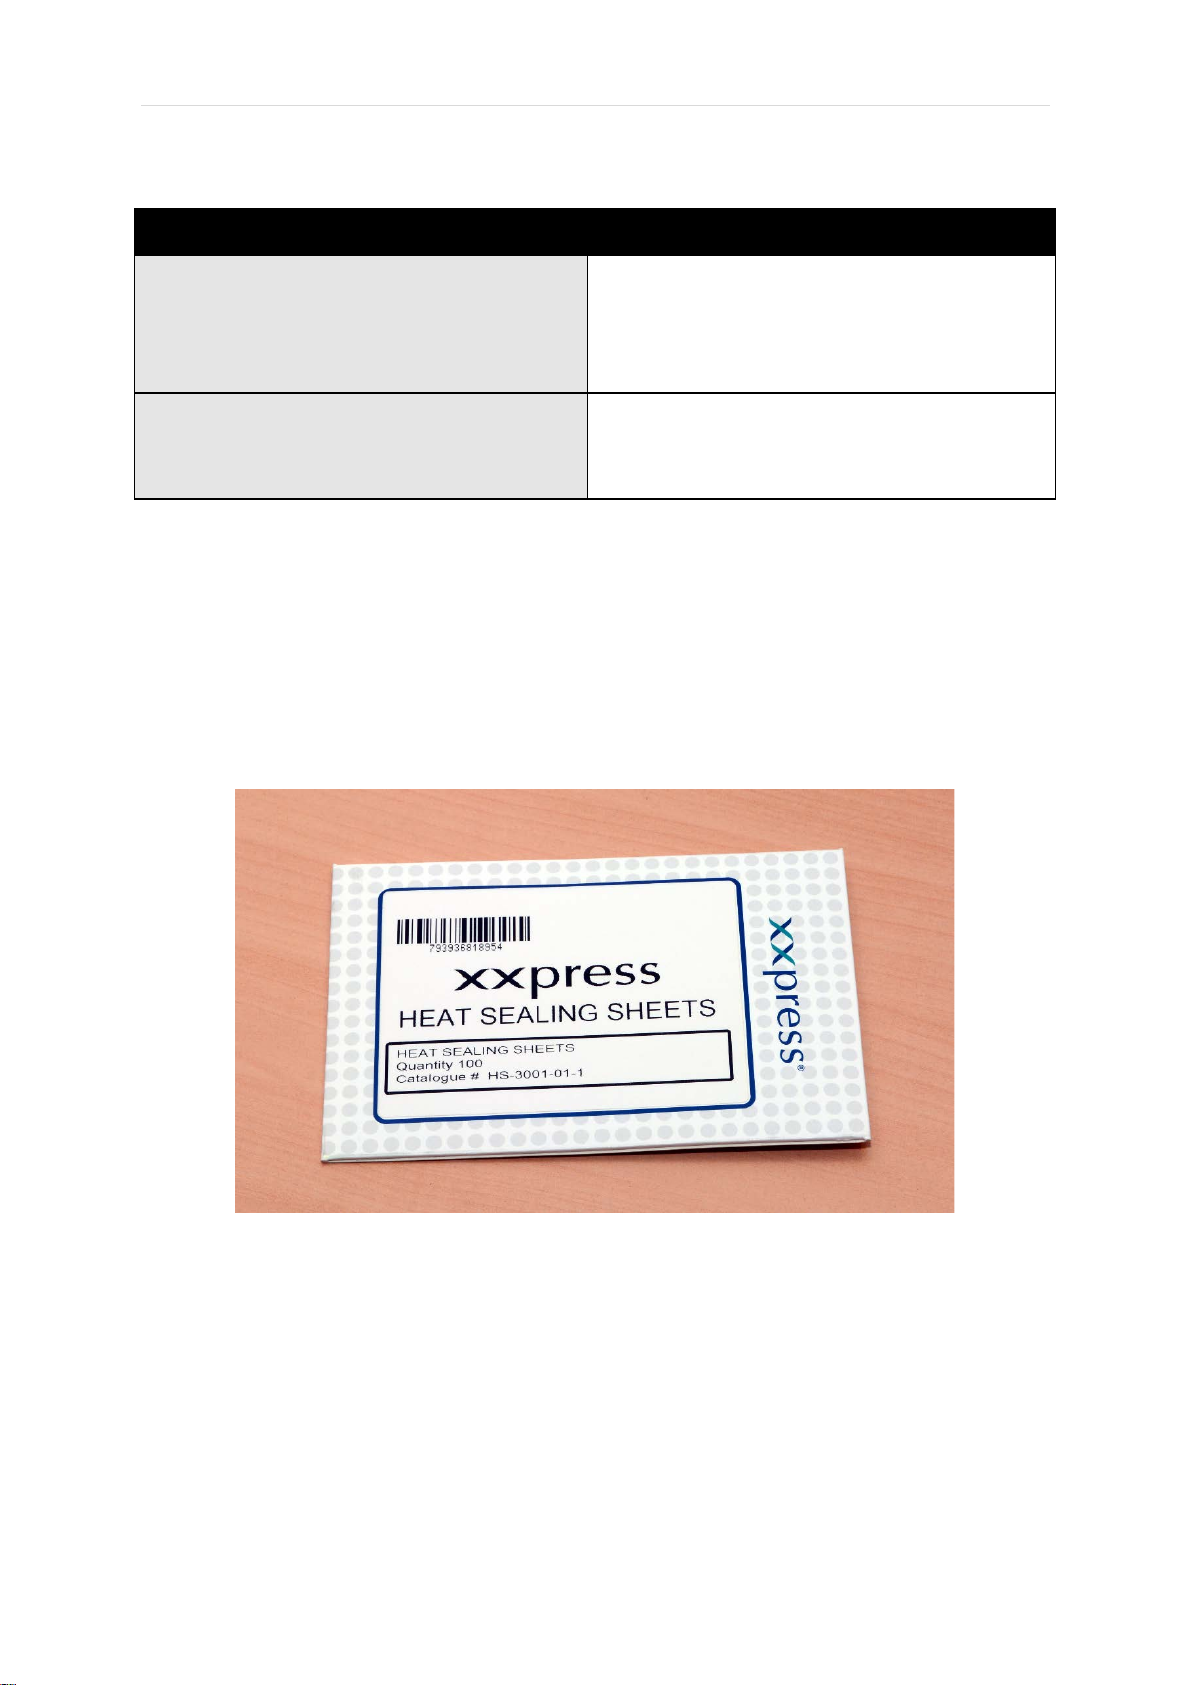
Note:
The only film approved for use with xxplates is the BJS Bio’s xxplate
sealing film. Part number HS-3001-01-1.
XXSEALER USER MANUAL - 1.0

Page | 9
4 Technical Specification
Model Type
Model Name
Model No
xxsealer
VTS-953-A
Physical Unit Properties
Dimensions (W x D x H)
Weight (without adaptor)
220 mm x 325 mm x 425 mm
7.2 kg
Mains Supply
Power Cord Rating
Inlet Module Type
Supply Voltage Selections
Supply Frequency Range
Power Consumption
Fuse Ratings and Sizes
IEC C13, 3-Core, 5A min
IEC C14, DPST, Single Fuse
115 110 to 120 VAC ±10%
230 220 to 230 VAC ±10%
50 to 60 Hz ±5%
350 W max
115 T3.15AH 250V 20x5mm
230 T1.6AH 250V 20x5mm
Operating Environment
Temperature Range
Relative Humidity Range
Maximum Operating Altitude
+18 to +30 °C
20% to 80% non-condensing
2200 m above sea-level
Storage and Transportation
Temperature Range
Relative Humidity Range
-10 to +50 °C
20% to 95% non-condensing
Sealing Parameters
Temperature Range
Timer Range
Audible Alert
125 to 200 °C in 1 °C steps
1.0 to 9.0 seconds in 0.5 second steps
On or Off
XXSEALER USER MANUAL - 1.0
Page | 10
5 Safety Precautions and Limitations of Use
It is essential that all users of this equipment have fully read and
understood the following safety precautions and limitations of use before
installing or operating the xxsealer unit.
IMPORTANT
WARNING
The protection provided by this equipment may be impaired if
it is not used in a manner described in this manual.
WARNING
It is essential that the user of this equipment is aware of the
potential hazards associated with the unit and its accessories.
All
operators should be familiar with the safety precautions and
warnings given in these instructions before attempting to
operate the unit.
Improper use of this unit or its accessories may impair their
functionality and invalidate the manufacturer’s warranty.
Unit Handling Precautions
CAUTION
Care should be taken not to drop the unit or subject it to rough
physical handling, both during normal use and during
transportation and storage.
WARNING
The unit should be held by the handle when being lifted or
moved. Do not lift the unit by any other part of the casework.
Care should be taken when lifting the unit due to its weight.
CAUTION
Care should be taken not to knock the LED display.
Do not use excessive force when pressing the control buttons
or operating the seal activation handle.
XXSEALER USER MANUAL - 1.0
Page | 11
Unit Installation and Operating Environment
DANGER
WARNING
The xxsealer unit is designed for indoor laboratory use only.
The acceptable operating temperature range is 18ºC to 30ºC,
with a relative humidity of 20% to 80% non-condensing, at a
maximum altitude of 2200m above sea level.
If the unit is stored in conditions outside of these ranges, it
must be left to stand unpowered until it has acclimatised to
within these environmental limits before being powered.
DANGER
Use only the AC mains power cord provided with the unit or as
specified Section 4.
The unit must be connected to a suitably earthed mains
supply, with appropriate earth-leakage and over-current
protection.
WARNING
Always ensure that the mains power connector is securely
inserted into the rear of the unit, and any excess power cord
does not pose a potential trip or pull hazard.
DANGER
Do not operate the unit in any area which is, or has been, or is
thought to have been exposed to explosive or flammable
gases, vapours or liquids.
WARNING
The unit must be installed and operated on a solid, stable and
level working surface; ensuring that the ventilation holes at the
rear of the unit are not obstructed.
XXSEALER USER MANUAL - 1.0
Page | 12
General Operating Precautions
DANGER
Ensure that the power is switched off at both the AC mains
supply outlet and at the back of the unit before inserting or
removing the mains power cord.
DANGER
The heater plate can reach temperatures of 200ºC and will
remain hot for a considerable time after being turned off.
Extreme care must be taken not to touch the heater plate as it
will cause a serve burn injury.
DANGER
The unit is intended for use with plates containing biological
samples only.
Never use the unit to seal any explosive, volatile or highly
reactive substances or chemicals.
CAUTION
There is a possible finger crush hazard due to the moving
parts of the handle and plate carrier.
Care should be taken when operating the handle.
XXSEALER USER MANUAL - 1.0

Page | 13
Unit Maintenance and Serviceability
DANGER
WARNING
There are no user or operator serviceable parts inside the unit.
Do not remove the unit casework.
Removal of the unit's casework will void the manufacturer’s
warranty and may expose the user to a Risk of Electric Shock
resulting in serious injury or death.
DANGER
Once installed, the externally accessible unit fuse will only
blow under a fault condition. This fuse should only be changed
after the unit has been thoroughly inspected by a qualified
engineer. See Section 8.1 for details.
DANGER
Always switch off the unit and disconnect the power cord
before performing any cleaning or decontamination procedure.
If liquid is spilt into or over the unit, switch off and disconnect
the power from the AC mains outlet before attempting to deal
with the spillage.
CAUTION
Ensure that the heater plate has cooled down to room
temperature before performing any cleaning operation and
before moving or storing the unit.
CAUTION
The use of harsh chemicals and cleaning agents may damage
the unit and degrade its performance.
Always follow the cleaning and decontamination procedures
specified in Sections 8.3 and 8.4 of this instruction manual.
CAUTION
Do not autoclave any part of the unit or its accessories.
XXSEALER USER MANUAL - 1.0

Page | 14
6 Unit Installation
Before installing the xxsealer unit, please check that the delivery is
complete and that the unit and any accessory parts are intact and free
from any signs of transportation damage. Also ensure that all external and
internal packaging has been removed from the unit before installation.
Please retain all packaging for future transportation and
storage of the unit and its accessories.
The xxsealer unit should be installed in a location which meets the
following requirements:
•Safe and suitable operating environment (see Section 5)
•Solid, stable, level working surface
•At least 10cm clearance around the unit to adjacent objects and
walls
•Earthed AC mains power connection (see Section 4)
WARNING
Please also observe and abide by the Unit Installation and
Operating Environment safety precautions and preconditions
listed in Section 5.
It is important the check that the Mains Voltage Selector switch on the rear
of the unit has been set to the correct position for the desired operating
voltage, and the correct value of fuse has been fitted (see Table 5).
Table 5: Mains Voltage Selection
Operating Voltage
110 to 120 VAC
220 to 230 VAC
Voltage Selection
See Section 3 for
switch location ()
on unit rear panel.
115
230
Fuse Rating
3.15AH
1.6AH
XXSEALER USER MANUAL - 1.0

Page | 15
WARNING
Ensure that the correct fuse type has been fitted in the mains
inlet fuse holder
for the desired voltage selector switch value.
See Table 5 for details.
1. Remove the AC plug
from the power inlet
module
2. Use a small flat bladed
screwdriver to carefully
pull out the fuse holder
3. Fit the correct fuse in the
far position only
4. Push the holder back
into the inlet mode
Install and test the xxsealer unit using the following procedure:
1) Place the unit on the suitably selected working surface (as
specified above), ensuring that the ventilation holes on the
rear of the unit are not obstructed.
2) Connect the unit to the AC mains power outlet using the
mains power cord supplied or as specified in Section 4.
3) Switch the mains power on at supply outlet first, and then
switch the unit on using the power switch located at the rear of
the unit.
4) Check that the unit is stable and safe by performing a trial
sealing operation, as described in Section 7.2.
DANGER
If the unit has been stored in a cool environment, it must be
left to stand unplugged until it has acclimatised to the new
room temperature before being powered.
XXSEALER USER MANUAL - 1.0
Page | 16
7 Unit Operation
WARNING
Please ensure that you have read and fully understood all of
the Safety Precautions and Limitations of Use listed in
Section 5 before attempting to operate the xxsealer unit.
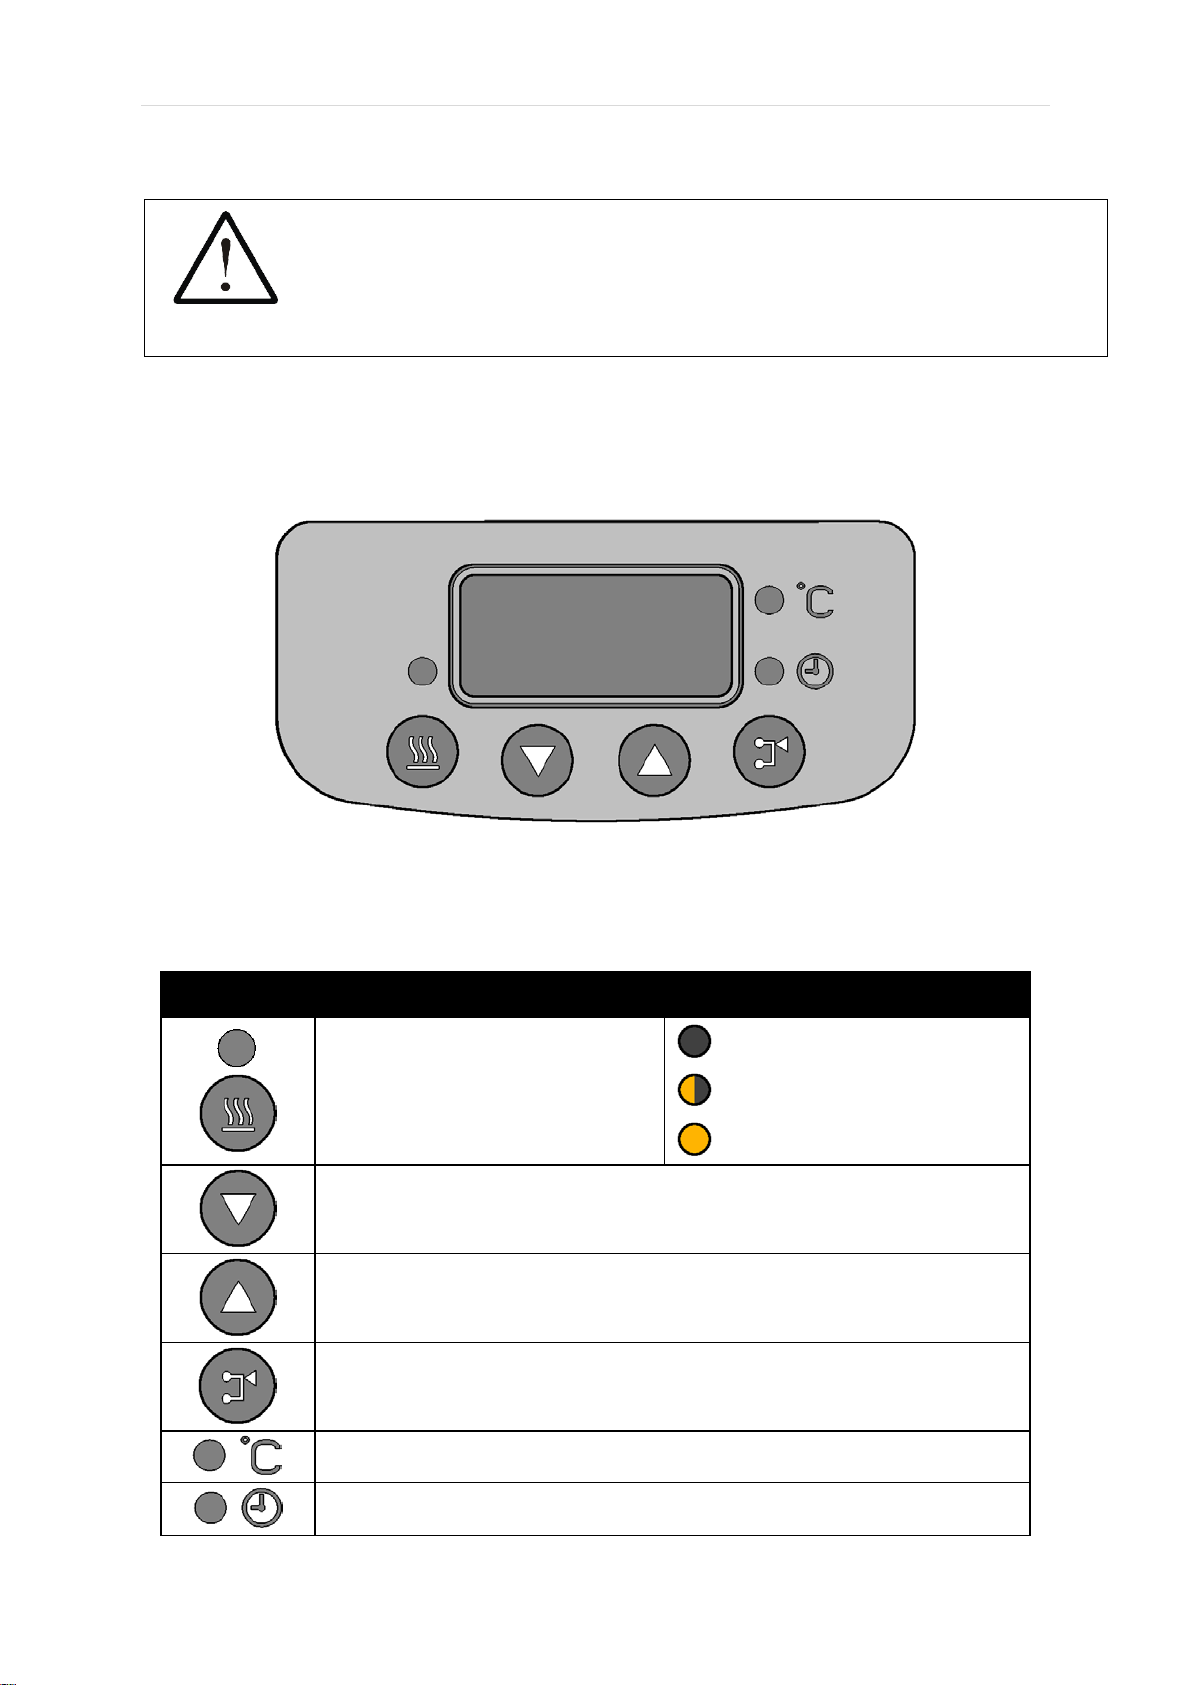
7.1 User Display and Controls
The unit’s user interface consists of a large 3-digit LED display, four
control buttons and three status indicator LEDs.
The LED display shows the current temperature or sealing time set-point
(depending on the mode). The button and LED functions are listed in
Table 6.
Table 6: User Buttons and Status LEDs
Heater Status LED
HEATER On/Off Button
Off – Heater Turned Off
Flashing – Warming Up
On – Unit Ready For Use
DOWN Button
UP Button
MODE Select Button
Temperature Mode LED
Timer Mode LED
XXSEALER USER MANUAL - 1.0

Page | 17
7.2 Operating the Controls of the xxsealer
When the unit is switched on, it recalls the last sealing operation settings
and the displays the sealing temperature or time (depending on the
display mode), and automatically restores the heater on/off state.
Pressing the MODE button toggles the LED display between the plate
heater Temperature set-point in degrees centigrade and the seal Timer
setting in seconds.
The sealing temperature is set by pressing the MODE button to illuminate
the Temperature LED ( ) then using the UP and DOWN buttons to
set the temperature in the range 125 to 200 ºC in 1ºC steps.
Likewise, the sealing time is set bypressing the MODE button to illuminate
the Timer LED ( ) then using the UP and DOWN buttons to set the
time in the range 1 to 9 seconds in 0.5 second steps.
Pressing the HEATER button toggles the plate heater between on and off.
When the Heater LED is flashing, the heater is onand theplate is warming
up, which will normally take about 10 minutes.
Once the Heater is on the LED display shows the current temperature or
sealing time set-point (depending on the mode).
When the heater plate is up to temperature (within 2ºC of the set-point)
the Heater LED will remain constantly on, and the xxsealer is ready to
begin sealing.
The operator may set a precise temperature and seal time for the sealing
operation. Sealing is initiated by pulling the handle down, which raises the
sample plate into contact with the heater plate. The unit detects when the
sample plate is correctly positioned and starts a countdown timer. When
the display reads zero, the operator moves the handle back to its upmost
position, which moves the sample plate away from the heater plate. The
sample plate is then manually removed for storage or further processing.
XXSEALER USER MANUAL - 1.0

Page | 18
7.3 Performing an xxplate Sealing Operation
A typical operating sequence to seal an xxplate is:
1) Switch the unit on and set the sealing time to 1.5 seconds and the
heater plate set-point temperature to 170ºC (using the method
described above). These are the recommended setting for the
xxplate film.
2) If necessary, press the HEATER button to turn the heater on.
3) Allow sufficient time for the unit to reach temperature (the Heater
LED will stop flashing and remain constantly on).
4) Fit the BJS xxplate Adapter Block into the PCR 96 Well Skirted
Plate Adapter Block (both provided with the xxsealer) and locate
in the Adapter Block Carrier
5) Load the xxplate onto the xxplate Adapter Block locating it onto
the sprung pins. It should sit flat on the adapter block.
And add the sealing film on top, the correct way up.
WARNING
Care should be taken not to touch
the surface of the heater plate whilst
loading the sample plate.
XXSEALER USER MANUAL - 1.0
Page | 19
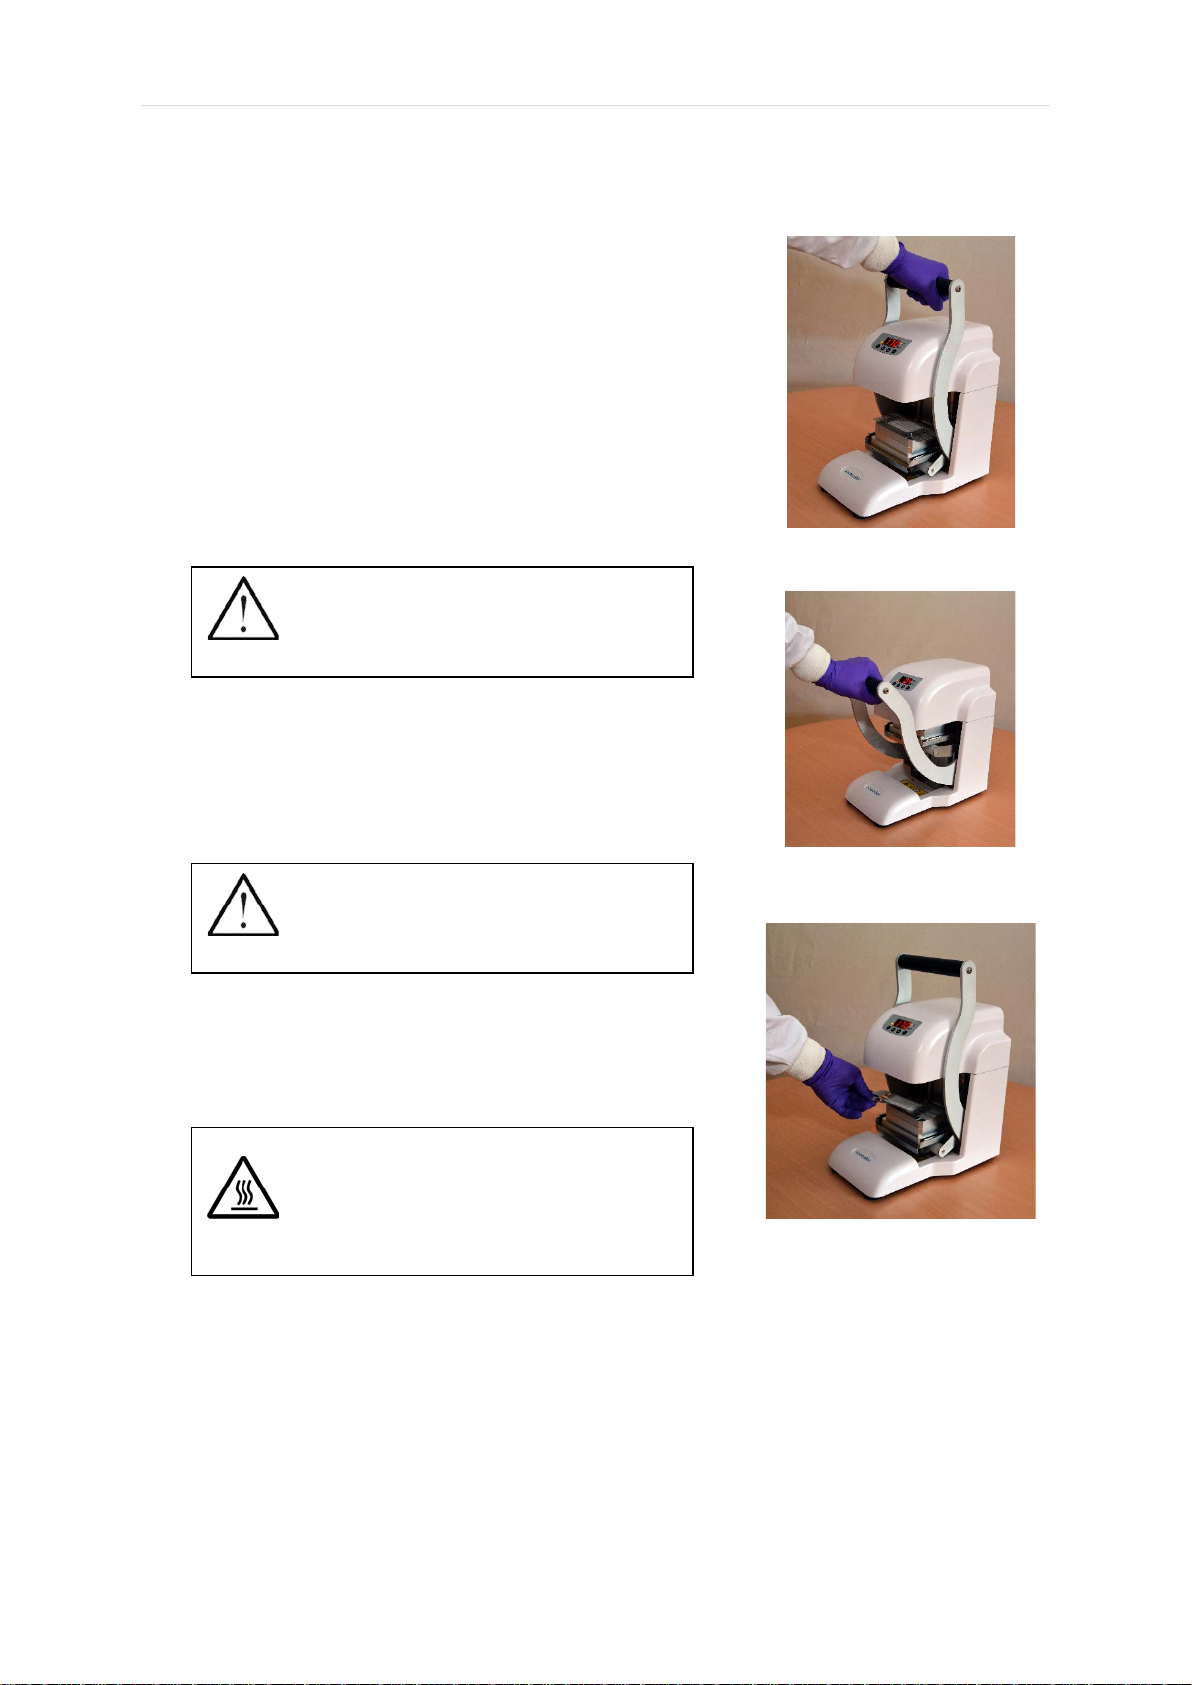
6) Grasp the handle with one or two hands, as
appropriate, and pull the handle forward
and down to raise the plate carrier until the
sample plate contacts the heater plate.
7) When correct sealing pressure is achieved,
an audible alert will sound (if enabled – see
Section 7.4) and the timer will start counting
down from the set value. When zero
seconds is reach, the display will flash and
the audible alert sound.
CAUTION
Do not to apply more force to the
handle than is necessary to operate
the start switch.
8) Immediately return the handle to its upmost
position to retract the sealed sample plate
from the heater plate.
CAUTION
Failure to release the handle when
sealing is complete could degrade
the sample plate and seal quality.
9) Remove the sealed plate from the unit and
review the seal integrity.
WARNING
The sample plate and film/foil may
remain hot for several seconds after
being removed from the unit.
For optimum performance, the sealing temperature and/or time may need
to be adjusted to best suit the sample plate and film/foil types being
sealed. Various types of plastic sample plate may be loaded onto a plate
carrier and thermal sealed using a suitable foil or clear film. See Section
3 for details.
XXSEALER USER MANUAL - 1.0

Page | 20
7.4 Switching Off the Audible Alert
The unit is fitted with an audible alert which sounds at the beginning and
end of each sealing operation.
If desired, this alert can be turned off (or back on again) using the following
procedure:
1) If necessary, press the MODE button to select the Temperature
LED setting mode.
2) Next, simultaneously press both the HEATER and MODE buttons
together.
3) The display should show “01” or “00”. If it does not, repeat this
procedure from step 1 above.
4) Now press the DOWN button to turn the alert off (display shows
“00”) or the UP button to turn the alert back on (display shows “01”).
5) Finally, press the MODE button to store the new setting.
XXSEALER USER MANUAL - 1.0
Table of contents
Popular Food Saver manuals by other brands

Radio Shack
Radio Shack 63-285 quick start

Chesterton
Chesterton TwinHybrid 4400H Installation, Operation and Rebuild Instructions

Loveshaw
Loveshaw LD3SBF Operator's manual

Braukmann
Braukmann CASO DESIGN VC200 Original operating manual

SOLIS
SOLIS VAC PREMIUM quick start guide

Biobase
Biobase BK-BTS1 user manual

Craftworx
Craftworx 1A-DS217 instruction manual

TE Connectivity
TE Connectivity 91346 Series instruction sheet

Cryo Bio System
Cryo Bio System SYMS I user manual

FoodSaver
FoodSaver V5800 Series owner's manual

ASAHI
ASAHI HIPPO AS-V-320 user manual

Grainger
Grainger 7J823 Operating instructions and parts manual


