Blizzard SPEEDWING 8600SW User manual

April 15, 2021
Lit. No. 57992, Rev. 02
This manual supersedes all editions with an earlier date.
CAUTION
Read this manual before operating or
servicing snowplow.
A DIVISION OF DOUGLAS DYNAMICS, LLC
SPEEDWING™ & Straight Blade
Skid Steer Snowplows
8600SW, 7600HD, 8000HD, 8600HD, 9000HD
HD A-Frame/Attachment Plate & Hydraulics 69770
SPEEDWING A-Frame/Attachment Plate
& Hydraulics 69880
Owner's Manual
Original Instructions


Lit. No. 57992, Rev. 02 3 April 15, 2021
SNOWPLOW OWNER DATA SHEET
Register your snowplow online at www.blizzardplows.com
Owner Name: ______________________________________________________________________________
Date Purchased: ____________________________________________________________________________
Outlet Name: _______________________________________________ Phone: _________________________
Outlet Address: _____________________________________________________________________________
Vehicle Model/Year: _________________________________________________________________________
Snowplow Model/Year: _______________________________________________________________________
Snowplow Type/Size: ______________________________________________ Weight: ______________ lb/kg
Ballast: No ___ Yes ___ Amount: ___________lb/kg
Blade Serial Number: ________________________________________________________________________

Lit. No. 57992, Rev. 02 4 April 15, 2021

Lit. No. 57992, Rev. 02 5 April 15, 2021
TABLE OF CONTENTS
PREFACE................................................................... 6
SAFETY INFORMATION.......................................... 7
SNOWPLOW WEIGHTS AND VEHICLE
APPLICATION INFORMATION.......................... 10
GETTING TO KNOW YOUR SNOWPLOW .......... 11
Unpacking and Inspection .................................. 11
Hydraulics Guide................................................. 11
Accessories ........................................................ 12
ATTACHING & DETACHING INSTRUCTIONS.... 13
OPERATING YOUR SNOWPLOW........................ 14
Blade Positions – SPEEDWING™...................... 14
Disc Shoe Adjustment......................................... 15
Transporting Snowplow ...................................... 16
Driving and Plowing on Snow and Ice ................ 16
Plowing Snow ..................................................... 17
Parking with Snowplow Attached ....................... 18
Towing a Disabled or Stuck Vehicle.................... 18
MAINTENANCE ...................................................... 19
Preseason Check................................................ 19
Postseason Maintenance.................................... 19
Maintenance and Adjustment ............................. 20
Hydraulic Hose and Fitting Replacement ........... 21
Vehicle ................................................................ 22
Recycle ...............................................................22
Blade finish .........................................................22
Tools ................................................................... 22
Troubleshooting .................................................. 22
TECHNICAL SPECIFICATIONS............................ 23

Lit. No. 57992, Rev. 02 6 April 15, 2021
PREFACE
Congratulations on purchasing the most advanced
skid steer snowplow available! BLIZZARD®snowplows
are clearing new trails for innovative design, rugged
durability, quality craftsmanship, and superior
performance. Our innovative products are tested all
over the snowbelt.
This manual provides safety, operation, and
maintenance information for your new BLIZZARD
snowplow. To keep your snowplow in good condition,
read and understand this manual and follow its
recommendations. Failure to do so may affect your
warranty coverage.
When service is necessary, your local BLIZZARD
distributor knows your snowplow best. Contact your
BLIZZARD outlet for maintenance, service or any
other assistance you require.
If you have not already done so, please visit
www.blizzardplows.com to register your new
snowplow!
Your BLIZZARD snowplow is a valuable investment.
The best way to ensure original equipment reliability
and efficiency is to purchase only Authentic
Parts and Accessories. "Will-fit" parts and
accessories can alter your plow's performance
characteristics and may affect your product warranty.
Protect your investment by staying with the best—
original BLIZZARD parts and accessories from your
local BLIZZARD outlet.

Lit. No. 57992, Rev. 02 7 April 15, 2021
SAFETY DEFINITIONS
NOTE: Indicates a situation or action that can lead
to damage to your snowplow and vehicle or other
property. Other useful information can also be
described.
WARNING/CAUTION & INSTRUCTION
LABELS
Become familiar with and inform users about the
warning and instruction labels on the back of the
blade.
NOTE: If labels are missing or cannot be read, see
your sales outlet.
SAFETY
WARNING
Indicates a potentially hazardous situation,
that if not avoided, could result in death or
serious personal injury.
CAUTION
Indicates a potentially hazardous situation
that, if not avoided, may result in minor or
moderate injury. It may also be used to alert
against unsafe practices.
Warning/Caution Label
Instruction Label
SPEEDWING™ only
(both sides)
Multiple Pinch Points
Label
Crush Hazard
Label

Lit. No. 57992, Rev. 02 8 April 15, 2021
SAFETY PRECAUTIONS
Improper installation and operation could cause
personal injury, and/or equipment and property
damage. Read and understand labels and the
Owner's Manual before installing, operating, or making
adjustments.
SAFETY
WARNING
Lower the blade when the vehicle is parked.
Temperature changes could change
hydraulic pressure, causing the blade to
drop unexpectedly or damaging hydraulic
components. Failure to do this could result in
serious personal injury.
CAUTION
Plowing speed should not exceed 10 mph
(16 km/h).
CAUTION
Transport speed should not exceed vehicle
manufacturer's recommendations. Further
reduce speed under adverse travel conditions.
CAUTION
Read Owner's Manual before operating or
servicing snowplow.
WARNING
The driver shall keep bystanders clear of the
blade when it is being raised, lowered, or
angled. Do not stand between vehicle and
blade or within 8 feet of a moving blade. A
moving or falling blade could cause personal
injury.
WARNING
Never stand, work, or reach under lift arms or
lift cylinders without employing a lift arm stop
or stand.
WARNING
Do not exceed vehicle operative
capacity including the blade. See
vehicle rating label.
Blizzard
PO BOX 245038
Milwaukee, WI 53223
NNNNNNNNNNNNNNNNNNNNNNNNNNNN
YYMMDDLLXXXXZZZZZ
YYMMDDLLXXXXZZZZ
Code Definition
YY 2-Digit Year
MM 2-Digit Month
DD 2-Digit Day
LL 2-Digit Location Code
XXXX 4-Digit Sequential Number
ZZZZZZ 5- to 7-Digit Blade Assembly PN
Blade Serial Number Label

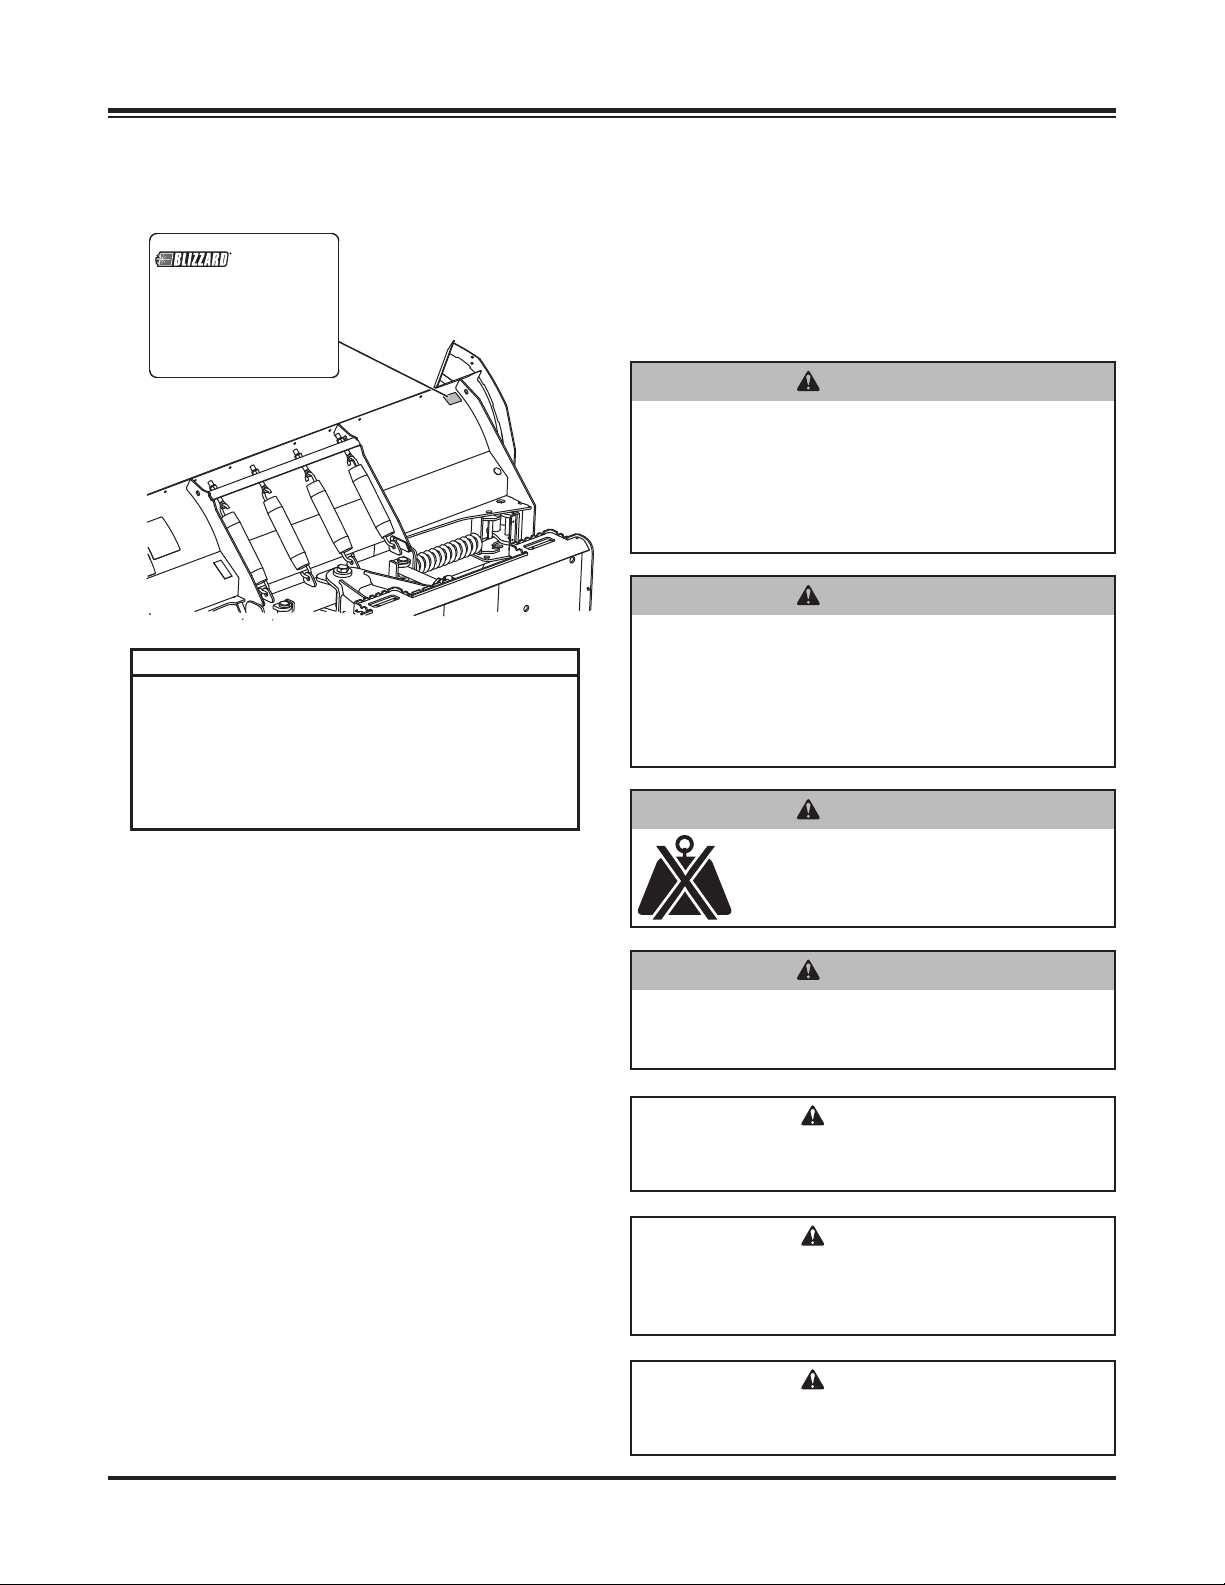
Lit. No. 57992, Rev. 02 9 April 15, 2021
HYDRAULIC SAFETY
• Always inspect hydraulic components and hoses
before using. Replace any damaged or worn parts
immediately.
• If you suspect a hose leak, DO NOT use your
hand to locate it. Use a piece of cardboard or
wood.
PERSONAL SAFETY
• Remove ignition key and put the vehicle in PARK
or in gear to prevent others from starting the
vehicle during installation or service.
• Wear only snug-fitting clothing while working on
your vehicle or snowplow.
• Do not wear jewelry or a necktie, and secure long
hair.
• Wear safety goggles to protect your eyes from
battery acid, gasoline, dirt, and dust.
• Avoid touching hot surfaces such as the engine,
radiator, hoses, and exhaust pipes.
• Always have a fire extinguisher rated BC handy,
for flammable liquids and electrical fires.
FIRE AND EXPLOSION
Be careful when using gasoline. Do not use gasoline
to clean parts. Store only in approved containers away
from sources of heat or flame.
SAFETY
WARNING
Hydraulic fluid under pressure can
cause skin injection injury. If you are
injured by hydraulic fluid, get medical
attention immediately.
WARNING
Gasoline is highly flammable and gasoline
vapor is explosive. Never smoke while
working on vehicle. Keep all open flames
away from gasoline tank and lines. Wipe up
any spilled gasoline immediately.
CELL PHONES
A driver's first responsibility is the safe operation of
the vehicle. The most important thing you can do
to prevent a crash is to avoid distractions and pay
attention to the road. Wait until it is safe to operate
mobile communication equipment such as cell phones,
text messaging devices, pagers,or two-way radios.
VENTILATION
BATTERY SAFETY
NOISE
Airborne noise emission during use is below 70 dB(A)
for the snowplow operator.
VIBRATION
Operating snowplow vibration does not exceed
2.5 m/s2to the hand-arm or 0.5 m/s2to the whole body.
CAUTION
Batteries normally produce explosive gases,
which can cause personal injury. Therefore,
do not allow flames, sparks, or lit tobacco
to come near the battery. When charging or
working near a battery, always cover your
face and protect your eyes, and also provide
ventilation.
• Batteries contain sulfuric acid, which burns
skin, eyes, and clothing.
• Disconnect the battery before removing or
replacing any electrical components.
WARNING
Vehicle exhaust contains lethal fumes.
Breathing these fumes, even in low
concentrations, can cause death. Never
operate a vehicle in an enclosed area without
venting exhaust to the outside.

Lit. No. 57992, Rev. 02 10 April 15, 2021
SNOWPLOW WEIGHTS / VEHICLE APPLICATION INFORMATION
VEHICLE APPLICATIONS
Vehicle application recommendations are based on
the following:
• The vehicle with the snowplow installed must
comply with the vehicle manufacturer's stated
gross vehicle and axle weight ratings and the front
and rear weight distribution ratio.
• In some cases there may be additional limitations
and requirements.
• Installation, modification and addition of
accessories must comply with published
BLIZZARD recommendations and instructions.
Available capacity decreases as the vehicle is
loaded with cargo or other equipment or snowplow
accessories are installed.
• If there is uncertainty as to whether available
capacity exists, the actual vehicle as configured
must be weighed.
CAUTION
See your BLIZZARD®outlet for specific
vehicle application recommendations before
installation.
Size Blade Assembly Wt (lb) Wt (kg)
8'6" 8600 SPEEDWING™ 918 416
7'6" 7600HD Straight Blade 748 339
8' 8000HD Straight Blade 770 349
8'6" 8600HD Straight Blade 791 359
9' 9000HD Straight Blade 814 369
SNOWPLOW BLADE ASSEMBLY
WEIGHTS

Lit. No. 57992, Rev. 02 11 April 15, 2021
HYDRAULICS GUIDE
Hydraulic hose routing information is found on the
Hydraulic Hose Port Guide label (shown below),
located on the underside of the step plate with the
BLIZZARD®logo.
NOTE: The skid steer supply lines use special
fittings that restrict the flow entering the block.
Do not replace fittings with anything other than
approved BLIZZARD hydraulic fittings.
GETTING TO KNOW YOUR SNOWPLOW
UNPACKING AND INSPECTION
Your skid steer snowplow has been packaged to
withstand transit and weather related damage. Fully
inspect all components upon receipt of your snowplow.
In the event of shipping damage or missing parts,
immediately contact our customer support department
at 1-888-680-8600.
Begin unpacking and inspection in the following order:
1. Remove the shipping document from the end
panel of the pallet wrap. Retain all documentation
for your records.
2. All wood framing and polyethylene material should
be removed from the pallet for easy access to the
snowplow.
3. Due to the odd-shaped components and size
of several assembly parts, various cable ties
and corrugated material are used for scratch
resistance and package orientation. Please
remove these items prior to assembly.
4. Place the main blade assembly on a flat, level
surface.
Once you have inspected all parts and removed
all packaging materials, your snowplow is ready to
be fully assembled as described in the Installation
Instructions document.
Retain a copy of the Snowplow Owner Data Sheet
on page 3 for your records.
MANUFACTURER
NAME
22
11
TORQUE SPECIFICATIONS
Relief valves 19–21 ft-lb
Fitting jam nuts 19–21 ft-lb
57898
Hydraulic Hose Port Guide – Skid Steer
To skid steer
supply lines
To left
angle ram
To right
angle ram

Lit. No. 57992, Rev. 02 12 April 15, 2021
ACCESSORIES
Putting your snowplow away for the winter?
Have a deep scratch to cover? Clean up your
blade and snowplow parts with our spray paints.
BLIZZARD®touch-up paint provides an excellent
finish to help keep your snowplow looking its best.
Paint provided in 12-oz spray cans.
Rugged and durable, the 3/8" thick, 2-ply rubber snow
deflector keeps snow offyour windshield and in its
place—on the ground! One-piece design provides
optimum snow deflection. The deflector is shipped
complete with mounting hardware.

Lit. No. 57992, Rev. 02 13 April 15, 2021
ATTACHING & DETACHING INSTRUCTIONS
Prior to operating your snowplow, review the
attach/detach instruction label (shown below) on the
back left side of the moldboard.
NOTE: If at any time the attach/detach instruction
label or any other label attached to your snowplow
becomes illegible, promptly replace it.
WARNING
Keep 8 feet clear of the blade when blade is
being raised, lowered, or angled. Do not stand
between the vehicle and blade or directly in
front of blade. If the blade hits or drops on
you, you could be seriously injured.
WARNING
Inspect snowplow components and fasteners
for wear or damage whenever mounting or
removing the snowplow. Worn or damaged
components could allow the snowplow to
drop unexpectedly.

Lit. No. 57992, Rev. 02 14 April 15, 2021
OPERATING YOUR SNOWPLOW
BLADE POSITIONS – SPEEDWING™
Your SPEEDWING snowplow is the most advanced
and versatile snowplow on the market. The
easy-to-use controls allow you to automatically adjust
the snowplow blade and wings into an infinite number
of plowing positions. Review the illustrations below to
determine the best position for your plowing needs.
A. BUCKET BLADE™ Position
(9'3" or 9'10" Blade Width)
• Primary position for transporting snow
• For use in initial clearing with decent visibility,
transporting large volumes of snow, final
clean-up
• Ideal application: roadway intersections
B. WIDE PASS Position Angled with Wing
Forward
• Primary position for accelerated angled plowing
• For use in directional plowing, cornering,
diverting snow away from objects or buildings
• Ideal application: plowing adjacent to buildings,
driveway/road intersections
C. WIDE PASS™ Position
(10' or 11'-3" Blade Width)
• Primary position for clearing large surfaces
• For use in light snow conditions with good
visibility, final clearing and clean-up
• Ideal application: large parking lots, widening
roadways
WARNING
Never use the snowplow attachment to carry
people, as a man lift or as a work platform.
WARNING
When plowing with down pressure,
do not cause the front wheels on the
skid steer/tractor to raise above ground.
A
B
C

Lit. No. 57992, Rev. 02 15 April 15, 2021
OPERATING YOUR SNOWPLOW
DISC SHOE ADJUSTMENT
Recommended Shoe Adjustments
For gravel surfaces: The bottom surface of the shoe
should be 1/4" to 1/2" below the cutting edge.
For hard surfaces (concrete or asphalt): Bottom
surface of shoe should be even with the cutting edge.
1. Raise the blade one foot offthe road surface.
From in front of the blade, place stand assembly
or sturdy blocking under the cutting edge.
2. Lower the blade onto stand assembly.
3. Remove the linchpin and slide the disc shoe down
and out of the shoe holder.
4. Remove one or more washers from the shoe
stem, and reinstall the shoe into the shoe holder.
Place the removed washers onto the shoe stem
above the shoe holder.
5. Reinstall the linchpin.
6. Raise the blade slightly. Remove the stand
assembly.
7. Stand 8 feet clear of the blade when checking the
height adjustment of cutting edge to road surface.
WARNING
Blade can drop unexpectedly. Place blade on
stand assembly. Failure to do so could result
in serious personal injury.
Washers
Shoe Holder
Spacer
Linchpin
Disc Shoe
To pin wings in position for straight blade option:
1. Fully angle the blade to one side. Lower the
blade and turn the vehicle ignition OFF.
2. Standing behind the blade, install a
3/4" x 9" clevis pin down through the holes in
the back of the blade assembly, as shown.
3. Secure the pin with an 1/8" hairpin cotter.
4. Repeat Steps 1–3 on the opposite side.
5. To remove the clevis pins, reverse the above
procedure.
1/8" Hairpin
Cotter
3/4" x 9" Clevis Pin

Lit. No. 57992, Rev. 02 16 April 15, 2021
TRANSPORTING SNOWPLOW
These instructions are for driving short distances to
and from plowing jobs. For long trips, remove the
snowplow from the vehicle, following recommended
mechanical lifting cautions and procedures.
1. Completely raise the blade.
2. Adjust the blade height for maximum vehicle
headlamp illumination.
3. Adjust the blade to the straight position.
OPERATING YOUR SNOWPLOW
WARNING
Position the blade so it does not block the
vehicle headlamp beam.
Do not change blade position while traveling.
You could suddenly lower blade accidentally.
DRIVING AND PLOWING ON SNOW
AND ICE
Refer to vehicle owner's manual instructions for
driving in snow and ice conditions. Remember, when
you drive on snow or ice, your wheels will not get good
traction. You cannot accelerate as quickly, turning
is more difficult, and you will need longer braking
distance.
Wet and hard-packed snow or ice offers the worst
traction. It is very easy to lose control. You will have
difficulty accelerating. If you do get moving, you may
have poor steering and difficult braking, which can
cause you to slide out of control.
Here are some tips for driving in these conditions:
• Drive defensively.
• Do not drink, then drive or plow snow.
• Plow or drive only when you have good visibility
for operating a vehicle.
• If you cannot see well due to snow or icy
conditions, you will need to slow down and keep
more space between you and other vehicles.
• Slow down, especially on higher-speed roads.
Your headlamps can light up only so much road
ahead.
• If you are tired, pull offin a safe place and rest.
• Keep your windshield and all glass on your vehicle
clean to see around you.
• Dress properly for the weather. Wear layers of
clothing; as you get warm, you can take offlayers.
CAUTION
Transport speed should not exceed vehicle
manufacturer's recommendations. Further
reduce speed under adverse travel conditions.
WARNING
Drinking then driving or plowing is very
dangerous. Your reflexes, perceptions,
attentiveness, and judgment can be affected
by even a small amount of alcohol. You can
have a serious or even fatal collision if you
drive after drinking. Please do not drink and
then drive or plow.

Lit. No. 57992, Rev. 02 17 April 15, 2021
OPERATING YOUR SNOWPLOW
PLOWING SNOW
NOTE: Only the driver should be in the vehicle cab
when the snowplow is attached.
General Instructions
1. Before plowing, make sure that you know of any
obstructions hidden beneath the snow, such as
bumper stops in parking lots, curbs, sidewalk
edges, shrubs, fences, or pipes sticking up from
the ground. If unfamiliar with the area to be
plowed, have someone familiar with the area point
out obstacles.
2. If possible and you have good visibility, plow
during the storm rather than letting snow
accumulate.
3. Do not exceed 10 mph (16 km/h) when plowing
snow.
CAUTION
Wear a seat belt when plowing snow. Hidden
obstructions could cause the vehicle to stop
suddenly, resulting in personal injury.
CAUTION
Never stack snow with the blade angled. This
could damage the snowplow.
CAUTION
Flag any obstructions that are hard to locate
under snow to prevent damage to product or
property.
CAUTION
Plowing speed should not exceed 10 mph
(16 km/h).
Hard-Packed Snow
1. Raise the disc shoes so that the cutting edge
comes into direct contact with the pavement.
2. Use the lowest gear to place maximum power
behind the cutting edge.
3. An angled blade is more effective for removing
hard-packed snow.
Deep Snow
1. For straight blades, shear offtop layers by plowing
with the blade raised 3 to 4 inches for the initial
pass.
2. Bite into the edges using only partial blade width
until the job is cut down to size for full-blade
plowing.
Rule of thumb:
6" of snow — plow with entire blade width;
9" of snow — plow with 3/4 blade width;
12" of snow — plow with 1/2 of the blade.
Experience and "feel" are the best guides.
3. When plowing deep snow, be sure to keep the
vehicle moving.
4. For increased traction, use tire chains where legal.

Lit. No. 57992, Rev. 02 18 April 15, 2021
OPERATING YOUR SNOWPLOW
Clearing Driveways
1. Head into the driveway with the blade angled and
plow the snow away from any buildings. Widen
driveway by rolling snow away from any buildings.
2. If a building is at the end of the driveway, plow to
within a vehicle length of the building. Push as
much snow as possible offthe driveway.
3. With a raised blade, drive through remaining
snow to building. Drop blade and back drag snow
away from the building at least one vehicle length.
Repeat if necessary.
4. Back vehicle to the building and plow forward,
removing the remaining snow from the driveway.
Check municipal ordinances for proper disposal of
snow.
Clearing Parking Lots
1. Clear areas in front of buildings first. With blade
raised, drive up to the building. Drop blade and
back drag the snow away from building. When
snow is clear of the buildings, turn the vehicle
around and push snow away from the buildings
toward outer edges of lot.
2. Plow a single path down the center in the
lengthwise direction.
3. With the blade in the angle position, plow
successive strips lengthwise until the area is
cleared and snow is stacked around the outer
edges.
4. If snow is too deep to clear in above manner, clear
main traffic lanes as much as possible. Check
municipal ordinances for proper disposal of snow.
PARKING WITH SNOWPLOW ATTACHED
Whenever you park your vehicle, completely lower the
blade to the ground.
TOWINGADISABLEDORSTUCKVEHICLE
Do not use any snowplow components as an attaching
point when retrieving, towing or winching a disabled or
stuck vehicle.
WARNING
Lower the blade when the vehicle is parked.
Keep 8 feet clear of the blade when it is being
raised, lowered, or angled. Temperature
changes could change hydraulic pressure,
causing the blade to drop unexpectedly or
damaging hydraulic components. Failure to
do this could result in serious personal injury.

Lit. No. 57992, Rev. 02 19 April 15, 2021
PRESEASON CHECK
Before the snow season, check your equipment to
make sure that it is in working condition. Here are
some tips for getting your equipment ready:
• Replace worn or damaged parts.
• Check all mounting points and tighten fasteners,
on both snowplow and vehicle. Verify that all
cotter pins are in place.
• Repaint blade assembly and attachments, as
necessary, to protect the metal.
• Install auxiliary and flashing lights for compliance
and visibility in accordance with local regulations.
• Check vehicle headlamps, auxiliary lights, heater,
and windshield wipers for proper operation.
• Inspect and test your battery. Recharge or replace
as necessary.
• Ballast may be necessary, or beneficial, on some
vehicles to provide maximum traction, braking,
and handling.
• Any ballast material (such as sand and blocks)
must be solidly secured to the vehicle, preventing
it from moving under harsh plowing conditions.
MAINTENANCE
WARNING
Lower the blade when the vehicle is parked.
Keep 8 feet clear of the blade when it is
being raised, lowered or angled. Temperature
changes could change hydraulic pressure,
causing the blade to drop unexpectedly or
damaging hydraulic components. Failure to
do this could result in serious personal injury.
POSTSEASON MAINTENANCE
NOTE: Coat all electrical connections with
dielectric grease.
• Clean and paint blade and components as
needed.
• Apply general purpose petroleum grease to
exposed chrome surfaces of the rams to prevent
rust.
• Lubricate all pivot points with general purpose
petroleum grease.

Lit. No. 57992, Rev. 02 20 April 15, 2021
MAINTENANCE
MAINTENANCE AND ADJUSTMENT
Your BLIZZARD®snowplow is designed for rugged,
dependable service. However, like the vehicle
on which it is mounted, it needs regular care and
maintenance.
Check the following before and frequently during the
plowing season:
1. Make sure that all fasteners, mounting bolts, and
hydraulic connections are tight. Pay particular
attention to the 1" pivot bolt.
2. Check all plugs and seals for hydraulic fluid leaks.
Repair as necessary.
CAUTION
Overtightening springs will not increase blade
trip force and can damage the springs.
WARNING
Lower the blade when the vehicle is parked.
Keep 8 feet clear of the blade when it is being
raised, lowered, or angled. Temperature
changes could change hydraulic pressure,
causing the blade to drop unexpectedly or
damaging hydraulic components. Failure to
do this could result in serious personal injury.
3. Trip Spring Adjustment: To adjust trip spring
tension, adjust the eyebolts located at the top
of the blade. Tighten the adjusting nut until the
coils begin to separate. When tension is properly
adjusted, a sheet of paper should pass between
the second and third coils. When the proper
tension is reached, tighten locknut.
4. Blade Finish: If the powder-coated finish is
nicked or scratched, repair the surface and paint
with BLIZZARD white or black paint (available in
aerosol or quart cans).
Other manuals for SPEEDWING 8600SW
1
This manual suits for next models
4
Table of contents
Other Blizzard Snow Blower manuals

Blizzard
Blizzard POWER PLOW 8100PP User manual

Blizzard
Blizzard Power Plow 8611 Supplement

Blizzard
Blizzard POWER PLOW 810SS Supplement

Blizzard
Blizzard 7600LT User manual

Blizzard
Blizzard B32057 Datasheet

Blizzard
Blizzard SPEEDWING 8600SW User manual

Blizzard
Blizzard 680LT Supplement

Blizzard
Blizzard B74C Product manual

Blizzard
Blizzard 69982 User manual

Blizzard
Blizzard B54 Product manual