Blu VIEW 3 User manual

USER MANUAL
FCC ID: YHLBLUB140DL

About Your Phone
Power On and Off
On - Please ensure the SIM card has been properly inserted into the phone. Long press the Power key to
switch the phone on.
Off - In standby mode, long press on Power key until an options menu appears. Select Power Off in the
menu to power off the phone.
Power On / Off

Navigation Bar
The navigation bar is a dedicated area that displays device navigation buttons. These system buttons allow
the user to control the phone seamlessly.
Back
Returns to the previous screen; Closes the keyboard, any open program, or any menu
option.
Home
The home button pauses any current action and returns to the home screen.
Recent Apps
Opens a list of recently opened applications that allows you to switch conveniently
between them. This option can also close any open applications by swiping to the side.
Notifications Bar
The notification bar is located on the top of the screen which contains useful and important information
regarding your phone and the applications that are installed.
On the notification bar, several icons will appear such as signal bar, time, battery indicator, data indicator,
Bluetooth and Wi-Fi. You may slide the notification bar down with your finger to display any pending
notifications or actions.

Notification Settings
The notification settings panel provides shortcuts to different phone settings for quick access. Click on any
of the shortcut notification icons to power on or off.
Pending
Notifications and
Applications
Quick
Notification
Settings
Quick Settings
Menu Button
Clear Button

To clear notifications:
» Drag down the notification bar and click the clear notification icon on the lower right-hand part of the
notification screen.
To access the quick notification settings menu:
» Drag down the notification bar completely. Some settings include Wi-Fi, Bluetooth, Location, Airplane
mode, and Flashlight.
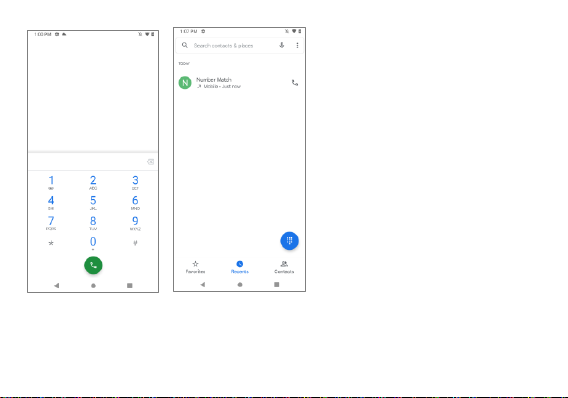
Call Functions
At the dialing interface, enter the phone number and then click the dial key.
Placing a Call
» Click the Keypad button to open the dial keyboard. At the dial keyboard, enter the phone number you
wish to dial.
You may also press and hold the 0 key to add a (+) sign when adding an international dialing prefix.
» Click the dial button to make the call.
If dialing an extension, you may click on the keypad button to open the keypad interface and enter the
number of the extension.
» Click the end button to end the call.

Call Options
There are different options that can be used in the call log and dialing interface. You may press the menu
key while in the general dialing interface and adjust call settings, enter call history, clear your frequently
dialed numbers, and add a new contact.
Call Logs
Every telephone number called and received will be saved in the phones call log. All recently called
numbers in the call log can be dialed by clicking on the contact tile in the speed dial tab, or by clicking on
the contact and selecting call back in the recent tab. When the number appears on the list, click it to view
details. To delete a call from the call history, press the menu key and select delete. You may remove one or
multiple calls.
Contacts
To maintain organized, the
call log has Favorites,
Recent Calls, and Contact
set up in quick tabs

Open Contacts
To access » Click on the applications menu then on the Contacts icon.
» The default display is the phone contacts and SIM card contacts.
» Contacts are organized alphabetically by default.
Click the menu button to enter the contact search interface or scroll to search a contact. Any numbers or
letters associated with any of the contacts saved in the list will be shown in the search results.

Add New Contact
» Click the add contact icon to add contact icon in the bottom right.
Add Contact
Search
Note: Saving your contacts to your
Google account facilitates both storage
and synchronization with multiple
entries across different handsets and
tablets. When synchronizing your
Gmail with a new phone, all your stored
Google contacts are automatically
synced with the new phone
Table of contents
Other Blu Cell Phone manuals


