SERVICE@BLUDOT.COM |3ASSEMBLY NOTES
PT. 1405 X 2PT. 8036 X 2
PT. 1114 x 2PT. 9005 x 1
16” Inches Apart
58 7/8 Inches
Above the Floor
Step 02
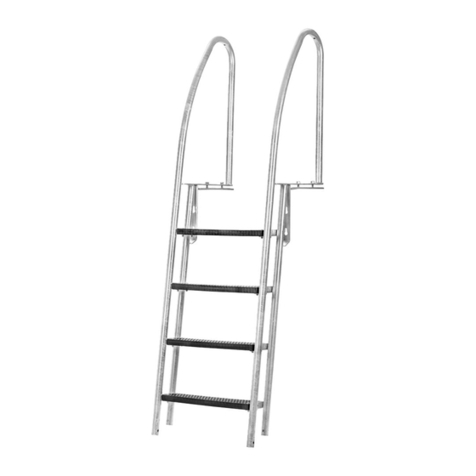
INSTALL THE LADDER.
Slide the ladder onto the wall mount. Secure
the ladder using the provided set screws as
shown.
Step 01
INSTALLING THE WALL MOUNT.
Hardware is included for installation. Please
consult your local hardware professional to
determine the hardware best suited for your
wall type.
Use the wall mount as a template to mark the
holes. With a level and a measuring device, be
sure the holes are 58 7/8” above the floor.
If the mounting location is not positioned on
a stud, drill a 1/4” hole in the marked location
and insert anchor as shown. If the mounting
location is located on a stud, this step of
installing an anchor may be skipped. Instead,
drill a 1/8” pilot hole in the marked location.
Attach the wall mount to the wall using the
included hardware as shown.
