manuals.online logo
Brands
  1. Home
  2. •
  3. Brands
  4. •
  5. Blue Sea Systems
  6. •
  7. Switch
  8. •
  9. Blue Sea Systems 9010 User manual

Blue Sea Systems 9010 User manual

Marine Electrical Prod
ucts
PN 9010
Features
• Switches 3 - 120V AC Sources
• Compact solution when circuit protection is provided elsewhere
• Allows connecting one of three different AC sources to one circuit
• Heavy duty industrial rated switches
• Intuitive function - One handed operation
• UL listed switches
Specications
Amperage Rating: 32 Amperes Maximum
Voltage Rating: 600 Volts AC Maximum
Maximum Wire Size: 10 AWG
Minimum Wire Size: 14 AWG
Terminal Recommended Torque: 12 lb-in.
  Inches Millimeters
Overall Dimensions: 1.890 x 1.890 48.00 x 48.00
Mounting Depth: 2.41 61.2
Maximum Panel Thickness: 0.157 4.00
BlueSeaSystemsInc.  Phone(360)738-8230
425SequoiaDrive  Fax(360)734-4195
Bellingham,WA98226USA www.bluesea.com

6684 Rev 002
  WARNING
] These instructions are intended to provide assistance with the
installation of this product, and are not a substitute for a more
comprehensive understanding of electrical systems. We strongly
recommend that a competent electrical professional perform the
installation of this product.
] If either the switch front or back is to be exposed to water it must be
protected with a waterproof shield.
] The switch must not be installed in explosive environments such as
gasoline engine rooms or battery compartments as the switches
are not ignition proof.
] The vessel’s shore power cord must be disconnected form shoreside
power before installing this electrical switch.
] If an inverter is installed on the vessel its power leads must be
disconnected at the battery before the panel installation. Be aware that
many inverters have a “sleep mode” in which their voltage potential
may not be detectable with measuring equipment.
] If an AC Generator is installed aboard it must be stopped and rendered
inoperable before the switch is installed.
] Verify that no other AC or DC source is connected to the vessel’s
wiring before the switch is installed.
Guarantee:
Blue Sea Systems stands behind its products for as long as you own
them. Find detailed information at www.bluesea.com/about.
For customer service, call 800-222-7617.
Installation
1. DisconnectallACandDCpower
Disconnect all AC power originating on or off the vessel. This includes
inverters, generators, shore power attachments and any other device
capable of supplying AC power to the ship’s circuits.
Disconnect the main positive DC cable from all batteries to eliminate
the possibility of a short circuit and to disable the inverter while
installing the switch.
2. Selectmountinglocationandcutopening
Select a mounting location which is protected from water on the front
and back of the switch and is not in an area where ammable vapors
from propane, gasoline or lead acid batteries accumulate. AC rotary
switches are not ignition protected and may ignite such vapors.
Using the template provided, drill the mounting surface where the
switch is to be mounted. The mounting surface maximum thickness is
0.157” (4.00mm). Do not yet fasten the switch to the mounting surface.
3. Installsource1,source2,source3,andoutputwires
Install the feed wires from AC Shore Power and AC Generator. Install
the output wires. Refer to the wire sizing chart to select the proper wire
size. Connect the black AC hot, white AC neutral and green AC safety
ground as shown in the illustration. To avoid excess wire temperatures
when cooling may be limited, we recommend using at least 12 gauge
wire for 30A.
Do not confuse the neutral current carrying wires (sometimes called
ground) with the green normally non-current carrying wires (sometimes
called grounding). These two wires must be connected only at the
source of power, nowhere else.
A double pole circuit breaker must be installed within 10 feet of the
shore power inlet, ahead of this switch. The measurement is made
along the conductors.
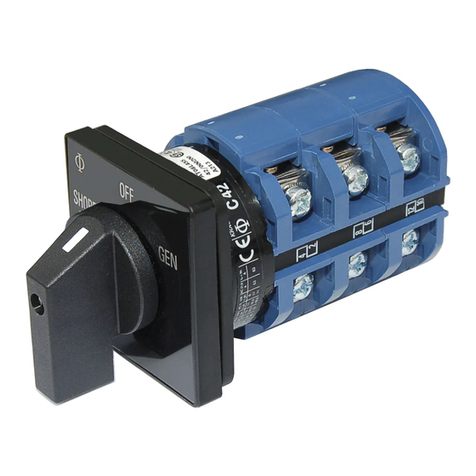
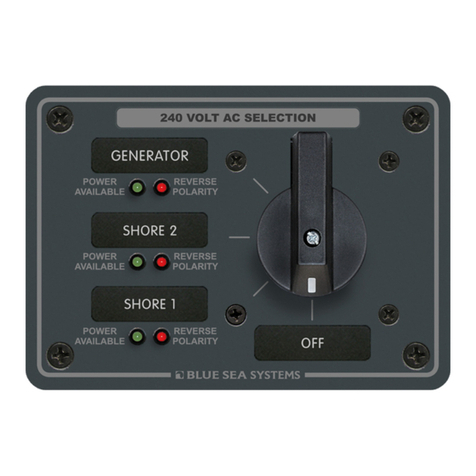
AC Rotary Switch
3 Positions + OFF, 2 Pole
The switch provides switching, but does not provide circuit protection.
It is not a substitute for a main circuit breaker.
Wiresizingchart
Use the wire sizing chart below to determine the proper branch and
feed circuit wire sizes.
AllowableAmperageofConductors
4. Testing
It is very important that wiring be connected according to the diagram.
The hot lines and neutral from each source must be identied and
grouped together so that the switch selects all of the lines from the
same source and does not accidentally select lines or neutrals from
more than one source. Verify the connections and see that each
connection is securely tightened, including the terminals for the
jumpers installed on the switch where no wires are attached.
If you are using this switch for other purposes, such as voltage tap
selection on a transformer, please review your installation diagram and
devise a suitable test plan to verify your connections. Page 1 of 3
Note: Thischartassumeswirewith105°Cinsulationrating
 andnomorethan2conductorsarebundled.
 Notsuitableforsizingexibleshorepowercords.
Installation(continued)
] TestShorePower
Connect the shore power cable to the shore power source. Turn
on the shore source to make power available to the boat.
a. Turn the selector switch to SHORE.No Reverse
Polarity lights should be lit, and power available should
be indicated. If any red Reverse Polarity lights are on,
turn off the shore power circuit breaker and disconnect
the shore cord at the shore source. Either the hot and
neutral or hot and ground wires have been reversed.
Starting at the distribution panel, trace the connections
as far back as necessary to locate the error.
b. If there are no indications of reverse polarity, check to
see that power is available. If the electrical distribution
panel has a meter, verify that shore power is available
and at the proper voltage. If there is no meter, turn
on the load circuit breaker for an AC circuit powering
a convenience outlet and use a voltmeter to verify
that power is available from line to neutral at the plug.
Verify that there is no voltage between ground and
neutral.
] TestGeneratorSystem
Turn the circuit breaker at the shore source to OFF. Set the
selector switch to OFF. The shore power available lights should
all be off. Start the generator and turn the generator breaker to
ON.
a. If there are power available lights for the generator
output, they should light.
b. There should be no power available indication at the
shore power circuit breaker.
c. Set the selector switch to GENERATOR. Power
should be available at the power distribution panel. If
the electrical distribution panel has a meter, verify that
power is available and at the proper voltage.
d. There should be no power available lights indicating at
the shore circuit breaker.
] Test the third source in a similar manner.
ThePurposeoftheACSourceSelectorSwitch
Alternating Current (AC) power changes polarity 60 times per second in the
US, Canada and Latin America and 50 times per second in Europe. This is
the frequency of the power and is referred to as Hertz (or the now outdated
term “cycle”). Because of this alternating nature of AC power, two live
sources of AC power, such as shore power and inverter power, or shore
power and a generator, cannot be electrically connected. The AC Source
Selector switch is designed to connect two sources of AC power to a
common circuit while preventing both sources from being connected to the
circuit simultaneously.
UsefulReferenceBooks
• Calder, Nigel (2005). Boatowner’s Mechanical and Electrical Manual
(3d ed). Camden, ME: International Marine / McGraw-Hill.
• Wing, Charlie (2006). Boatowner’s Illustrated Electrical Handbook
(2d ed). Camden, ME: International Marine / McGraw-Hill.
OtherInnovativeProductsfromBlueSeaSystems
• 360 Panel System
• Battery management solutions
• AC and DC circuit protection devices
• WeatherDeck™ waterproof panels
• BusBars, fuses, and fuse blocks
• Analog and digital meters
It is possible to verify most connections using an ohmmeter before
power is applied. These procedures take a little time, but are
recommended, especially if some elements of a previous installation
might not have been clearly or correctly labeled or follow the expected
color codes.
There are many possible sources that may be selected using this
switch, and they may be arranged in any order. The following test
instructions are generally suitable for shore and generator installations.
The third source may be another shore power inlet
or an inverter or other specialized source.
] TestShoreConnectiontoSwitch
Disconnect the shore power cord from the shore power source
and bring the shore plug aboard to a point close to the switch
panel. Connect the other end of the shore cord to the boat’s
power inlet. Turn ON the shore power circuit breaker between the
inlet and the selector switch. Set the selector switch to OFF.
a. Use an ohmmeter to check for continuity from the shore
ground plug to the green wire at the electrical panel.
b. Check for continuity from the power cord plug neutral
pin to the neutral wire (white typically in US, light blue
typically in Europe) at the selector switch.
c. Check for continuity between the line pin of the shore
plug and the line wire (typically black in US, brown in
Europe) at the selector switch.
d. Check that there is a high resistance between (>1000
Ohms) the neutral conductor and the grounding
conductor.
e. Verify that there is a high resistance between (>1000
Ohms) between the shore cord plug neutral pin and
line pin. There may be indicator lamps in the circuit,
but no more than that with the selector switch in the off
position.
] VerifySwitchSelectsShoreInput
With the shore cord still disconnected from the shore and
available onboard, and the generator set not operating, set the
load circuit breakers to off, so there is no load at the output side of
the selector switch.
a. Verify that the there is a high resistance between the
line and neutral of the load side terminals of the
selector switch. There may be indicator lamps still
attached, so it may not read open circuit.
b. Set the selector switch to SHORE. The ohmmeter
should still indicate a high resistance.
c. Short the line pin to the neutral pin of the shore cord
and verify that the line and neutral at the load side of
the selector show a low resistance when these are
shorted and a high resistance when they are not.
] VerifytheGeneratorWiring
Turn the generator circuit breaker to OFF and set the selector
switch to the generator position. All load circuit breakers should
still be off. Leave the shore input circuit breaker in the on
position.
a. Verify that there is a high resistance (>1000 Ohms)
from the line to neutral.
b. Verify that there is a low resistance from the neutral to
ground at the load connections.
c. With the generator still not running, close the generator
circuit breaker at the generator. Verify that there is a
now a low resistance from line to neutral where the
generator windings are now connected across the
circuit.
d. Verify that there is still a high resistance from neutral to
ground and neutral to line at the shore power plug.
] Test the third source in a similar manner.
] Set the Selector switch to OFF, turn the shore power breaker
to OFF,and leave the load panel circuit breakers in the OFF
position. Complete the mounting of the switch.
]Setyourmultimetertovolts.
Page 2 of 3

1
2
3
DOUBLE POLE CIRCUIT BREAKER
REQUIRED WITHIN TEN FEET OF
SHORE INLET BETWEEN AC SOURCE
SELECTOR SWITCH AND SHORE POWER
1 5
3
9 7
11
2 8
FROM AC
NEUTRAL
FROM AC
HOT
FROM AC
NEUTRAL
FROM AC
NEUTRAL
FROM AC
HOT
FROM AC
NEUTRAL
SOURCE
2
SOURCE
1
SOURCE
3
FROM AC
HOT
FROM AC
HOT
Installation(continued)
PanelMounting
HolePattern
PN 9010
WiringDiagram
ACRotarySelectorSwitch
PN 9010
PanelMounting
Assembly
Page 3 of 3
6684 Rev 002

Other Blue Sea Systems Switch manuals

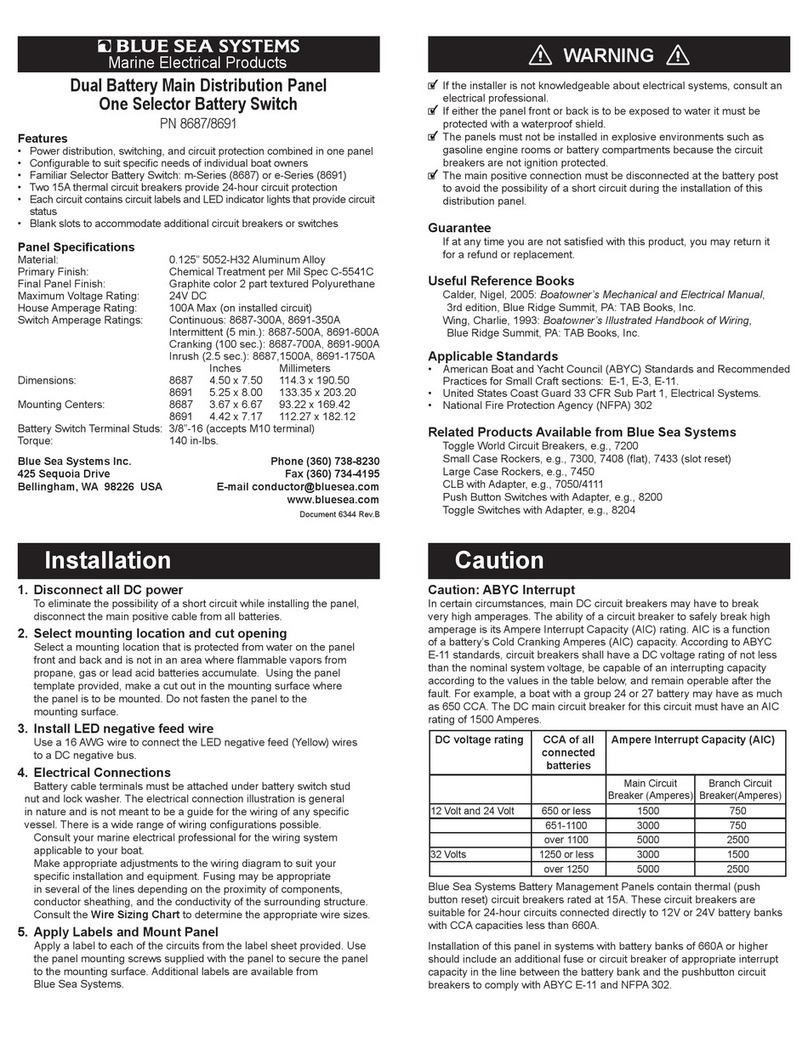
Blue Sea Systems 3001 User manual

Blue Sea Systems

Blue Sea Systems 3001 User manual

Blue Sea Systems 7712 User manual

Blue Sea Systems

Blue Sea Systems 7712 User manual

Blue Sea Systems 9004e User manual

Blue Sea Systems

Blue Sea Systems 9004e User manual

Blue Sea Systems 8369 User manual

Blue Sea Systems

Blue Sea Systems 8369 User manual

Blue Sea Systems 8361 User manual

Blue Sea Systems

Blue Sea Systems 8361 User manual

Blue Sea Systems Dual Circuit 6010 User manual

Blue Sea Systems

Blue Sea Systems Dual Circuit 6010 User manual

Blue Sea Systems 8687 User manual

Blue Sea Systems

Blue Sea Systems 8687 User manual

Blue Sea Systems ML Series User manual

Blue Sea Systems

Blue Sea Systems ML Series User manual

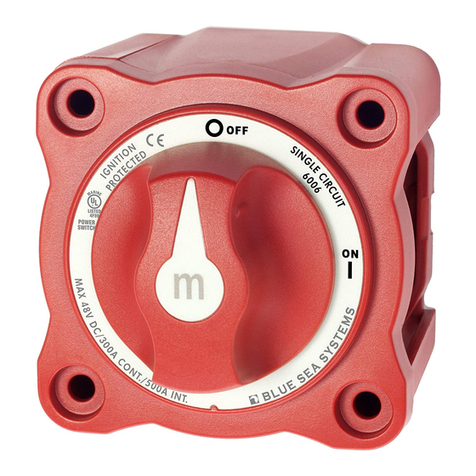
Blue Sea Systems 6006 User manual

Blue Sea Systems

Blue Sea Systems 6006 User manual

Blue Sea Systems 3002 User manual

Blue Sea Systems

Blue Sea Systems 3002 User manual

Blue Sea Systems 9001e User manual

Blue Sea Systems

Blue Sea Systems 9001e User manual

Blue Sea Systems 9019 User manual

Blue Sea Systems

Blue Sea Systems 9019 User manual

Blue Sea Systems 3003 User manual

Blue Sea Systems

Blue Sea Systems 3003 User manual

Blue Sea Systems 8280 User manual

Blue Sea Systems

Blue Sea Systems 8280 User manual

Blue Sea Systems 3000 User manual

Blue Sea Systems

Blue Sea Systems 3000 User manual

Blue Sea Systems 8689 User manual

Blue Sea Systems

Blue Sea Systems 8689 User manual

Blue Sea Systems 7700 User manual

Blue Sea Systems

Blue Sea Systems 7700 User manual

Blue Sea Systems 7700B User manual

Blue Sea Systems

Blue Sea Systems 7700B User manual

Blue Sea Systems 6005 User manual

Blue Sea Systems

Blue Sea Systems 6005 User manual

Popular Switch manuals by other brands

Comm IPC-6+ user guide

Comm

Comm IPC-6+ user guide

Brocade Communications Systems TurboIron 24X series Hardware installation guide

Brocade Communications Systems

Brocade Communications Systems TurboIron 24X series Hardware installation guide

Orno OR-SH-1750 quick start guide

Orno

Orno OR-SH-1750 quick start guide

Atlona AT-UHD-SW-510W installation guide

Atlona

Atlona AT-UHD-SW-510W installation guide

Broadcom Brocade 6510 Hardware installation guide

Broadcom

Broadcom Brocade 6510 Hardware installation guide

SMC Corporation D-M9N-588 Series Installation and maintenance manual

SMC Corporation

SMC Corporation D-M9N-588 Series Installation and maintenance manual

Siemens RUGGEDCOM RX1500 installation guide

Siemens

Siemens RUGGEDCOM RX1500 installation guide

Graco 558938 instructions

Graco

Graco 558938 instructions

Digisol DG-FS1526 user manual

Digisol

Digisol DG-FS1526 user manual

Briggs & Stratton 71019 Installation and operator's manual

Briggs & Stratton

Briggs & Stratton 71019 Installation and operator's manual

Radial Engineering BigShot ABY instructions

Radial Engineering

Radial Engineering BigShot ABY instructions

Kayden CLASSIC 810 product manual

Kayden

Kayden CLASSIC 810 product manual

Acnodes KV802 user manual

Acnodes

Acnodes KV802 user manual

Endress+Hauser Liquiphant FTL64 technical information

Endress+Hauser

Endress+Hauser Liquiphant FTL64 technical information

Fujioh WS06 installation manual

Fujioh

Fujioh WS06 installation manual

Banner SI-HG63 Series instruction manual

Banner

Banner SI-HG63 Series instruction manual

AES global iGate Prime 6 4G manual

AES global

AES global iGate Prime 6 4G manual

Heltun QUINTO HE-TPS05 user manual

Heltun

Heltun QUINTO HE-TPS05 user manual

manuals.online logo
manuals.online logoBrands
  • About & Mission
  • Contact us
  • Privacy Policy
  • Terms and Conditions

Copyright 2025 Manuals.Online. All Rights Reserved.