manuals.online logo
Brands
  1. Home
  2. •
  3. Brands
  4. •
  5. BLUM
  6. •
  7. LCD Drawer
  8. •
  9. BLUM LEGRABOX User manual

BLUM LEGRABOX User manual

Other BLUM LCD Drawer manuals

BLUM TANDEM plus BLUMOTION 563.4570B User manual

BLUM

BLUM TANDEM plus BLUMOTION 563.4570B User manual

BLUM TANDEM plus BLUMOTION 569F User manual

BLUM

BLUM TANDEM plus BLUMOTION 569F User manual

BLUM TANDEMBOX User manual

BLUM

BLUM TANDEMBOX User manual

BLUM LEGRABOX Assembly instructions

BLUM

BLUM LEGRABOX Assembly instructions

Popular LCD Drawer manuals by other brands

VADANIA VA1045 manual

VADANIA

VADANIA VA1045 manual

Acnodes KD 8228 user manual

Acnodes

Acnodes KD 8228 user manual

Ameriwood 9524328PCOM manual

Ameriwood

Ameriwood 9524328PCOM manual

Kesseböhmer TANDEM solo Mounting instructions

Kesseböhmer

Kesseböhmer TANDEM solo Mounting instructions

Crystal Image Technologies RMD-151-A Series user manual

Crystal Image Technologies

Crystal Image Technologies RMD-151-A Series user manual

APW Wyott Ease Extreme HDX-1-120 Installation and operating instructions

APW Wyott

APW Wyott Ease Extreme HDX-1-120 Installation and operating instructions

NTI RACKMUX-V17-N Installation and operation manual

NTI

NTI RACKMUX-V17-N Installation and operation manual

Austin Hughes CyberView L120 user manual

Austin Hughes

Austin Hughes CyberView L120 user manual

Uplift Desk STR018 manual

Uplift Desk

Uplift Desk STR018 manual

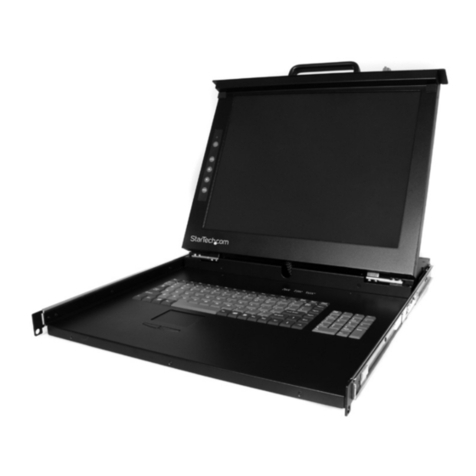
StarTech.com DuraView RACKCONS1501 instruction manual

StarTech.com

StarTech.com DuraView RACKCONS1501 instruction manual

GRASS DWD XP manual

GRASS

GRASS DWD XP manual

Acnodes KDC 81932 user manual

Acnodes

Acnodes KDC 81932 user manual

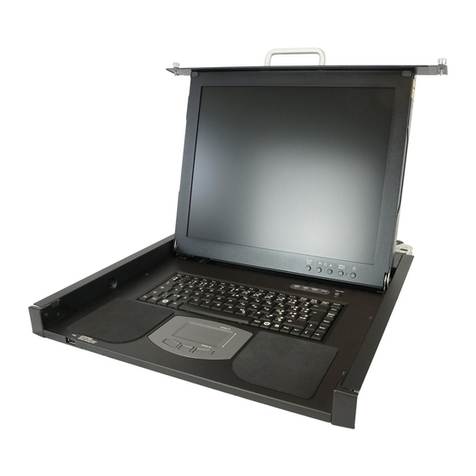
Acnodes RK1200T user manual

Acnodes

Acnodes RK1200T user manual

montpellier WD140BG Installation and operating instructions

montpellier

montpellier WD140BG Installation and operating instructions

Austin Hughes Electronics CyberView RKP215-801 user manual

Austin Hughes Electronics

Austin Hughes Electronics CyberView RKP215-801 user manual

Fricosmos 485402 quick start guide

Fricosmos

Fricosmos 485402 quick start guide

Crystal Image Technologies RM-FD117A user manual

Crystal Image Technologies

Crystal Image Technologies RM-FD117A user manual

KinAn XL1808 quick start guide

KinAn

KinAn XL1808 quick start guide

manuals.online logo
manuals.online logoBrands
  • About & Mission
  • Contact us
  • Privacy Policy
  • Terms and Conditions

Copyright 2025 Manuals.Online. All Rights Reserved.

INSTALLATION INSTRUCTIONS
Vanity Installation
Vanity should be installed by a qualified, licensed trades person.
Vanity Fitting Instructions
• Prior to installation it is important to inspect the vanity to ensure no damage has occurred in transit. If damage has oc-
curred, or a visible defect exists, do not proceed with installation and advise supplier immediately. No warranty claim for
damage will be accepted if the vanity is installed.
• It is recommended that the Solid Surface Top is protected during installation.
Please Note: Manufacturer will not be liable for the cost of installation or removal of the vanity and the warranty will be
voided if damage occurred during or after installation.
• Remove drawers ( refer to Drawer Installation and Adjustment Instructions)
• Mark base and back of the vanity for drilling to allow for plumbing pipes.
• Drill holes for pipes with appropriate size hole saws.
• Position vanity over pipes in correct position.
• It is recommended that the vanity sit on a length of aluminium angle securely fastened to the wall
• Check with spirit level that the vanity is completely level.
• Screw vanity to the wall through back of the vanity, ENSURING SCREWS ARE FIXED TO STUDS. Allow enough fixing
points at the top and bottom of the back panel to sufficiently secure the unit to the wall.
• All edges where vanity top and cabinet meet wall and floor are to be properly sealed with bathroom grade silicone. Gap
filler sealant can be used in place of silicone where vanity meets tiled surfaces. All areas need to be sealed to prevent
water penetration. Materials used in construction are water-resistant not waterproof. Care must be taken to dry any
spillage or leakage of water which may gain access to the cabinet.
• Replace drawers (refer to Drawer Installation and Adjustment Instructions).
RECOMMENDATION FOR PLUMBING
Waste is not to be over tightened to avoid stress on basin or top.
WALL UNIT INSTALLATION INSTRUCTIONS
1. Diagrams show wall positions of 40mm waste pipe , hot and cold outlets ( if required ) and power cord outlet ( if required
). Please note diagrams show set outs for 750 , 1200 and 1500 left hand basin , for right hand basin use mirror opposite
.
2. Use 40mm plug and waste , non overflow with 40mm Short Inlet P Trap ( both not supplied )
3. Plumbing set outs for customised sizes:
750 - 850 same as for 750 set out
1000 - 1300 same as for 1200 set out
1400 - 1500 same as for 1500 set out
4. For plumbing set outs of customised 1751 - 2000mm double basin contact manufacturer.
Height adjustment
± 2(3/32")
Side adjustment
± 1.5 (1/16")
Tilt adjustment
M height +1.5 /-0.5 (1/16"/1/32")
C/F height ± 1.5 (1/16")
1 2
3
1
2
2
T20
1
2
3
T20
1
2
3
3
2
T20
1
2
3
1 2
3
1
2
2
Drawer front removal
Retting drawerDrawer removal
Cover cap removal
Height, side and tilt adjustments
Pull drawer forward to reveal locking devices. Squeeze triggers
on locking device and lift drawer box o runners.
DRAWER INSTALLATION AND ADJUSTMENT
Drawer installation and adjustment video: https://youtu.be/v92uq8QGx7g
Fully extend runners. Place drawer onto runners, ensure
runners are bedded fully in drawer base channel. Place hand in
middle of drawer front and close the drawer pushing back
rmly until a double click is heard.
Turn adjustment screw to release front xing bracket. Lift
drawer front away from drawer box.
Height adjustment - Turn the adjustment screw clockwise
to raise or lower the drawer front.
Side adjustment - Turn adjustment screw towards the L to
Move drawer front left. Turn adjustment screw towards the
R to move drawer front right.
Tilt adjustment - To increase the drawer front gap, turn the
adjustment screw clockwise, to decrease turn adjustment
screw counterclockwise.
Note: Height, side and tilt adjustments must be achieved with a T20 Torx screwdriver