manuals.online logo
Brands
  1. Home
  2. •
  3. Brands
  4. •
  5. Boahaus
  6. •
  7. Indoor Furnishing
  8. •
  9. Boahaus 1603 User manual

Boahaus 1603 User manual

ASSEMBLY INSTRUCTIONS
INSTRUCCIONES DE ARMADO
MODEL #: 1603
DRESSING TABLE WITH MIRROR
Tocador con espejo
Aprox. product weight 51.71 / 23.46 Kg. *
*Weight may vary +/- 5%
Lot: See package
Production date: See package
Purchase date: ________________
THIS INFORMATION BOOKLET CONTAINS IMPORTANT SAFETY INFORMATION. PLEASE READ AND KEEP FOR FUTURE REFERENCE.
ESTE FOLLETO CONTIENE INFORMACIÓN DE SEGURIDAD IMPORTANTE. POR FAVOR, LEA Y GUÁRDELO PARA REFERENCIA FUTURA.
Need some Help? Call +1 (844) 426-2435 or email [email protected]
¿Necesitas ayuda? Llama +1 (844) 426-2435 o envía un email [email protected]
www.boahaus.com MODEL 1603
Need some Help? Call +1 (844) 426-2435 or email [email protected]
¿Necesitas ayuda? Llama +1 (844) 426-2435 o envía un email [email protected] 2
You can see the assembly video scanning this QR code.
Or entering the following link:
https://boahaus.com/products/vanity-set-dressing-table-white-with-mirror-2-drawers
www.boahaus.com MODEL 1603
Need some Help? Call +1 (844) 426-2435 or email [email protected]
¿Necesitas ayuda? Llama +1 (844) 426-2435 o envía un email [email protected] 3
You will need / usted necesitará:
Tools not included / herramientas no incluidas
Weight in pounds. / Peso en libras.
General Dimensions / Dimensiones generales
Maximum weight supported
Peso máximo soportado
Note: weight must be evenly distributed.
Nota: el peso debe estar distribuido uniformemente.
www.boahaus.com MODEL 1603
Need some Help? Call +1 (844) 426-2435 or email [email protected]
¿Necesitas ayuda? Llama +1 (844) 426-2435 o envía un email [email protected] 4
Nº
DESCRIPTION - DESCRIPCIÓN
QTY.
1
Top - Tapa
1
2
Panel - Panel
1
3
Left side - Lateral izquierdo
1
4
Right side - Lateral derecho
1
5
Front left drawer - Frente del cajón izquierdo
1
6
Left side of drawer - Lateral izquierdo del cajón
2
7
Right side of drawer - Lateral derecho del cajón
2
8
Rear of drawer - Posterior del cajón
2
9
Front right drawer - Frente del cajón derecho
1
10
Bottom of drawer - Fondo del cajón
2
11
Partition - Divisoria
1
12
Mirror backboard - Fondo espejo
1
13
Crossbeam - Travesaño
1
PARTS IDENTIFICATION / IDENTIFICACION DE PARTES
www.boahaus.com MODEL 1603
Need some Help? Call +1 (844) 426-2435 or email [email protected]
¿Necesitas ayuda? Llama +1 (844) 426-2435 o envía un email [email protected] 5
Note: the separation of the accessories before starting the assembly will facilitate it. The screws are in real scale. In case of doubt, place the
screw on the image.
Nota: la separación de los accesorios antes de empezar el armado facilitará el mismo. Los tornillos están a escala real. En caso de dudas
coloque el tornillo sobre la imagen.
CODE
DESCRIPTION
QTY
A1
Glue / Pegamento
1
A2
Small plastic foot / Pie plástico
4
A3
Trapeze / Trapecio
2
E
Wooden dowel / Pin
21
G
Structural screw / Tornillo estructural (5 x 50 mm)
4
H
Allen key / Llave allen
1
I
Structural screw cover / Tapa de tornillo
estructural
4
J
Simple miniflix screw / Tornillo minifix simple
10
L
Drum lock / Tambor minifix
10
M
Bore patch adhesive / Tapón adhesivo (15mm)
4
N
Nail / Clavo
4
IDENTIFICATION OF ACCESSORIES / IDENTIFICACION DE ACCESORIOS
www.boahaus.com MODEL 1603
Need some Help? Call +1 (844) 426-2435 or email [email protected]
¿Necesitas ayuda? Llama +1 (844) 426-2435 o envía un email [email protected] 6
O
Flat head screw / Tornillo cabeza plana (4,5 x 45
mm)
7
P
Pan head screw / Tornillo cabeza pan(4,5 x 25 mm)
2
Q
Flat head screw / Tornillo cabeza plana (3x 14 mm)
12
R
Flat head screw / Tornillo cabeza plana (6 x 8 mm)
4
VA
Metallic left slide / Corredera lateral izquierda
2
VB
Metallic right slide / Corredera lateral derecha
2
VC
Left drawer slide / Corredera cajon izquierda
2
VD
Right drawer slide / Corredera cajon derecha
2
Z
Plastic hole plugs / Tapón plástico
4
www.boahaus.com MODEL 1603
Need some Help? Call +1 (844) 426-2435 or email [email protected]
¿Necesitas ayuda? Llama +1 (844) 426-2435 o envía un email [email protected] 7
1. Fix metallic left slide (VA) and wooden dowel (E) to left side (3).
Fijar corredera lateral izquierda (VA) y pin (E) a lateral izquierdo (3).
PRE-ASSEMBLY / PRE- ARMADO
Note: the two upper holes have to be
facing up.
Nota: los dos agujeros superiores deben
estar hacia arriba.
www.boahaus.com MODEL 1603
Need some Help? Call +1 (844) 426-2435 or email [email protected]
¿Necesitas ayuda? Llama +1 (844) 426-2435 o envía un email [email protected] 8
2. Fix metallic right slide (VB) and wooden dowel (E) to right side (4).
Fijar corredera lateral derecha (VB) y pin (E) a lateral derecho (4).
Note: the two upper holes have to be
facing up.
Nota: los dos agujeros superiores deben
estar hacia arriba.
www.boahaus.com MODEL 1603
Need some Help? Call +1 (844) 426-2435 or email [email protected]
¿Necesitas ayuda? Llama +1 (844) 426-2435 o envía un email [email protected] 9
3. Fix metallic right slide (VB), metallic left slide (VA) and wooden dowel (E) to partition (11).
Fijar corredera metálica derecha (VB), corredera metálica izquierda (VA) y pin (E) a divisoria (11).
www.boahaus.com MODEL 1603
Need some Help? Call +1 (844) 426-2435 or email [email protected]
¿Necesitas ayuda? Llama +1 (844) 426-2435 o envía un email [email protected] 10
4. Fix wooden dowel (E) to rear of drawer (8) x2.
Fijar pin (E) a posterior del cajón (8) x2.
5. Fix simple minifix screw (J) to front left drawer (5) and front right drawer (9).
Fijar tornillo minifix simple (J) a frente de cajón izquierdo (5) y frente de cajón derecho (9).
www.boahaus.com MODEL 1603
Need some Help? Call +1 (844) 426-2435 or email [email protected]
¿Necesitas ayuda? Llama +1 (844) 426-2435 o envía un email [email protected] 11
6. Fix wooden dowel (E) with glue (A1) to left side of drawer (6) x2 and right side of drawer (7) x2.
Fijar pin (E) con pegamento (A1) a lateral izquierdo de cajón (6) x2 y lateral derecho de cajón (7)
x2.
www.boahaus.com MODEL 1603
Need some Help? Call +1 (844) 426-2435 or email [email protected]
¿Necesitas ayuda? Llama +1 (844) 426-2435 o envía un email [email protected] 12
7. Fix simple minifix screw (J) to top (1).
Fijar tornillo minifix simple (J) a tapa (1).
8. Fix wooden dowel (E) to panel (2).
Fijar pin (E) a panel (2).
www.boahaus.com MODEL 1603
Need some Help? Call +1 (844) 426-2435 or email [email protected]
¿Necesitas ayuda? Llama +1 (844) 426-2435 o envía un email [email protected] 13
9. Fix wooden dowel (E) to mirror backboard (12).
Fijar pin (E) a fondo espejo (12).
10. Fix trapeze (A3) and wooden dowel (E) to crossbeam (13).
Fijar trapecio (A3) y pin (E) a travesaño (13).
www.boahaus.com MODEL 1603
Need some Help? Call +1 (844) 426-2435 or email [email protected]
¿Necesitas ayuda? Llama +1 (844) 426-2435 o envía un email [email protected] 14
11. Fix mirror backboard (12) and crossbeam (13) to top (1).
Fijar fondo espejo (12) y travesaño (13) a tapa (1).
12. Assemble left side (3), right side (4) and panel (2).
Ensamblar lateral izquierdo (3), lateral derecho (4) y panel (2).
ASSEMBLY / ARMADO
Note: the Allen key (K1) will be used to adjust the structural screw (G).
Nota: la llave Allen (K1) se utilizará para ajustar el tornillo estructural (G).
www.boahaus.com MODEL 1603
Need some Help? Call +1 (844) 426-2435 or email [email protected]
¿Necesitas ayuda? Llama +1 (844) 426-2435 o envía un email [email protected] 15
13. Join the two previous assemblies
Unir los dos ensambles previos.
www.boahaus.com MODEL 1603
Need some Help? Call +1 (844) 426-2435 or email [email protected]
¿Necesitas ayuda? Llama +1 (844) 426-2435 o envía un email [email protected] 16
14. Fix partition (11) to previous assembly.
Fijar divisoria (11) al ensamble previo.
www.boahaus.com MODEL 1603
Need some Help? Call +1 (844) 426-2435 or email [email protected]
¿Necesitas ayuda? Llama +1 (844) 426-2435 o envía un email [email protected] 17
15. Fix small plastic foot (A2).
Fijar pie plástico (A2).
16. Incorporate the furniture and fix the crossbeam (13) to the mirror backboard (12) and place
plastic hole plugs (Z) to left and right side.
Incorporar el mueble y fije el travesaño (13) al fondo espejo (12) y colocar tapones plásticos (Z) a
lateral izquierdo y lateral derecho.
Note: the missing holes must be made with the screwdriver and the corresponding screw.
Nota: los agujeros faltantes deben hacerse con el destornillador y el tornillo correspondiente.
www.boahaus.com MODEL 1603
Need some Help? Call +1 (844) 426-2435 or email [email protected]
¿Necesitas ayuda? Llama +1 (844) 426-2435 o envía un email [email protected] 18
17. Assemble left side of drawer (6) x2, right side of drawer (7) x2, rear of drawer (8) x2 and bottom
of drawer (10) x2.
Ensamble el lado izquierdo del cajón (6) x2, el lado derecho del cajón (7) x2, posterior del cajón (8)
x2 y el fondo del cajón (10) x2.
18. Fix front left drawer (5) and front right drawer (9) to previous assembly, then place the adhesive
bore patch (M).
Fijar frontal gaveta izquierda (5) y frontal gaveta derecha (9) al ensamble previo y luego fije el
tapón adhesivo (M).
Note: add glue to the
indicated holes.
Nota: agregue pegamento
a los agujeros indicados.
x2
x2
www.boahaus.com MODEL 1603
Need some Help? Call +1 (844) 426-2435 or email [email protected]
¿Necesitas ayuda? Llama +1 (844) 426-2435 o envía un email [email protected] 19
19. Fix left drawer slide (VC) and right drawer slide (VD) to previous assembly.
Fijar corredera cajón izquierdo (VC) y corredera cajón derecha (VD) al ensamble anterior.
Note: the missing holes must be made with the screwdriver and the corresponding screw.
Nota: los agujeros faltantes deben hacerse con el destornillador y el tornillo correspondiente.
x2
Note: lateral view (the drawer is upside
down).
Nota: vista lateral (el cajón está volteado
hacia abajo).
www.boahaus.com MODEL 1603
Need some Help? Call +1 (844) 426-2435 or email [email protected]
¿Necesitas ayuda? Llama +1 (844) 426-2435 o envía un email [email protected] 20
20. Place drawers on the furniture.
Colocar las gavetas en el mueble.
Congratulations, you have assembled your Dressing Table with Mirror!!!
¡¡¡Felicitaciones, has armado tu Tocador con Espejo!!!

Other Boahaus Indoor Furnishing manuals

Boahaus 1606 User manual

Boahaus

Boahaus 1606 User manual

Boahaus 4203 User manual

Boahaus

Boahaus 4203 User manual

Boahaus 4204 User manual

Boahaus

Boahaus 4204 User manual

Boahaus 3101 User manual

Boahaus

Boahaus 3101 User manual
Boahaus 1609-L User manual

Boahaus

Boahaus 1609-L User manual
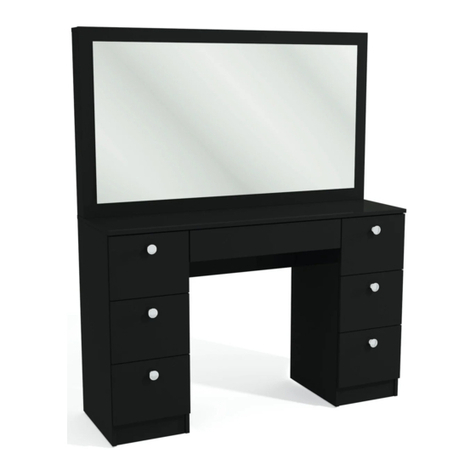
Boahaus 1619 User manual

Boahaus

Boahaus 1619 User manual
Boahaus 1605 User manual

Boahaus

Boahaus 1605 User manual

Boahaus 1612 User manual

Boahaus

Boahaus 1612 User manual

Boahaus 1623 User manual

Boahaus

Boahaus 1623 User manual

Boahaus Antheia Modern Bathroom Vanity User manual
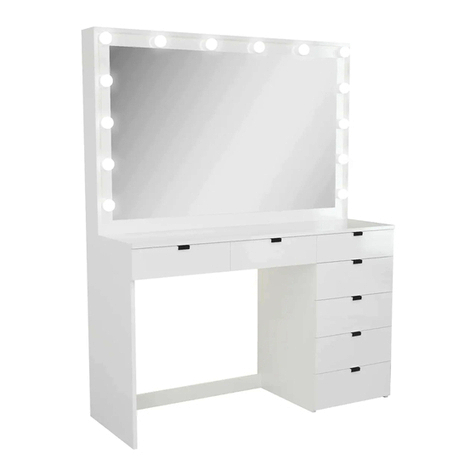
Boahaus

Boahaus Antheia Modern Bathroom Vanity User manual

Boahaus 1609 User manual

Boahaus

Boahaus 1609 User manual

Boahaus Oregon User manual

Boahaus

Boahaus Oregon User manual

Boahaus 1601 User manual

Boahaus

Boahaus 1601 User manual
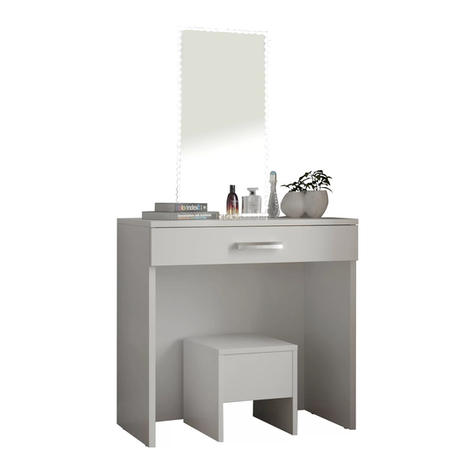
Boahaus 1617 User manual

Boahaus

Boahaus 1617 User manual

Boahaus 1643 User manual

Boahaus

Boahaus 1643 User manual

Boahaus 2305 User manual

Boahaus

Boahaus 2305 User manual

Boahaus 1612 User manual

Boahaus

Boahaus 1612 User manual
Boahaus 3108 User manual

Boahaus

Boahaus 3108 User manual
Boahaus 2105 User manual

Boahaus

Boahaus 2105 User manual
Boahaus 2204 User manual

Boahaus

Boahaus 2204 User manual

Boahaus R-631 BE User manual

Boahaus

Boahaus R-631 BE User manual

Boahaus 1631 User manual

Boahaus

Boahaus 1631 User manual

Boahaus 2505 User manual

Boahaus

Boahaus 2505 User manual

Boahaus 4207 User manual

Boahaus

Boahaus 4207 User manual

Popular Indoor Furnishing manuals by other brands
sweeek. INDUSTRIELLE INDUSQCT80 manual

sweeek.

sweeek. INDUSTRIELLE INDUSQCT80 manual

Rauch M2804 Assembly instructions

Rauch

Rauch M2804 Assembly instructions

Garden Treasures VINEHAVEN FZS80329B manual

Garden Treasures

Garden Treasures VINEHAVEN FZS80329B manual

PITTMAN PPI-CMPAC16 owner's manual

PITTMAN

PITTMAN PPI-CMPAC16 owner's manual

Cooper Lighting Neo-Ray Omni 66-DIW Specification sheet

Cooper Lighting

Cooper Lighting Neo-Ray Omni 66-DIW Specification sheet

Habitat Vince Assembly instructions

Habitat

Habitat Vince Assembly instructions

Hooker Furniture Dixon Writing Desk 638-10019-GRY Assembly instruction
Hooker Furniture

Hooker Furniture Dixon Writing Desk 638-10019-GRY Assembly instruction

ROHDE & GRAHL Duo Back ESP-ST operating manual
ROHDE & GRAHL

ROHDE & GRAHL Duo Back ESP-ST operating manual

Ameriwood HOME 7482341COM Assembly instructions
Ameriwood HOME

Ameriwood HOME 7482341COM Assembly instructions

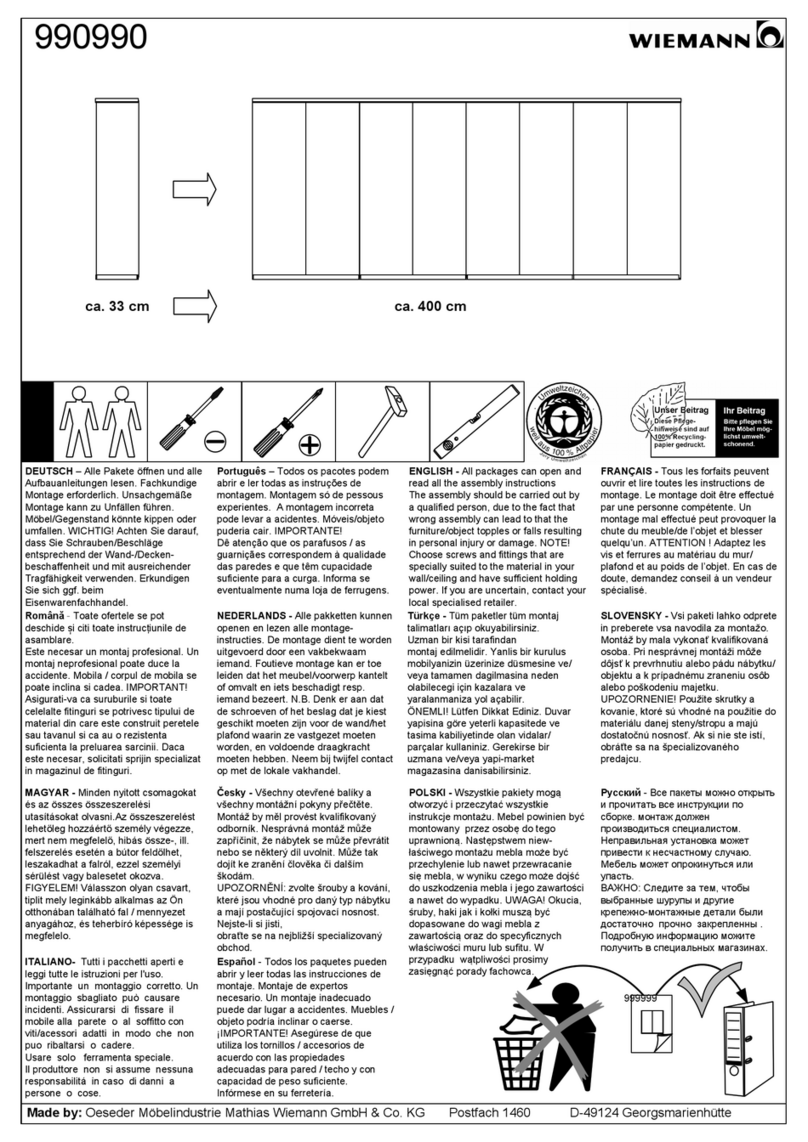
WIEMANN 990990 Assembly instructions

WIEMANN

WIEMANN 990990 Assembly instructions
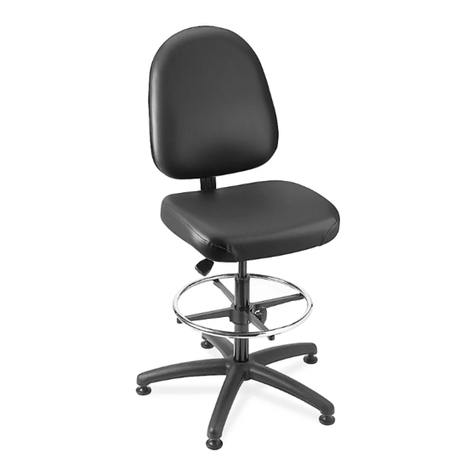
U-Line H-4066 manual

U-Line

U-Line H-4066 manual

Monarch Specialties I 2232K Assembly instructions
Monarch Specialties

Monarch Specialties I 2232K Assembly instructions

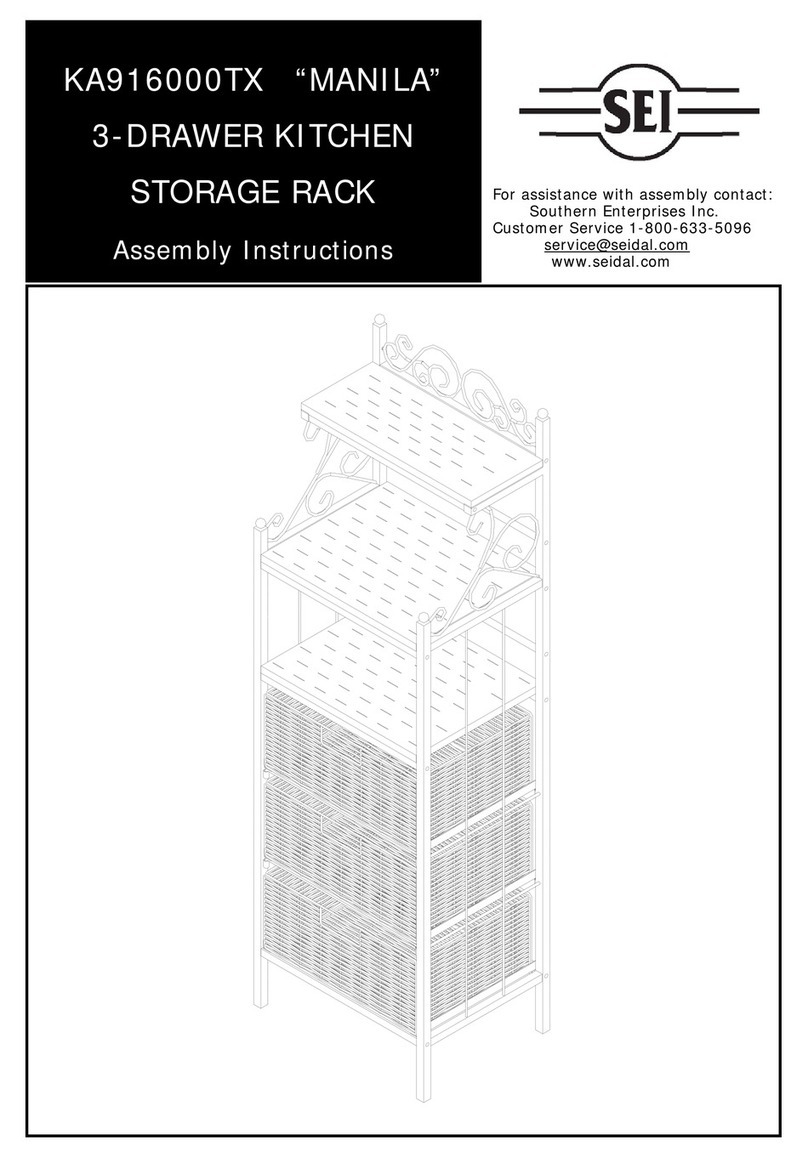
SEI KA916000TX Assembly instructions

SEI

SEI KA916000TX Assembly instructions

Chewy frisco 373443 product manual

Chewy

Chewy frisco 373443 product manual
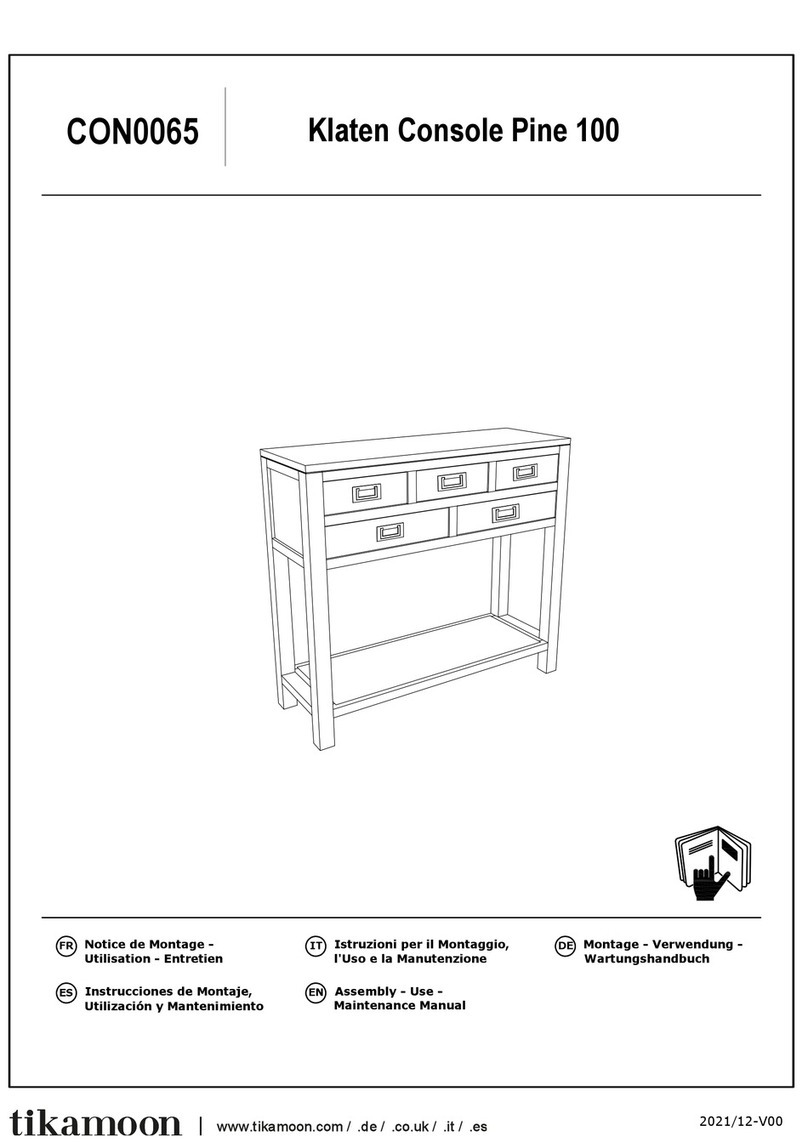
tikamoon Klaten CON0065 Assembly, Use, Maintenance Manual

tikamoon

tikamoon Klaten CON0065 Assembly, Use, Maintenance Manual

Coaster 222882 Assembly instructions

Coaster

Coaster 222882 Assembly instructions

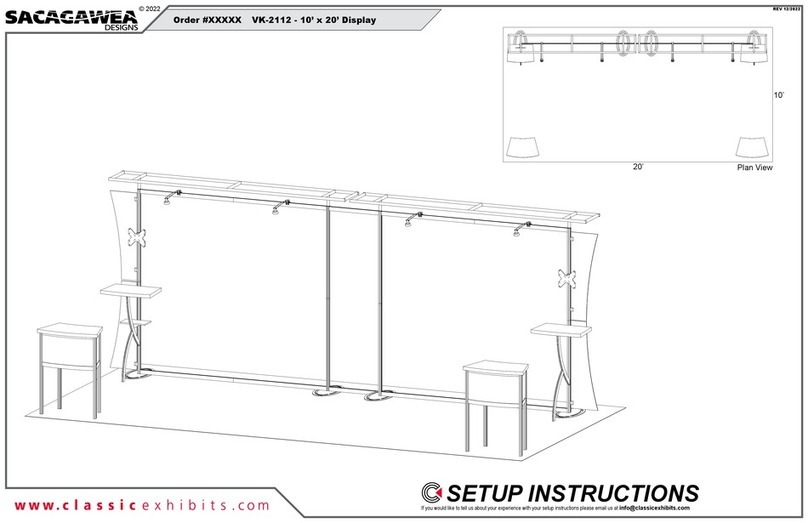
SACAGAWEA DESIGNS VK-1231 Setup instructions
SACAGAWEA DESIGNS

SACAGAWEA DESIGNS VK-1231 Setup instructions

SACAGAWEA DESIGNS VK-2112 Setup instructions

SACAGAWEA DESIGNS

SACAGAWEA DESIGNS VK-2112 Setup instructions
manuals.online logo
manuals.online logoBrands
  • About & Mission
  • Contact us
  • Privacy Policy
  • Terms and Conditions

Copyright 2025 Manuals.Online. All Rights Reserved.