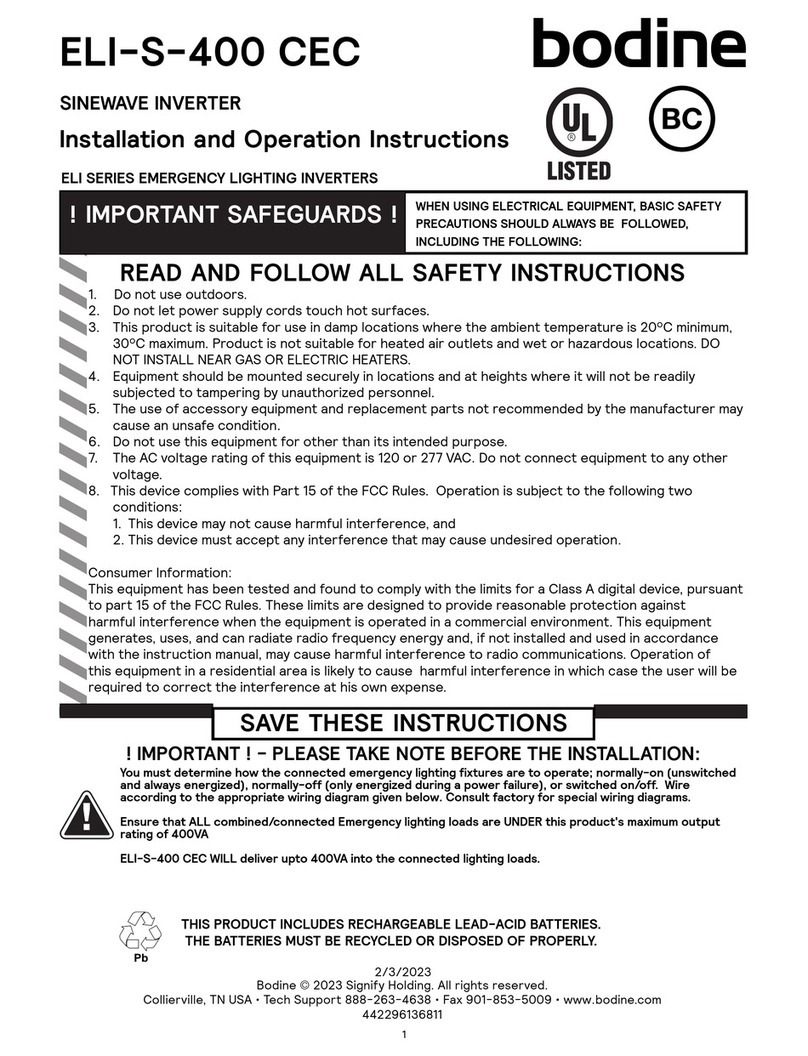
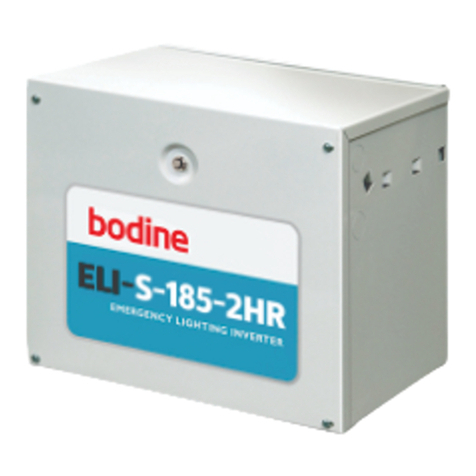
Bodine ELI-S-10 User manual

Bodine © 2018 Signify Holding. All rights reserved.
236 Mt. Pleasant Rd. • Collierville, TN USA 38017-2752 • Tech Support 888-263-4638 • Fax 901-853-5009 • www.bodine.com
442294652532
ELI SERIES EMERGENCY LIGHTING INVERTERS
ELI-S-10
10/09/19
Installation Instructions
NANO INVERTER
READ AND FOLLOW ALL SAFETY INSTRUCTIONS
! IMPORTANT SAFEGUARDS ! WHEN USING ELECTRICAL EQUIPMENT, BASIC
SAFETY PRECAUTIONS SHOULD ALWAYS BE
FOLLOWED, INCLUDING THE FOLLOWING:
SAVE THESE INSTRUCTIONS
THIS PRODUCT CONTAINS A RECHARGEABLE LITHIUM-ION BATTERY.
THE BATTERY MUST BE RECYCLED OR DISPOSED OF PROPERLY.
1. For use with non-dimming fluorescent, incandescent or LED fixtures up to 10VA. For use with fluorescent and LED
fixtures that utilize 0-10V dimming that are above 10VA, but this inverter will be limited to 10VA.
(including driver/ballast).
2. Make sure all connections are in accordance with the National Electrical Code or Canadian Electrical Code and
any local regulations.
3. To reduce the risk of electric shock, disconnect both normal and auxiliary power supplies and inverter connector
of the backup nano inverter before servicing.
4. This backup nano inverter is for factory or field installation.
5. An AC power source (120 or 277 VAC, 60 Hz) ahead of any wall switch is required to provide battery charging current.
6. Do not install near gas or electric heaters.
7. This product is for use in indoor or damp locations where the ambient temperature is 0°C to 50°C. Not suitable
for outdoor, wet or hazardous locations.
8. This is a sealed unit. Integral battery is not replaceable. Replace entire unit when necessary.
9. The use of accessory equipment not recommended by the manufacturer may cause an unsafe condition.
10. Do not use this product for other than intended use.
11. Servicing should be performed by qualified service personnel.
12. Equipment should be mounted in locations and at heights where it will not be subjected to tampering by
unauthorized personnel.
13. This device complies with part 15 of the FCC Rules. Operation is subject to the following two conditions: (1)
this device may not cause harmful interference, and (2) this device must accept any interference that may cause
undesired operation.
14. This product must be grounded.
Lithium Ion

> The backup nano inverter will be located between the AC power sources and the AC ballast/driver as shown in
wiring diagram section of instructions.
> NOTE: The backup nano inverter may be installed in close proximity to the fixture or remote from the fixture.
The maximum remote distance using 16 AWG wire is 100 ft. Contact the factory for more information.
> The AC ballast/driver receives power from the backup nano inverter. Identify the output wires of the backup
nano inverter by the presence of the red/black and red/white leads.
NOTE: Make sure that the necessary branch circuit wiring is available. An unswitched
source of power is required. The unswitched and switched power source must be fed
from the same branch circuit.
WARNING: TO PREVENT HIGH VOLTAGE FROM BEING PRESENT ON THE RED/BLACK AND
RED/WHITE OUTPUT LEADS PRIOR TO INSTALLATION, BLUE CONNECTOR MUST BE OPEN.
JOIN BLUE UNIT ENABLE WIRES AFTER INSTALLATION IS COMPLETE AND AC POWER IS
SUPPLIED.
INSTALLING THE BACKUP NANO INVERTER
> Disconnect all power sources to the lighting fixture and ensure they are locked out during installation or
maintenance.
> The AC ballast/driver must be sourced from the backup nano inverter.
> Select a suitable location for the backup nano inverter and install such that its output leads can connect to
the input leads of the AC ballast/driver.
> See Illustration 1, for typical installation and select appropriate mounting method.
STEP #1 DISCONNECT AC POWER FROM FIXTURE
INSTALLATION
2
This product is suitable for field installation with suitable luminaires including LED, fluorescent, and incandescent luminaires
with 0-10V dimming capability. The 0-10V dimming capability may not be necessary for luminaires that operate under 10VA.
This product has been designed to reliably interface with a wide selection of luminaires which are electrically compatible
with 120 or 277 VAC at 60Hz and a 0-10V dimming interface. However, compatibility cannot be guaranteed with all current
and future luminaire systems.
Compatibility testing of the end-use system is recommended. Please contact the factory with any questions. After installa-
tion, it will be necessary to measure the egress lighting illumination levels to ensure it complies with national, state, and
local code requirements.
NOTE: Considerations must be made to protect the wires of the ELI-S-10 if installed outside of the luminaire.
If the application requires the ELI-S-10 to be mounted on
top of the luminare please use Model ELI-S-10C instead or
wire bundle cover kit (RMC-60). Please note, the RMC-60 kit
contains enough parts to install two products.
Nano
Inverter
ILLUSTRATION 1
> Verify that the blue connector is disconnected. Note that the unswitched hot connects to the red input lead
of the backup nano inverter.
STEP #2 CONNECT THE BACKUP NANO INVERTER TO THE PROPER LINE VOLTAGE

3
INSTALLATION
WIRING THE BACKUP NANO INVERTER
> Use the wiring diagram found on page 4 as reference.
> Connect the AC power source leads (Switched and Unswitched) to the input of the backup nano inverter.
> Connect the output leads of backup nano inverter to the AC ballast/driver.
> Wire the AC ballast/driver with the lamp in accordance with manufactures installation instructions. No ballast/
driver is necessary for single dimmable lamp (under 10VA) application.
> Make sure all connections are in accordance with the National Electrical Code, Canadian Electrical Code and
any local regulations.
> Connect the Test Switch/Charging Indicator Light by matching violet/white and brown/white leads. Mount in
a readily visible location.
> In a readily visible location, attach the label “CAUTION–This Unit Has More Than One Power Connection Point.
To Reduce The Risk Of Electric Shock, Disconnect Both The Branch Circuit-Breakers Or Fuses And DC Power
Supply (Backup Ballast Inverter Connector) Before Servicing.”
STEP #3
STEP #4 JOIN THE INVERTER CONNECTOR & APPLY POWER
> After installation is complete, apply AC power and join the blue connector.
> At this point, power should be connected to both the AC ballast and the backup nano inverter, and the Charg-
ing Indicator Light should illuminate indicating the battery is charging.
> A short-term discharge test may be conducted after the backup nano inverter has been charging for 1 hour.
Charge for 24 hours before conducting a long-term discharge test. Refer to OPERATION.
During normal operation, AC power is supplied to the AC ballast/driver through the backup nano inverter and the inverter charges its
internal battery. Connecting the blue connector wires enables the emergency circuit and supplies power to the
control/monitor circuit. The backup nano inverter detects AC input line voltage (120 or 277 VAC, 60 Hz) and automatically sets the
output voltage during emergency mode.
When AC power fails, the backup nano inverter automatically switches to emergency mode, keeping the load illuminated for a
minimum of 90 minutes. When AC power is restored, the backup nano inverter returns to charging mode. The backup nano inverter
consists of a low-battery voltage disconnect which is reset when AC power is restored. The unit can also detect an abnormal load
condition (open or shorted load) during emergency mode operation and will protect the backup nano inverter from damage.
OPERATION
MAINTENANCE
Although no routine maintenance is required to keep the backup nano inverter functional, it should be checked periodically to ensure
that it is working. The following schedule is recommended:
1. Visually inspect the Charging Indicator Light monthly. It should be illuminated.
2. Test the emergency operation of the fixture at 30-day intervals for a minimum of 30 seconds.
3. Conduct a 90-minute discharge test once a year. The lamp should operate for at least 90 minutes.
! REFER ANY SERVICING INDICATED BY THESE CHECKS TO QUALIFIED PERSONNEL !

4
BACKUP NANO INVERTER AND AC BALLAST/DRIVER MUST BE FED FROMTHE SAME BRANCH CIRCUIT
TYPICAL SCHEMATICS ONLY. CONSULT THE FACTORY FOR OTHER WIRING DIAGRAMS.
• Connect the two BLUE Unit Enable wires together once all other connections have been made to enable the unit.
• Apply AC power to enter charging mode.
• Remove AC power to enter emergency mode.
• For incandescent or non-dimming loads no greater than 10 VA, cap off all unused dimming (DIM) leads separately.
2 These connections have been evaluated to comply with requirements for UL1310 Class 2 Power Units.
WIRING DIAGRAM
DRIVER
Or
BALLAST
•
DIM+ OUT (VIOLET/PINK)
DIM- OUT (GRAY/PINK)
NEUTRAL OUT (RED/WHITE)
HOT OUT (RED/BLACK)
ELI-S-10
DIM+ IN (VIOLET)
DIM- IN (GRAY)
NEUTRAL IN (WHITE)
Unswitched HOT (RED)
Switched HOT IN (BLACK)
(BROWN/WHITE)
Unit Enable (BLUE)
(VIOLET/WHITE)
Unit Enable (BLUE)
Earth Ground
22
2
BROWN
VIOLET
LIGHT
SOURCE
(use grounding kit provided with unit)
••
Table of contents
Other Bodine Inverter manuals
Popular Inverter manuals by other brands

GW Instek
GW Instek MFG-2000 Series quick start guide

opti-solar
opti-solar SP6000 Handy Ultra user manual
Nibe
Nibe SOLAR 42 Installer manual
Sealey
Sealey PP40PLUS manual
Büttner Elektronik
Büttner Elektronik Power Line MT PL 300 SI Installation & user manual

Power Electronics
Power Electronics SD700 Series Hardware and installation manual
