8
Installation location
Installation locationInstallation location
Installation location
•
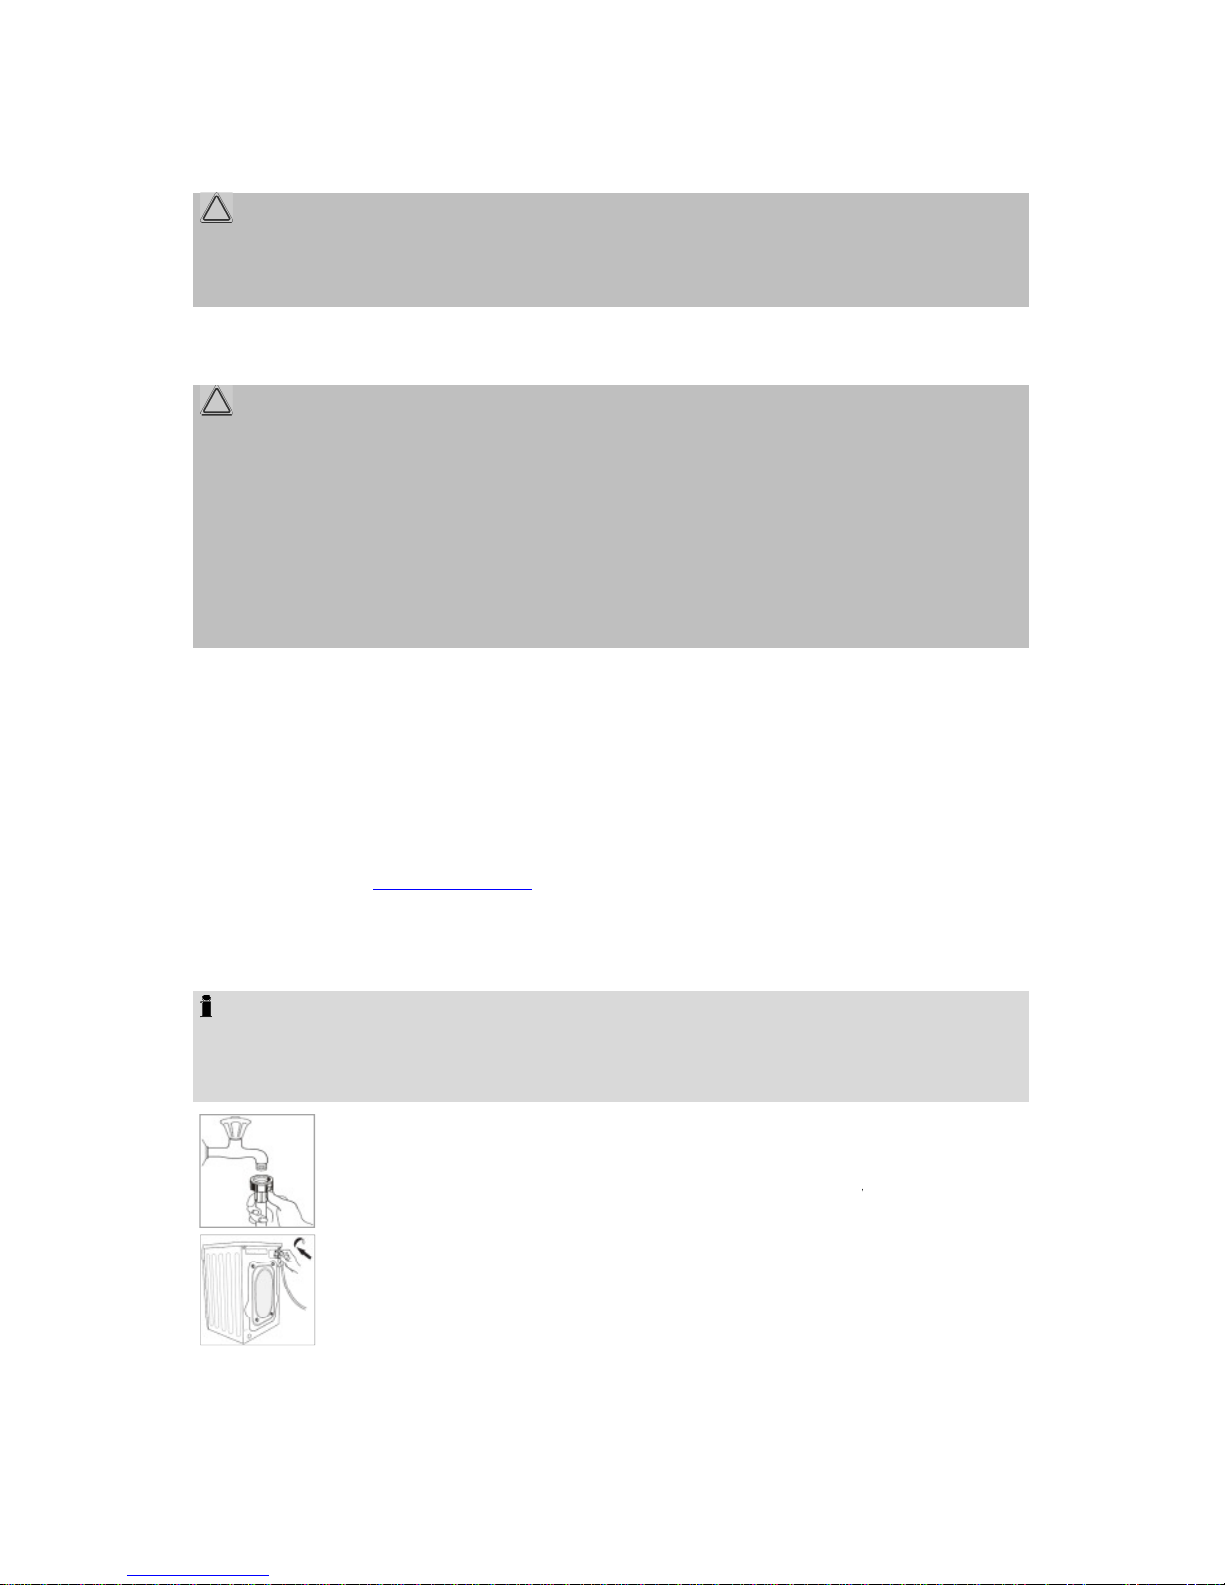
The site should be located near the water inlet and outlet, as well as near a properly
Good ventilation around the appliance is required, in order to dissipate the heat
properly. Sufficient clearance must be created for this purpose.
•The clearance to the front must be created so,
that the appliance door can open
without being impeded.
•Make sure that the floor on which the appliance is installed, is
Take care of a solid and horizontal position of the appliance. If the appliance is not
horizontally leveled, adjust the feet accordingly (see “Adjust the feet”).
•Power cable and water hoses may not kinked or squashed.
•The wall socket must be freely accessible.
•Avoid the installation:
Avoid the installation:Avoid the installation:
Avoid the installation:
-
near heaters, next to a stove, direct sunlight or any other heat sources;
at locations with high humidity (e.g. outdoors), as metal parts would be su
ceptible to corrosion under such circumstances;
-in
rooms where the temperature could drop below freezing. Do not expose
the appliance any weather.
-
near volatile or flammable materials (e.g. gas, fuel, alcohol, paint, etc.).
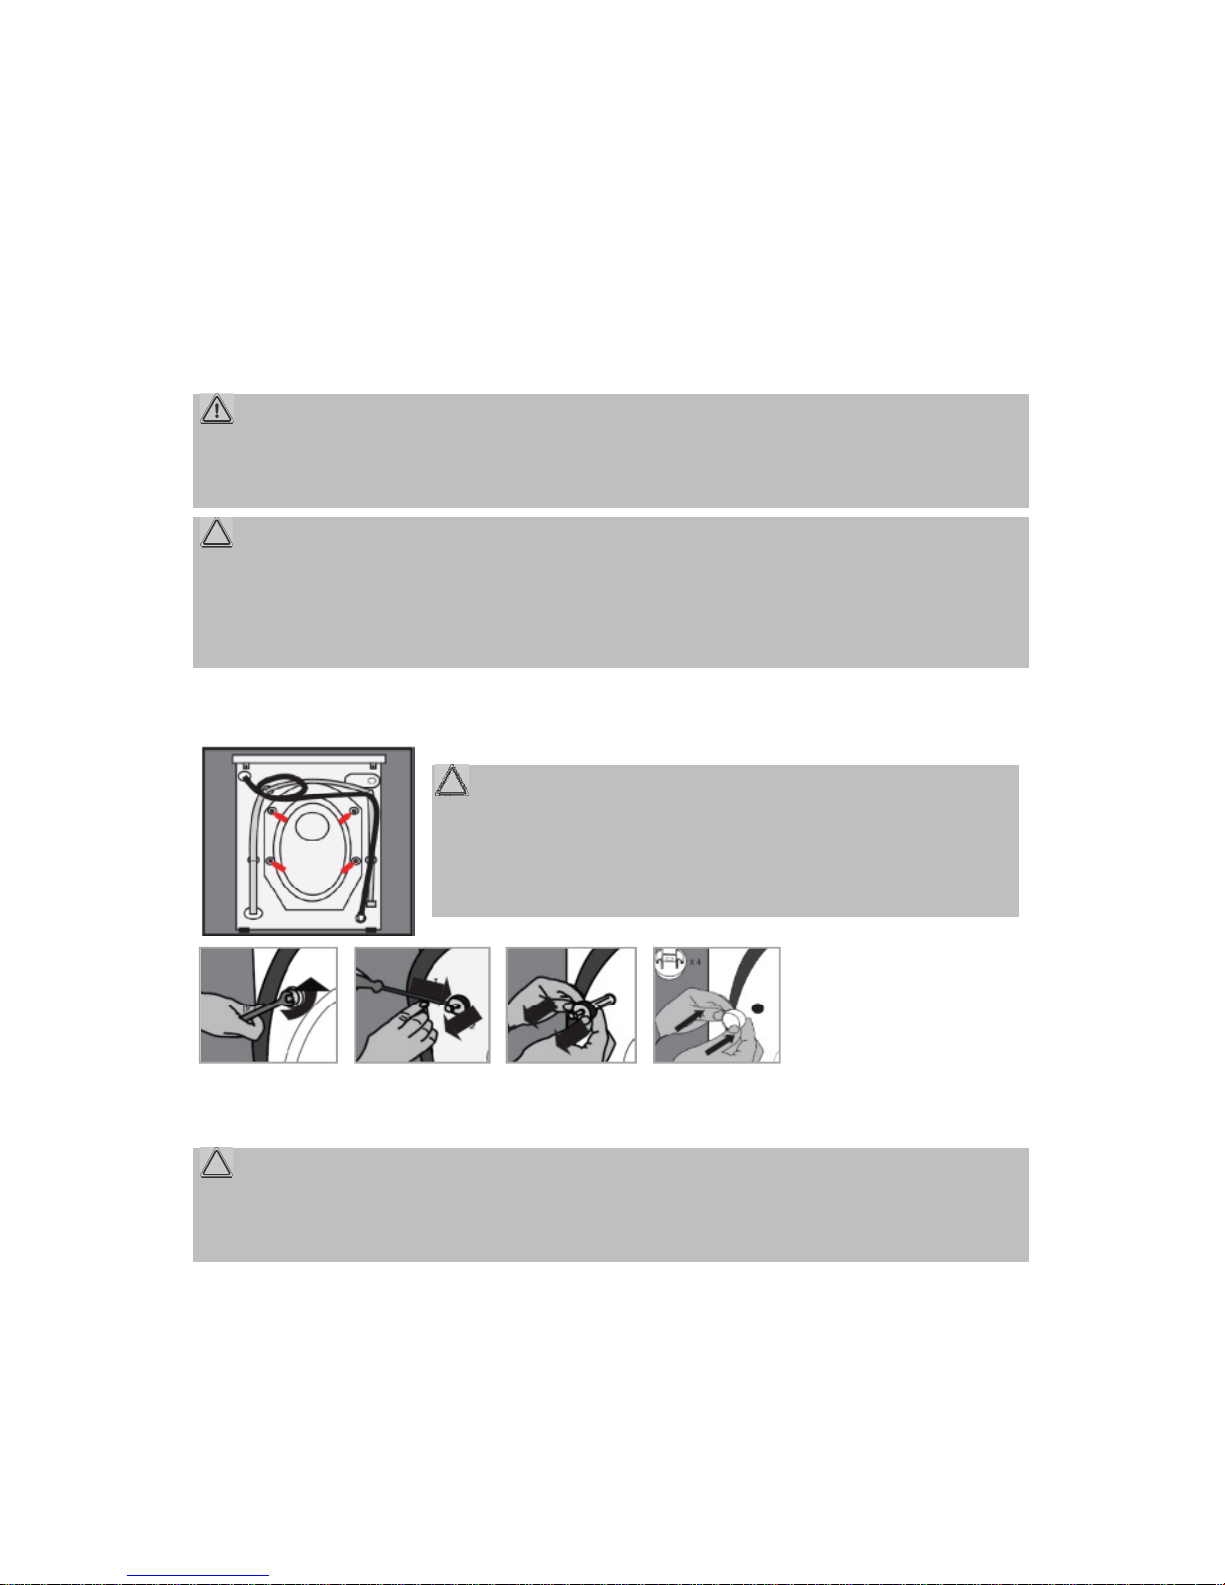
Adjust the feet
Adjust the feetAdjust the feet
Adjust the feet
Loosen the locknuts with a wrench.
Turn to the right to let down the unit;
turn to the left to lift up
Tighten the lock nuts with the wrench when the
leveled. The feet must have solid ground contact.
Check with a spirit level if the appliance is leveled horizontal
ly. If the appliance is not in
balance, the feet must be adjusted again.
CAUTION
CAUTIONCAUTION
CAUTION:
::
:
•Looseness locknuts can cause vibration and noise.
The site should be located near the water inlet and outlet, as well as near a properly
Good ventilation around the appliance is required, in order to dissipate the heat
that the appliance door can open
Take care of a solid and horizontal position of the appliance. If the appliance is not
horizontally leveled, adjust the feet accordingly (see “Adjust the feet”).
near heaters, next to a stove, direct sunlight or any other heat sources;
at locations with high humidity (e.g. outdoors), as metal parts would be su
rooms where the temperature could drop below freezing. Do not expose
near volatile or flammable materials (e.g. gas, fuel, alcohol, paint, etc.).
turn to the left to lift up
ly. If the appliance is not in