BOS Lighting P7 HEX IP User manual

B O S
MAKE LIFE BRIGHTER
P7 HEX
IP
CONTACT
Address
BOS Lighting
Dommelseweg 148
5554 NV Valkenswaard
The Netherlands
Online
Email [email protected]
Website www.bos-lighting.nl

BOS LIGHTING
3 // 13
BOS LIGHTING
BOS LIGHTING P7 HEX IP
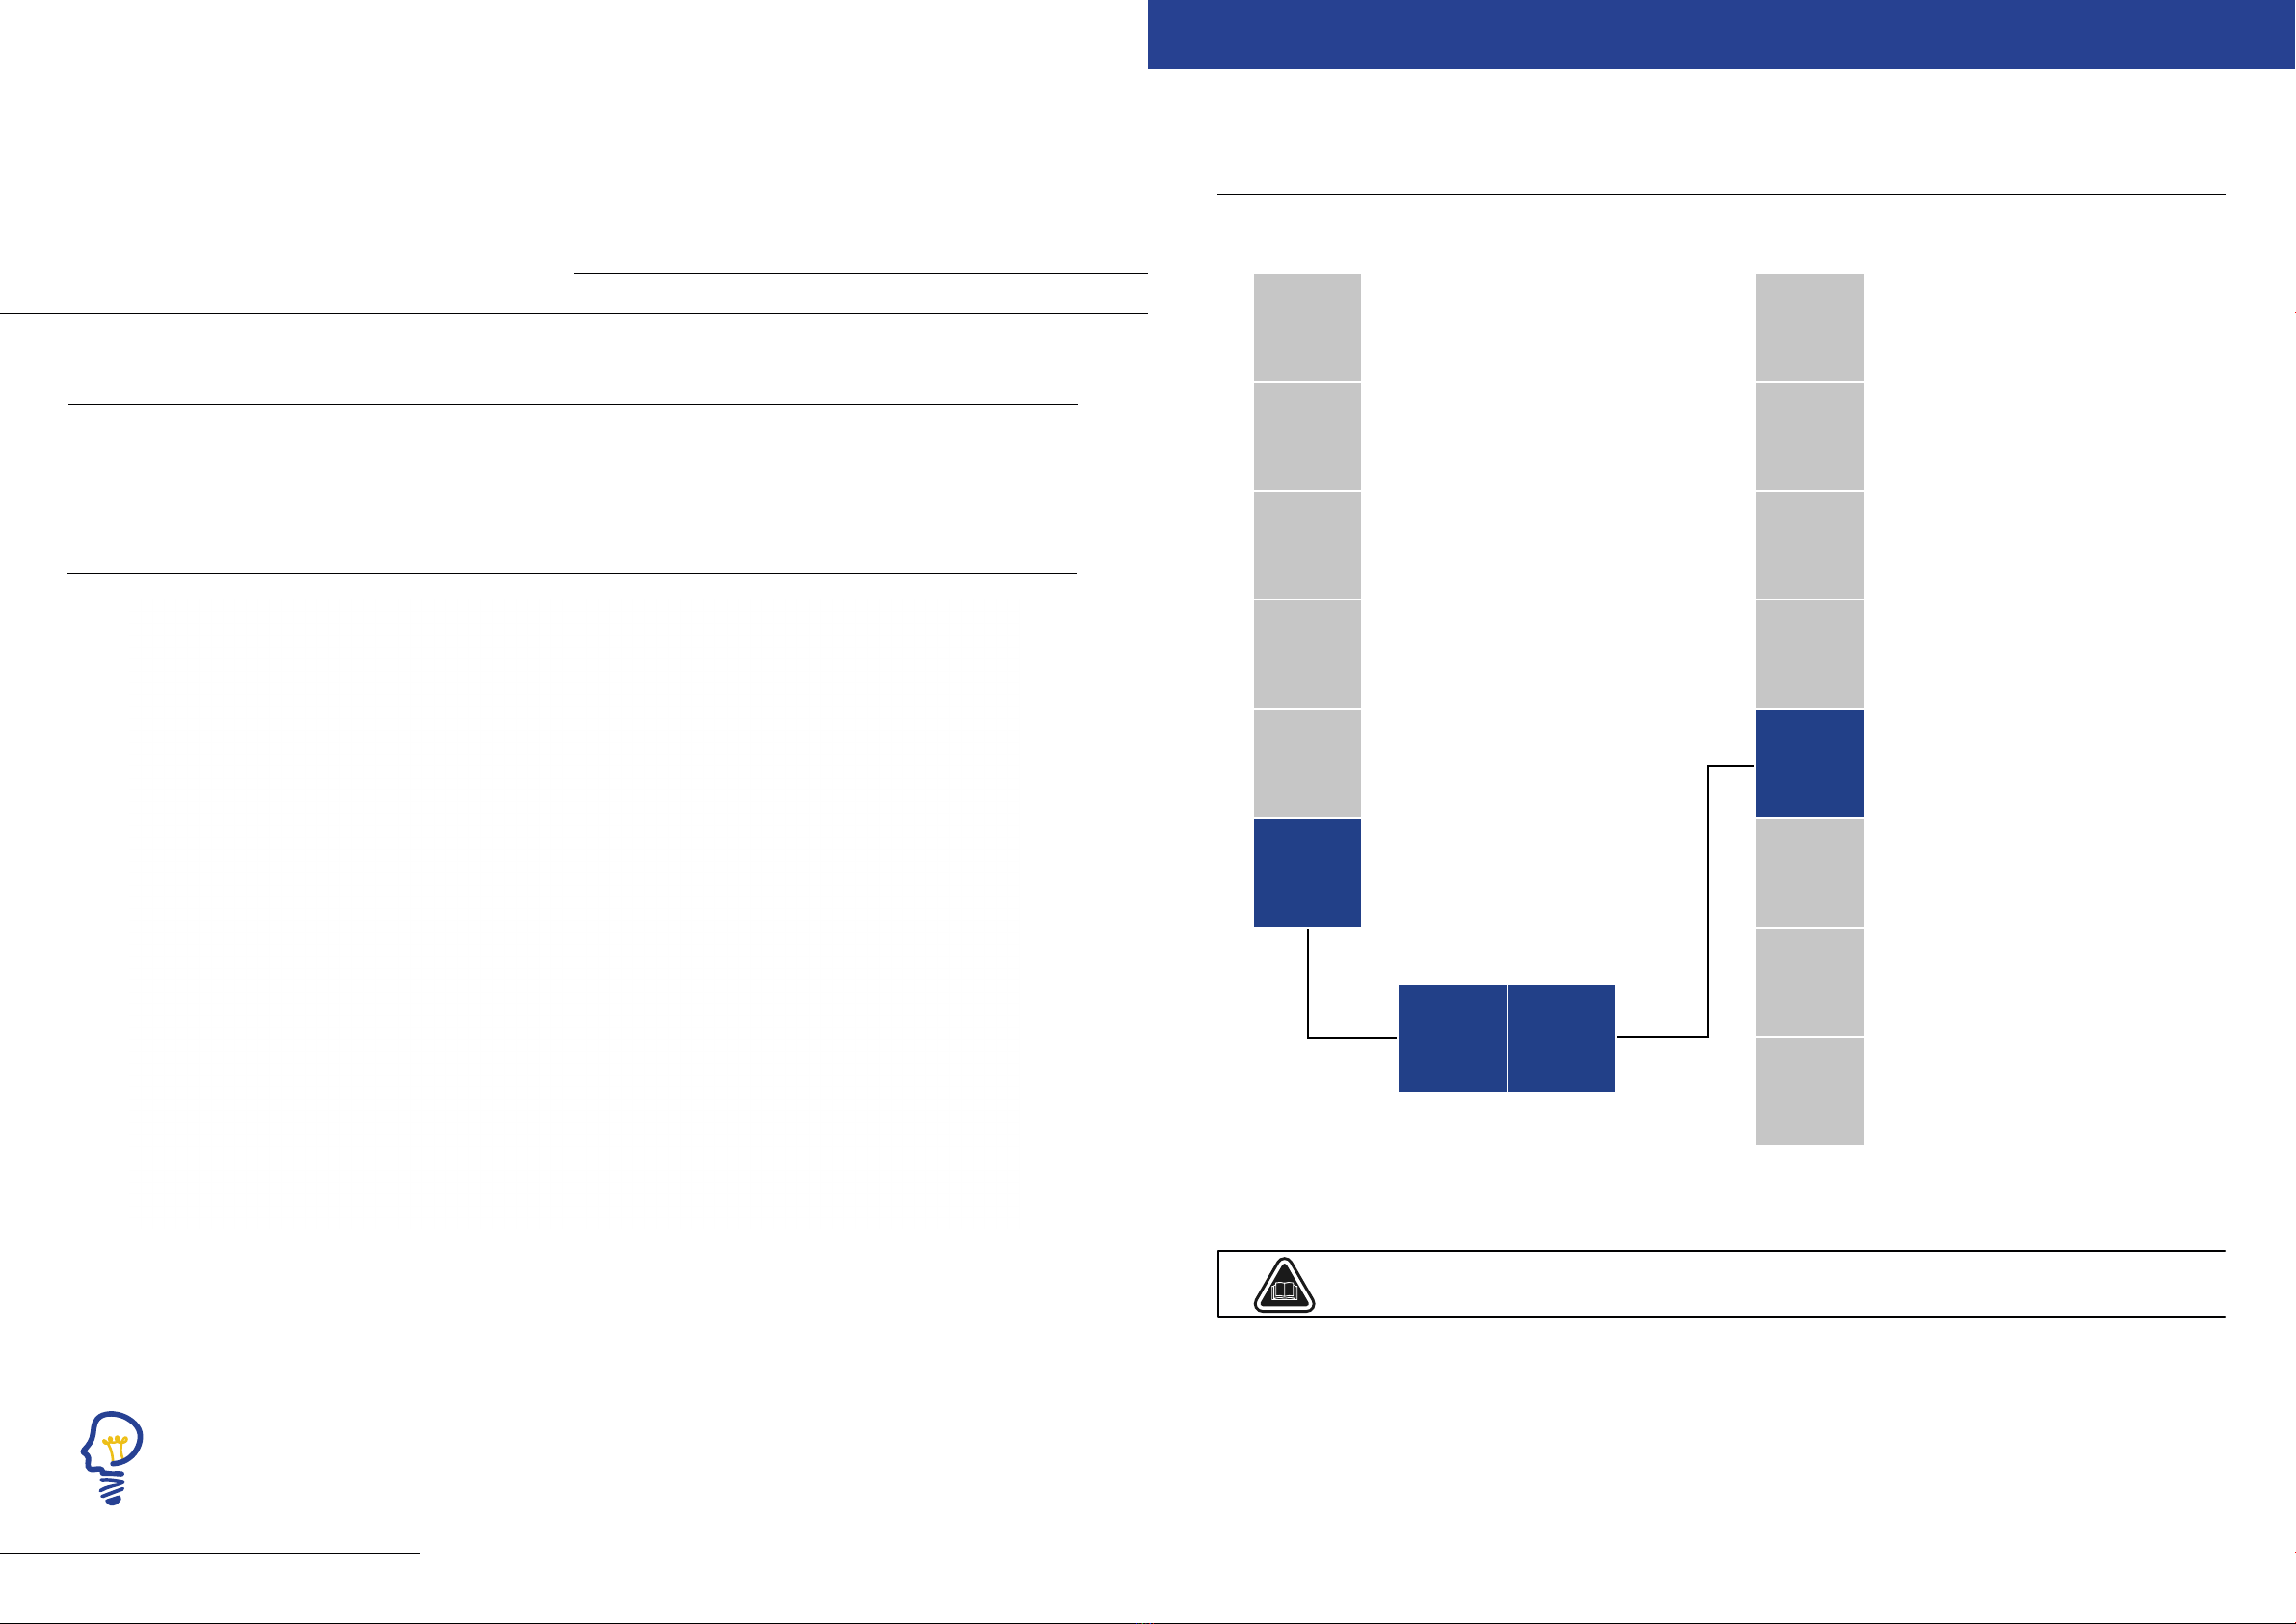
TABLE OF CONTENTS
SAFETY INSTRUCTIONS & MAINTENANCE PAGE 3
INSTALLATION PAGE 4
WHAT IS IN THE BOX? PAGE 4
DIMENSIONS P7 HEX PAGE 4
PREPARING PAGE 4
IP 65 PAGE 5
DMX-512 CONTROL CONNECTIONS PAGE 6
PHOTOMETRIC DATA PAGE 7
MENU OVERVIEW PAGE 8
DMX CHANNELS PAGE 9
2 CH MODE PAGE 9
3 CH MODE PAGE 9
6 CH MODE PAGE 10
9 CH MODE PAGE 10
11 CH MODE PAGE 11
TROUBLESHOOTING AND CLEANING PAGE 12
TECHNICAL SPECIFICATIONS PAGE 13
SECTION 1
SAFETY INSTRUCTIONS & MAINTENANCE
• Do not look directly at the light source from close range.
• Take precautions to prevent injury due to falls when working at height.
• For permanent installation, ensure that the xture is securely fastened to a load-bearing surface with suitable corrosion-resistant hardware.
• For temporary installation with clamps, ensure that the quarter-turn fasteners are turned fully and secured with a suitable safety cable.
• The cable must be approved for a safe working load (SWL) of 10 times the weight of the xture, and it must have a minimum gauge of 3 mm.
WARNING!
Take measure to prevent personal injury.
This product is for professional use only. It is not for household use.
This product presents risks of severe injury or death due to re and burn hazards, electric shock and falls.
Read this manual before installing, powering or servicing the xture, follow the safety precautions listed below and observe all warnings in this manual
and printed on the xture. This device has left the factory in perfect condition. In order to maintain this condition and to ensure a safe operation, it is
absolutely necessary for the user to follow the safety instructions and warning notes written in this user manual.
If you have questions about how to operate the xture safely, please contact us via [email protected].
• Always power off/unplug the xture before removing any covers.
• Ensure that the power is turned off when connecting the xture to the AC mains supply.
• Do not apply power if the xture is in any way damaged.
• Do not immerse the xture in water or liquid.
WARNING!
Risk of electric shock.
• This luminaries are multi-environmental xtures with an IP-rating of 65, intended for professional use only. They are not suitable for household use.
• Review the following safety precautions carefully before installing or operating the xture. This xture must be installed in accordance with the
applicable installation code by a person familiar with the construction and operation of the xture and the hazards involved.
WARNING!
Read the safety precautions in this section before unpacking, installing, powering or operating this product.
• Install in a location that prevents accidental contact with the xture.
• Install only in a well-ventilated space.
• Install at least 0.3 m (12 in.) away from objects to be illuminated.
• Install only in accordance with applicable building codes.
• Ensure a minimum clearance of 0.1 m (4 in.) around the cooling fans.
• Do not paint, cover or modify the xture.
• Keep all ammable materials away from the xture.
• Allow the xture to cool for 15 minutes after operation, before touching it.
• CAUTION: Exterior surface temperature after 5 min. operation = 45 °C
WARNING!
Take measures to prevent burns and re.
The following points have to be considered during the inspection:
1. All screws for installing the devices or parts of the device have to be tightly connected and must not be corroded.
2. There must not be any deformations on the housing, color lenses, xations and installation spots (ceiling, suspension, trussing).
3. Mechanically moved parts must not show any traces of wearing and must not rotate with unbalances.
4. The electric power supply cables must not show any damage, material fatigue or sediments.
Further instructions depending on the installation spot and usage have to be adhered by a skilled installer and any safety problems have to be removed.
CAUTION!
Disconnect from mains before starting maintenance operation
BOS LIGHTING
BOS Lighting P7 HEX IP
Page 4
Version: v1 // 2022
Lighting
B O S
• 1x P7 HEX iP
• 1x Shuko -> True1
• 1x Safety cable
• 1x Quicklock bracket for clam
WHAT IS IN THE BOX?
SECTION 2
INSTALLATION
DIMENSIONS P7 HEX
Unpack the xture and inspect it to ensure that it has not been damaged during transport. Read the manual before installation.
When selecting a location for the xture, ensure that:
• It is situated away from public thoroughfares and protected from contact with people.
• It is not immersed in water or exposed to high-pressure water jets.
• It has adequate ventilation.
PREPARING
IP65 is not waterproof – it is water resistant. Products that carry an IP65 rating cannot be submerged and maintain their protections.
The purpose of the P7 HEX IP is for temporary use. The products purpose is for e.g. festivals, theatres, indoor and outdoor concerts. Long term usage
can lead to damage due to aging of the materials and affecting the coated surace, and the rubber sealings will be affected by long-term UV exposure.
Tightening the screws to hard will affect the IP-rating. Please make sure the cleaning and maintaining procedures are in order for a safe environment.
IP 65
1Protected against a solid object greater than
50mm such as a hand.
2Protected against a solid object greater than
12.5mm such as a nger.
3Protected against a solid object greater than
2.5mm such as a screwdriver.
4Protected against a solid object greater than 1mm
such as a wire.
5Dust protected. Limited ingress of dust permitted.
Will not interfere with operation of the equipment.
6Dust tight. No ingress of dust.
1Protected against vertical falling drops of water.
Limited ingress permitted.
2Protected against vertical falling drops of water
with enclosure tilted up to 15 degrees from the
vertical. Limited ingress permitted.
3Protected against sprays of water up to 60
degrees from the vertical. Limited ingress
permitted.
4Protected against water splashes from all
directions. Limited ingress permitted.
5Protected against jets of water. Limited ingress
permitted.
6Protected against powerful jets of water. Limited
ingress permitted.
7Protected against the effects of immersion in water
between 15cm and 1m for 30 minutes.
8Protected against the effects of immersion in water
under pressure for long periods.
6 5
Ingress
Protection
SOLIDS LIQUIDS
WARNING!
Make sure the manual is read, and followed, before usage of the product.
BOS LIGHTING
7 // 13
BOS LIGHTING
BOS Lighting P7 HEX IP
Page 6
Version: v1 // 2022
Lighting
B O S
SECTION 3
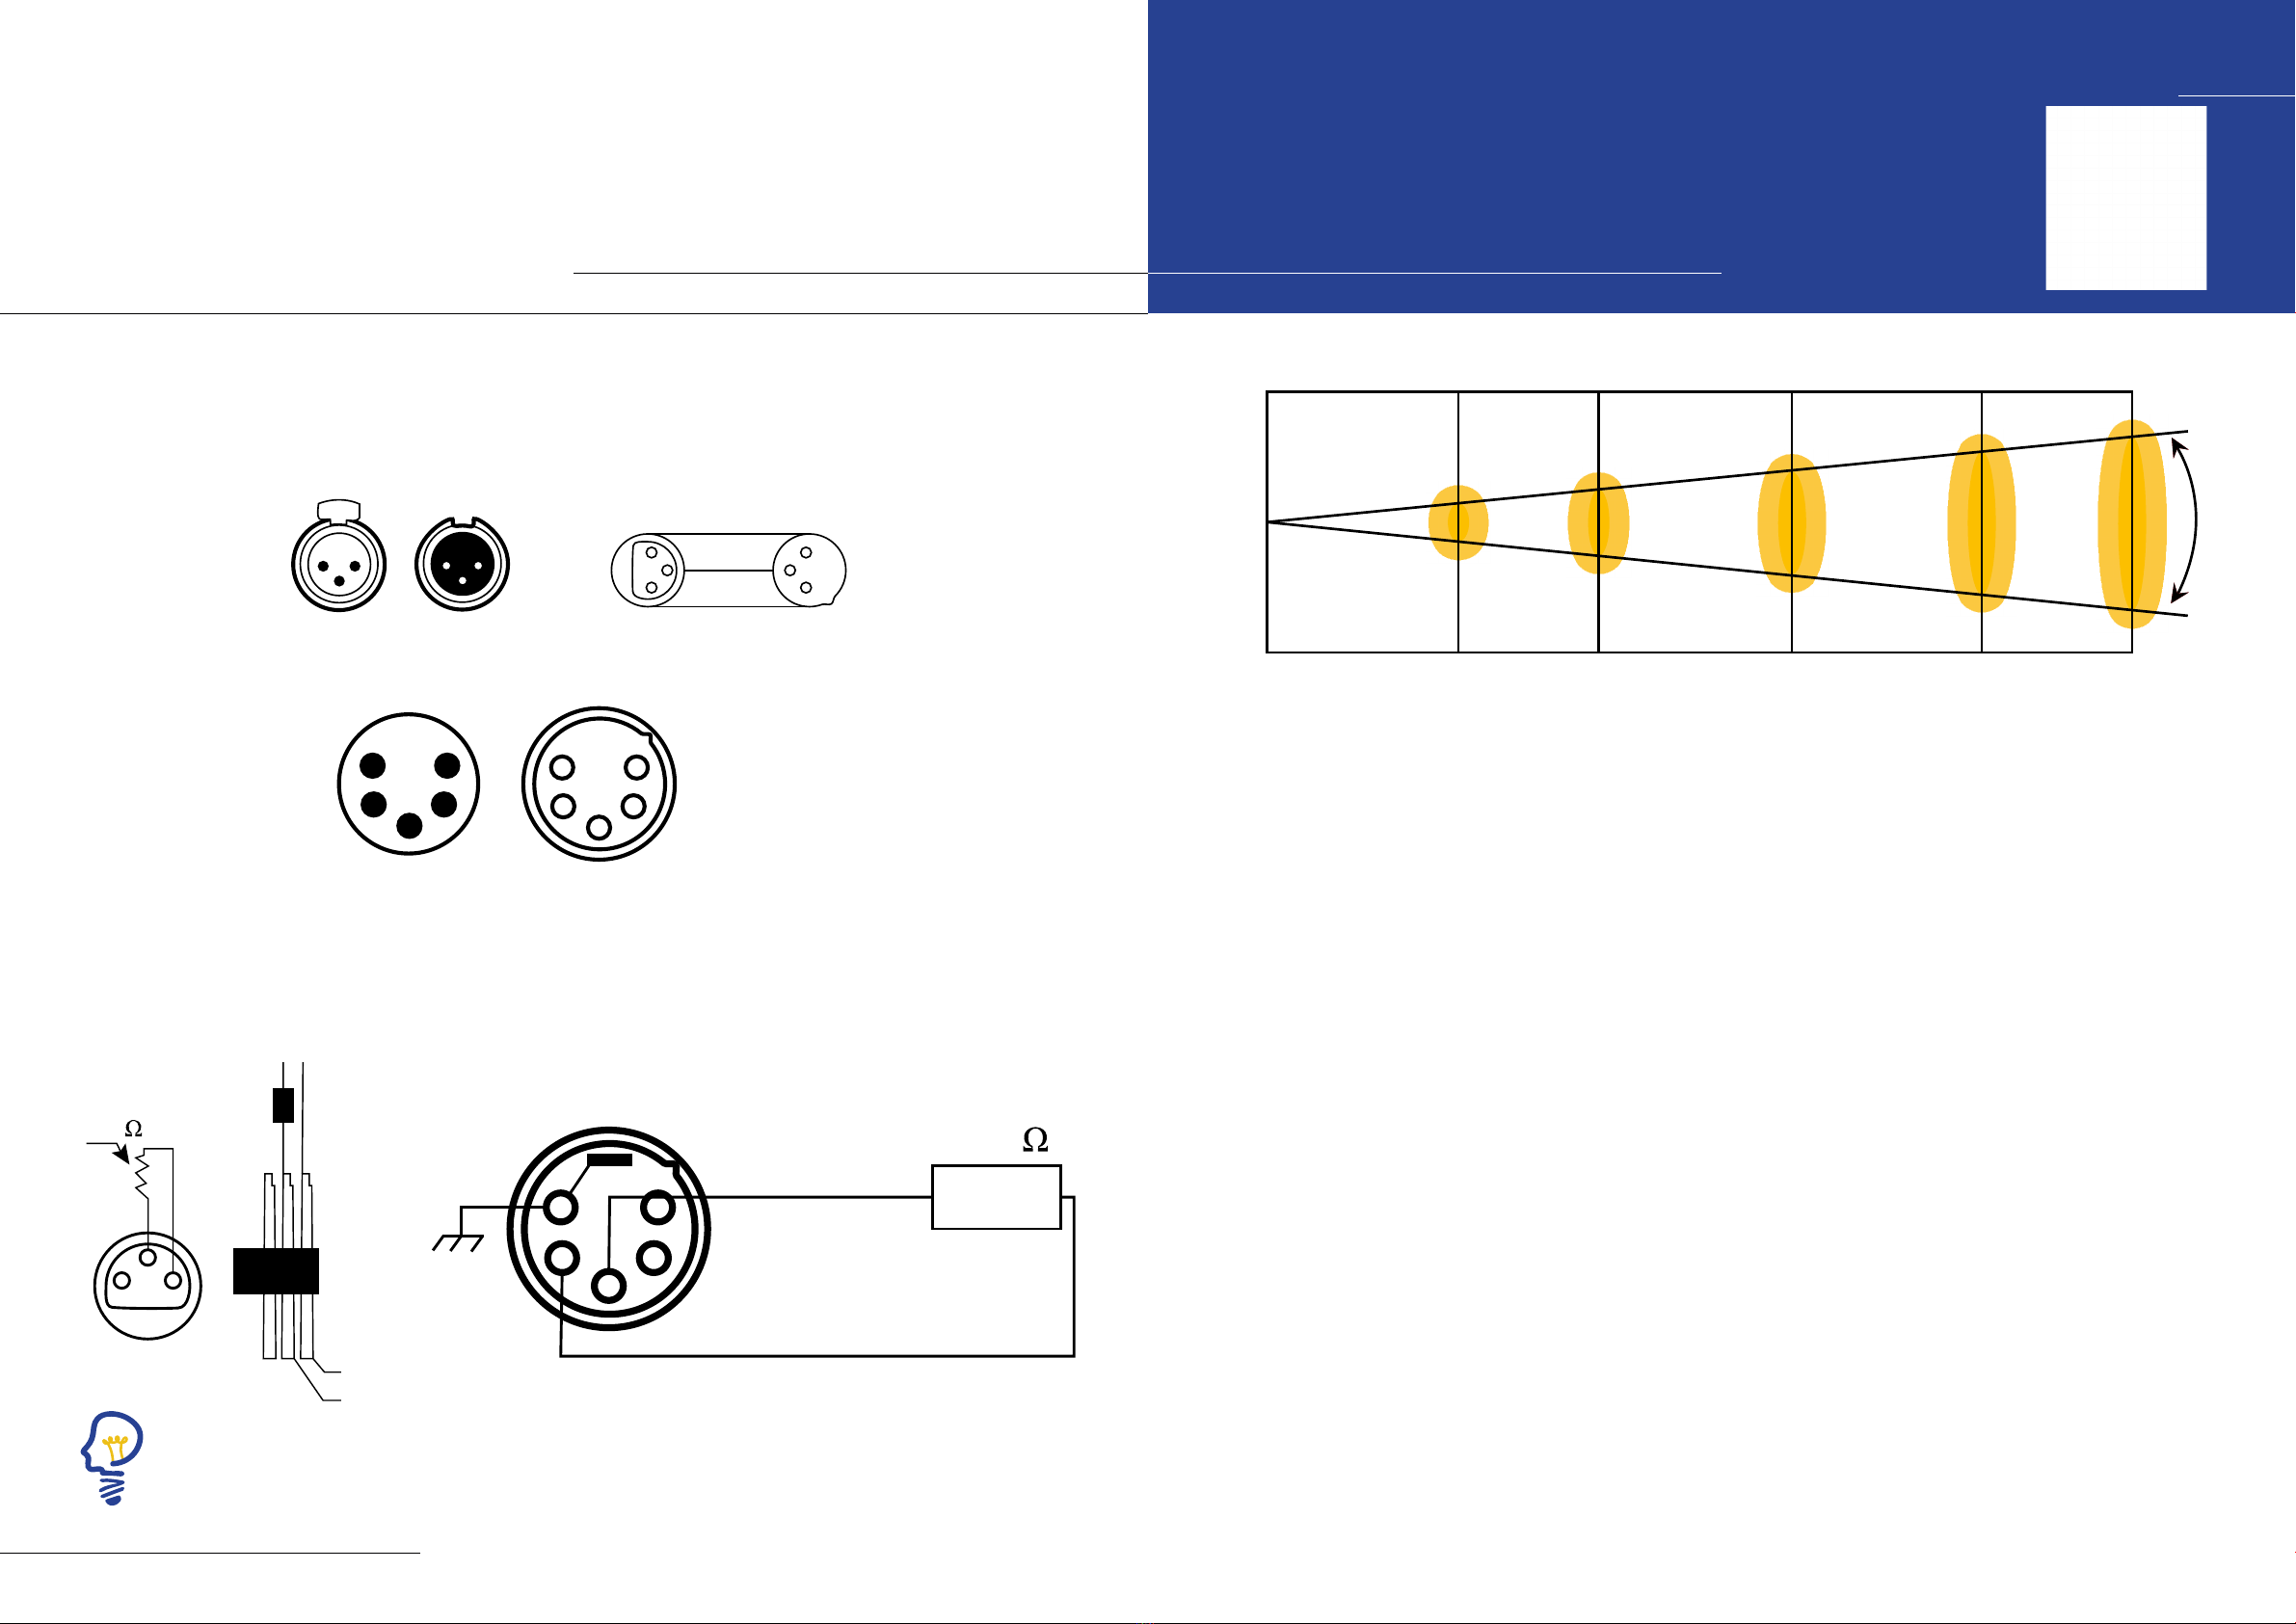
DMX-512 CONTROL CONNECTIONS
Connect the provided XLR cable to the female 3-pin XLR & 5-pin XLR output of your controller and the other side to the male 3-pin XLR & 5-pin XLR input of
the moving head. You can chain multiple moving head together through serial linking. The cable needed should be two core, screened cable with XLR input
and output connectors. Please refer to the diagram below.
For installations where the DMX cable has to run a long distance or is in an electrically noisy environment, such as in a discotheque, it is recommended to
use a DMX terminator. This helps in preventing corruption of the digital control signal by electrical noise. The DMX terminator is simply an XLR plug with a
120 Ω resistor connected between pins 2 and 3, which is then plugged into the output XLR socket of the last xture in the chain.
Please see illustrations below.
12
3
1 2
3
DMX Output
3-pin XLR Socket
DMX Input
3-pin XLR Socket
1: Ground
2: Data (-)
3: Data (+)
1
2
3
1
2
3
COMMON
DMX +
DMX --
1
2
3
4
5 1
2
3
4
5
FEMALE MALE
1: Ground
2: Data (-)
3: Data (+)
DMX 512 OUT
3-PIN XLR
DMX 512 IN
3-PIN XLR
120
1
2
3
4
5
1 2
3
120
PIN3
PIN2
SECTION 4
PHOTOMETRIC DATA
Distance in meters 1M 2M 3M 4M 5M
Lux
Beam size in centimeters
9900 2450 1291 654 358
60
120
180
240
300
35°

BOS LIGHTING
9 // 13
BOS LIGHTING
BOS Lighting P7 HEX IP
Page 8
Version: v1 // 2022
Lighting
B O S
SECTION 5
MENU OVERVIEW
DMX Address
001...512
DMX Mode
2 CH
3 CH
6 CH
9 CH
11 CH
Stand Alone
Auto
Program 1
Program 2
Program 3
Program 16
Color macro
Color 0
Color 1
Color 2
Color 35
Dimmer
Speed
000...255
000...255
000...255
000...255
000...255
000...255
Static
Dimmer 000...255
Strobe 000...255
Red 000...255
Green 000...255
Blue 000...255
White 000...255
Amber 000...255
UV 000...255
Tunable White
Dimmer 000...255
CTC 2800 K
3500 K
4000 K
5000 K
6000 K
7000 K
7500 K
8000 K
Dimmer 000...255
Strobe 000...255
Red 000...255
Green 000...255
Blue 000...255
White 000...255
Amber 000...255
UV 000...255
Color 1
Color 2
Color 3
Color 4
Color 5
Color 6
Color 7
Color 8
User Color
Slave
Yes/no
Settings
Output set
Standard
Full
Display Reverse
On/off
Display Backlight
On/off
DMX Fail
Hold
Blackout
Dimmer Curve
Linear
Exponential
Logarithmic
S - Curve
Dimmer Response
LED
Halogen
Auto Lock
On/off
IR Remote
On/off
Factory Reset
Reset Now
System Info
Firmware
V1.0
Operation Hours
.... Hrs
RDM
........
SECTION 6
DMX CHANNELS
Channel Value Function
1000...255 Dimmer intensity from dark (0) to bright (255)
2000...255 Colour temperature from 3200 K to 7200 K
Channel Value Function
1000...255 Dimmer intensity from dark (0) to bright (255)
2
Stroboscope
LEDs On
006...010 LEDs Off
011...033 Random impulses, increasing speed
034...056 Randomly increasing brightness, increasing speed
057...079 Randomly decreasing brightness, increasing speed
080...127 Random strobe effect, increasing speed
128...250 Strobe impulses (interval 5 s to 1 s)
251...255 LEDs On
3000...255 Color Macros *
2 CH MODE
3 CH MODE

BOS LIGHTING
BOS Lighting P7 HEX IP
Page 10
Version: v1 // 2022
Lighting
B O S
Channel Value Function
1000...255 Intensity red (0 %...100 %)
2000...255 Intensity green (0 %...100 %)
3000...255 Intensity blue (0 %...100 %)
4000...255 Intensity white (0 %...100 %)
5000...255 Intensity amber (0 %...100 %)
6000...255 Intensity UV (0 %...100 %)
Channel Value Function
1000...255 Dimmer intensity from dark (0) to bright (255)
2
Stroboscope
000...005 LEDs on
006...010 LEDs off
011...033 Random impulses, increasing speed
034...056 Randomly increasing brightness, increasing speed
057...079 Randomly decreasing brightness, increasing speed
080...102 Random strobe effect, increasing speed
103...127 Strobe impulses (5 s strobe effect, 1 s pause)
128...250 Strobe effect, increasing speed (1 ... 20 Hz)
251...255 LEDs on
3000...255 Intensity red (0 %...100 %)
4000...255 Intensity green (0 %...100 %)
5000...255 Intensity blue (0 %...100 %)
6000...255 Intensity white (0 %...100 %)
7000...255 Intensity amber (0 %...100 %)
8000...255 Intensity UV (0 %...100 %)
9000...255 Color Macros *
6 CH MODE
9 CH MODE
Channel Value Function
1000...255 Dimmer intensity from dark (0) to bright (255)
2
Stroboscope
000...005 LEDs on
006...010 LEDs off
011...033 Random impulses, increasing speed
034...056 Randomly increasing brightness, increasing speed
057...079 Randomly decreasing brightness, increasing speed
080...102 Random strobe effect, increasing speed
103...127 Strobe impulses (5 s strobe effect, 1 s pause)
128...250 Strobe effect, increasing speed (1 ... 20 Hz)
251...255 LEDs on
3000...255 Intensity red (0 %...100 %)
4000...255 Intensity green (0 %...100 %)
5000...255 Intensity blue (0 %...100 %)
6000...255 Intensity white (0 %...100 %)
7000...255 Intensity amber (0 %...100 %)
8000...255 Intensity UV (0 %...100 %)
9000...255 Color Macros *
10
Colour temperature selection
000...005 No function
006...031 2800 K
032...063 3500 K
064...095 4000 K
096...127 5000 K
128...159 6000 K
160...191 7000 K
192...223 7500 K
224...255 8000 K
11
Dimmer curve
000...005 No function
006...063 Linear course
064...127 Exponential course
128...191 Logarithmic course
192...255 S-curve shaped course
11 CH MODE
BOS LIGHTING
13 // 13
BOS LIGHTING
BOS Lighting P7 HEX IP
Page 12
Version: v1 // 2022
Lighting
B O S
SECTION 7
TROUBLESHOOTING AND CLEANING
The lamp contains professional components such as microcomputer circuit board and high-voltage power supply. For your safety and product life, non-
professionals should not disassemble the lamp and related accessories without authorization.
The bulb does not light up (except LED light source)
Possible cause: The bulb is not completely cooled, or the bulb has reached the end of its life, the treatment is as follows:
• Due to abnormal operation, the bulb is not completely cooled down, so let the lamp body cool down for more than 10 minutes to make the inside
completely return to normal state, and then turn on the power again.
• Check whether the bulb has reached the end of its life, and replace it with a new one.
• Check whether the bulb and the lighter circuit are leaking, falling off, or having poor contact.
• Replace with a new light source.
The light beam appears dim
Possible cause: The bulb has been used for a long time or the light path is not clean, the treatment is as follows:
• Check whether the bulb has reached the end of its life, and replace it with a new one
• Check whether the optical components or bulbs are clean, and whether there is dust on the bulbs and other optical components.
• Regular cleaning and maintenance of the bulbs and components in the lamps are required.
Blurred pattern projection
Possible cause: Lenses are dirty or electronic focus is defect:
• Check if lenses are clean.
• Check whether the electronic focus channel value is suitable for the current projection distance.
The lamps work intermittently
Possible cause: The internal circuit enters the protection state, and the treatment is as follows
• Check whether the fan is operating normally or whether it is dirty, causing the internal temperature of the lamp to rise
• Check whether the internal temperature control switch is closed
• Check whether the bulb has reached the end of its service life, and replace it with a new one.
After the lamp is reset normally, it does not accept the control of the console
Possible cause: signal line failure or abnormal lamp parameter setting, the treatment is as follows:
• Check the start address code and check the connection of the DMX signal line (whether the signal line cable is intact, and whether the connection of
the head is loose)
• Add signal amplier, add 120 ohm terminal resistance.
The lamp can’t start
Possible cause: bad power line, the treatment is as follows:
• Check whether the fuse on the power input socket is fused, replace the fuse.
• Lamps have poor line contact due to vibration during long-distance transportation.
• Check the input power, computer board and other plug-in devices.
CAUTION!
Disconnect from mains before starting maintenance operation
CAUTION!
Disconnect from mains before starting cleaning operation
In order to make the lights in good condition and extend the life time, we suggest a regular cleaning to the lights.
1. Clean the inside and outside lens each week to avoid the weakness of the lights due to accumulation of dust.
2. Clean the fan each week.
3. A detailed electric check by approved electrical engineer each three month, make sure that the circuit contacts are in good condition, prevent the poor
contact of circuit from overheating.
We recommend a frequent cleaning of the device. Please use a moist, lint-free cloth. Never use alcohol solvents.
There are no serviceable parts inside the device. Please refer to the instructions under “Installation instructions”.
Should you need any spare parts, please order genuine parts from your local dealer.
SECTION 8
TECHNICAL SPECIFICATIONS
Light Source 7 × 6in1 RGBWA UV LED, each 18 W
Optical properties
Beam angle 25°
Repetition rate 3000 Hz
Control
DMX
Buttons and display
Infrared remote control
Number of DMX channels 2CH, 3CH, 6CH, 9CH, 11CH
Power connections Lockable True1 In/Out
Control connections DMX control 3-pin XLR In/Out
Power consumption 130W - 150W
Operating supply voltage 100 – 240 V 50/60 Hz
Protection class IP65
Mounting options Hanging, standing
Dimensions (W × H × D), with
bracket 240 mm×273 mm×201 mm
Weight 4 kg
Ambient conditions
Temperature range 0 °C...40 °C
Relative humidity 20 %...80 % (non-condensing)
Construction Outdoor housing, PAR
Number of LEDs 7
Color mixture RGBWA UV
LED type 6 -in- 1
Floor housing Yes
Fanless Yes
Wireless DMX No
Housing color Black
Table of contents
Other BOS Lighting Lighting Equipment manuals


