Safety instructions
Please read through the instructions
carefully and proceed accordingly; store
in a safe place!
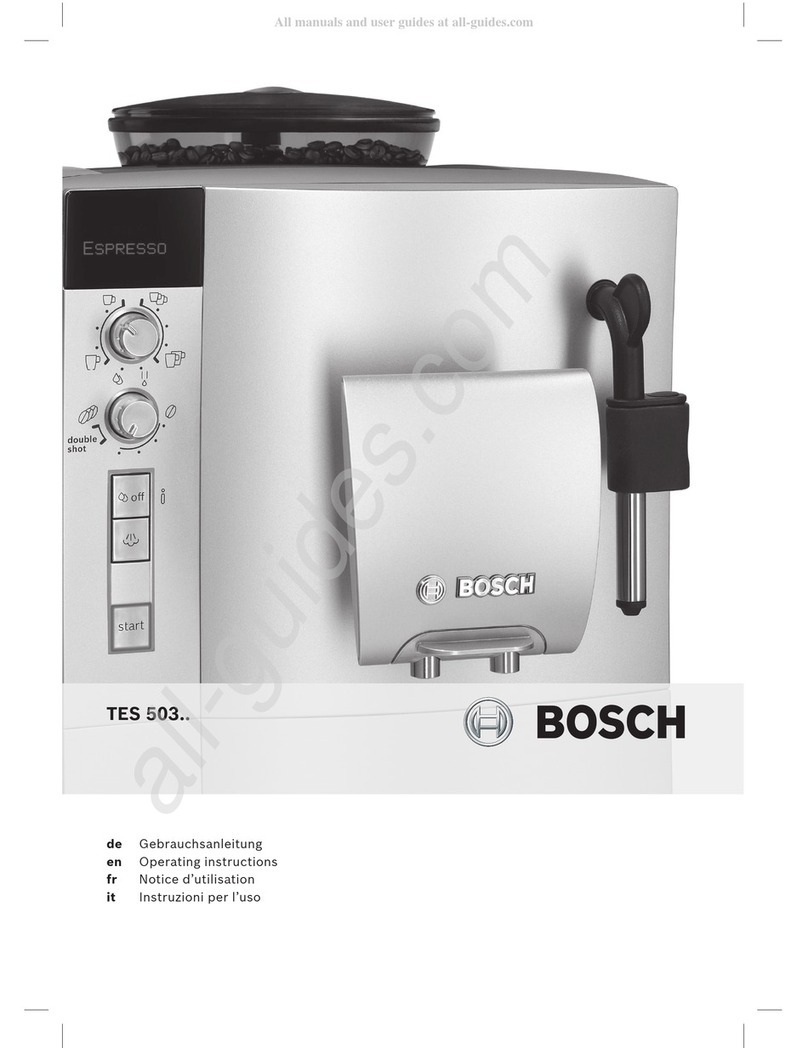
This fully automatic espresso machine
is designed for the preparation of
small amounts of coffee for domestic
use or for use in household-like, non-
commercial environments. Household-
like environments include staff areas
in shops, ofces, agricultural and other
small businesses or for use by guests at
bed-and-breakfast establishments, small
hotels and similar residential facilities.
¡Danger of electric shock!
Connect and operate the appliance only in
accordance with the specications on the
rating plate.
Use only if power cord and appliance show
no signs of damage.
In the event of a malfunction, unplug the
appliance immediately.
To avoid potential hazards, repairs such
as replacing a damaged cable, must only
be carried out by our customer service
personnel.
Never immerse the appliance or mains
cable in water.
Unplug the appliance before cleaning it.
Do not use a steam cleaner.
Use the appliance indoors and at room
temperature only.
Do not allow persons (including children)
with reduced physical, sensory or mental
capabilities, or lack of experience and
knowledge, to use this appliance, unless
they are being supervised or have been
given instruction concerning use of the
appliance by a person responsible for their
safety.
Keep children away from the appliance.
Children should be supervised to ensure
that they do not play with the appliance.
Please store descaling and cleaning agents
in a safe place, out of reach of children.
Do not drink cleaning agents.
¡Risk of scalding!
The milk frother 10 for milk/hot water
gets
very hot. After use, allow to cool down rst
before touching.
¡Warning!
Adjust the grinding unit only while it is
running! Otherwise the appliance may be
damaged. Do not reach into the grinding
unit.
ONLY TES807
¡Warning!
The cup warmer 27 gets very hot!
TES803_805_807_1RW.indb 3 08.05.2013 14:52:57

