1 2 3 4 5 6
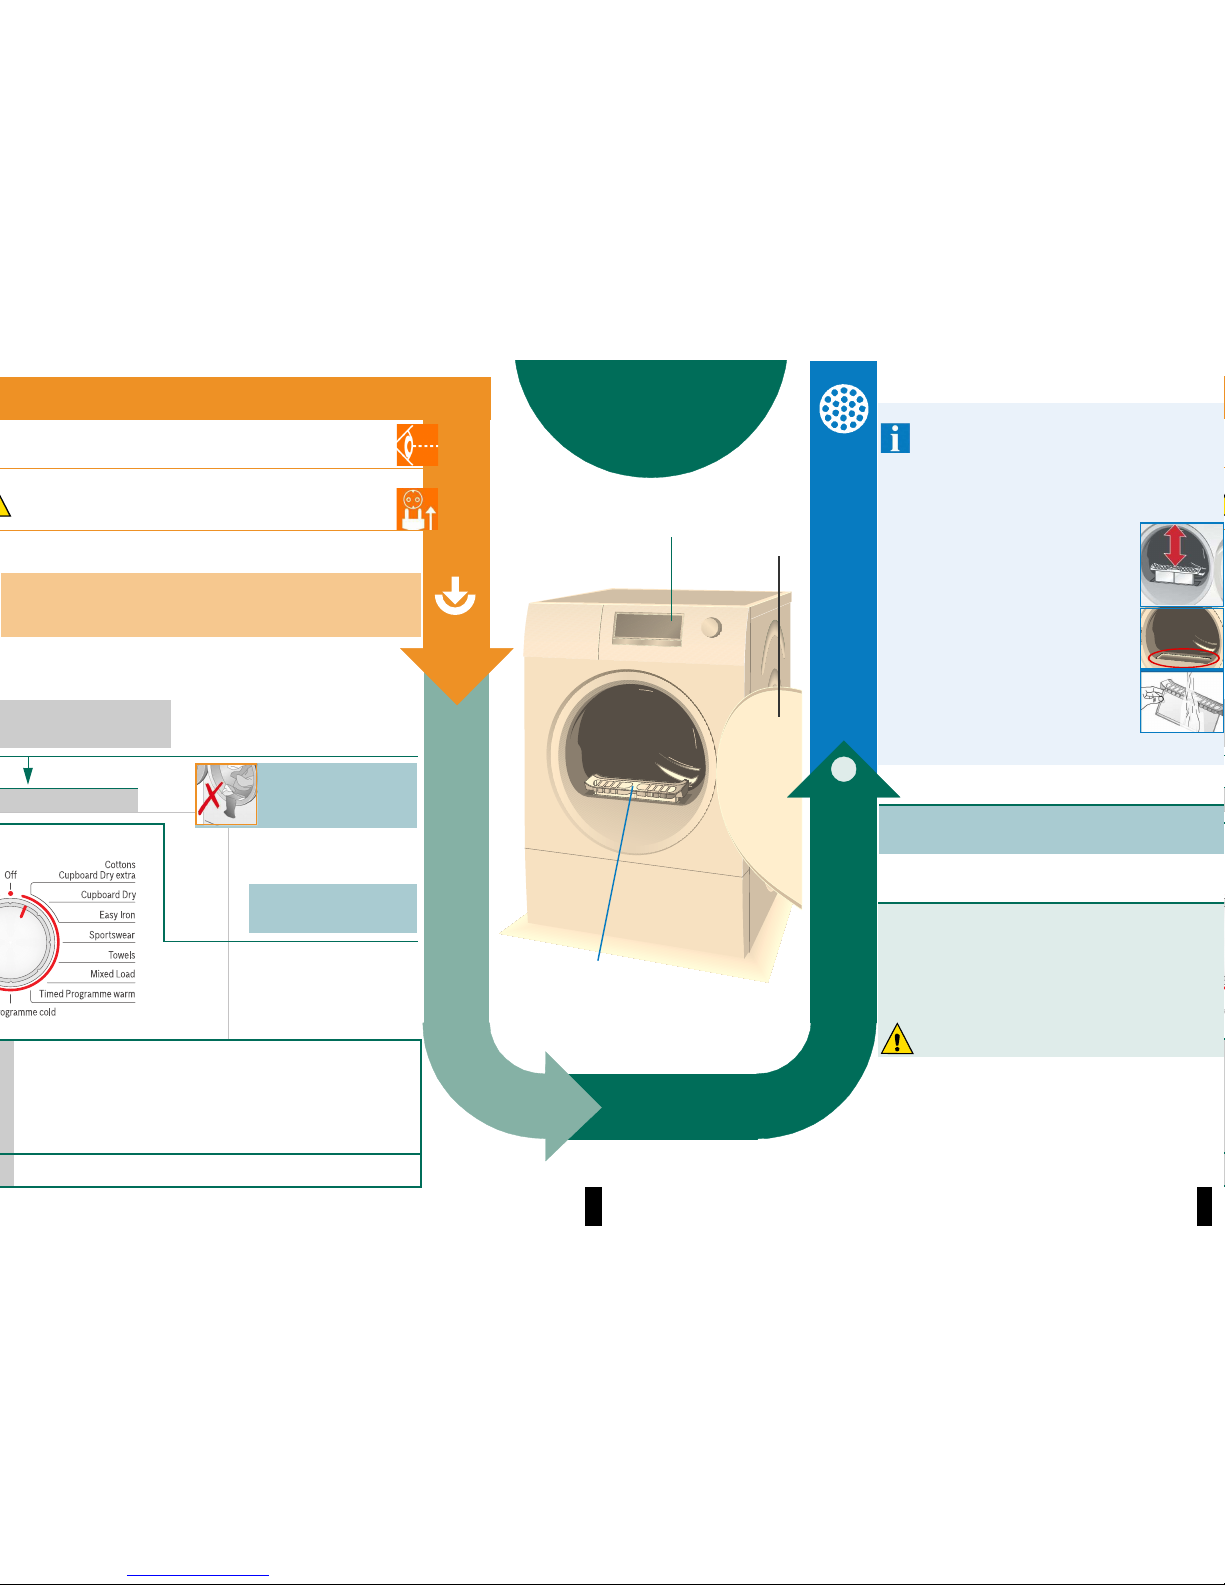
Programme selector / OffDisplay panel / Buttons
Display panel and settings
ʑDisplay panel (s tatus indicators )
p(Fluff filter/
Exhaust air duct)
Clean the fluff filter ap age 4/11
or check the exhaust air duct apage 8.
H|]+-Æ->
(Programme
sequence)
These indicators show the programme progress in the next steps
of the drying cycle:
HDrying;
|]Iron Dry;
+Cupboard Dry;
-Æ-Programme pause aif required;
>Programme end.
((Childproof lock)
You can lock the dryer to prevent the functions you have set from being
changed inadvertently. To activate/deactivate ((Childproof lock) start
the programme or set the Finished in option and then press and hold
the Start/Pause button for 5 secon ds until a long acoustic signal is heard.
The option activated/d eactivated a((Childproof lock) indica tor
light on/off.
[h:min](Remaining time)
When a programme is selected, the anticipated d rying time (remaining
time) for the recommended l oad is displayed. While drying, th e moisture
sensors detect the actual load and correct the programme length. This is
shown by jumps in the remaining time in the display panel.
ʑSettings (indicato rs lights and buttons)
Drying Time
Drying time, available only for timed progr ammes, can be selected
from min. 0:20 h to max. 3:00 h, in 10-minute s teps.
yFine adjust
The dryness levels can be increased in three levels.
The laundry is made drier. Default = 0. Sele ctable values: 0, 1, 2, 3.
After setting the level of the fine adjustment for a programme, it is also
retained for other programmes, until yFine ad just is changed again.
³¤-¤Finished in The time when the programme ha s to end can be set by selecting the
Finished in time. The Finished in time can be selected in one-hour steps,
up to a maximum of 24 hours. Select the Finished inbutton rep eatedly
until the required number of hours is displayed. Then press the
Start/Pause button to activate th e Finished in option. The programme
ends after the selected nu mber of hours.
Several minutes after activating Finished in option the dis play switches
off to save energy. T o switch it on select any button, close/open the d oor
or turn the programme selector.
VLow Heat
Reduced temperature for delicate fabr ics, e.g. polyacrylic, polyamide
or elastane, with a lo nger drying time.
4Anti crease
After the programme finis hes, the drum moves at regular intervals
to prevent creases. Laundry remains loose and fluffy.
The standard setting for each programme is 60 min. Automatic
anti-crease function can be e xtended by up to 60 min .
&ü
Signal
For switching the buzzer on and off. &üSignal indicates program end
if it is activated. Other sounds are not influenced by this option.
Programmes / Fabrics
Detailed overview of the program mes and fabrics
aProgramme overview, page 7.
Observe the care instructions on the care label.
Cottons Hard-wearing fabrics.
Easy-Care Fabrics made from synthetic
or blended fabrics.
Dryness levels to select w ith the Cottons and Easy-Care programmes:
Cupboard Dry extra Thick and multi-layered fabrics.
Cupboard Dry Single-layered laundry.
Easy Iron Laundry suitable for ironing after drying.
Sportswear Functional clothing made of microfib re.
Towels Terry-towelling laundry e.g. to wels
and bathrobes.
Mixed Load A mixed load of fabrics ma de of cotton
and synthetic fabrics.
Timed Programme
warm All types of fabric
except for wool and silk.Timed Programme
cold
Shirts/Business Cotton or linen fabrics th at are still damp
and easy-care fabrics.
Super Quick 40’ Synthetics, cotton or blended fabr ics.
Woollens finish Woollen fabrics that are suitable for use
in washers.
Delicates Lingerie made of synthetic fibres, cotton
or blended fabric.
Your new dryer
Congratulations - You have chosen to b uy a modern, high-quality
Bosch domestic appliance.
A distinctive feature of your dr yer is its low energy consump tion.
Every dryer which leaves our factory is carefully checked to ensure
that it functions correctly and is in perfect condition.
Should you have any questions, o ur after-sales service will be
pleased to help.
Environmentally responsible disposal
Dispose of packaging in an environmentally-responsible manner.
This appliance is designated a ccording to European directive 2002/96/EC which governs waste e lectrical and electronic
equipment (WEEE).
This directive provides the fram ework for the EU-wide collection
and reuse of used appliances.
For further information about our products , accessories,
spare parts and services, please visit: www.bos ch-home.com
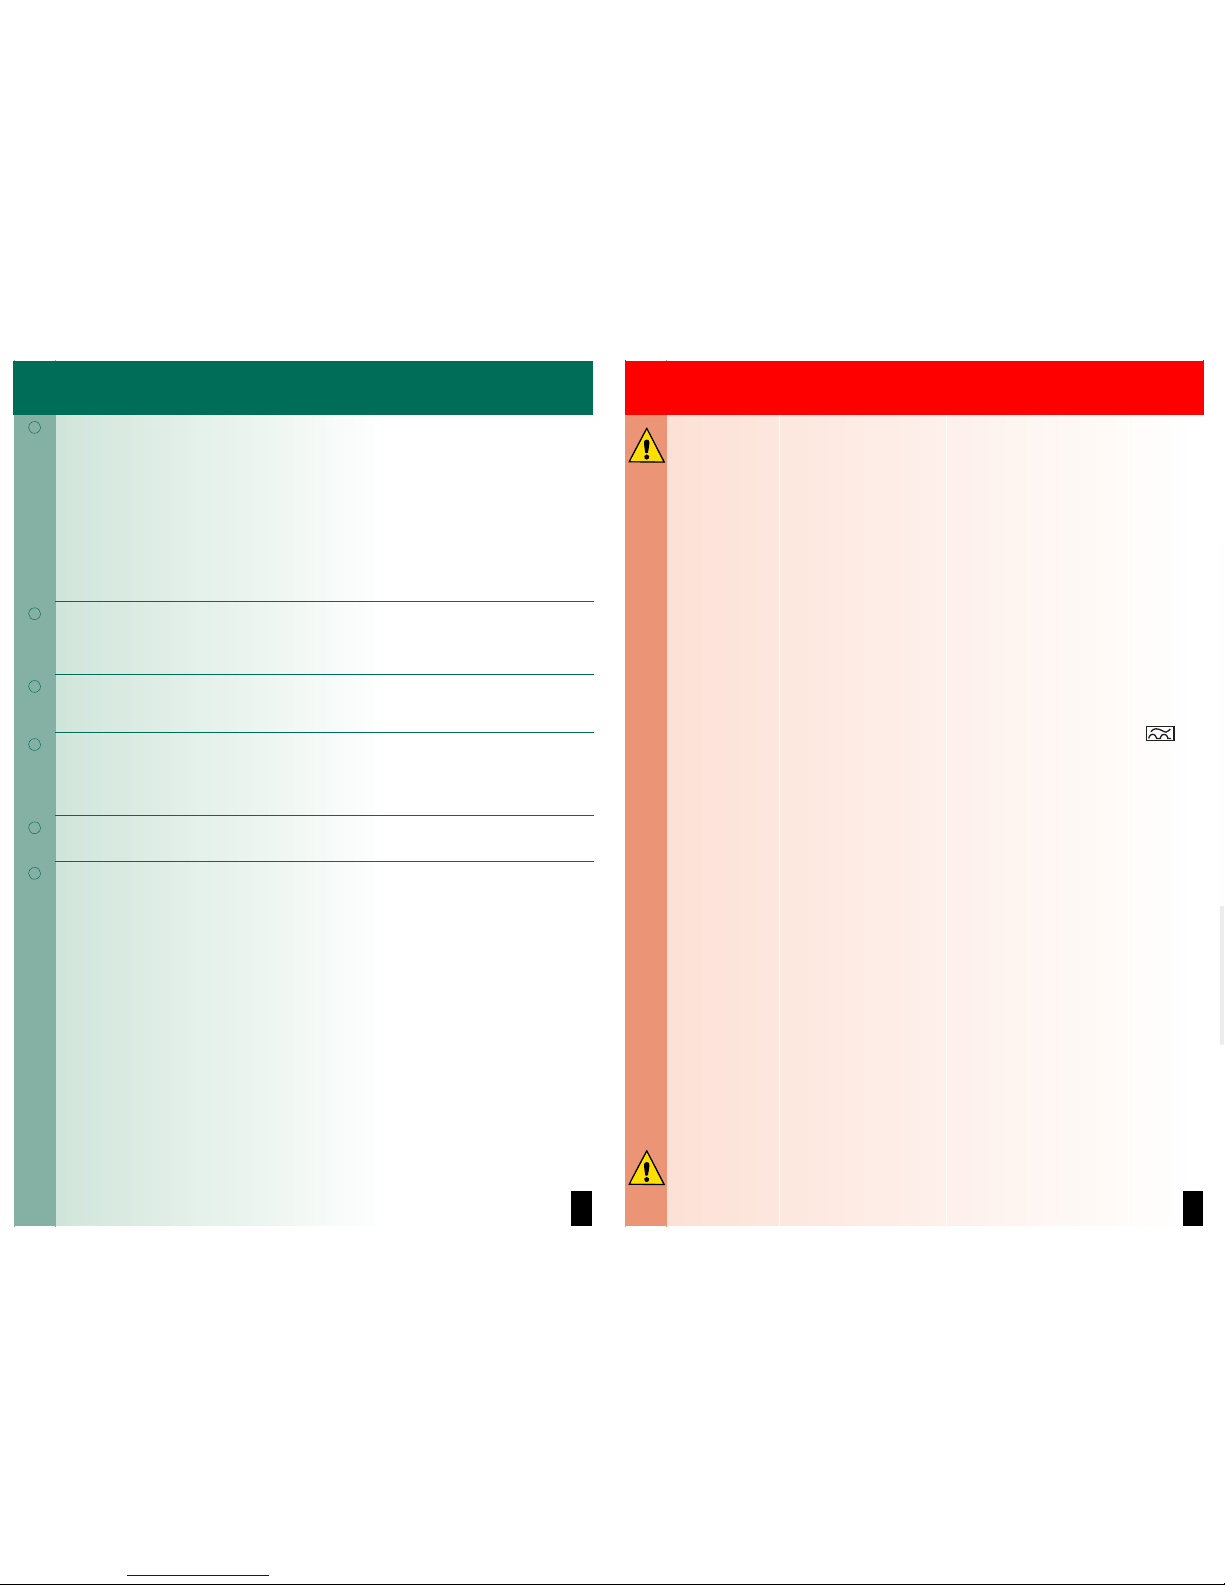
Intended use Preparation
Set and adjust the
programme individually 1
2
Drying
ʋexclusively for domestic use,
ʋonly for drying fabrics which have been washed using
water.
Do not leave children unsupervis ed near the dryer.
Keep pets away from the dryer.
The dryer may be operated b y children from
8 years of age, by person s who have limited
physical, sensory or mental abilities and by
persons who have inadequate experience
or knowledge, provided they are supervised
or have been instructed by a responsible person.
Drying
Close the door
3
Contents Page
ʋPreparation . . . . . . . . . . . . . . . . . . . . . . 2
ʋControl panel . . . . . . . . . . . . . . . . . . . . . 2
ʋDrying . . . . . . . . . . . . . . . . . . . . . . . . .3/4
ʋDisplay panel and settings . . . . . . . . . . . 5
ʋNotes on laundry . . . . . . . . . . . . . . . . . . 6
ʋOverview of programmes . . . . . . . . . . . . 7
ʋCare and cleaning . . . . . . . . . . . . . . . . . 8
ʋInstallation . . . . . . . . . . . . . . . . . . . . . . . 9
ʋOptional accessories . . . . . . . . . . . . . . 10
ʋTechnical data . . . . . . . . . . . . . . . . . . . 10
ʋConsumption rates . . . . . . . . . . . . . . . . 10
ʋAfter-sales service . . . . . . . . . . . . . . . 11
ʋWhat to do if ... . . . . . . . . . . . . . . . . 11/12
ʋSafety instructions. . . . . . . . . . . . . . . . . 13
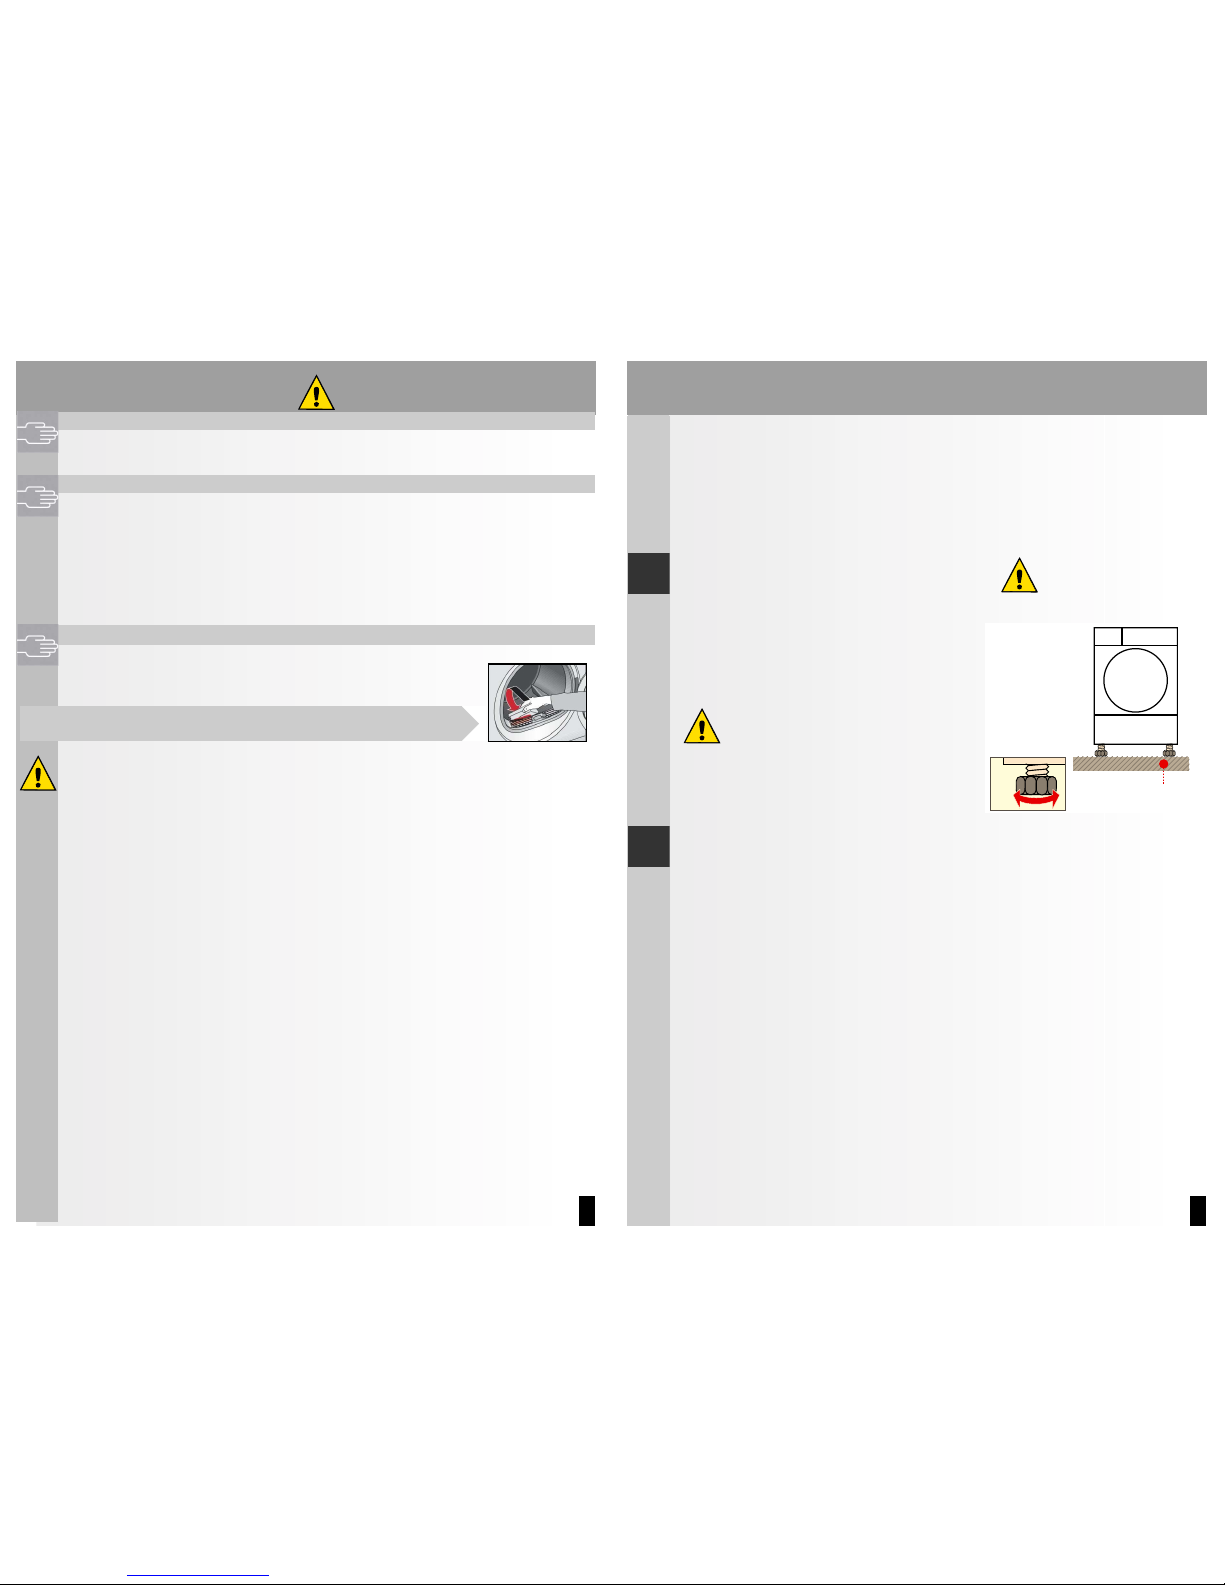
Never start the dryer if it is damaged!
Inform your after-sales service! Inspect the dryer
Sort the laundry
Remove all items from pockets,
especially cigarette lighters.
The drum must be empty prior to loading.
Make sure your hands are dry.
Only grasp the plug by the plug
body.
Connect the
mains plug
Clean the fluff filter
Do not operate the dryer without a fluff filter
or with a defective fluff filter. A clean fluff filter
minimises energy consumption.
Clean the fluff filter a fter each drying cycle:
1. Open the door. Remove any fluff from
the door/around the door and pull o ut
the fluff filter.
2. Remove the fluff from the shaft of the
fluff filter.
3. Remove the fluff (sweep your hand over
the fluff filter). If the fluff filter is very dirty
or blocked, rinse with warm wate r and
dry thoroughly.
4. Insert the fluff filter so that you hear
it engage.
End of the programme...
Interrupt the program me
1. Open the door or press the Start/Pause übutton;
the drying cycle is interrupted .
2. Add or remove laundry and close the door.
3. If r equired, select a ne w programme and additio nal
functions. Select the Start/Paus e button. The remaining
time is updated after a few minutes.
The drum and door may b e hot!
Notes on laundry ...
Labelling of fab rics
Follow the manufacturer's care instructions .
hcSuitable for tumble drying.
(cDry at normal tempe rature.
'cDry at low temperatur e ain addition, select VLow Heat.
)cDo not tumble dry.
Do not tumble dry the following fabric s:
– Non-breathable fabrics ( e.g. rubber-coated).
– Delicate mater ials (silk, curtains mad e from synthetic mate rial) athese may crease.
– Oil-stained laundry.
Before drying for the first t ime
– Do not put any laundry i n them achine. Turn the programme selector to Timed Programme
(apage 7) and select Start/Pause. At th e end of the programme, turn the program me
selector to Off.
Drying tips
– To ensure a consistent drying result, sort the l aundry by fabric type and drying programme.
– Always dry very sma ll fabrics (e.g. baby socks) together with large items of laundry
(e.g. towels).
– Close zips, hooks and eyelets, a nd button up covers.
Tie cloth belts, apron strings, etc. together or u se a laundry bag.
– Do not over-dry easy-ca re laundry arisk of creasing.
Allow laundry to finish drying in the a ir.
– Do not dry woollens in the dryer. T hey may, however, be refreshed in the dryer
apage 7, Woollens finish program me (depending on model).
– Do not iron laundry immediately after drying; fold items up and leave for a while
aresidual moisture will then be distributed evenly.
– Knitte dfa brics (e.g. T-shirts, jerseys) often shrink slightly the first time they are t umble-dried.
aDo not use the Cupboard Dry extra progr amme.
– Starched laundry is n ot always suitable for dryers astarch leaves behind a coating tha t
reduces the drying effect.
– When washing laundry th at is to be tumble dried afterwards, use th e correct amount of
fabric softener as specified i n the manufacturer's instructions.
– For pre-dried, multi-layered fabr ics or small, individual items of laundry, use the ti med
programme. Also suitable for subsequen t drying.
Environmental protecti on / Energy-saving ti ps
– Before drying, spin the laundry in the washing machine ahigher spin speeds mi nimise
the drying time and reduce ene rgy consumption.
– Use the ma ximum recommended cap acity, but do not ex ceed it
aProgramme overview, page 7 .
– Make sure the room is well ventilated during dry ing.
– Clean the flu ff filter after every dryi ng cycle aClean the fluff filter, p age 4/11.
Remove the laundry and switch off
the dryer
5
4
Control panel
Fluff filter
Select
Start/Pause
Door
Installation apage 9
and Exhaust air duct installation instruction.
7
Programme overview see also page 6.
Sort the laundry according to type of textile and fabric. Fabrics must be suitable for tumble drying.
After drying, laundry is to be ...
c
ironed
lightly ironed
@c
not ironed
c
mangled
PROGRAMMES TEXTILE TYPE AND INFORMATION
*Cottons max. 7 kg Hard-wearing fabrics, bo il-proof fabrics made of cotton or linen.
*Easy-Care max. 3.5 kg Non-iron laundry ma de of synthetic fibres and mixed fabric, easy-ca re cotton.
Easy Iron c÷@c The condition of the laundry means it is suitable for iro ning (iron clothes in order to avoid creases ).
Cupboard Dry @Single-layered laundry.
Cupboard Dry extra @Laundry with thick, mult i-layered parts.
Sportswear max. 1.5 kg Fabrics with m embrane coating, water-repell ent fabrics, functional clothing, fleece fabrics (dry jackets/trousers with
removable internal lin ing separately).
Towels max. 6 kg Terry-towelling laundry e.g. t owels and bathrobes.
Mixed Load max. 3 kg Mixed items of laundry m ade of cotton and synthetics (Mix).
Timed Programme warm max. 3 kg Pre-dried, multi- layered, sensitive fabrics made of acrylic fibres, or separate small items of laund ry.
Also for subsequent dry ing.
Timed Programme cold max. 3 kg All types of fabrics. For freshening up or airin gof item sof laun dryt hat have been worn for a short period of time.
Shirts/Business max. 3 kg Cotton or linen fa brics that are still damp and easy-care fabrics. Creasing in fabrics is reduced. Fabrics are not dri ed
completely. Hang up fabrics!
Super Quick 40’ max. 2 kg
Laundry made of synthetic fibres, co tton or blended fabrics (for example) that needs to be dried qui ckly. The values may
differ from the those specified depending on the type of fabric, mixture of laundry to be dried, residual moisture in the fabric
and loading capacity.
Woollens finish max. 3 kg Woollen fabrics suita ble for washers. Fabrics becom e fluffier but not dry.
Remove fabrics once the programm e has ended and allow to dry.
Delicates max. 1 kg Lingerie made of synthe tic fibres, cotton or blended fabric.
*Dryness levels can be selecte d individually aCupboard Dry extra, Cu pboard Dry and Easy I ron (depending on the model).
Degree of dryness can b e finely adjusted; multi-la yered textiles require a longer drying time than s ingle-layered items of clo thing.
Recommendation: Dry separately.
9306 / 9000870201
*870201* Robert Bosch Hausgeräte GmbH
Carl-Wery-Str. 34
81739 München/Deutschland
WTA74200GB