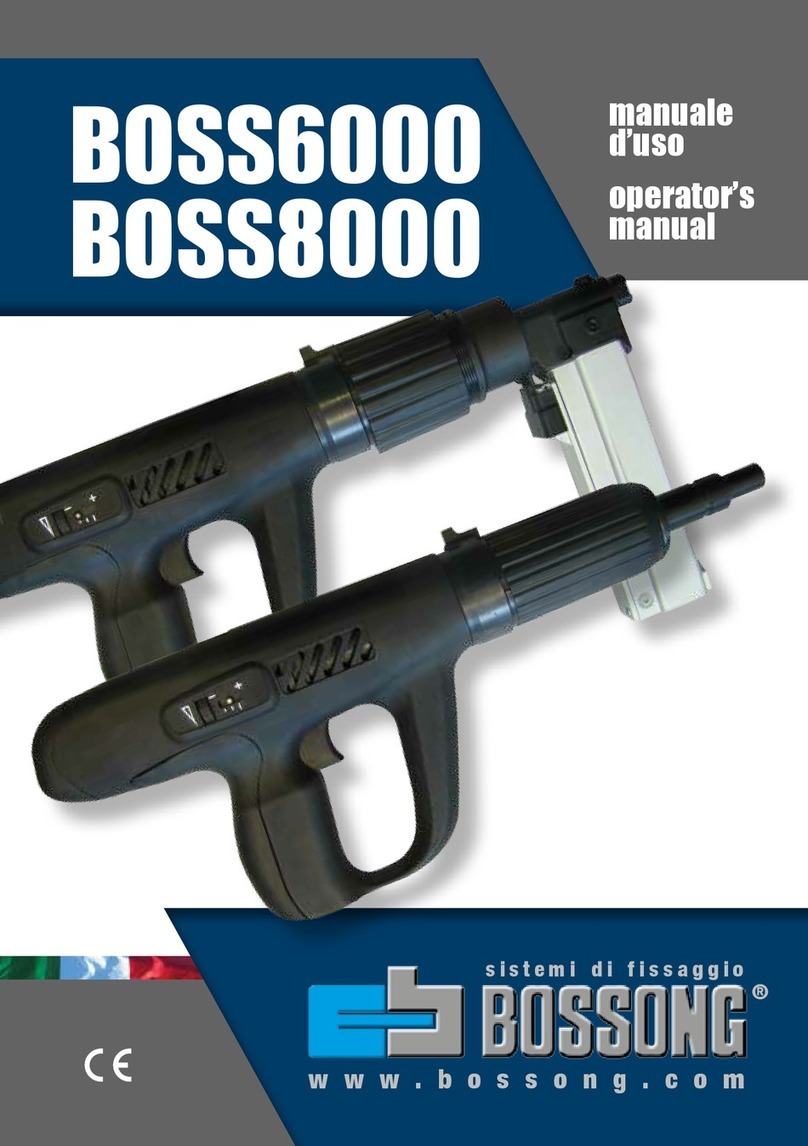
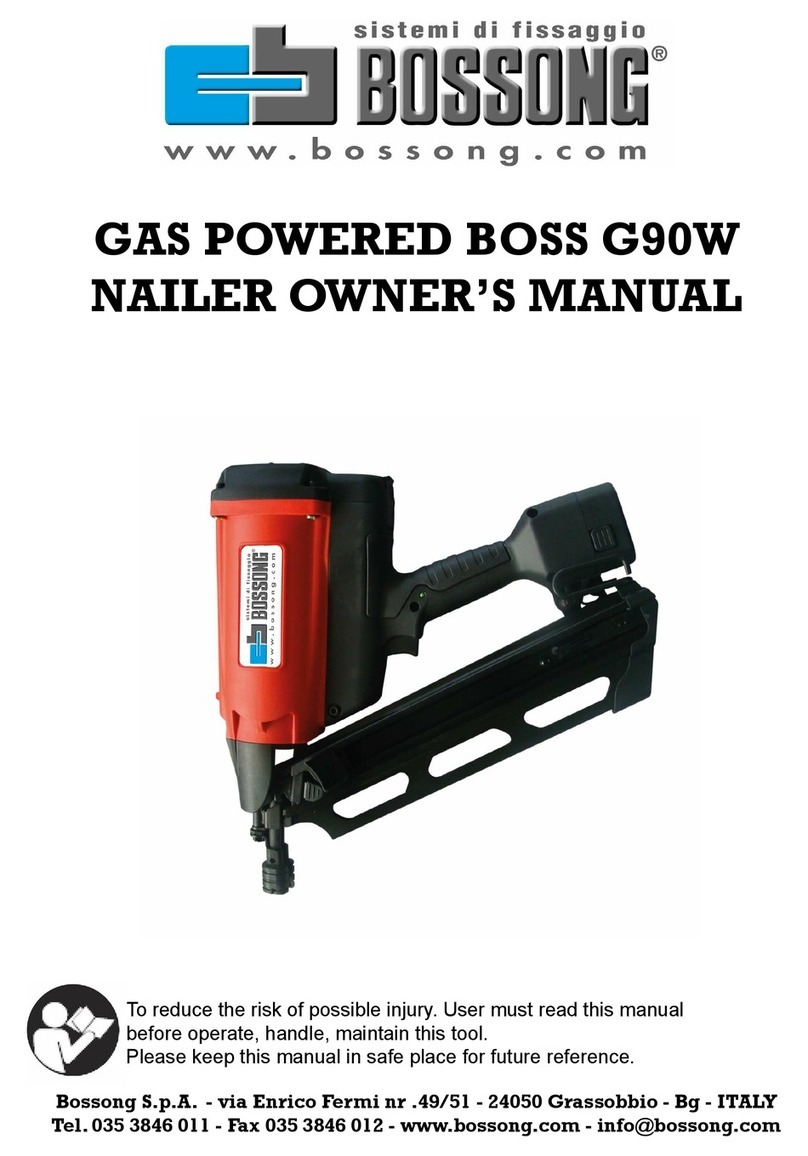
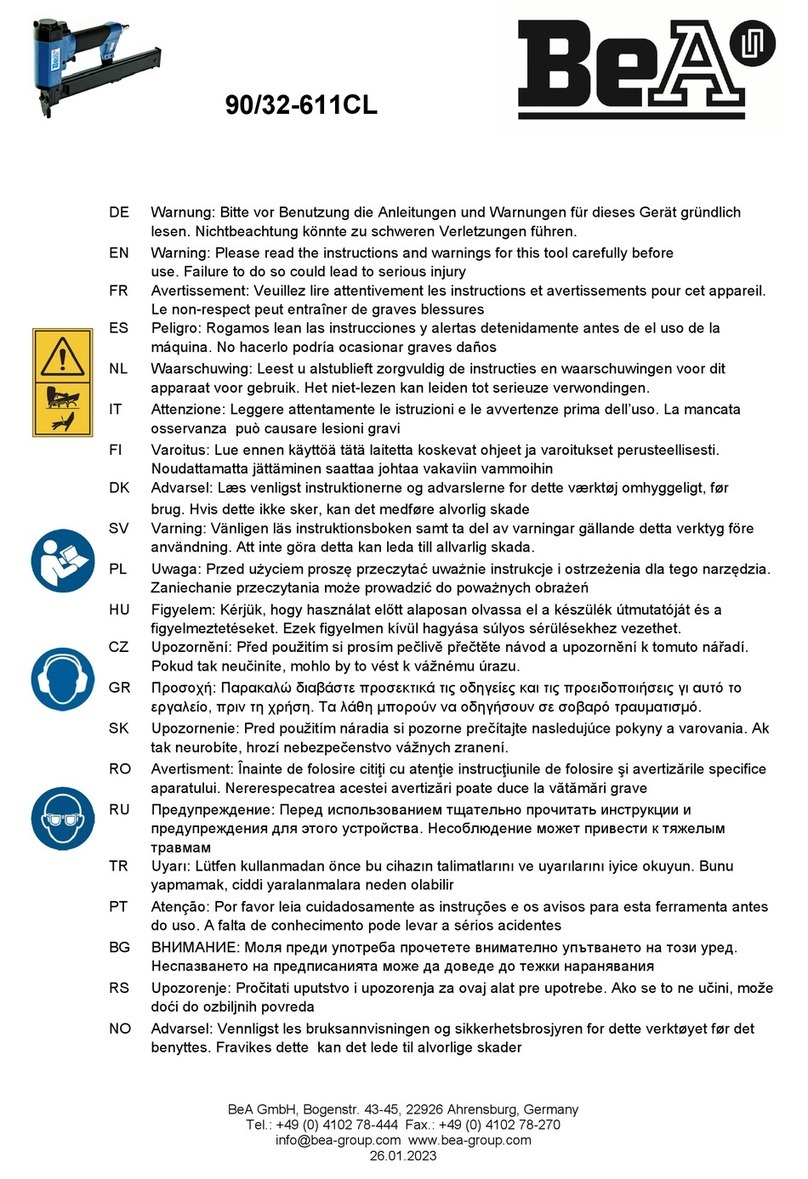
Bossong boss g40 User manual

GAS POWERED
NAILER OWNER’S MANUAL
To reduce the risk of possible injury. User must read this manual
before operate, handle, maintain this tool.
Please keep this manual in safe place for future reference.
Bossong S.p.A. - via Enrico Fermi nr .49/51 - 24050 Grassobbio - Bg - ITALY
Tel. 035 3846 011 - Fax 035 3846 012 - www.bossong.com - info@bossong.com

1. General warning
General safety warning
Tool safety warning
Fuel safety warning
Battery safety warning
Charger safety warning
2. Operation instruction
Load and unload the fuel cell
Load and unload the fastener
Depth of drive adjustment
Actuatemethodandthestepstorethetool
Jam clearing for tool
Charge the battery and LED on tool and charger
3. Maintenance instruction
General maintenance
Lubrication and cleaning
Cold weather
4. Trouble shooting
5. Declaration of conformity
Table of content
3
3
3-4
5
5
5-6
6
6
6-7
7
7
8
9
9
9
9
9
10-11
12
2

1. General warning
UsermustweareyeprotectionwhichconformstoANSIspecicationwith
frontandsideprotectionagainstyingobject;whenhandling,
operating, and servicing the tool. It is employer’s responsibility
to enforce user and all other nearby personnel at worksite to
wear eye protection when operating the tool.
It is recommended to wear ear protection near or at the job site
to prevent hearing damage.
Beware of the danger of entangled clothe and hair. Do not
dress loose clothing and jewelry at work. Keep you hair,
clothing, and gloves away from moving part of the tool.
KeepyourngerAWAYfromthetriggerwhenthetoolisnotinuse.This
willpreventaccidentalreofthetool.
This tool is not designed to be used in explosive atmosphere. The design of
this tool will generate spark and the exhaust will also cause possible
dangertoignitehighlyammablefuelorgas.Donotusethistoolinthis
kind of environment. Please also not smoke while using or handling the
tool and fuel cell.
Thefuelcellishighpressureliqueedgasbottle.Keepitawayfromspark,
reorhightempandexplosiveenvironment.Donotpuncturethebottleor
attempttoopenthefuelcell.Whenthefuelusedup,donotincineratethe
bottle. Follow the recycle instruction on the bottle.
Do not store the tool in temperature above 120°F(50°C). High temperature
willresultinexplosionorreandthereleaseofammablegas.Whennot
in use, keep the tool from high temperature source or direct sun light.
The tool needs to be used in well ventilated area. Do not inhale the exhaust
or fume or the gas because they are potentially dangerous to human body.
Keep body balance when operating the tool, do not over reach.
Keep the tool, fuel, charger and battery out of the reach of children. The
tool is dangerous in the hand of untrained person.
Tool safety warning
Do not modify or repair the tool in any method other than the original
design.Thetoolmayfunctionunexpectedlyafterthemodicationand
cause dangerous.
Never point the nozzle of the tool to anyone includes yourself. This tool is
self-contained with power source and will be dangerous if not use with
care. Always assume the tool is loaded with nail and fuel.
General safety warning
3

Do not drive this tool over materials that is too hard or too soft. Hard
material can ricochet nail and hurt people, soft material may be penetrate
easilyandcausethenailtofreey.
Pleaseuseonlylubricationliquidspeciedinthismanualtoperformthe
lubrication. Use other lubrication may cause damage to the tool and the
risk of malfunction that will injure the operator.
Please keep the tool in clean condition, wipe off grease or oil after work. Do
not use any solvent based cleaner to clean the tool. It is possible the
solvent will deteriorate the rubber or plastic components on the tool.
Greasy handle and body will cause accidental drop of the tool and injury to
nearby person.
Pleaseusefastenerspeciedinthismanualandonthetool.Usefastener
that is not compatible to the tool will cause jamming of the tool and injury
to operator or nearby person.
Do not use the tool to perform other job than designate function. Especially
not use the tool as a hammer, impact on the tool will increase the risk of
cracked body and accidental discharge of fastener.
Remove the fuel cell and battery before performing maintenance, repair,
cleaning and jam clearing.
Load the fastener at last to prevent unexpected danger of loading fuel cell
and battery.
Never use the tool if the trigger and safety or springs are damaged in any
way.
Whenfasteningelectricalcables,makesurethecablesarenotenergized.
Hold the tool only by insulated gripping surfaces. Use only fasteners
designed for electrical cable installations. Inspect that the fastener has not
damaged the insulation of the electrical cables. A fastener that damages
theinsulationofelectriccablescanleadtoelectricshockandrehazards.
Fuel safety warning
Use only the fuel cell recommended by the manufacturer. Read the Safety
Data Sheet to understand more of your fuel cell contents.
Recycle the empty fuel cell according to the local law. Do not attempt to
recharge the fuel cell or incinerate the empty fuel cell.
Do not expose the fuel cell or tools loaded with fuel cell under direct sun
light exposure. Prevent to put above items at temperature higher than
120°F(50°C).Overheatingthefuelcellcanresultinexplosionorre.
Do not puncture or attempt to open the fuel cell. The fuel cell contains
ammablegasevenifitappearsempty.
Thecontentofthefuelcellisextremelyammable,keepitawayfromall
source of ignition.
4

Battery safety warning
Use only batteries that are supplied by the manufacturer.
Recycle the battery according to local law. Do not incinerate the battery of
attempt to puncture and crush the battery.
Donotimmersethebatteryintowaterorotheruid.Donotexposethe
battery to rain or snow.
Do not expose the battery or tools loaded with battery under direct sun
light exposure. Prevent to put above items at temperature higher than
120°F(50°C).Overheatingthebatterycanresultinexplosionorre.
Do not allow direct contact of the battery nodes with metal or conductive
material.
Charge the batteries every 3 months even the tool is not used to prevent
battery over-discharged over time.
Charger safety warning
Do not use the charger in explosive atmosphere. The electrical device is not
designed to use in such environment.
Do not charge battery outdoors or in temperatures below 40°F (5°C).
Do not puncture or attempt to open battery case or cells.
Donotimmersethechargerintowaterorotheruid.Donotexposethe
charger under rain or snow.
Do not use the charger if the cord is damaged or the charger is defect.
Unplug the charger by pulling the adaptor unit, not by pulling the cord.
Do not cover the charger with anything.
Do not use a step up transformer or engine generator as the power source
of the charger.
Pleasechargethebatteryforatleast6Hoursbeforethersttimeuseof
the new battery.
5

Load and unload the fuel cell
Open the fuel cell door by pulling the
door and rotate.
Insert the fuel cell into the chamber.
Align the fuel cell nozzle to the fuel stem
on the tool.
Close the fuel cell door.
Load and unload the fastener
Connect to battery and fuel cell before
you load the fasteners. The tool had the
chance to cycle once when connected to
the battery. If you load the fastener
before the battery connected, the
fastener may be shoot out accidentally.
Point the nozzle away from any
personnelandkeepyourngeroutof
trigger when loading the fastener.
To load the nail, slide in the nail strip
into the magazine until the nail strip passed the nail stopper.
Pull the pusher until it is beyond the stopper.
Release the pusher to engage the nail strip and feed it into the nozzle.
To unload the fastener from the magazine, press the release lever on the
pusher and tilt the tool to slide the nail strip to the rear end of the
magazine.
Unload the nail strip by press the nail stopper and slide out the nail strip.
For 3 steps magazine design, follow the same safety precaution
and continue with following steps
To load nail, pull the pusher to the rear until it is locked to the magazine at
rear position.
Slide nail strip into the magazine.
Release the pusher to push the nail into the nozzle.
To unload the fastener from the tool, pull the
pusher to the rear locking position. Slide the
nail out of the magazine.
2. Operation instruction
6

Depth of drive adjustment
This tool is equipped with tool free depth of
drive adjustment. Test the depth of drive on
scrap piece before you start your work.
Turn the knob to adjust the depth of drive.
Repeataboveprocedureuntilyoundyour
desired depth of drive setting.
Actuate method and the steps to re the tool
This tool is equipped with single sequential trigger system only.
To actuate the tool, depress the safety against the work piece, and then pull
the trigger.
To actuate the tool again, you will need to release the safety fully and
release the trigger before you repeat above procedure.
Make sure you are driving against work piece before you pull the trigger.
Jam clearing for tool
In the case of nail jam, disconnect the power source (fuel cell and battery)
before you perform any action.
If you tool is equipped with jam clear door, open the quick jam clear door
on the side to expose the jammed nail.
If your tool is equipped with removable nozzle, press the release button and
pull off the nozzle.
Remove the jammed nail with needle nose pliers or similar type of tool. Do
not use your hand to remove the nail.
Close the jam clear door or assemble back the nozzle after you clear the
jam.
7

Charge the battery and LED on tool and charger
There is battery comes along with the tool. It will
take 2 hours before the new battery can be fully
charged.
There will be no LED light when the charger is
connected to electric and no battery is on the
charger.
The LED on the charger will turn red when it is
charging a battery.
The other LED will turn green when the battery is
fully charged.
In the case of battery failure, the red and green LED will blink in sequence.
Whenthetoolisconnectedtoachargedbattery,theLEDindicatoronthe
tool will turn green.
Ifthetoolisrunningoutofbattery,theindicatorLEDwillturnred.When
the LED indicator turns red, stop using the tool and replace the battery.
8

General maintenance
Keepthetoolincleanconditionatalltimes.Wipeoffgreaseoroilwithdry
clean cloth to prevent accidental tool drop. Avoid to use solvent base cleaner
to clean the tool, certain solvent will damage or weaken the composite parts
of the tool.
Cleantheintakelterregularlytokeepthetoolinfullefciency.
Lubrication and cleaning
This tool should not need extra lubrication since the fuel already contains
some lubrication oil.
The combustion chamber and cylinder can be cleaned by applying
automobilecarburetorcleaner.Youwillneedtoremovethe2screwonthe
handle and 4 screws on the top cap to expose the internal component of
cylinder.
Cold weather
This tool is not suggested to be used in cold winter. The cold weather will
decreasethecombustionefciencyandalsothebatteryperformance.Usethe
tool only at temperature above : -7°C(19°F).
Warning: disconnect the power source (fuel cell and battery) before
performing any maintenance
3. Maintenance instruction
9

4.Trouble shooting
symptom Counter measures
Red LED indicator light is on and
the tool did not operate.
•Batterychargemightbetoolow.
•Replacebatterywithafullychargedone.
Tool operates normally but did
notdrivethenailstoush.
•Adjustthedepthofdrivesettingtodee
pest.
•Cleanthecylinderwithpropercleaner.
•Checkfuelcellandreplaceasrequired.
•Depressthesafetyandholdfor1minute
before activate the trigger. If the tool did
notre,theremightbesealleakingover
the combustion chamber. Send to service
center near you.
Fan does not run and the indicator
light is red.
•Thebatteryisout.Replacethebattery
with a
fully charged one.
•Thebatterynodeisdirtyoroily.Clean
the battery node with clean cloth.
•Ifallabovedidnotwork,sendtoservice
center near you.
Battery does not accept charge
or the charger get hot when
charging.
•Replacethebattery.Ifthisactioncorrects
the problem, the battery is damaged or
exhausted.
•Replacethechargerifthebatteryworks
neontoolbutcannotbechargedon
charger..
Charger get hot, make noise or
start to smoke
•Thechargerisdamagedandshouldnot
be used any more. Unplug the charger
immediately and replace it with a new
charger.
Workcontactelementisnot
fully depressed and the tool can
not be used.
•Theworkcontactelementisbendorthe
track of the safety mechanism is sticky to
the dirt
build up. Clean the safety track. Repair or
replace the work contact element.
•Lockoutmechanismisactive.Load
more nails.
10

symptom Counter measures
Tool will not cycle, the indicator
LED is green and the fan runs.
•Runoutoffuel,replaceanewfuelcell.
•Sparkwireisloose,checkthesparkwire
by removing the cap.
•Sparkplugisdirty.Cleanthesparkplug.
•Ifallabovedidnotwork,sendtoservice
center near you.
Tool operate normally, but no
nail is driven
•Wrongtypeofnailswasused.Please
change to correct nail spec.
•Thecylinderneedscleaning.
•Nailisjammed,cleanthejammednail
before use.
•Thenailpusherdidnotengageproperly
with the nail strip. Adjust to fully engage-
ment.
Combustion chamber is not
returning to start position.
•Theworkcontactelementisbendingor
dirty.
Check the work contact element and repair
orreplace it. Clean the safety track.
Driver did not return to initial position, miss
refrequencygethigherthanusual.
•Checkandreplacefuelcell.
•Cleanthetoolwithpropercleaninguid.
•Checkforpistonringwearstatus.
•Thetoolmaybeoverheated.Cleanor
replacetheintakeairlter.
Tool appears to be loosing
power.
•Checkfuelcell.
•Cleanorreplaceairintakelter.
•Checksparkplugwire.
•Cleanthetoolwithpropercleaninguid.
For failure other than above situation, please stop using the tool and contact your local
dealer for service.
11

12
5. Declaration of conformity
Gas Concrete Nailer
1. Fastener type and size
• Nailshank :2.6~3.0mm(0.102”~0.118”)
• Naillength :15~40mm(9/16”~1-1/2”)
• Collationtype :plasticcollation
• Nailstripangle :0°
• Magazinecapacity :4nailstrips,or40nails
2. Tool spec
• Modelnumber :BOSSG40
• Typeoftool :ConcretePinNailer
• Dimension(LxWxH) :460x116x375mm
• Weightoftool :3..8Kg(8.4lb)
• Shotlimit :1000shots/hour
• Driverate :2-3shots/sec
• Chargetimeofbattery :120mins
• Batteryvoltage :6Volt
• ShotsperCharge :4500shots
• Shotsperfuel :1200shots
• Usabletemperature :-7°C(19°F)~50°C(120°F)
• Applications&suitability :Drywalltrack,steeltoconcretejob
• Actuatingsystem(safetyyokeinstalled) :fullsequentialonly
• Triggerdevice :Fingeractivatedtrigger.
3. Noise and vibration data
• NoisecharacteristicvaluesinaccordancewithEN12549+A1
• A-weightedsoundpressurelevelatworkstation :97.4dB
• A-weightedsoundpowerlevel :100.8dB
• PeakC-weightedinstantaneoussoundpressurelevelatworkstation:<130dB
• VibrationvalueaccordingtoISO8662-11+A1 :3.67m/s2
• Measurementuncertainty(Standard) :1.83m/s2
Declaration of conformity
We BOSSONGS.p.A.
ViaEnricoFermi,51(Z.I.2)
24050 GRASSOBBIO (Bergamo) Italy
Tel.+390353846011
declare under our sole Chiodatrice a gas per calcestruzzo BOSS G40
responsibilitythatthe 2006/42/EC(MSD);2006/95/EC(LVD);2004/108/EC(EMC)
conformswiththedirective 2011/65/EU(RoHS)
andthestandards ENISO12100;EN792-13+A1;EN12549+A1;ISO8662-11+A1
EN60745-1;EN60745-2-16;EN55014-1;EN55014-2+A2
EN61000-3-2;EN61000-3-3;EN50581
EN60335-1;EN60335-2-29;EN62233
EN61558-1;EN61558-2-16
Serial number signed:
Andrea Taddei – Direttore Generale
Table of contents
Other Bossong Nail Gun manuals
Popular Nail Gun manuals by other brands
Paslode
Paslode IM200 F18 operating manual
Craftsman
Craftsman 351.181790 Operator's manual
Parkside
Parkside PAT 12 B2 Operation and safety notes translation of the original instructions

TJEP
TJEP KYOCERA Safety and operation instructions
Parkside
Parkside PET 25 B1 Operation and safety notes
Ferm
Ferm ATM1051 Original instructions
