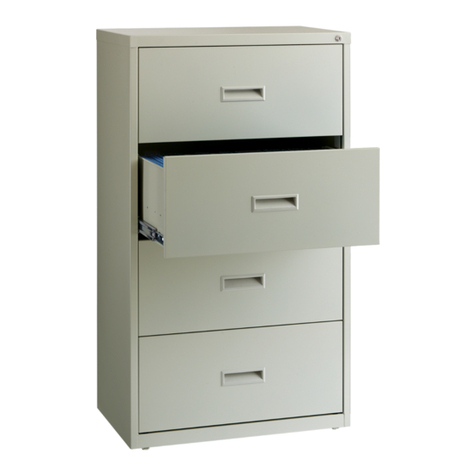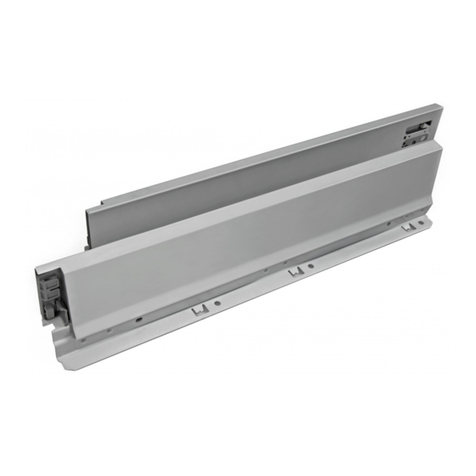
Pull out the moving elements of guide rails, insert the
drawer and push it until the side walls are fixed with
the moving elements of guide rails. The joining is to
be carried out on the second lug of the fastener.
DRAWER ASSEMBLY AND MOUNTING
Put together the assembled back wall and left/right
side walls.
Attach the left and right holder plates (of back wall and pot rack)
to the drawer back wall with the help of self-tapping screws.
Сlick into place
Insert the drawer bottom into the dapping of left and
right side walls until the back wall stops it.
Fix the front wall fasteners in the drawer front wall with
the help of self-tapping screws. Attach the front wall to
the drawer sidewalls.
Front wall holder plate must be freely inserted into the side plate.
It must be joined with the sidewall with the slight effort. Otherwise,
turn the adjusting screw with the screwdriver until it stops in the
end position.
Direction of adjusting screw rotation:
R (right side plate) clockwise
L (left side plate) counterclockwise
Use the screwdriver for adjustment
Mount the guide rails to the drawer body according to
the addition scheme.
Attach the sidewalls to the drawer bottom with the help
of self-tapping screws.
Size 37 is only for
the assembled front walls.
FRONT WALL DISASSEMBLY
FRONT WALL ADJUSTMENT
Horizontal adjustment of the front wall from
the right and left (±1.5 mm)
Turn the adjusting screw with the screwdriver
until it stops in the end position and disassemble
the front wall.
Remove the plastic plugs to disassemble the front wall.
Vertical adjustment of the front wall from
the right and left (±1.5 mm)
Insert (click into place) the plastic plugs.
DRAWER REMOVING
Turn up the lever and unlock the drawer fasteners
with the guide rails to remove the whole drawer.
Pull the drawer and pick it off from the guide rails.
Сlick into place
Direction of adjusting screw rotation:
R (right side plate) clockwise
L (left side plate) counterclockwise
