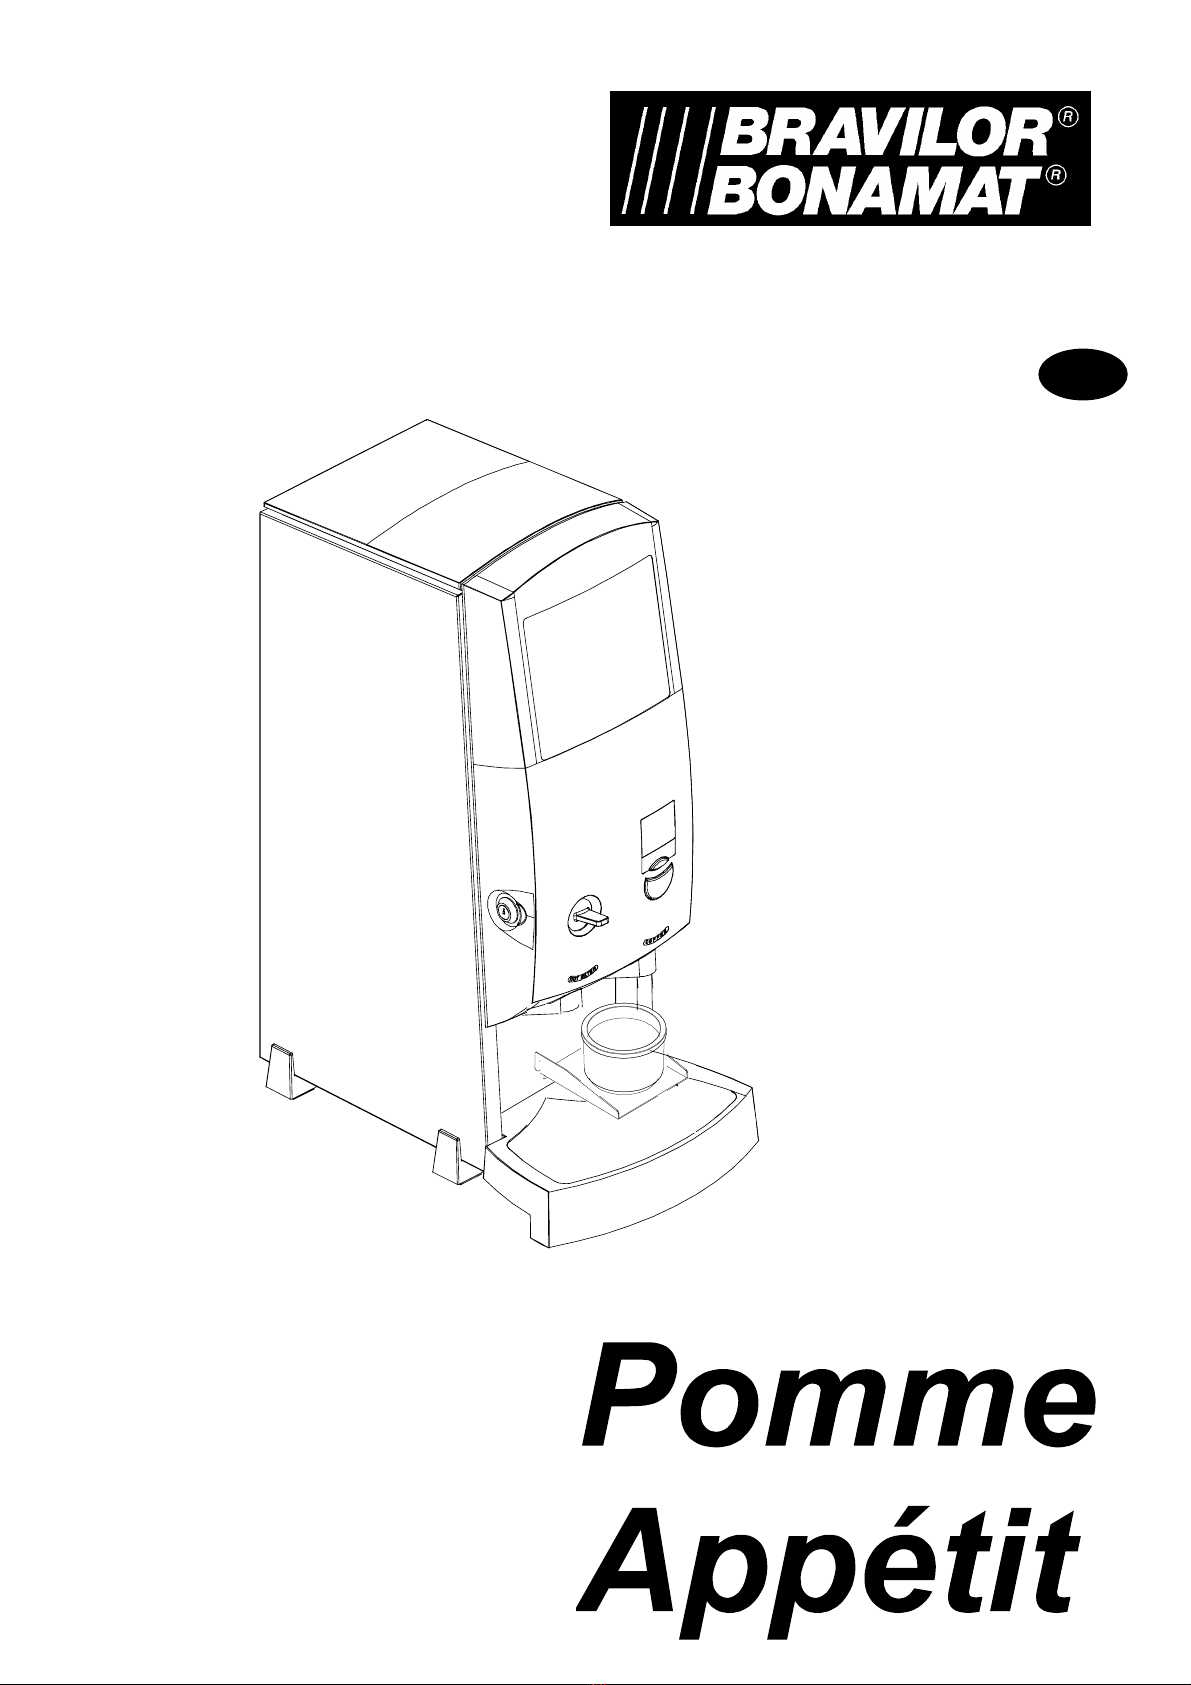
4
1.5 Installing the machine and setting up for operation
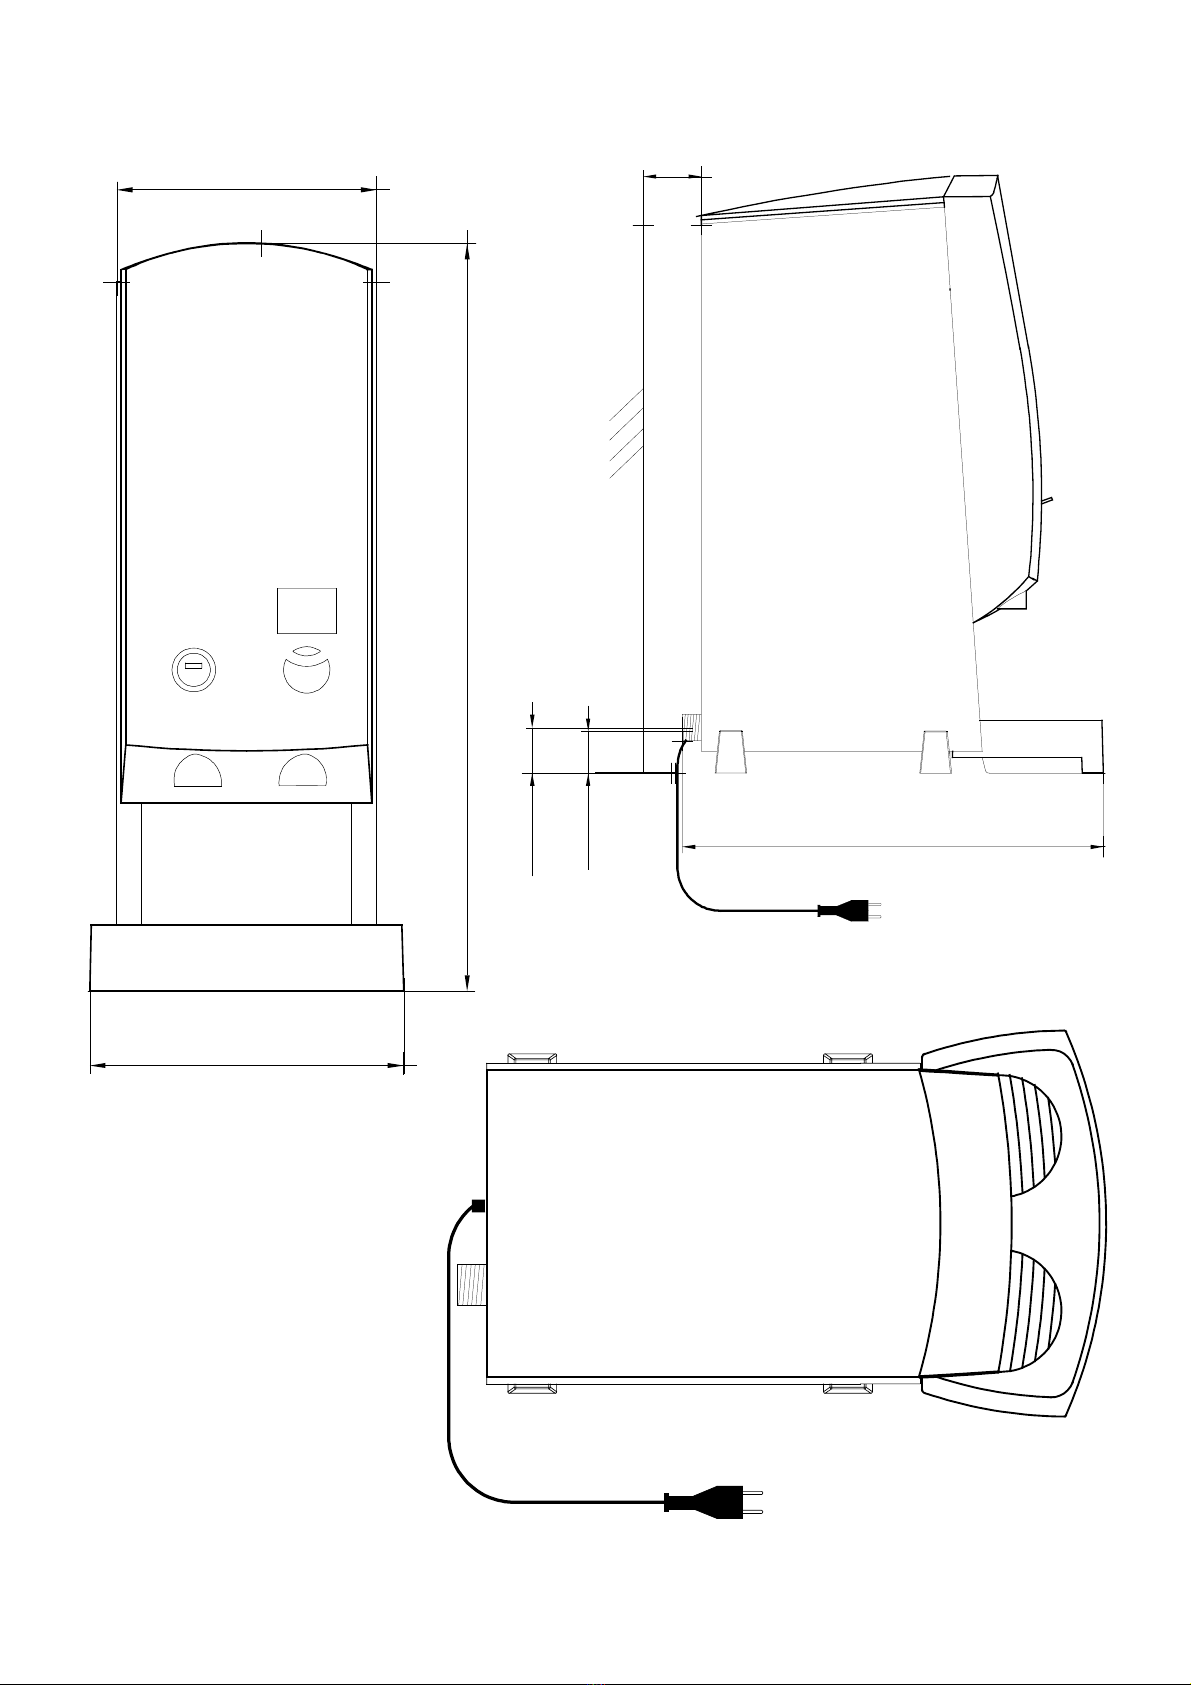
1. Place the machine on the work
surface. Leave a minimum of 6 cm
clear on the right-hand side so that the
door (10) can be opened.
2. Place the sticker “hot water” in the
recess above the hot water tap (17).
3. Place the sticker “dosing” in the
recess above the beverage outlet
(14).
4. Make sure that the machine is stable
and horizontal.
5. Check whether an earthed wall socket
and water supply are close by.
6. Connect the machine to the water
supply (via a tap) with the supplied
connection hose.
7. Open the tap.
8. Insert the plug in the earthed wall
socket.
9. Place the drip-tray (15) in front of the
machine. Put the fixing cams into the
opening (20).
−It is possible to connect a drain
hose to the drip-tray. A small spout
is provided at the rear of the
drip-tray. Drill a hole in this and
slide the hose onto it.
10. Attach the desired holder, either for the
dish (22) or the scoop (23), to the front,
underneath the door:
−Slide the dish holder (22) into the
bottom two slots in the metal and
push the holder down; or
−Slide the scoop holder (23) into the
top two slots in the metal and push
the holder down.
11. Open the door (10) on the left-hand
side with the key (19).
12. Open the cover of the machine (9).
13. Remove the covers (2.1) from the
ingredient containers. Fill the ingre-
dient containers with the special
ingredients available for these
machines.
14. Replace the cover on the ingredient
container.
15. Switch on the machine. Set switch (1)
to the 'on' position, which shows a red
indicator side at the switch
−The machine will now fill with water.
−The water will be heated.
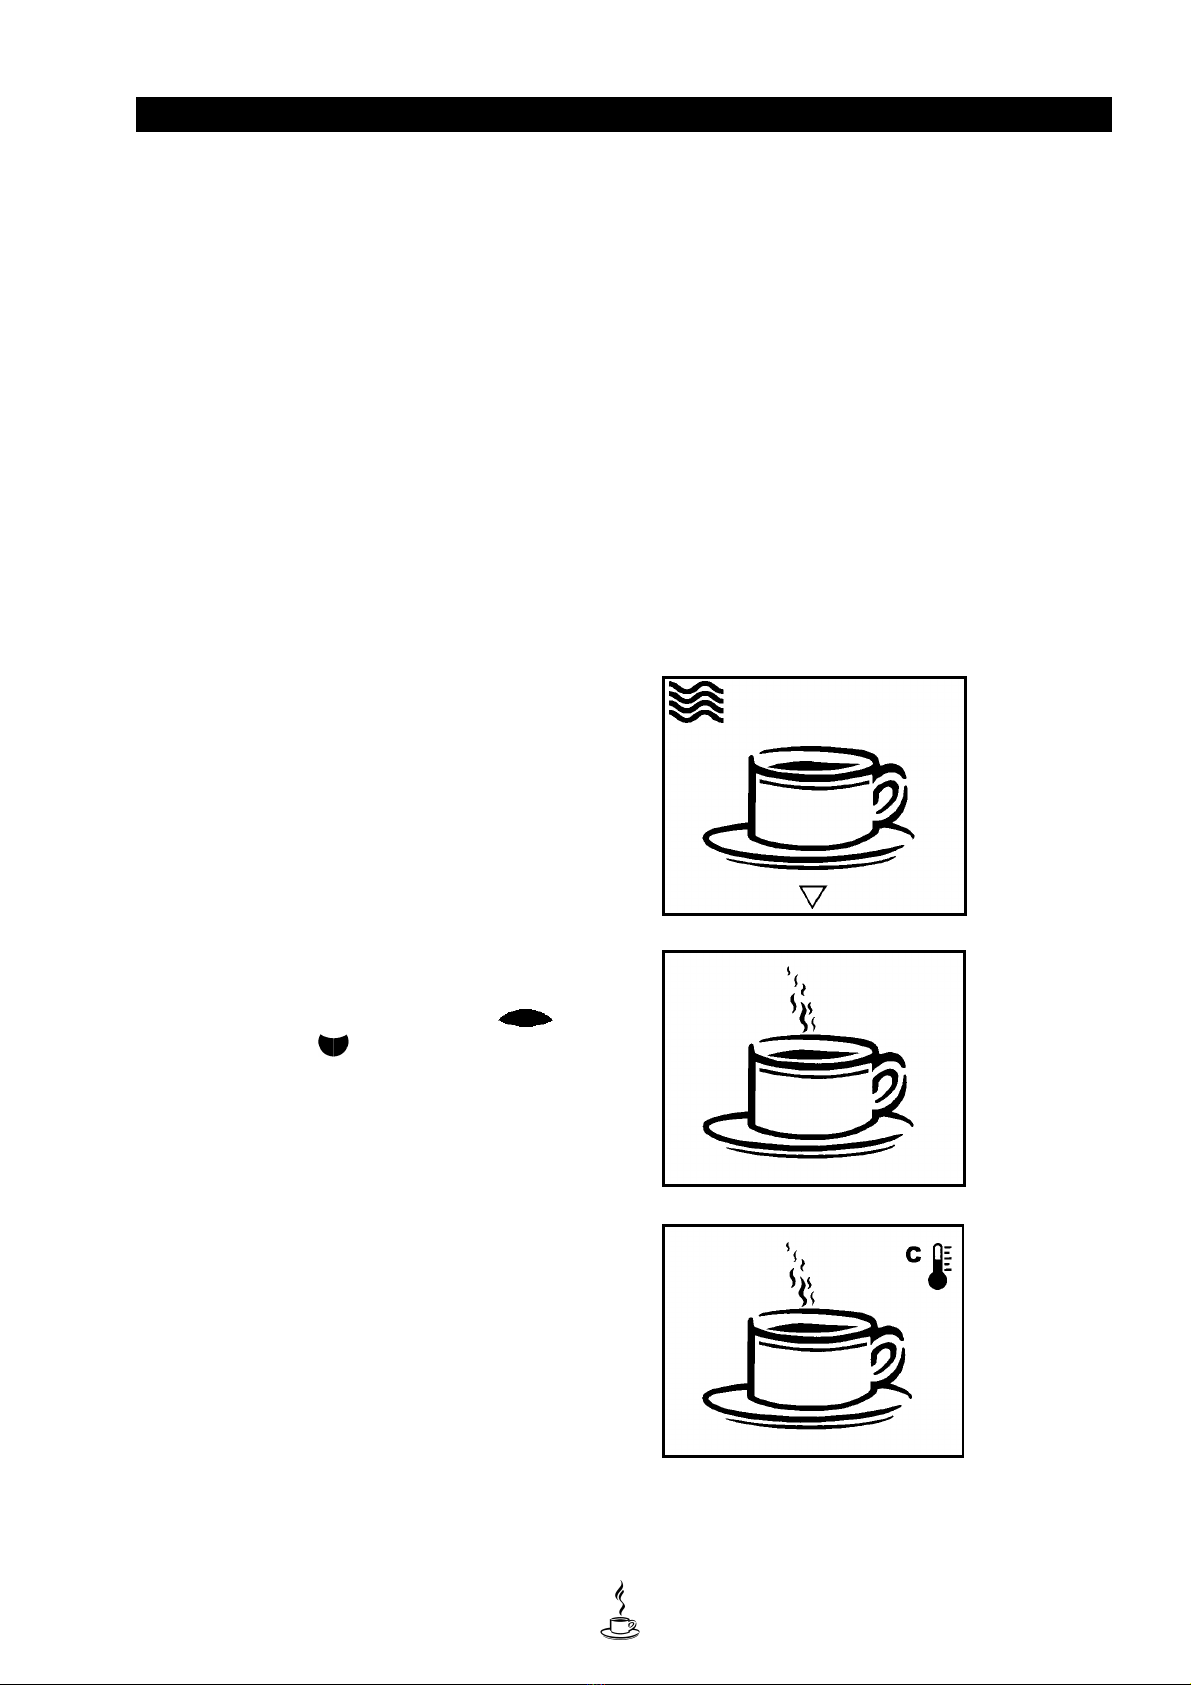
16. The version number of the machine
appears briefly in the display (11).
(Inform the engineer of this number in
case of repair or maintenance.) A cup
then appears in the display, see figure 2.
17. Close the cover (9).
18. Push the door to close it.
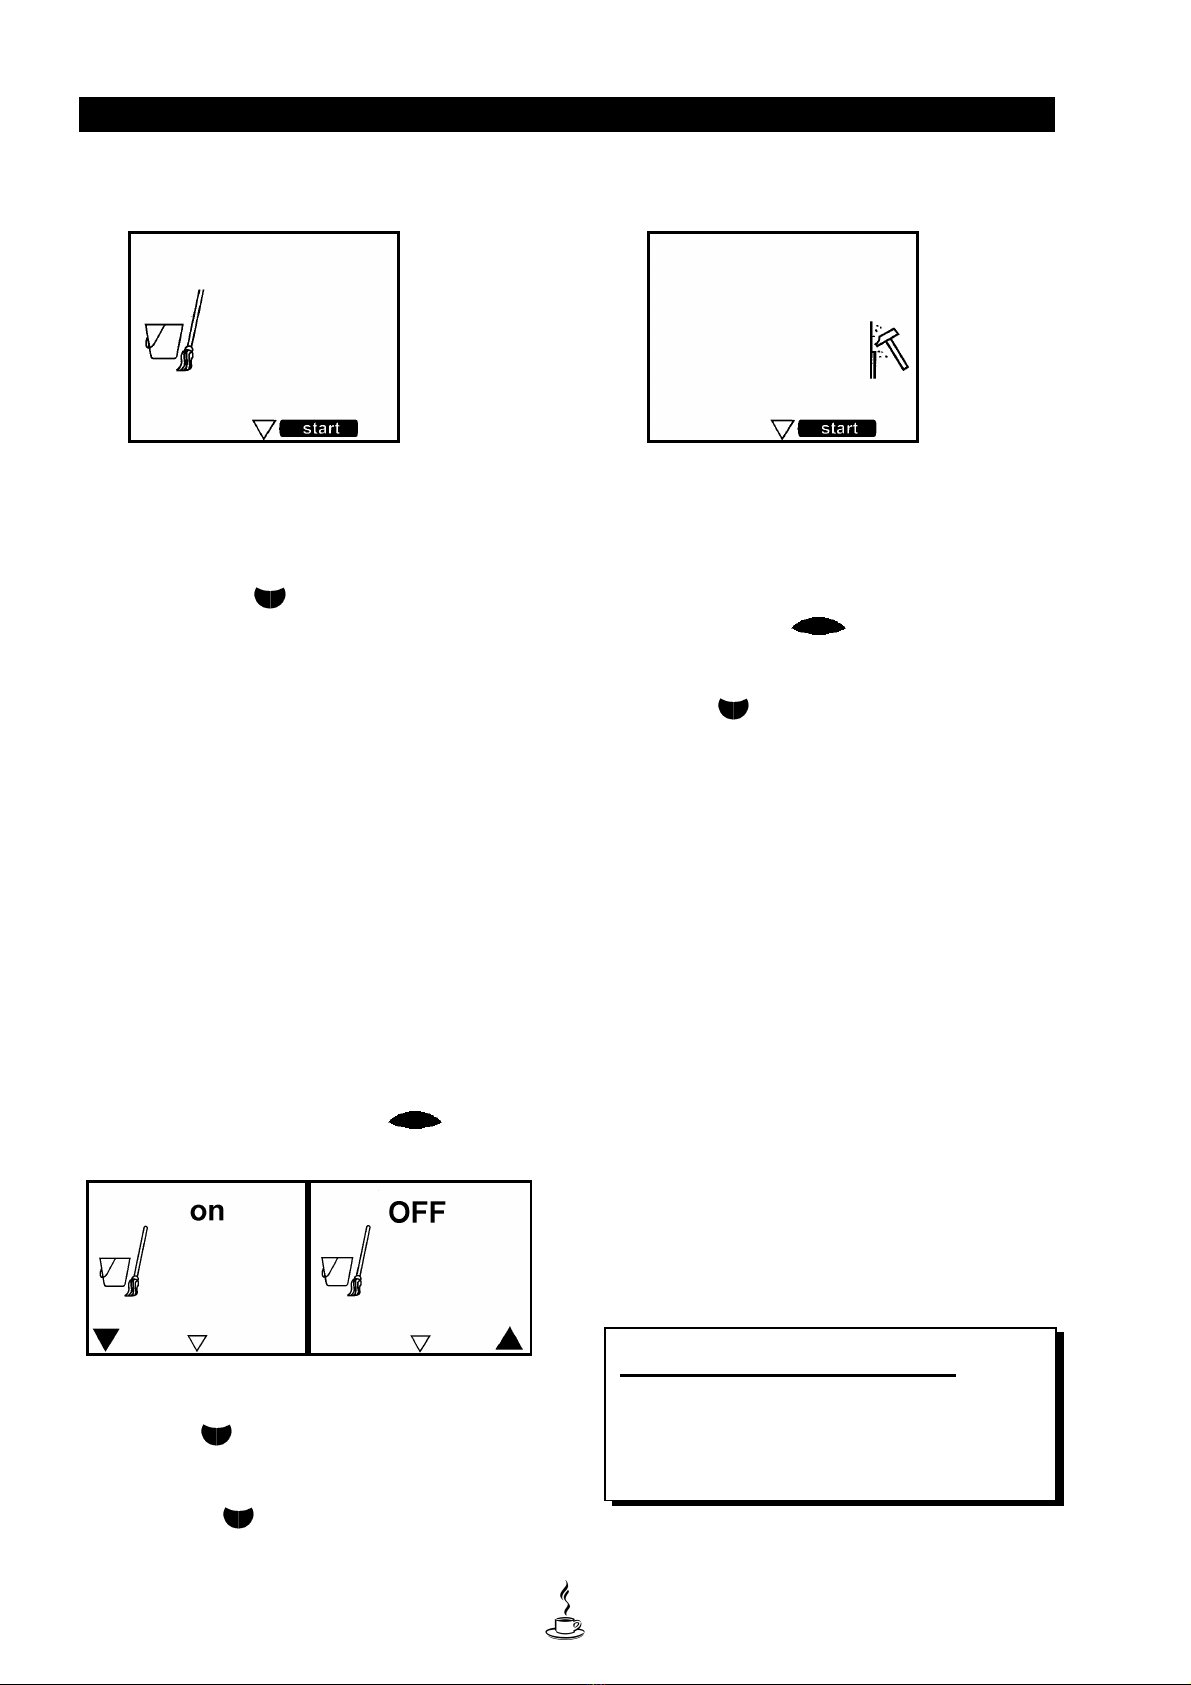
19. Lock the door with the key (19).
20. A flashing thermometer will appear in
the top right-hand corner of the
display, see figure 3.
21. When the water is hot enough, the
thermometer will disappear from the
display.
22. Slide the scoop (22.1) or place the dish
(23.1) into the holder (22/23) under the
dispenser.
23. Press the right-hand start button
for a large serving.
24. The mashed potato is dispensed into
the scoop or dish. (The “cup” in the
display will flash during dispensing).
25. Discard the first serving of mashed
potato.
26. Slide the scoop or place the dish again
into the holder under the dispenser and
press once more the right-hand side of
the start button for a large serving.
27. Check if both the quantity and the
thickness are correct.
28. If both the quantity and thickness are
correct, then repeat points 25 and 26
for small servings by pressing the left-
hand side of the start button.
29. If both the quantity and the thickness of
the small servings are also correct, the
system is then ready for use.
30. If the quantity and/or the thickness are
incorrect, refer to the chapter 1.6
Settings.
1.5.1 HOT-WATER TAP
1. Place a cup under the hot-water
outlet (17).
2. Draw off a cup of hot water via the
hot-water tap and discard this.
The hot-water system is now ready for
use.