manuals.online logo
Brands
  1. Home
  2. •
  3. Brands
  4. •
  5. Breckwell
  6. •
  7. Wood Stove
  8. •
  9. Breckwell ECONOMY P22FSL User manual

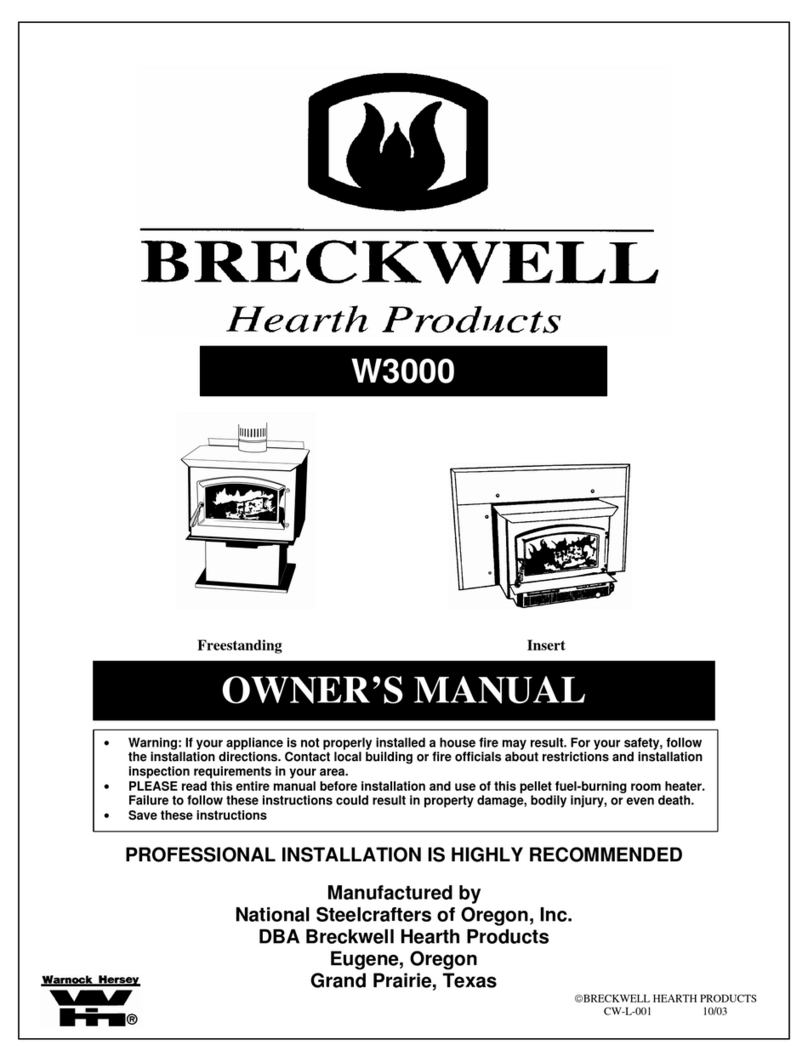
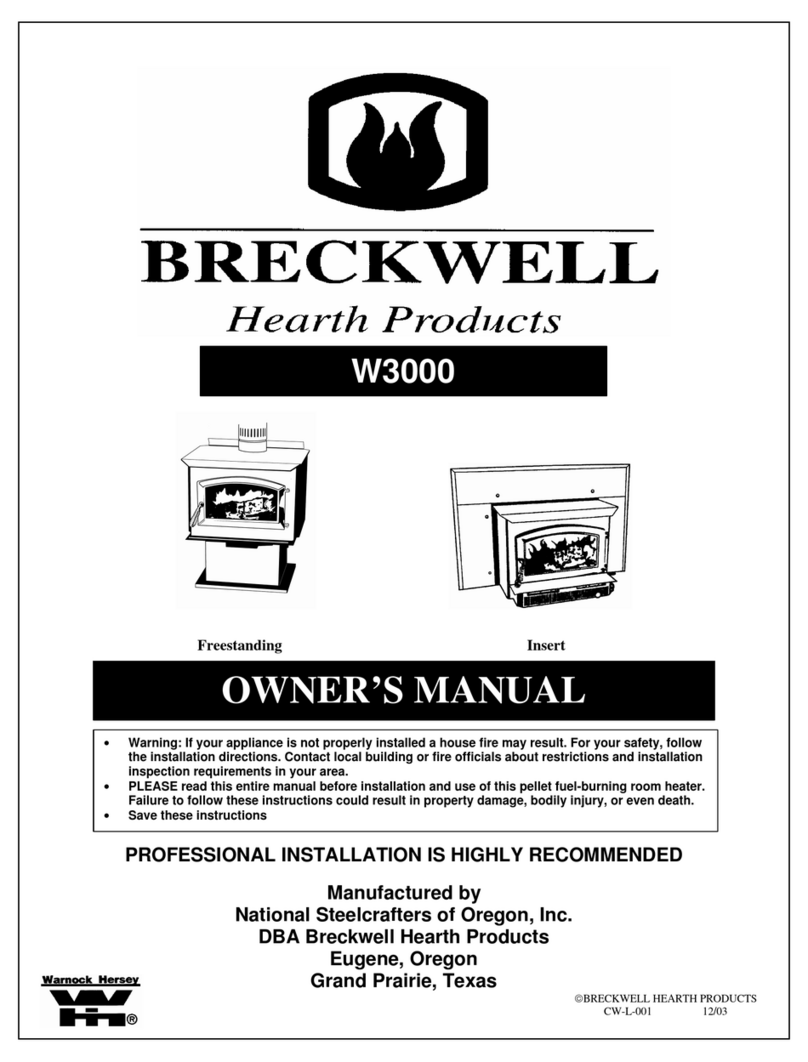
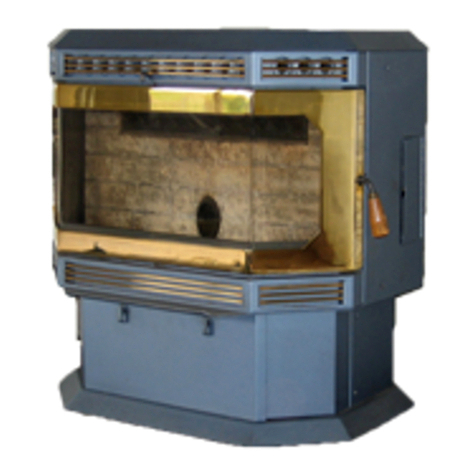
Breckwell ECONOMY P22FSL User manual

PROFESSIONAL INSTALLATION IS HIGHLY RECOMMENDED
Manufactured by
Breckwell Hearth Products
Arlington, Texas
Eugene, Oregon
www.breckwell.com
WARNING: If your appliance is not properly installed a house fire may result. For your safety,
follow the installation directions. Contact local building or fire officials about restrictions and
installation inspection requirements in your area.
PLEASE read this entire manual before installation and use of this pellet fuel-burning room heater.
Failure to follow these instructions could result in property damage, bodily injury, or even death.
Save these instructions.
OWNER’S MANUAL
ECONOMY SERIES P22
BRECKWELL HEARTH PRODUCTS
02/09
P22FSL P22I P22FSA
FAILURE TO CLEAN AND MAINTAIN THIS UNIT AS INDICATED
CAN RESULT IN POOR PERFORMANCE AND SAFETY HAZARDS.
NEVER CLEAN WHEN HOT.
NOTE: Inspect burn pot periodically to see that holes have not
become plugged, if so, clean thoroughly.
ASH REMOVAL
Ashes should be placed in a metal container with a tight-fitting lid. The
closed container or ashes should be placed on a noncombustible
surface or on the ground, well away from all combustible materials
pending final disposal. If ashes are disposed of by soil burial or
otherwise locally dispersed, they should be retained in the closed
container until all cinders have thoroughly cooled.
ASH DISPOSAL
Remove ashes periodically as they fill the firebox. To remove ashes:
a. Make sure fire is out and firebox is cool.
b. Clean heat exchanger tubes (see “CLEANING” and Figure 25).
c. Remove the burnpots inner section by grasping it and pulling
straight up (see Figure 26).
d. Empty ashes from the inner section and scrape with cleaning tool;
make sure holes are not plugged.
e. Vacuum to remove ashes from the burn chamber interior and the
burnpot shell.
WARNING: Make sure ashes are cool to the touch
before using a vacuum. See “VACUUM USE”.
f. Dispose of ashes properly. (See “ASH REMOVAL” above)
a. Replace inner section into burnpot; make sure it is level and
pushed all the way back down and that the igniter hole is to the
rear when it is reinstalled (see Figure 26).
b. Make sure the burnpot is level and pushed all the way in, if the
collar on the burnpot attached to the fresh air tube is not pushed
back to meet the firebox wall, the Hot Rod will not work properly.
VACUUM USE
If a vacuum is used to clean your unit, we suggest using a vacuum
designed for ashes. (We recommend LoveLess Ash Vac, 1-800-568-
3949 Ext. #27) Some regular vacuums and shop vacs leak ash into the
room. Your vacuum or shop vac may have a special filter or bag
available to eliminate this leakage.
CLEANING
a. Heat Exchange Tubes – Your Breckwell stove is designed with a
built-in heat exchange tube cleaner. This should be used every
two or three days to remove accumulated ash on the tubes, which
reduces heat transfer on the P22. Insert the handle end (with
hole) of the cleaning tool onto the cleaning rod (refer to figure 25).
The cleaner rod is located in the grill above the stove door. Move
the cleaner rod back and forth several times to clean the heat
exchanger tubes. Be sure to leave tube cleaner at the rear of the
stove.
b. Interior Chambers – Four ash doors and two upper baffles in the
firebox in the P22 can be removed for periodic cleaning (Figure
27). These doors allow access to the chamber surrounding the
firebox.
NOTE: When removing the upper baffles do not remove the
screws; just loosen them enough to allow the baffles to be
removed.
Periodically, you must vacuum ashes from this chamber. In some
cases you will need to remove creosote, which can accumulate
rapidly under certain conditions. A small wire brush can be used.
It is important to remove this creosote because it is highly
combustible. INSPECT BEHIND THESE CLEANING PLATES AT
LEAST ONCE PER TON OF PELLETS BURNED UNTIL YOU
ARE FAMILIAR WITH HOW ASHES AND CREOSOTE
ACCUMULATE WITH YOUR OPERATING PRACTICES. Use the
small wire brush to also clean the inside of the chamber walls,
above the access doors.
FIGURE 25
FIGURE 27
MAINTENAN
C
E 1
9
FIGURE 26
Igniter Hole
BLOWERS
DANGER: RISK OF ELECTRIC SHOCK.
DISCONNECT POWER BEFORE SERVICING UNIT.
Cleaning – Over a period of time, ashes or dust may
collect on the blades of both the combustion blower
and convection blower. Periodically the blowers should
be vacuumed clean as these ashes can impede
performance. Creosote can also accumulate in the
combustion blower. This needs to be brushed clean.
The convection blower is accessed by removing the
stove’s left side panel. The combustion blower can be
accessed by removing the stove’s right side panel.
The convection blower is on the left (facing stove), and
the combustion blower is on the right.
NOTE: When cleaning, be careful not to dislodge
balancing clip on convection blower or to bend fan
blades. Some stove owners lightly spray an anti-
creosote chemical on the fire to help reduce creosote
formation within the stove.
FIGURE 28
MAINTENAN
C
E2
0
FIGURE 29
Combustion
Blower
(A-E-027)
POF
Thermodisk
(C-E-090-22C)
Pellet
Hopper
Auger Shaft
(A-AUG-22)
Air Inlet
Tube
Combustion
Blower
(A-E-027)
Auger Motor
(C-E-017)
High Temp
Thermodisk
(C-E-090-21)
Convection
Blower
(A-E-033)
Air Switch
(C-E-200)
CHIMNEY CLEANING
a. Creosote Formation – When any wood is burned slowly, it produces tar and other organic vapors, which
combine with expelled moisture to form creosote. The creosote vapors condense in the relatively cool
chimney flue or a newly started fire or from a slow-burning fire. As a result, creosote residue accumulates on
the flue lining. When ignited, this creosote makes an extremely hot fire, which may damage the chimney or
even destroy the house. Despite their high efficiency, pellet stoves can accumulate creosote under certain
conditions.
b. Soot and Fly Ash: Formation and Need for Removal - The products of combustion will contain small
particles of fly ash. The fly ash will collect in the exhaust venting system and restrict the flow of the flue
gases. Incomplete combustion, such as occurs during startup, shutdown, or incorrect operation of the room
heater will lead to some soot formation which will collect in the exhaust venting system. The exhaust
venting system should be inspected at least once every year or ton of pellets burned to determine if cleaning
is necessary.
c. Inspection and Removal – The chimney connector and chimney should be inspected annually or per ton to
determine if a creosote or fly ash build-up has occurred. If creosote has accumulated, it should be removed
to reduce the risk of a chimney fire. Inspect the system at the stove connection and at the chimney top.
Cooler surfaces tend to build creosote deposits quicker, so it is important to check the chimney from the top
as well as from the bottom.
The creosote should be removed with a brush specifically designed for the type of chimney in use. A qualified
chimney sweep can perform this service. It is also recommended that before each heating season the entire
system be professionally inspected, cleaned and, if necessary, repaired.
To clean the chimney, detach the vent at the combustion blower transition where it is attached to the blower.
RECOMMENDED MAINTENANCE SCHEDULE
Use this as a guide under average-use conditions.
Daily Weekly Annually or per Ton
Burn Pot Stirred Emptied
Glass Wiped Cleaned
Combustion Chamber Brushed
Ashes Emptied
Interior Chambers Vacuumed
Heat Exchange Tubes Two passes
Combustion Blower Blades Vacuumed / Brushed
Convection Blower Impeller Vacuumed / Brushed
Vent System Cleaned
Gaskets Inspected
Hopper (end of season) Emptied and vacuumed
Gasket around door and door glass should be inspected and repaired or replaced when necessary.
(See “REPLACEMENT PARTS”)
REMOVAL AND REPLACEMENT OF BROKEN DOOR GLASS
While wearing leather gloves (or any other gloves suitable for handling broken glass), carefully remove any
loose pieces of glass from the doorframe. Dispose of all broken glass properly. Return the damaged door to
your Breckwell Dealer for repair or replacement.
Neither the appliance owner nor any other unauthorized person(s) should replace the door glass. An authorized
Breckwell dealer must perform all repairs involving door glass.
MAINTENAN
C
E21

Other manuals for ECONOMY P22FSL

1

This manual suits for next models

3

Other Breckwell Wood Stove manuals

Breckwell SP24 User manual

Breckwell

Breckwell SP24 User manual

Breckwell Classic Cast SPC4000 User manual

Breckwell

Breckwell Classic Cast SPC4000 User manual

Breckwell SP24i Operation and maintenance manual

Breckwell

Breckwell SP24i Operation and maintenance manual

Breckwell SP4000 User manual

Breckwell

Breckwell SP4000 User manual

Breckwell SW740 User manual

Breckwell

Breckwell SW740 User manual

Breckwell SP22 User manual

Breckwell

Breckwell SP22 User manual

Breckwell W3000 User manual

Breckwell

Breckwell W3000 User manual

Breckwell SW2100 User manual

Breckwell

Breckwell SW2100 User manual

Breckwell P28FS User manual

Breckwell

Breckwell P28FS User manual

Breckwell SWC21 User manual

Breckwell

Breckwell SWC21 User manual

Breckwell Classic Cast P4000 Configuration guide

Breckwell

Breckwell Classic Cast P4000 Configuration guide

Breckwell LUXURY SERIES SP2700 User manual

Breckwell

Breckwell LUXURY SERIES SP2700 User manual

Breckwell Cadet P26 User manual

Breckwell

Breckwell Cadet P26 User manual

Breckwell Luxury P2000I User manual

Breckwell

Breckwell Luxury P2000I User manual

Breckwell W3000FS User manual

Breckwell

Breckwell W3000FS User manual

Breckwell SW2.0 Operation and maintenance manual

Breckwell

Breckwell SW2.0 Operation and maintenance manual

Breckwell SP22 User manual

Breckwell

Breckwell SP22 User manual

Breckwell W3000FS User manual

Breckwell

Breckwell W3000FS User manual

Breckwell The Mahogany Wood Stove User manual

Breckwell

Breckwell The Mahogany Wood Stove User manual

Popular Wood Stove manuals by other brands

High Valley 2500 owner's manual

High Valley

High Valley 2500 owner's manual

CARBEL AEFECC ATENEA Instruction manual for use and maintenance

CARBEL

CARBEL AEFECC ATENEA Instruction manual for use and maintenance

Heartland Artisan Installation and operating instructions

Heartland

Heartland Artisan Installation and operating instructions

RAIS X-Basic user manual

RAIS

RAIS X-Basic user manual

HASE BARI operating instructions

HASE

HASE BARI operating instructions

Drolet Blackcomb Installation and operation manual

Drolet

Drolet Blackcomb Installation and operation manual

Drolet OSBURN 1700 owner's manual

Drolet

Drolet OSBURN 1700 owner's manual

Heatilator ECO CHOICE WOOD STOVE Service manual

Heatilator

Heatilator ECO CHOICE WOOD STOVE Service manual

Storch Kamine MAGNA SE user manual

Storch Kamine

Storch Kamine MAGNA SE user manual

Blaze King PE1006 Operation & installation manual

Blaze King

Blaze King PE1006 Operation & installation manual

Harvia 36 Pro Instructions for installation and use

Harvia

Harvia 36 Pro Instructions for installation and use

Contura C330G manual

Contura

Contura C330G manual

Blaze B600 operating instructions

Blaze

Blaze B600 operating instructions

Stuv 16-H instructions

Stuv

Stuv 16-H instructions

Nordica FUTURA Instructions for installation, use and maintenance

Nordica

Nordica FUTURA Instructions for installation, use and maintenance

Vermont Castings Aspen C3 installation manual

Vermont Castings

Vermont Castings Aspen C3 installation manual

Drolet DECO ALTO owner's manual

Drolet

Drolet DECO ALTO owner's manual

Quadra-Fire CASTILE-CSB owner's manual

Quadra-Fire

Quadra-Fire CASTILE-CSB owner's manual

manuals.online logo
manuals.online logoBrands
  • About & Mission
  • Contact us
  • Privacy Policy
  • Terms and Conditions

Copyright 2025 Manuals.Online. All Rights Reserved.