manuals.online logo
Brands
  1. Home
  2. •
  3. Brands
  4. •
  5. Bresser
  6. •
  7. Telescope
  8. •
  9. Bresser 0115660 Programming manual

Bresser 0115660 Programming manual

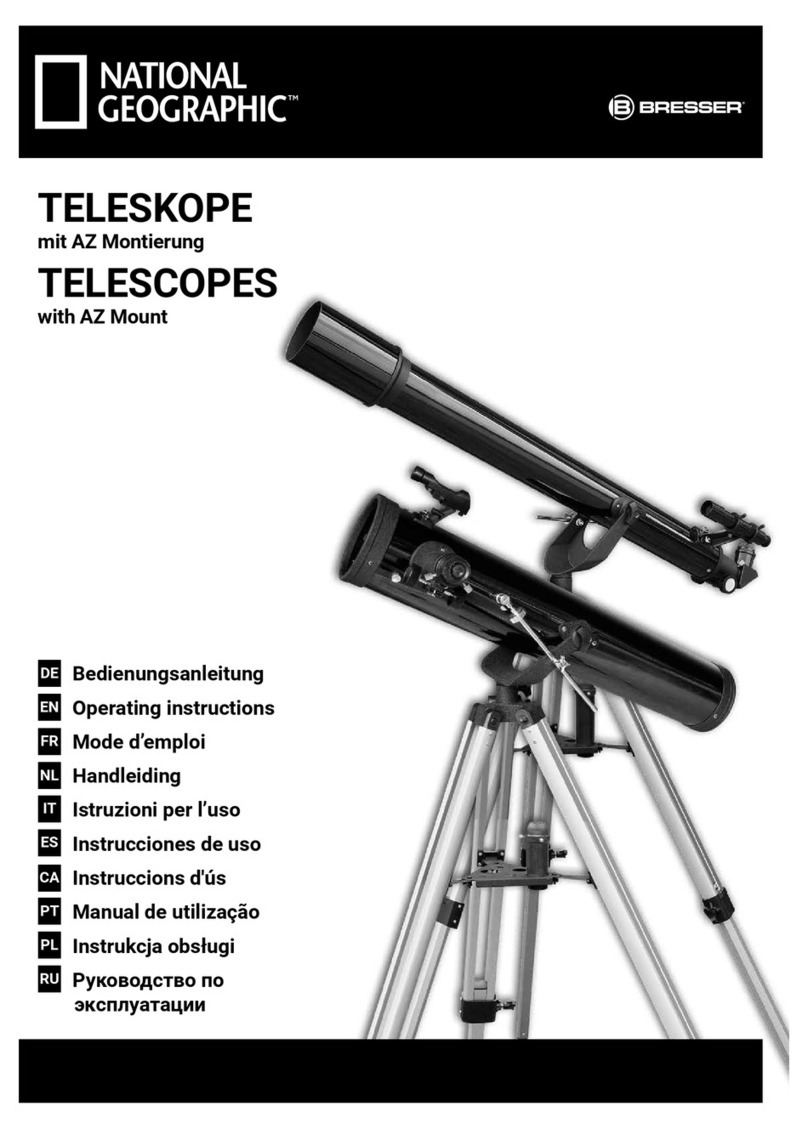
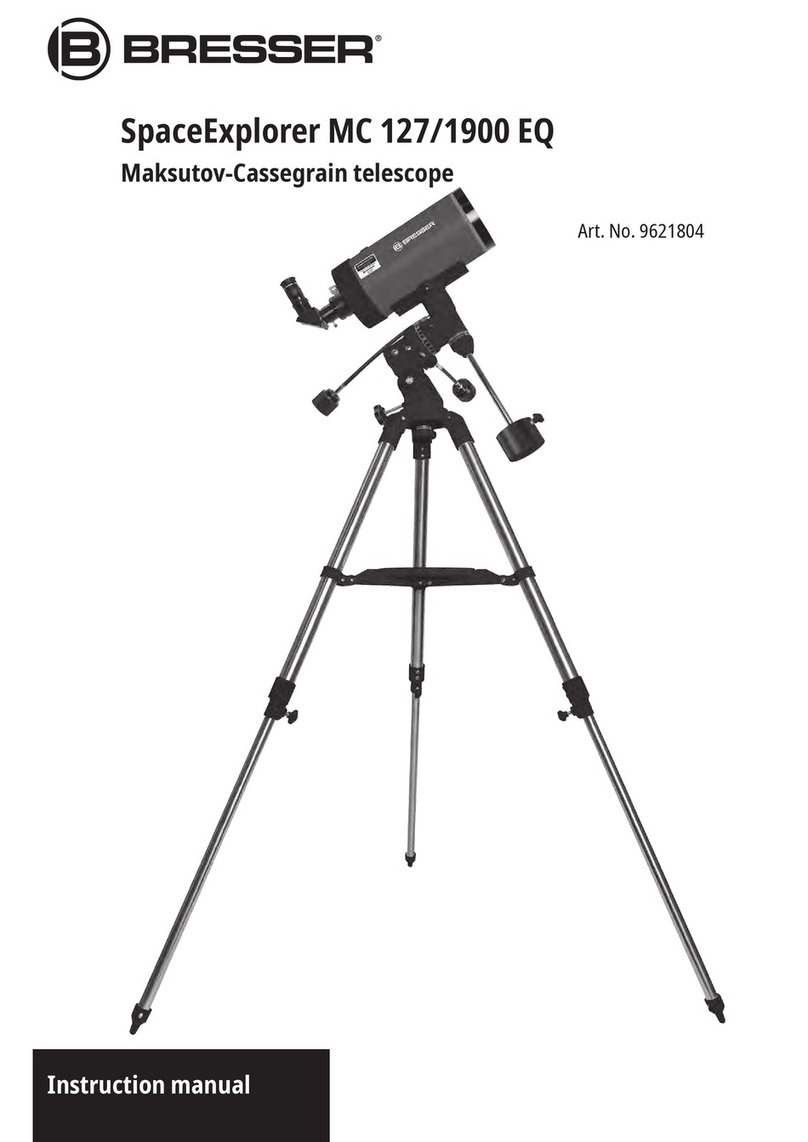
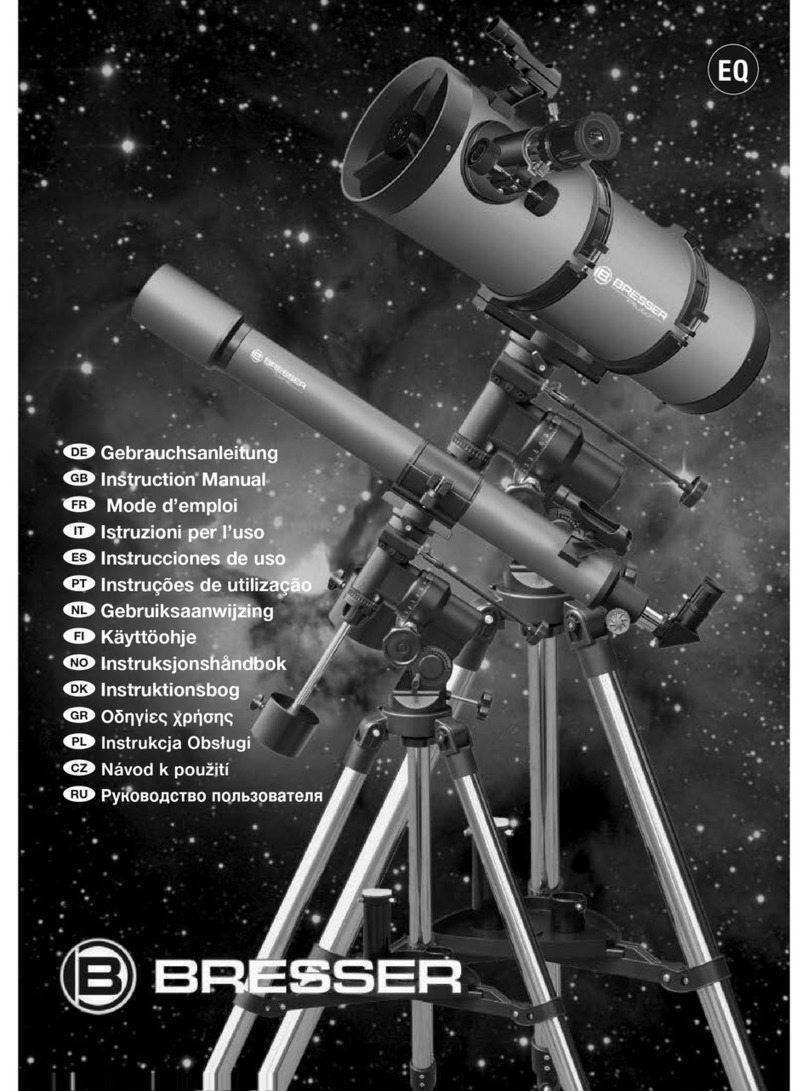
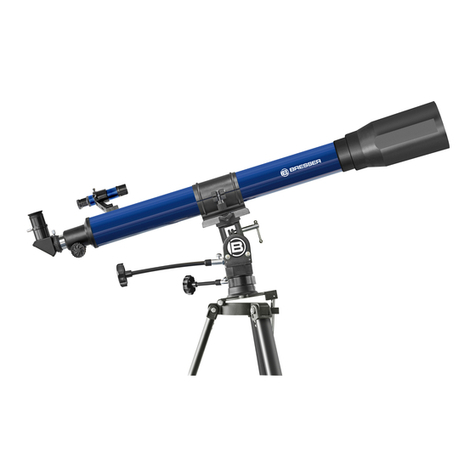
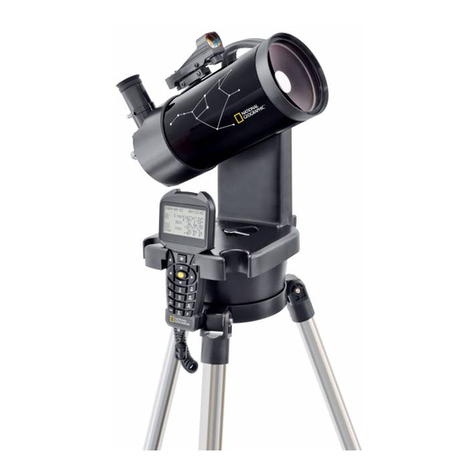
FIRST LIGHT AR102/1000
Refraktor-Teleskop / Refractor Telescope
Art. No. 0115660 www.bresser.de/download/EQ
FULL MANUAL DOWNLOAD:
DE
!
Allgemeine Warnhinweise
Diese Schnellstart-Anleitung ersetzt nicht
die ausführliche Bedienungsanleitung!
Lesen Sie vor Benutzung des Geräts
aufmerksam die Sicherheitshinweise und die aus-
führliche Bedienungsanleitung. Diese Schnellstart-
anleitung vermittelt die wichtigsten Schritte zur In-
betriebnahme Ihres neuen Geräts. Eine ausführliche
Bedienungsanleitung mit weiteren Informationen
und Hinweisen zur Fehlerbehebung nden Sie auf
unserer Internetseite.
DOWNLOAD:
www.bresser.de/download/EQ
GEFAHR von Körperschäden!
Schauen Sie mit diesem Gerät niemals direkt in die
Sonne oder in die Nähe der Sonne. Es besteht ER-
BLINDUNGSGEFAHR!
Kinder sollten das Gerät nur unter Aufsicht benutzen.
Verpackungsmaterialien (Plastiktüten, Gummibän-
der, etc.) von Kindern fernhalten! Es besteht ERSTI-
CKUNGSGEFAHR!
BRANDGEFAHR!
Setzen Sie das Gerät – speziell die Linsen – keiner
direkten Sonneneinstrahlung aus! Durch die Licht-
bündelung könnten Brände verursacht werden.
GEFAHR von Sachschäden!
Bauen Sie das Gerät nicht auseinander! Wenden Sie
sich im Falle eines Defekts bitte an Ihren Fachhänd-
ler. Er nimmt mit dem Service-Center Kontakt auf und
kann das Gerät ggf. zwecks Reparatur einschicken.
Hinweise zur Reinigung
Staub auf dem Hauptspiegel nur mit einem Blase-
balg oder weichen Pinsel entfernen. Den Spiegel
nicht mit Fingern berühren oder abwischen, um eine
Beschädigung der Verspiegelung zu vermeiden.
Zur Entfernung stärkerer Schmutzreste befeuchten
Sie das Putztuch mit einer Brillen-Reinigungsüssig-
keit und wischen damit die Spiegelächen mit wenig
Druck ab.
Schützen Sie das Gerät vor Staub und Feuchtigkeit!
Bei hoher Luftfeuchtigkeit kann das verbaute Glas
beschlagen und es kann zu Feuchtigkeitsbildung
kommen. Dies ist kein Mangel! Lassen Sie in diesem
Fall das Gerät bei Zimmertemperatur einige Zeit ak-
klimatisieren, so dass die Restfeuchtigkeit abgebaut
werden kann.
Entsorgung
Entsorgen Sie die Verpackungsmaterialien sor-
tenrein. Beachten Sie bei der Entsorgung des
Geräts die aktuellen gesetzlichen Bestimmungen!
Informationen zur fachgerechten Entsorgung erhal-
ten Sie bei den kommunalen Entsorgungsdienstleis-
tern oder dem Umweltamt.
Werfen Sie Elektrogeräte nicht in den Haus-
müll!
Gemäß der Europäischen Richtlinie 2002/96/EG
über Elektro- und Elektronik-Altgeräte und deren
Umsetzung in nationales Recht müssen verbrauchte
Elektrogeräte getrennt gesammelt und einer umwelt-
gerechten Wiederverwertung zugeführt werden.
Batterien und Akkus dürfen nicht im Hausmüll
entsorgt werden. Sie sind zur Rückgabe ge-
brauchter Batterien und Akkus gesetzlich verpich-
tet und können die Batterien nach Gebrauch entwe-
der in unserer Verkaufsstelle oder in unmittelbarer
Nähe (z.B. im Handel oder in kommunalen Sammel-
stellen) unentgeltlich zurückgeben.
Batterien und Akkus sind mit einer durchgekreuz-
ten Mülltonne sowie dem chemischen Symbol des
Schadstoffes bezeichnet, "Cd" steht für Cadmium,
"Hg" steht für Quecksilber und "Pb" steht für Blei.
iGarantie & Service
Die reguläre Garantiezeit beträgt 5 Jahre und be-
ginnt am Tag des Kaufs. Die vollständigen Garan-
tiebedingungen sowie Informationen zu Garantie-
zeitverlängerung und Serviceleistungen können Sie
unter:
www.bresser.de/garantiebedingungen einsehen.
Bei Fragen zum Produkt und eventuellen Reklama-
tionen nehmen Sie bitte zunächst mit dem Service-
Center Kontakt auf, vorzugsweise per E-Mail.
E-Mail: service@bresser.de
Telefon*: +49 28 72 80 74 310
BRESSER GmbH
Kundenservice
Gutenbergstr. 2
46414 Rhede
Deutschland
*Lokale Rufnummer in Deutschland (Die Höhe der Gebühren je
Telefonat ist abhängig vom Tarif Ihres Telefonanbieters); Anrufe
aus dem Ausland sind mit höheren Kosten verbunden.
GB
!
General Safety Informations
This Quick Start guide is not intended to
replace the more detailed user manual.
Please read the safety instructions and
the user manual carefully before using the device.
This quick start manual contains the most impor-
tant steps to start using your new device. Compre-
hensive operating instructions and further informa-
tion including troubleshooting advice is available
on our website.
DOWNLOAD:
www.bresser.de/download/EQ
RISK of physical injury!
Never look through this device directly at or near the
sun. There is a risk of BLINDING YOURSELF!
Children should only use this device under supervi-
sion. Keep packaging materials (plastic bags, rubber
bands, etc.) away from children. There is a risk of
SUFFOCATION.
Fire/Burning RISK!
Never subject the device - especially the lenses - to
direct sunlight. Light ray concentration can cause
res and/or burns.
RISK of material damage!
Never take the device apart. Please consult your
dealer if there are any defects. The dealer will con-
tact our service centre and send the device in for
repair if needed.
Tips on cleaning
To remove dust on the mirrors use a ne brush or
airblower (from your local camera shop or optician).
Don’t touch any mirror surface with ngers - the coat-
ing may be damaged.
In order to remove more stubborn residue, dampen
the cloth with an eyeglasses cleaning solution and
wipe away the dirt using slight pressure.
Protect the device from dust and moisture. High hu-
midity can cause the (acrylic) glass to fog up. This is
not a defect! In this case let the device acclimatise
for a short period of time at room temperature, so
that the residual moisture can dissipate.
DE
SCHNELLSTART-ANLEITUNG
GB
QUICK START INSTRUCTIONS
- 2 -
Disposal
Dispose of the packaging materials properly,
according to their type, such as paper or card-
board. Please take the current legal regulations into
account when disposing of your device. You can get
more information on the proper disposal from your
local waste-disposal service or environmental au-
thority.
Do not dispose of electronic devices in the
household garbage!
As per Directive 2002/96/EC of the European Parlia-
ment on waste electrical and electronic equipment
and its adaptation into German law, used electronic
devices must be collected separately and recycled in
an environmentally friendly manner.
In accordance with the regulations concerning
batteries and rechargeable batteries, dispos-
ing of them in the normal household waste is explic-
itly forbidden. Please make sure to dispose of your
used batteries as required by law — at a local collec-
tion point or in the retail market. Disposal in domes-
tic waste violates the Battery Directive.
Batteries that contain toxins are marked with a sign
and a chemical symbol. "Cd" = cadmium, "Hg" = mer-
cury, "Pb" = lead.
iWarranty & Service
The regular guarantee period is 5 years and
begins on the day of purchase. You can consult
the full guarantee terms as well as information on
extending the guarantee period and details of our
services at www.bresser.de/warranty_terms.
Please contact the service centre  rst for any
questions regarding the product or claims, prefera-
bly by e-mail.
e-mail: [email protected]
Telephone*: +44 1342 837 098
Bresser UK Ltd.
Suite G3, Eden House
Enterprise Way
Edenbridge, Kent TN8 6HF
United Kingdom
*Number charged at local rates in the UK (the amount you will be
charged per phone call will depend on the tariff of your phone
provider); calls from abroad will involve higher costs.
Alle Teile

EQ3 Montierung

Biegsame Wellen

Stange für Gewicht

Tubus

T2 Kamera-Ring

Gewicht

Tubus-Schelle

Zubehör-Ablage

Staubschutzkappe

Smartphone-Halterung

1.25" ST1 Stativ

LED-Sucherfernrohr

PL10 & PL25 Okulare

3x Barlow Linse

90 Grad Aufrecht-Prisma
All parts

EQ3 mount

Flexible shafts

Rod for weight

Tube

T2 camera ring

Weight

Tube clamp

Accessory tray

Dust protection cap

Smartphone holder

1.25" ST1 tripod

LED Viewfinder scope

PL10 & PL25 Eyepieces

3x Barlow Lens

90 Degree erecting prism




 

 


  

ILieferumfang • Scope of delivery
- 3 -
7b)
1) 3) 4)
5) 6a) 7a) 8)
2a)
2b)
2c)
6b) 9)
M10) M11a) M12)M11b)
N10) N11a) N12)
AR10) AR11a) AR12)
N11c)
N11b)
AR11b)
Item/Article/Artículo: FL-AR1021000EQ3
Item/Article/Artículo: FL-AR80900EQ3
Item/Article/Artículo: FL-MC1001400EQ3
Item/Article/Artículo: FL-MC1271900EQ3
Item/Article/Artículo: FL-N114500EQ3
Item/Article/Artículo: FL-N130600EQ3
EQ3 Mount
EQ-1
II Aufbau • Setup
M13a)
=
M14)
M13b)
M13c)
M13d)
www.explorescientificusa.com/pages/documents
Computer Software - Logiciel informatique - Programas informáticos
N14)
N13a)
=
N13b)
N13c)
N13d)
AR14)
AR13a)
=
AR13b)
AR13c)
AR13d)
EQ-2
7b)
1) 3) 4)
5) 6a) 7a) 8)
2a)
2b)
2c)
6b) 9)
M10) M11a) M12)M11b)
N10) N11a) N12)
AR10) AR11a) AR12)
N11c)
N11b)
AR11b)
Item/Article/Artículo: FL-AR1021000EQ3
Item/Article/Artículo: FL-AR80900EQ3
Item/Article/Artículo: FL-MC1001400EQ3
Item/Article/Artículo: FL-MC1271900EQ3
Item/Article/Artículo: FL-N114500EQ3
Item/Article/Artículo: FL-N130600EQ3
EQ3 Mount
EQ-1
Irrtümer und technische Änderungen vorbehalten. · Errors and technical changes reserved.
Quickstart_0115660_First-Light-Telescope_de-en_BRESSER_v052020a
Bresser GmbH
Gutenbergstr. 2 · DE-46414 Rhede
Germany
www.bresser.de · service@bresser.de


Verwendung der 3 x Barlow-Linse
Die Barlow-Linse (1) erhöht in Verbindung mit einem Okular (2) die Vergröße-
rung um das 3-fache. Benutzen Sie die Barlow ausschließlich an Mond und
Planeten, nachdem Sie das Objekt bereits mit schwacher Vergrößerung einge-
stellt haben. Das sichtbare Bild wird durch die Verwendung der Barlow auch
deutlich dunkler.
Using the 3 x Barlow lens
The Barlow lens in combination with an eyepiece increases the magnication
by 3 times. Use the Barlow only on the moon and planets after you have already
set the object at low magnication. The visible image will also be signicantly
darker when using the Barlow.


x
y
Installation der Smartphone-Halterung
Setzen Sie das Okular (1) in die Smartphone-Halterung ein und ziehen
Sie die Schraube (X) an der Halterung fest an. Anschließend setzen Sie
die Smartphone-Halterung mit dem Okular in den Okular-Stutzen (2) ein
und ziehen Sie nun die Klemmschrauben (Y) am Stutzen oder 90 Grad
Aufrecht-Prisma handfest an. Starten Sie nun die Kamera-App von Ihrem
Smartphone. Drücken Sie nun Ihr Smartphone auf die Halteplatte und stel-
len Sie sicher, dass es richtig fest sitzt. Die Kamera muss genau über dem
Okular auiegen. Zentrieren Sie das Smartphone genau mittig über dem
Okular, sodass das Bild genau zentriert auf Ihrem Display zu sehen ist.
Eventuell ist es nötig, durch die Zoomfunktion das Bild Display füllend auf
Ihrem Smartphone darzustellen. Die Saugnäpfe müssen trocken, sauber
und frei von allen Arten von Staub und Schmutz sein. Wir übernehmen
keine Verantwortung für fallengelassene und gebrochene Smartphones
aufgrund falscher Bedienung.
Smartphone-holder installation
Insert the eyepiece (1) into the smartphone holder and tighten the screw
(X) to the bracket rmly. Then set the smartphone holder with the eye-
piece into the eyepiece connection (2) and tighten the clamping screws
(Y) by hand rmly. Now start your smartphone camera app and press your
smartphone on the plate. Make sure that it is properly secured. The cam-
era should rest just above the eyepiece. Place the smartphone exactly
over the eyepiece, so that the image is exactly centered on your display.
It may be necessary to use the zoom function to ll out the whole screen
of your smartphone. The suction cups must be dry, clean and free from
all kinds of dust and dirt. We assume no responsibility for dropped and
broken smartphones due to incorrect handling.



T2 Kamera-Ring Installation
Entfernen Sie das Aufrecht-Prisma (1) und die Halterung (2). Drehen Sie jetzt
den T2-Ring (4) an den optional erhältlichen, kameraspezischen
Bajonettadapter (3) Ihrer Kamera und danach diese Einheit an den
Okularauszug (5). Anschließend kann die Kamera per Bajonett-Anschluss
mit dieser Einheit verbunden werden.
T2 Camera ring installation
Remove the erecting prism (1) and the bracket (2). Now screw the T2 ring
(4) to the optional available cameraspecic bayonet adapter (3) of your cam-
era and then install this unit to the focuser extension (5). The camera can then
be connected to this unit via bayonet connector.
*2
CR 2032

LED-Sucher Batteriewechsel
Die beiden Kreuzschrauben am LED-Sucher (1) lösen und das Batteriefach öff-
nen. Achten Sie beim einlegen der Batterie auf die Richtige Polung.
LED-Viewnder battery replacement
Loosen the two phillips screws on the LED viewnder (1) and open the battery
compartment. Make sure the polarity is correct when inserting the battery.

This manual suits for next models

1

Other Bresser Telescope manuals

Bresser RB-60 User manual

Bresser

Bresser RB-60 User manual

Bresser Condor 20-60x85 User manual

Bresser

Bresser Condor 20-60x85 User manual

Bresser Spotty 20-60x60 User manual

Bresser

Bresser Spotty 20-60x60 User manual

Bresser 76/300 SMART User manual

Bresser

Bresser 76/300 SMART User manual

Bresser JUNIOR 45/600 AZ User manual

Bresser

Bresser JUNIOR 45/600 AZ User manual

Bresser JUNIOR 45/600 AZ User manual

Bresser

Bresser JUNIOR 45/600 AZ User manual

Bresser NATIONAL GEOGRAPHIC Series User manual

Bresser

Bresser NATIONAL GEOGRAPHIC Series User manual

Bresser 12x30 Stoertebeker User manual

Bresser

Bresser 12x30 Stoertebeker User manual

Bresser 4321503 User manual

Bresser

Bresser 4321503 User manual

Bresser Venus 45-41000 User manual

Bresser

Bresser Venus 45-41000 User manual

Bresser 4321503 User manual

Bresser

Bresser 4321503 User manual

Bresser National Geographic 114/500 User manual

Bresser

Bresser National Geographic 114/500 User manual

Bresser 43-21500 User manual

Bresser

Bresser 43-21500 User manual

Bresser 43-34000 User manual

Bresser

Bresser 43-34000 User manual

Bresser 70/900 NG User manual

Bresser

Bresser 70/900 NG User manual

Bresser National Geographic 76/350 User manual

Bresser

Bresser National Geographic 76/350 User manual

Bresser Messier User manual

Bresser

Bresser Messier User manual

Bresser 8" Messier Dobson User manual

Bresser

Bresser 8" Messier Dobson User manual

Bresser LUNT CAA-RF User manual

Bresser

Bresser LUNT CAA-RF User manual

Bresser MCX Goto Series User manual

Bresser

Bresser MCX Goto Series User manual

Bresser AR102S f/4.5 Refractor Kit User manual
Bresser

Bresser AR102S f/4.5 Refractor Kit User manual

Bresser DOB-254 User manual

Bresser

Bresser DOB-254 User manual

Bresser DOB-203 User manual

Bresser

Bresser DOB-203 User manual

Bresser National Geographic 91-06000 User manual

Bresser

Bresser National Geographic 91-06000 User manual

Popular Telescope manuals by other brands

Meade ETX-90EC instruction manual

Meade

Meade ETX-90EC instruction manual

Orion SkyScanner BL 102mm instruction manual

Orion

Orion SkyScanner BL 102mm instruction manual

ASTRO-PHYSICS 400QMD quick start guide

ASTRO-PHYSICS

ASTRO-PHYSICS 400QMD quick start guide

Meade 2045 operating instructions

Meade

Meade 2045 operating instructions

Coleman CDB804AZ3 Instruction & owner's manual

Coleman

Coleman CDB804AZ3 Instruction & owner's manual

Bushnell 780080 owner's manual

Bushnell

Bushnell 780080 owner's manual

Saxon Traveller Scope instruction manual

Saxon

Saxon Traveller Scope instruction manual

Orion 5523 manual

Orion

Orion 5523 manual

iOptron N114mm OTA instruction manual

iOptron

iOptron N114mm OTA instruction manual

Bushnell Discoverer 78-1600 supplementary guide

Bushnell

Bushnell Discoverer 78-1600 supplementary guide

Meade Infinity 76 user guide

Meade

Meade Infinity 76 user guide

TAS Red Dot BKRD42 instruction manual

TAS

TAS Red Dot BKRD42 instruction manual

Edu Science T1000HD ASTRO NOVA user manual

Edu Science

Edu Science T1000HD ASTRO NOVA user manual

TAS Novice 402x60mm instruction manual

TAS

TAS Novice 402x60mm instruction manual

iOptron SmartStar A-MC90 user guide

iOptron

iOptron SmartStar A-MC90 user guide

ASTRO-PHYSICS 900GTO manual

ASTRO-PHYSICS

ASTRO-PHYSICS 900GTO manual

Vixen R200SS manual

Vixen

Vixen R200SS manual

Celestron Super C8 Plus instructions

Celestron

Celestron Super C8 Plus instructions

manuals.online logo
manuals.online logoBrands
  • About & Mission
  • Contact us
  • Privacy Policy
  • Terms and Conditions

Copyright 2025 Manuals.Online. All Rights Reserved.