manuals.online logo
Brands
  1. Home
  2. •
  3. Brands
  4. •
  5. Breville
  6. •
  7. Kitchen Utensil
  8. •
  9. Breville TF40 User manual

Breville TF40 User manual

Other manuals for TF40

1

Other Breville Kitchen Utensil manuals

Breville Gourmet Wok User manual

Breville

Breville Gourmet Wok User manual

Breville Ezy Carve BEK5 User manual

Breville

Breville Ezy Carve BEK5 User manual

Breville EW40 User manual

Breville

Breville EW40 User manual

Breville EW40 User manual

Breville

Breville EW40 User manual

Breville EW30XL User manual

Breville

Breville EW30XL User manual

Breville Avance Banquet BEF400 User manual

Breville

Breville Avance Banquet BEF400 User manual

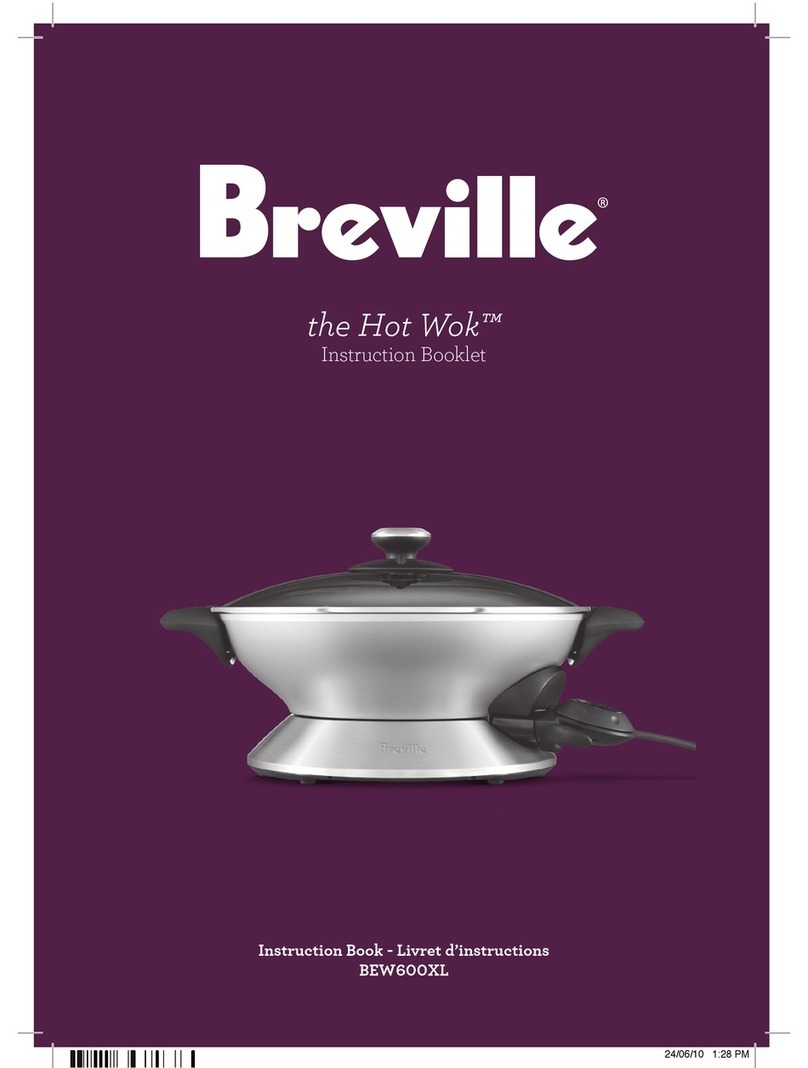
Breville THE HOT WOK BEW600XL User manual
Breville

Breville THE HOT WOK BEW600XL User manual

Breville EW30XL User manual

Breville

Breville EW30XL User manual

Breville HealthSmart BEW300 User manual

Breville

Breville HealthSmart BEW300 User manual

Breville TF40 User manual

Breville

Breville TF40 User manual

Breville EW30 Quick guide

Breville

Breville EW30 Quick guide

Popular Kitchen Utensil manuals by other brands

DS Produkte Z 04569 instructions

DS Produkte

DS Produkte Z 04569 instructions

Hamilton Beach 74150 Use & care guide

Hamilton Beach

Hamilton Beach 74150 Use & care guide

Spring CBS Instructions for use

Spring

Spring CBS Instructions for use

Rohe GP 001 Using and cleaning instructions

Rohe

Rohe GP 001 Using and cleaning instructions

Weston 07-0301 manual

Weston

Weston 07-0301 manual

IKEA TROVÄRDIG quick start guide

IKEA

IKEA TROVÄRDIG quick start guide

IKEA UNDERSÖKA manual

IKEA

IKEA UNDERSÖKA manual

TRFL LoafNest Recipe book

TRFL

TRFL LoafNest Recipe book

NEFF T4..3.. instruction manual

NEFF

NEFF T4..3.. instruction manual

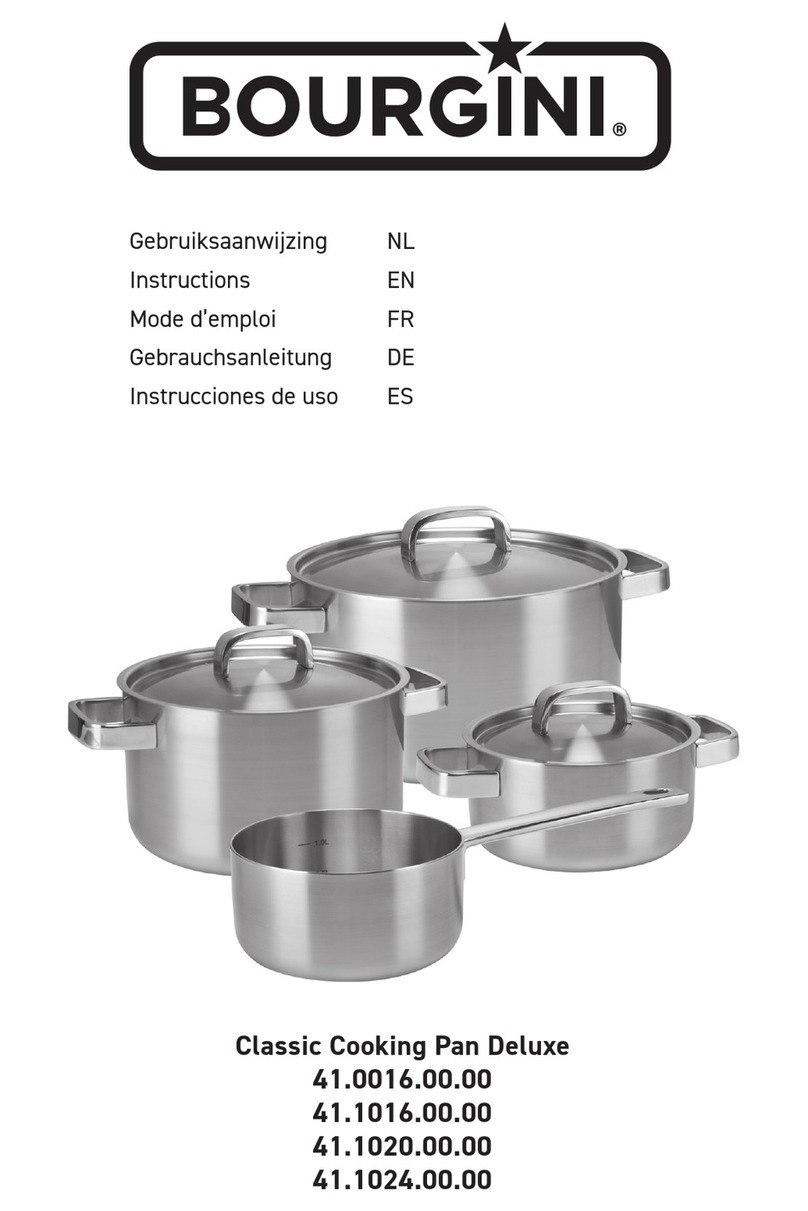
Bourgini 41.0016.00.00 instructions

Bourgini

Bourgini 41.0016.00.00 instructions

Schulte-Ufer De Luxe i Series Using and cleaning instructions
Schulte-Ufer

Schulte-Ufer De Luxe i Series Using and cleaning instructions

Cook's Companion IntelliBag Series quick start guide

Cook's Companion

Cook's Companion IntelliBag Series quick start guide

Melissa 646-035 user guide

Melissa

Melissa 646-035 user guide

NuWave 31760 owner's manual

NuWave

NuWave 31760 owner's manual

Genius Nicer Dicer Chef S instruction manual
Genius

Genius Nicer Dicer Chef S instruction manual

Miele CS 1223-1 Operating and installation instructions

Miele

Miele CS 1223-1 Operating and installation instructions

KitchenAid KRAV instructions

KitchenAid

KitchenAid KRAV instructions

Ernesto 307170 Operation and safety notes

Ernesto

Ernesto 307170 Operation and safety notes

manuals.online logo
manuals.online logoBrands
  • About & Mission
  • Contact us
  • Privacy Policy
  • Terms and Conditions

Copyright 2025 Manuals.Online. All Rights Reserved.

Avance Cookware
Designed with an easy clean non-stick cooking surface
Model TF40
Instructions for use
Includes recipes
Contents
age
Introduction 3
Breville recommends safety first 4
Know your Breville Avance Cookware 6
Operating your Breville Avance Cookware 8
Care and cleaning 9
Cooking techniques 11
Recipes R2
2
Congratulations
on the purchase of your new Breville Avance Cookware
Breville recommends safety first
We at Breville are very safety conscious. We design and manufacture consumer products with the safety of you,
our valued customer, foremost in mind. In addition, we ask that you exercise a degree of care when using any
electrical appliance and adhere to the following precautions:
ead all instructions before operating and save for
future reference
•If using plastic utensils, do not leave in cooking
vessel when hot.
•Never immerse cord and/or temperature probe in
water or any other liquid.
•Avoid using on metal surfaces eg sink, hotplate.
•Always switch off, unplug and then remove
temperature control probe before cleaning
the appliance.
•Extreme caution must be used when the appliance
is filled with hot oil or other liquid. Do not move
the appliance during cooking and allow it to cool
before removing oil or other liquid.
•Always insert temperature control probe into probe
socket before inserting power plug into power
outlet and switching on appliance. Ensure the probe
socket is completely dry before inserting the
temperature control probe.
•Place frypan at least 200mm away from walls
and curtains.
•Do not touch hot surfaces.
•Do not leave the appliance unattended when in use.
•Always use the appliance on a dry, level surface.
•The appliance is not intended for use by young
children or infirm persons without supervision.
•Young children should be supervised to ensure that
they do not play with the appliance.
•Do not let the cord hang over the edge of a table
or counter, touch hot surfaces or become knotted.
4
5
•Do not place this appliance on or near a hot
gas or electric burner, or where it could touch a
heated oven.
•Always turn the temperature control probe to ‘MIN’,
then switch off at the power outlet, then unplug
the appliance when not in use, before attempting
to move appliance and before cleaning or storing.
•This appliance is for household use only. Do not use
this appliance for other than its intended use. Do
not use outdoors.
•Any maintenance, other than cleaning, should be
performed at an authorised Breville Service Centre.
•Regularly inspect the supply cord, plug and actual
appliance for any damage. If found damaged in any
way, immediately cease use of the appliance and
return the entire appliance to the nearest
authorised Breville Service Centre for examination,
replacement or repair.
•The installation of a residual current device (safety
switch) is recommended to provide additional safety
protection when using electrical appliances. It is
advisable that a safety switch with a rated residual
operating current not exceeding 30mA be installed
in the electrical circuit supplying the appliance. See
your electrician for professional advice.
Dishwasher safe
The Avance Cookware element is fully sealed, so the
frypan base is dishwasher safe and can be fully
immersed in water for easy cleaning
Non-skid feet
6
Know your Breville Avance Cookware
Three position lid tilt
The high dome metal lid can be placed in two
positions to obtain optimum cooking performance.
(see below)
High dome metal lid with steam vent
With the high dome lid in place, the Avance
Cookware can be used as an oven. It allows you to
bake cakes, roast larger pieces of lamb, beef or
chicken. The lid also retains heat and moisture
when slow cooking foods such as curries. Simply
place the lid on the frypan and adjust the steam
vent while cooking
1800 watt element
The element in your Avance Cookware is butterfly
shaped, providing a more even distribution of heat over
the entire cooking surface. The heavy die cast
construction of the frypan is designed to retain even heat
and save energy
7
Non-stick cooking surface
The non-stick cooking surface on your
Avance Cookware means food won't stick
and less oil can be used when cooking. It
also means that cleaning your frypan is a
breeze. As with all non-stick surfaces only
plastic or wooden utensils should be used
to avoid scratching the surface. Regular high
heat cooking may discolour the non-stick
surface. This is normal and will not affect
the performance or life of the
non-stick coating
Quick release removable base
Your Avance Cookware has a quick
release removable base for easy cleaning.
This also allows the frypan to fit easily
into a dishwasher or sink
Removable temperature control probe
The temperature probe is
thermostatically controlled providing
accurate cooking temperatures with
14 heat settings plus 'High Sear'
an tilt lever
The Pan Tilt Lever is positioned under the
socket where the temperature probe is
inserted. When the lever is pushed down
the Avance Cookware will tilt, allowing fat
and juices to drain from the food. The Pan
Tilt Lever also makes it easier to baste food
and serve gravies or sauces
Operating your Breville Avance Cookware
Before the first use
It is recommended you remove any promotional
labels and wash your frypan and lid in hot, soapy
water. Rinse and dry thoroughly.
Do not immerse the cord and/or temperature control
probe in water or any other liquid.
1. Insert the temperature control probe into the
probe socket on the appliance. then plug into a
230/240v power outlet and switch ‘ON’. Always
insert the probe into the appliance first, then
plug into main power outlet.
2. Turn the dial on the temperature probe
anti-clockwise to the desired setting. The heating
‘ON’ light will illuminate.
Before inserting the temperature probe into the
frypan socket, ensure the interior of the socket is
fully dry. To do this, shake out excess water then
wipe the interior of the socket with a dry cloth.
Note
3. The red temperature control light will be on until
the frypan reaches the desired temperature. Once
the temperature has been reached, the red light
will cycle ‘ON’ and ‘OFF’ during cooking to retain
the desired temperature.
4. When cooking is completed, turn the dial
clock-wise until it is aligned with the ‘MIN’.
Switch off at the power outlet and then unplug.
5. Leave the temperature control probe connected to
the appliance until cool.
This frypan must be used with the temperature
probe provided. Do not use any other probe
or connector.
Note
ecommended heat control probe settings
Dial setting Uses
2-6 • keeping food warm
• basting
6-8 • slow cooking e.g. casseroles,
curries and soups
• cooking roasts
8-12 • browning nuts
• shallow frying
• pancakes and crepes
• rice and pasta
12-14 • sealing steaks and roasts
14-High Sear • cakes and self saucing
puddings
8
Care and cleaning
9
•Do not leave plastic cooking utensils in contact with
the hot frypan surface while cooking.
•Before cleaning, switch the frypan to ‘MIN’ and
unplug from the power outlet. Remove the
temperature probe when cooled from the socket in
the appliance.
Temperature probe
•If cleaning is necessary, wipe over the unit with a
slightly damp cloth.
Never immerse the temperature probe or cord in
water or any other liquid.
Note
Non-stick cooking surface
Cooking on a non-stick surface minimises the need
for oil, food does not stick and cleaning is easier.
Any discolouration that may occur will only detract
from the appearance of the frypan and will not affect
the cooking performance.
When cleaning the non-stick coating, do not use
metal (or other abrasive) scourers. Wash in hot soapy
water. Remove stubborn spots with a plastic washing
pad or nylon washing brush. Rinse and dry thoroughly.
emoving discolouration of the
non-stick surface
•Combine 2 tablespoons bicarbonate of soda, 1⁄4cup
household bleach, 1 cup water.
•Pour into the frypan, place lid on with the vent
closed and simmer for 5-10 minutes.
•Clean in a well-ventilated area and avoid
breathing in the vapours. Wash as directed before
re-use. In some instances this may not remove
all the staining.
emovable frypan base
To remove the base for cleaning firstly switch off at
the power outlet, unplug and remove temperature
probe from the frypan.
1. Turn the frypan upside down (see below).
Push down on the quick release knob and turn
clockwise as shown by the arrow.
2. Lift the base from the frypan, lifting over the
probe socket.
Fig. 1
Care and cleaning continued
10
High dome lid
Wash the lid in warm, soapy water using a soft
sponge, rinse and dry thoroughly.
Dishwasher safe
Your frypan is dishwasher safe for easy cleaning. The
recessed heating element is completely sealed so it is
safe to immerse in water. The removable frypan base
and lid are also dishwasher safe.
Before inserting the temperature probe into the
frypan socket, ensure the interior of the frypan
socket is fully dry. To do this, shake out excess
water then wipe the interior of the socket
with a dry cloth.
Note
Storage
Store the temperature probe carefully. Do not knock
or drop it as this can damage the probe. If damage is
suspected, return the temperature probe to your
nearest Breville service centre for inspection.
For convenient storage of the temperature
probe, line the frypan with 2 sheets of kitchen
paper and place the probe on the kitchen paper.
This will ensure the probe and plug don’t scratch
the non-stick surface.
That’s the idea™
THE FRYPAN SHOULD NEVER BE OPERATED WITHOUT THE FRYPAN AND BASE FULLY
ASSEMBLED AND LOC ED INTO PLACE.