1110 Finch Ave. West, Suite 600
Toronto, ON
M3J 2T2
bridge-network.com
1-800-92-BRIDGE
SmartCam IntraOral Camera
A Guide for Installing and Using the SmartCam
SmartCam Installation
Requirements
1. You will need the SmartCam Driver to install the device on your computer. This driver can be downloaded
from http://bridge-network.com/support/drivers/smartcam/SmartCamDriver.exe. This driver is also found on
your Tracker Installation CD. Insert the CD and choose “Explore” from the main menu and you will then be
shown a list of folders. From here, double-click on the Support folder and choose Drivers. In that folder you
will find a folder called ‘TBN SmartCam Driver.’
2. A USB 2.0 port to install the camera.
3. You will need the SmartCam, as well as the USB cable that came with it.
Your SmartCam comes with 50 plastic sheaths. To obtain more sheaths for your SmartCam please contact The Bridge
Network @ 1-800-922-7434.
Step-by-Step
1. Do not plug the camera into the computer’s USB port before starting the installation. If you have already
plugged it in, remove it before proceeding.
2. Run the SmartCam Driver setup referred to in item #1 of the Requirements above.
3. During installation, read and follow the prompts until completion. At one point during the installation, you
may be notified that ‘Windows can’t verify the publisher of this driver software’. In this case, click on ‘Install
this driver software anyway.’
4. Once installation is complete, connect the USB cable to the camera and plug the USB cable to USB 2.0 port on
your computer. You should see a notification that the driver was successfully installed.
5. Repeat these steps on any other computers that you will use with the SmartCam.
Once the driver has been installed, it is possible to disconnect the camera from the computer and reconnect it without
having to reinstall drivers. This allows you to easily move a camera between multiple computers. If you choose to do
this, please always use the same USB port on a given computer. Labelling the port can be helpful.
Using the SmartCam with ChairSide Imaging (CSI)
First Time Setup
1. Ensure the camera is plugged into the USB port on your computer.
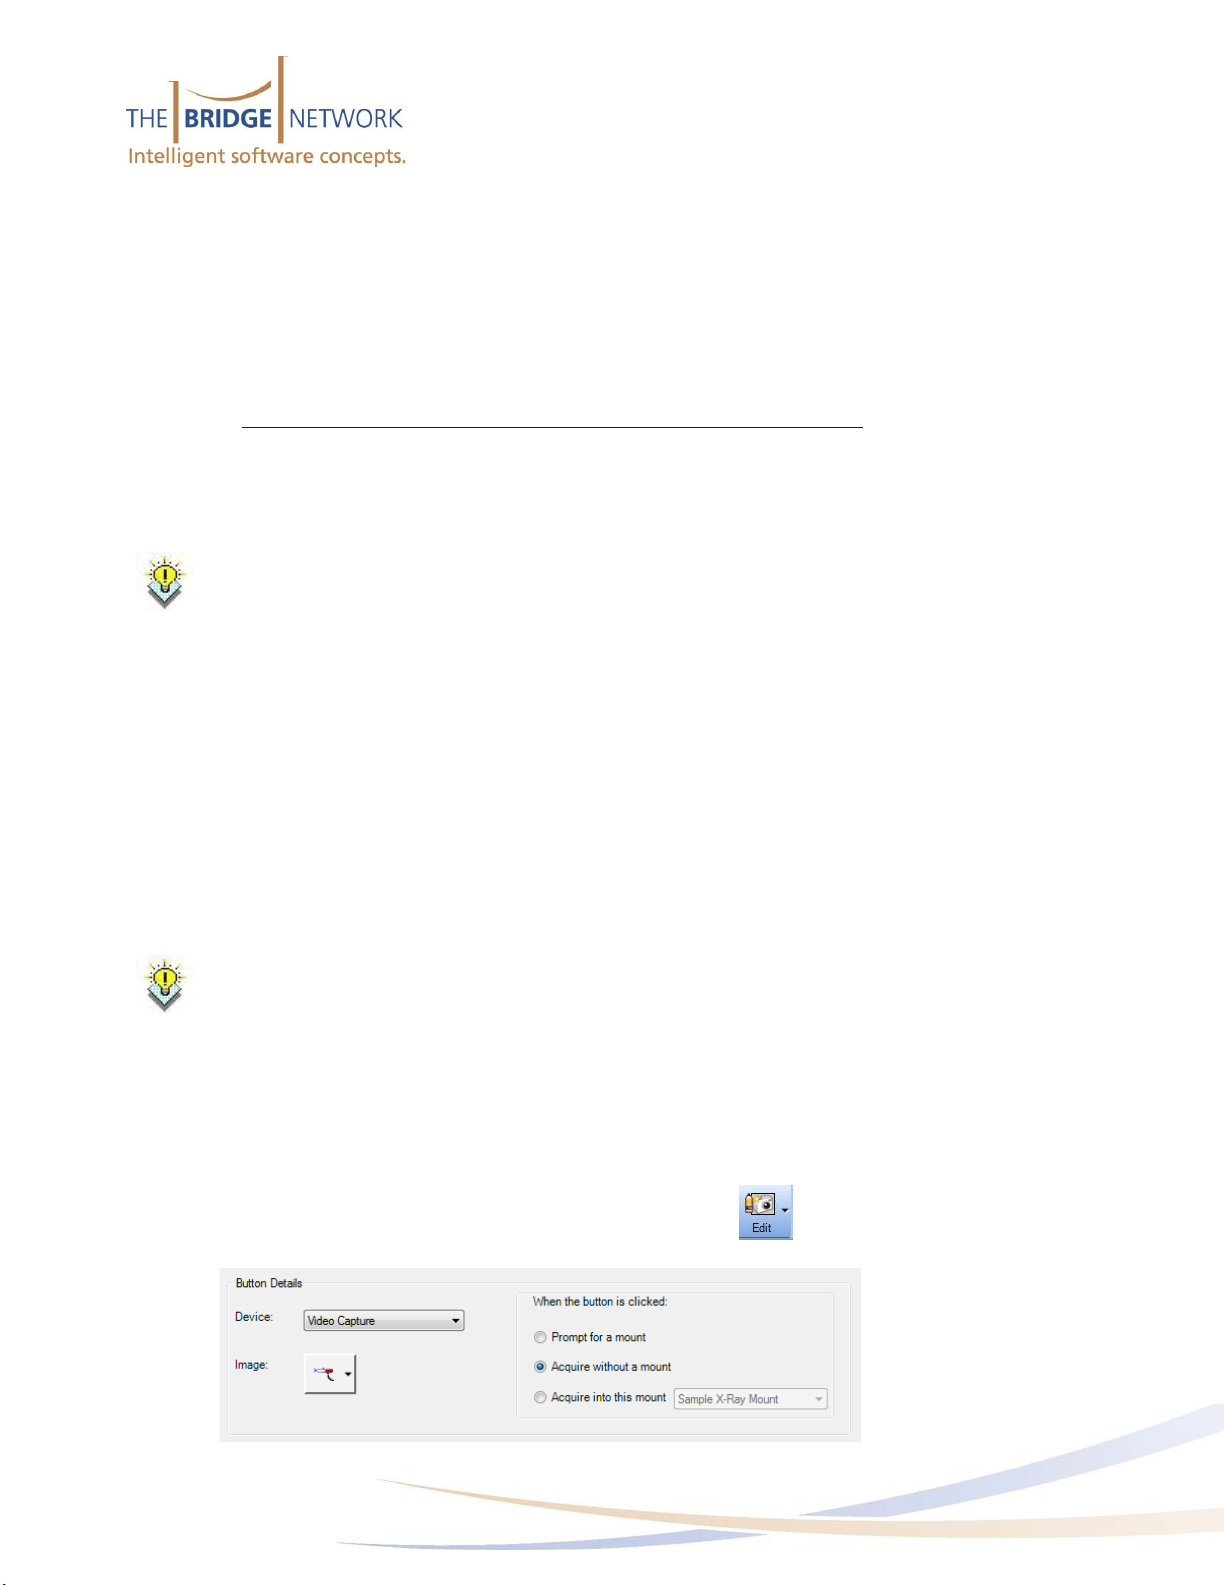
2. Launch CSI. Create a SmartCam acquire shortcut by clicking on the button on the main toolbar. Then
click ‘New Acquire Shortcut button.’Set the options as pictured below and then click OK.


