Note: 3G/4G can be determined
on the Azuga web portal below
ADMIN>>DEVICES. If the product
code starts with DCM970 you
have the correct device that works
with Safetycam.
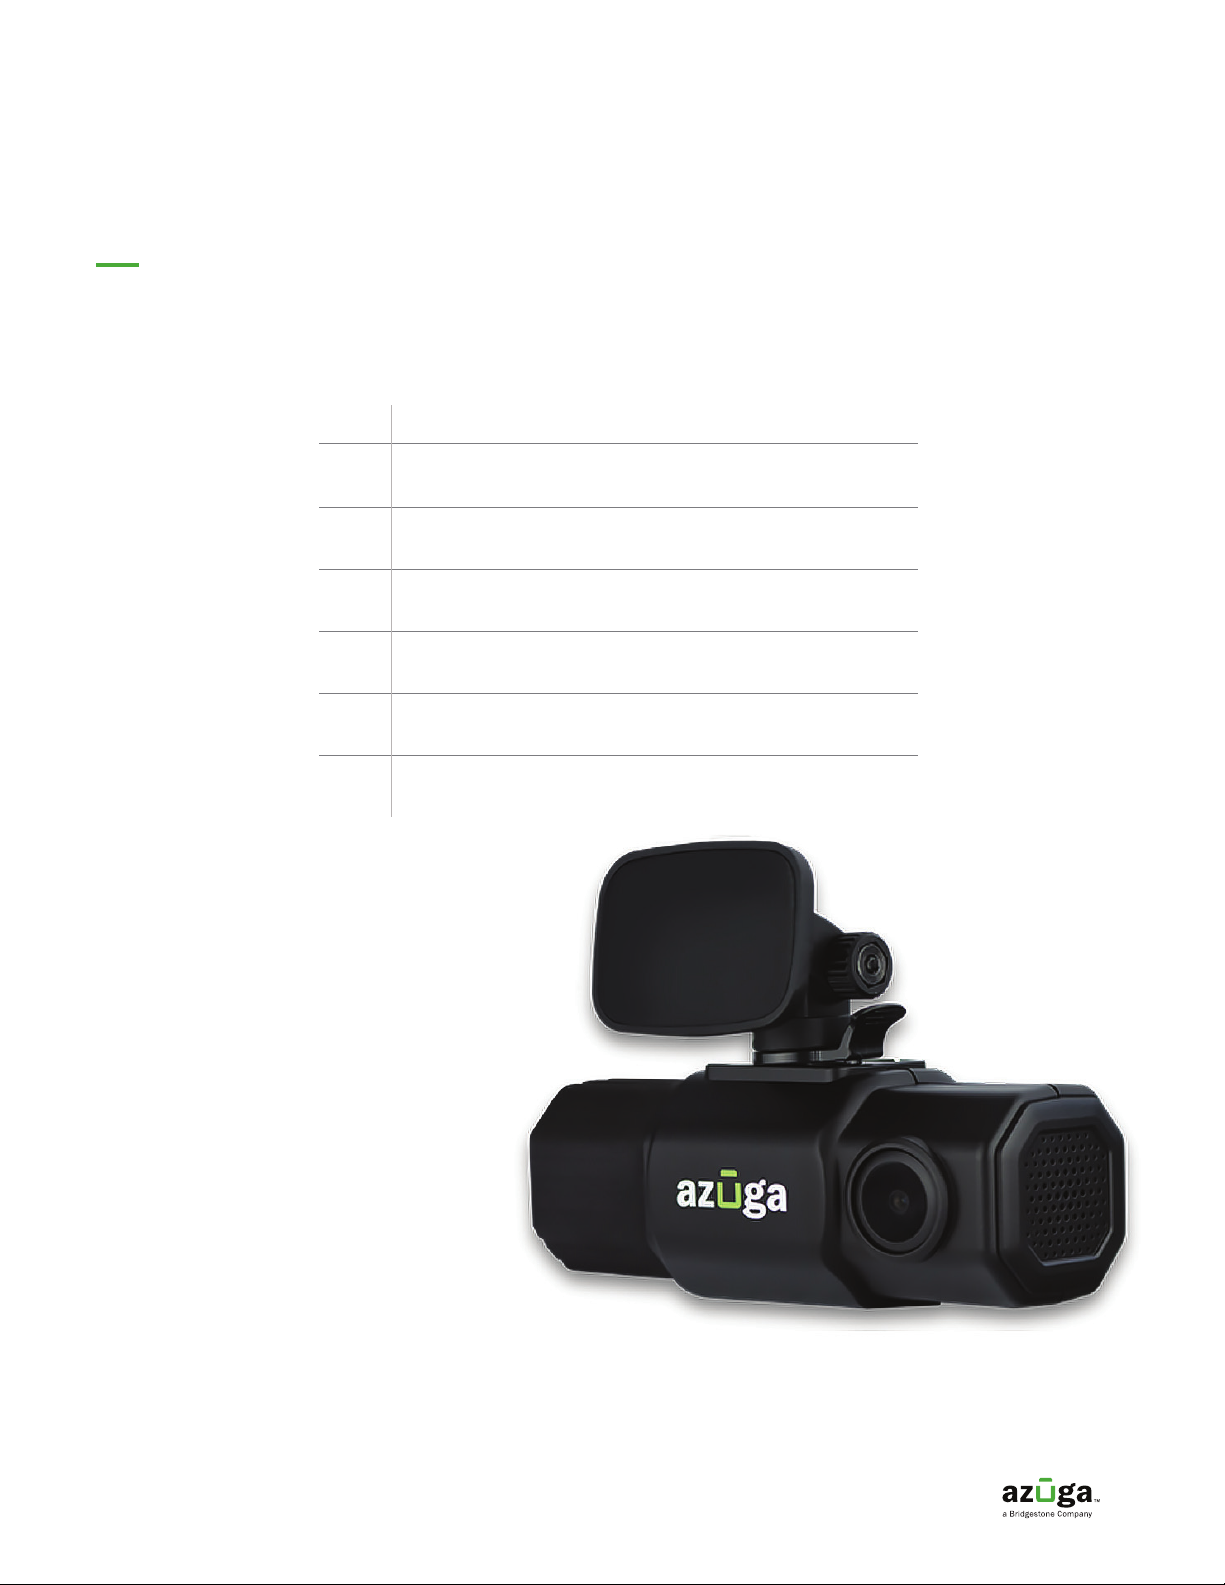
Overview
The SafetyCam works in conjunction with a Plug-and-Play GPS
Tracker in the vehicle. It works with a 4G-LTE device (OBD II)
in case you have an older device that works on a 3G network,
replacement is required.
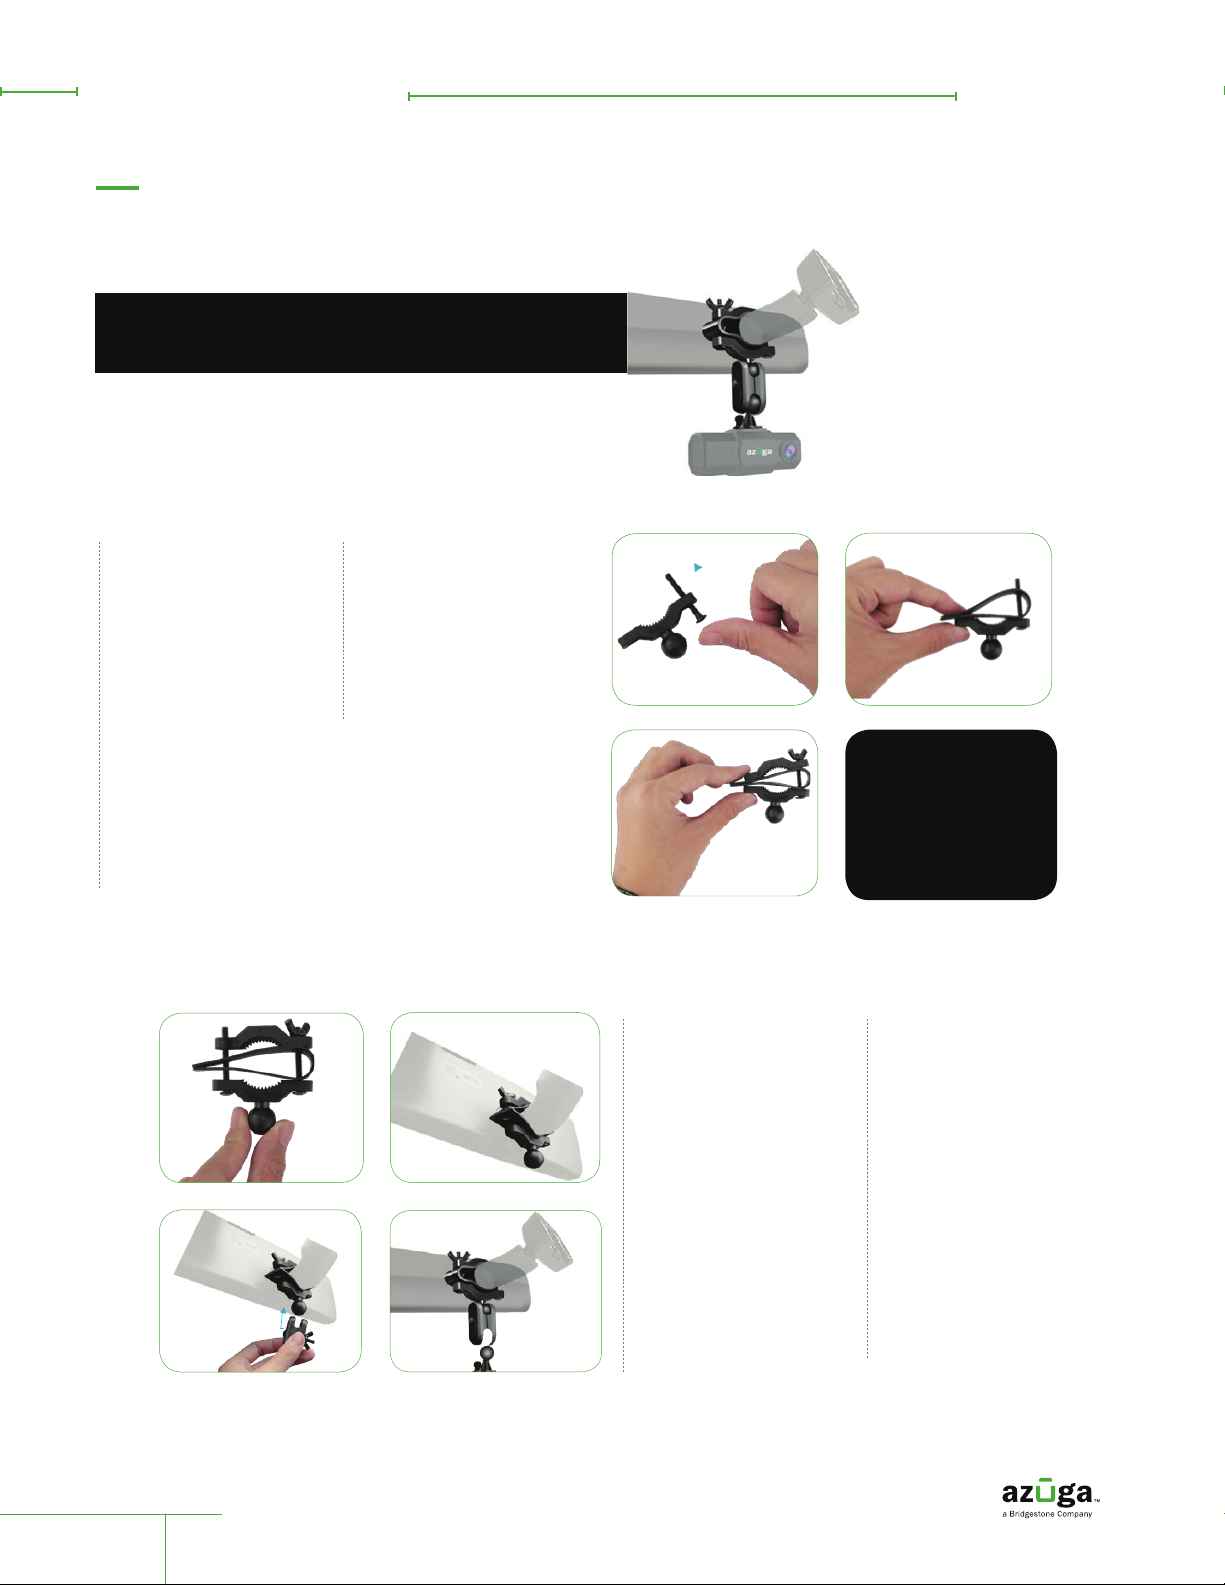
Important:
By any of the following methods, the
SafetyCam can be mounted on your
vehicle.
• Mirror mount
• 3M adhesive tape holder
• Suction cup holder
Based on the customer selection, the
hardware in the box may vary.
For additional details reach out to
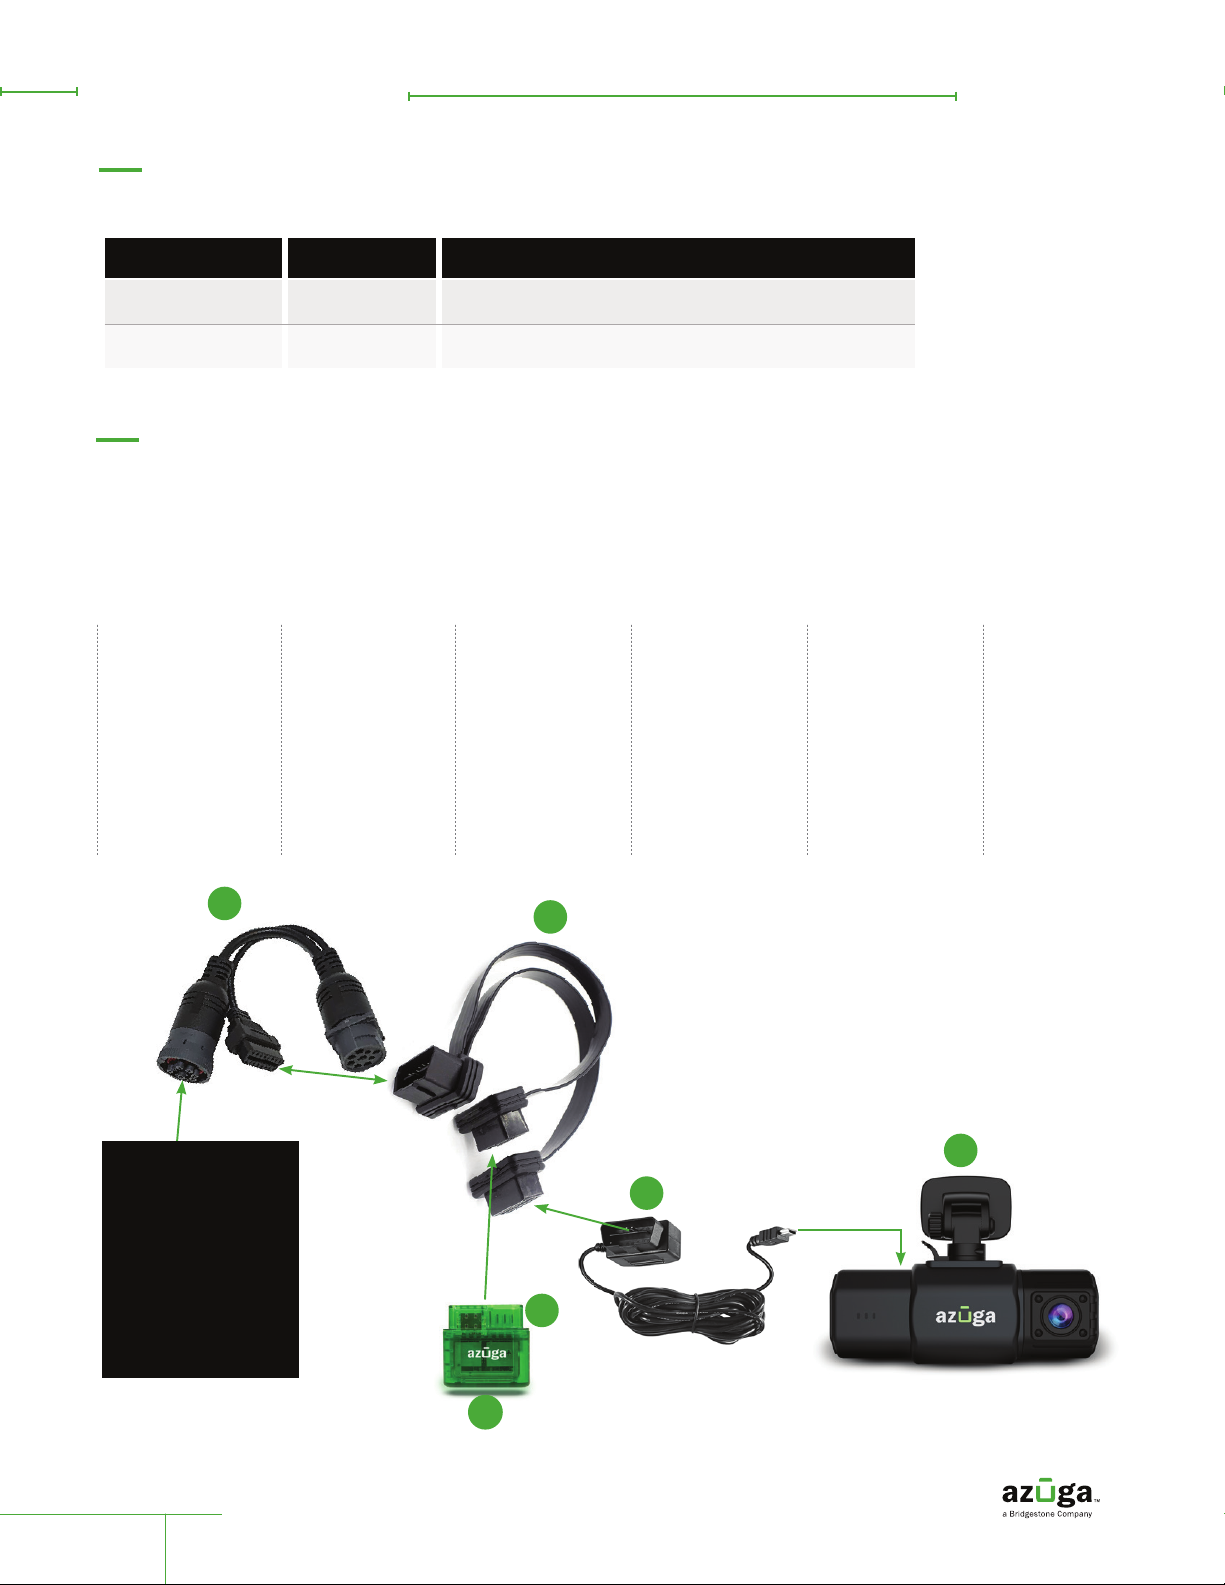
What’s in the Box?
1. OBD II
2. OBD Y cable
3. JBus Y cable*
4. Power cable
Safetycam
Mirror mount holder. Note:
Vehicles with a 16 pin diagnostics port,
2 OBD Y cables are supplied.
*Jbus cables may vary in color
or pin conguration from the one
shown in this diagram
Note: Mirror mount installation
is recommended.
SafetyCam Installation Guide
2022
remotefound.com
page 3
1 2
34