Vision Drive VD-3000 User manual
Installation & Use
WARNING
Until the initial boot is up or the upgrade patch is fully installed,
do not turn on or o the power source, for this may disengage
the power source and eect the booting process.
This product only works with the Vision Drive SD cards.
Only use the enclosed cable to connect your product.
Clean any impurities on the area of installation or any other area
where the camera will be positioned.
While the black box is in operation, do not remove the SD card.
Operate the product manually when the vehicle is parked in a safe place.
For disassembling, turn o the power completely before proceeding.
Do not disassemble, remodel or repair the product.
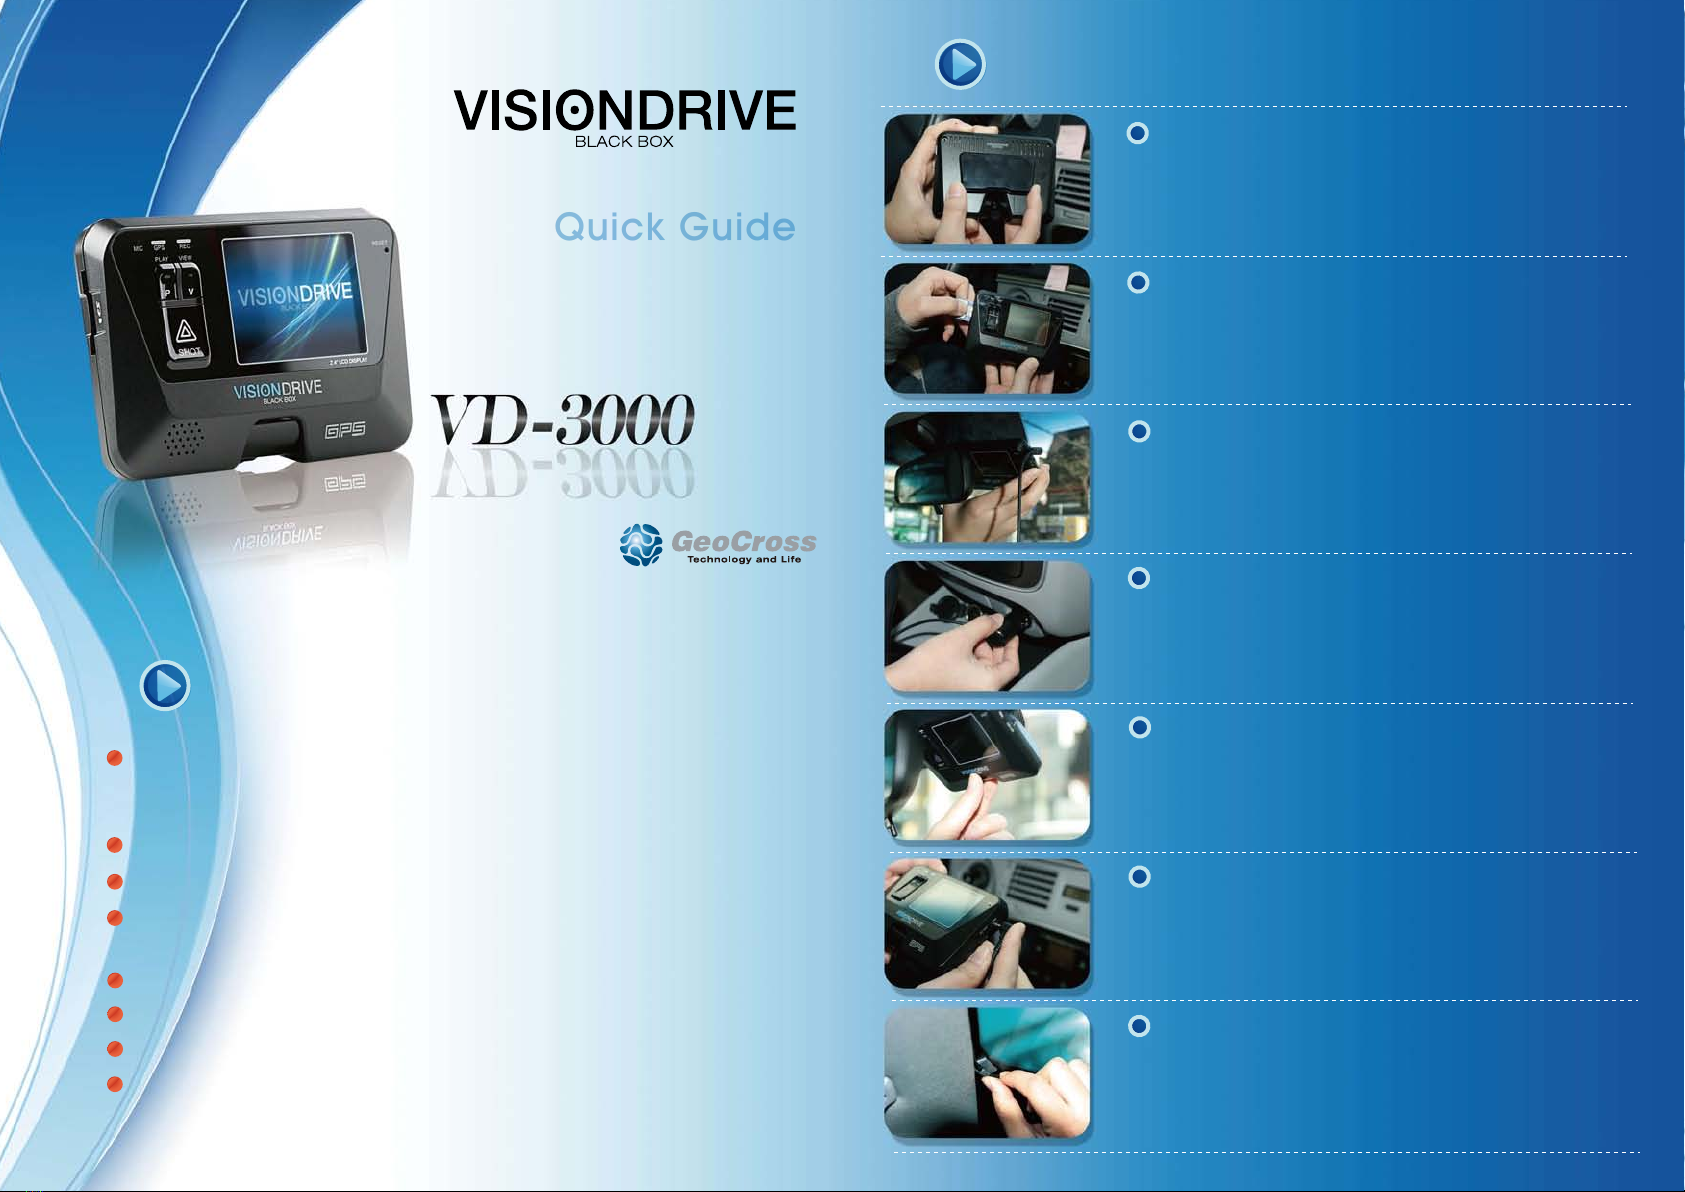
Product Installation
Connect the bracket and the unit
Insert the SD card
Connect the cable to the unit and
Connect to cigar jack
Turning it on and setting
Check LED lamps
Organize the cable line
attach to the windshield
Place the bracket into the slot then slide to the left
to click on.
Insert the SD card into the SD card slot on the side of the unit.
Insert the adaptor into the cigar jack.
The REC lamp will blink blue for normal recording.
In a case of an impact, the lamp will change to a red blinking light.
The GPS lamp will be red if not connected and will turn blue
when it is. The connection time diers depending on where the
vehicle is located.
Use the enclosed cable holders to organize the cable line.
Insert the key in to the ignition and then slightly/fully turn the key
to give power to the cigar jack outlet. A voice notication will
alarm and the LED lights will blink to let you know that the
system is fully on.
Connect the power cable and then remove the sticker cover.
Place the unit on the area where you have cleaned for any
impurities. Place the unit close to the mid section of the vehicle.
the camera angle

Other manuals for VD-3000
2
Other Vision Drive Dashcam manuals

Vision Drive
Vision Drive VD-7000W User manual

Vision Drive
Vision Drive VD-3000 User manual

Vision Drive
Vision Drive VD-3000 User manual

Vision Drive
Vision Drive Black Box VD-9000FHD User manual

Vision Drive
Vision Drive VD-1500MG/1500MB User manual

Vision Drive
Vision Drive VD-7000W User manual

Vision Drive
Vision Drive VD-9000FHD User manual

Vision Drive
Vision Drive VD-7000W Quick start guide

Vision Drive
Vision Drive VD-9500H User manual

Vision Drive
Vision Drive VD-8500WHG User manual


