Brunner GSM 88 User manual

1
Brunner Corp. Tel.: +41 (0) 44 814 17 44
CH - 8302 Kloten Fax: +41 (0) 44 803 01 40
www.brunner-anliker.com mail@brunner-anliker.com
Brunner anliker GSM quattro
Brunner GSM 88 / 90
Brunner Multicut 240
GB
Operating instructions
to
vegetable cutters

2
The company Brunner Corp. reserves the right to make unannounced changes concerning technical
progress.
© Copyright 2004 Brunner Corp. Kloten

3
Contents Page
Congratulations 4
Safety references 4
Equipment 5
Setting up and attaching 6
Thus you cut vegetables 6
Cleaning the vegetable cutter 9
Remedy for disturbances 10
Technical data 11
CE – conformity explanation 15

4
Congratulations
CongratulationstothebuyingoftheBrunner-anlikervegetablecutter.Thisrobust
and high-performance machine will achieve you good service in various
applications. The design in total aluminium or high-grade steel respectively
makes it especially durable. After use it can be cleaned without difficulty. We
are sure that the vegetable cutter will render you good services for many years
and will confirm the rightness of your investment.
Safety references
Yet with construction of the vegetable cutter a lot of safety has been integrated
it is necessary that attention should be paid to certain safety instructions. Read
this precautions attentively.
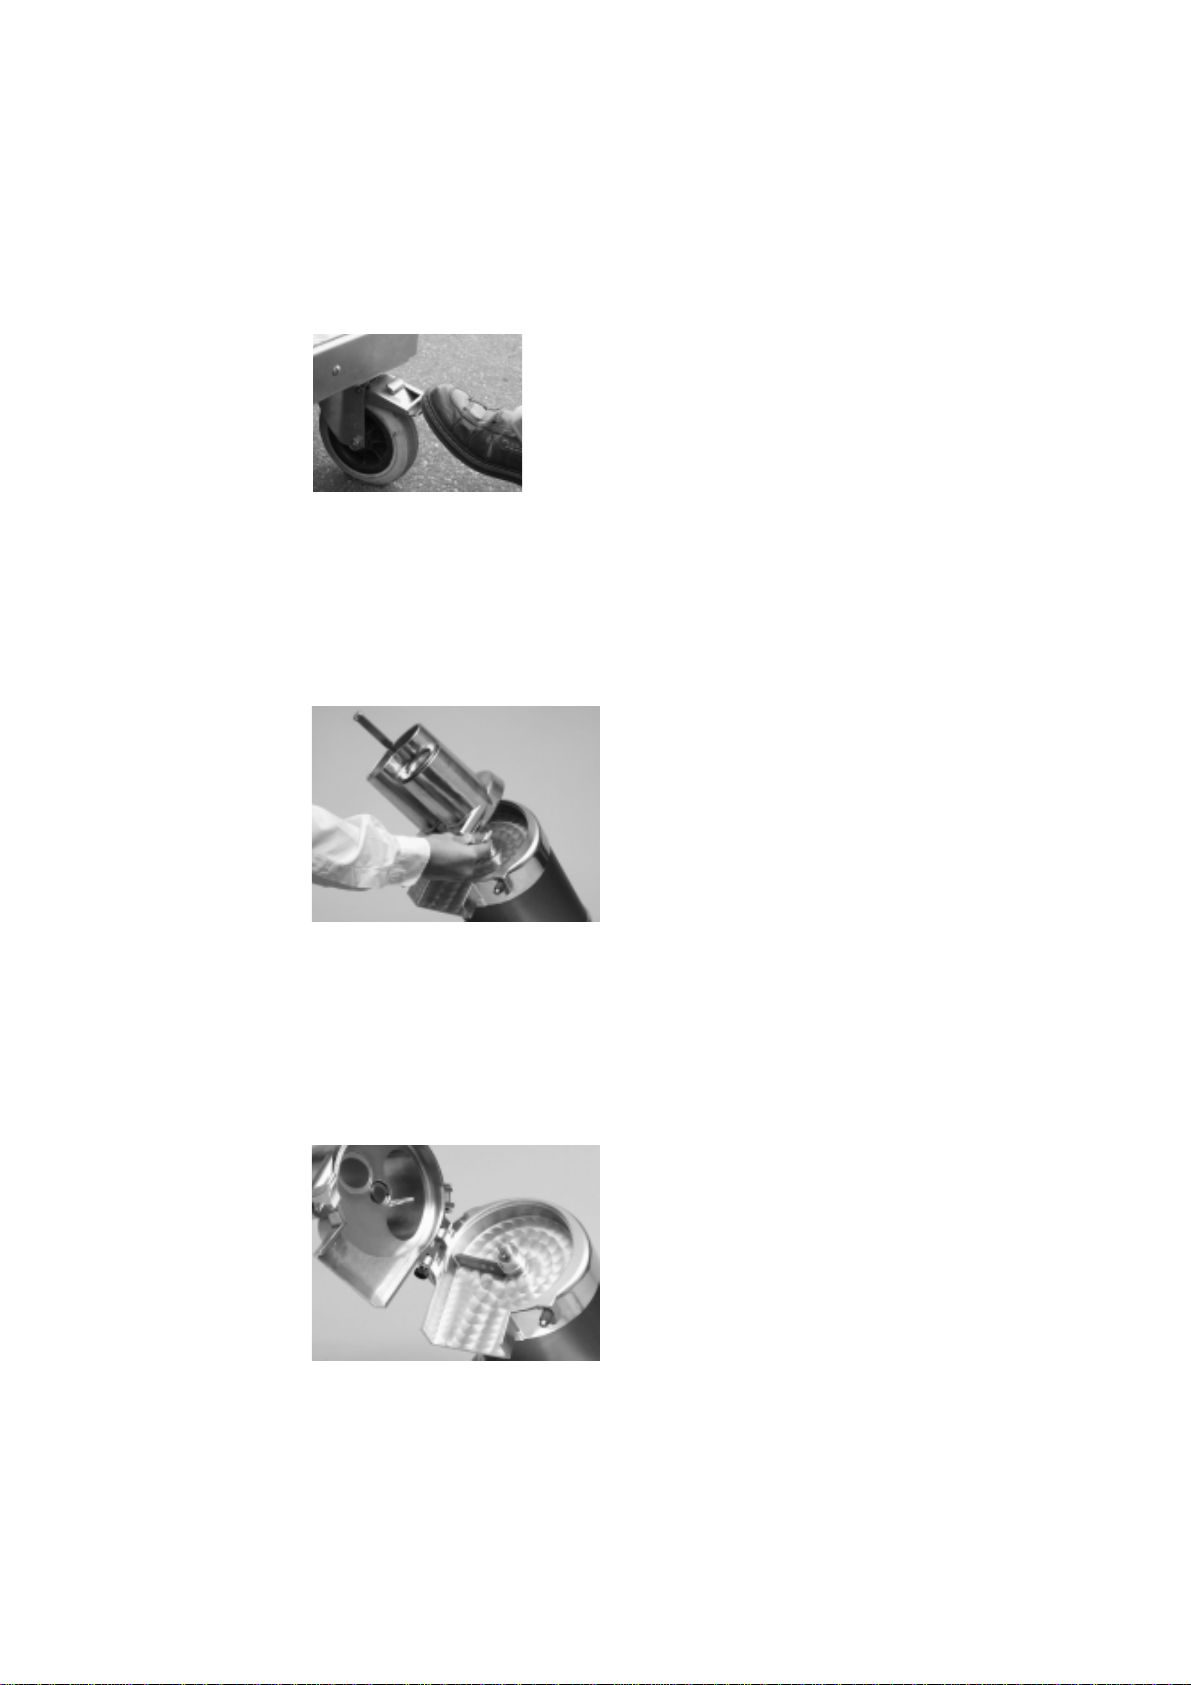
• While setting up and attaching:
The machine should be placed on even and stable work surface or terrain
respectively.TheMulticut240 must belockedon two rearwheelsand examined
for safely blocking. It should be installed preferably near to a power socket. To
avoid a trip over do not lay the cable over a passageway.
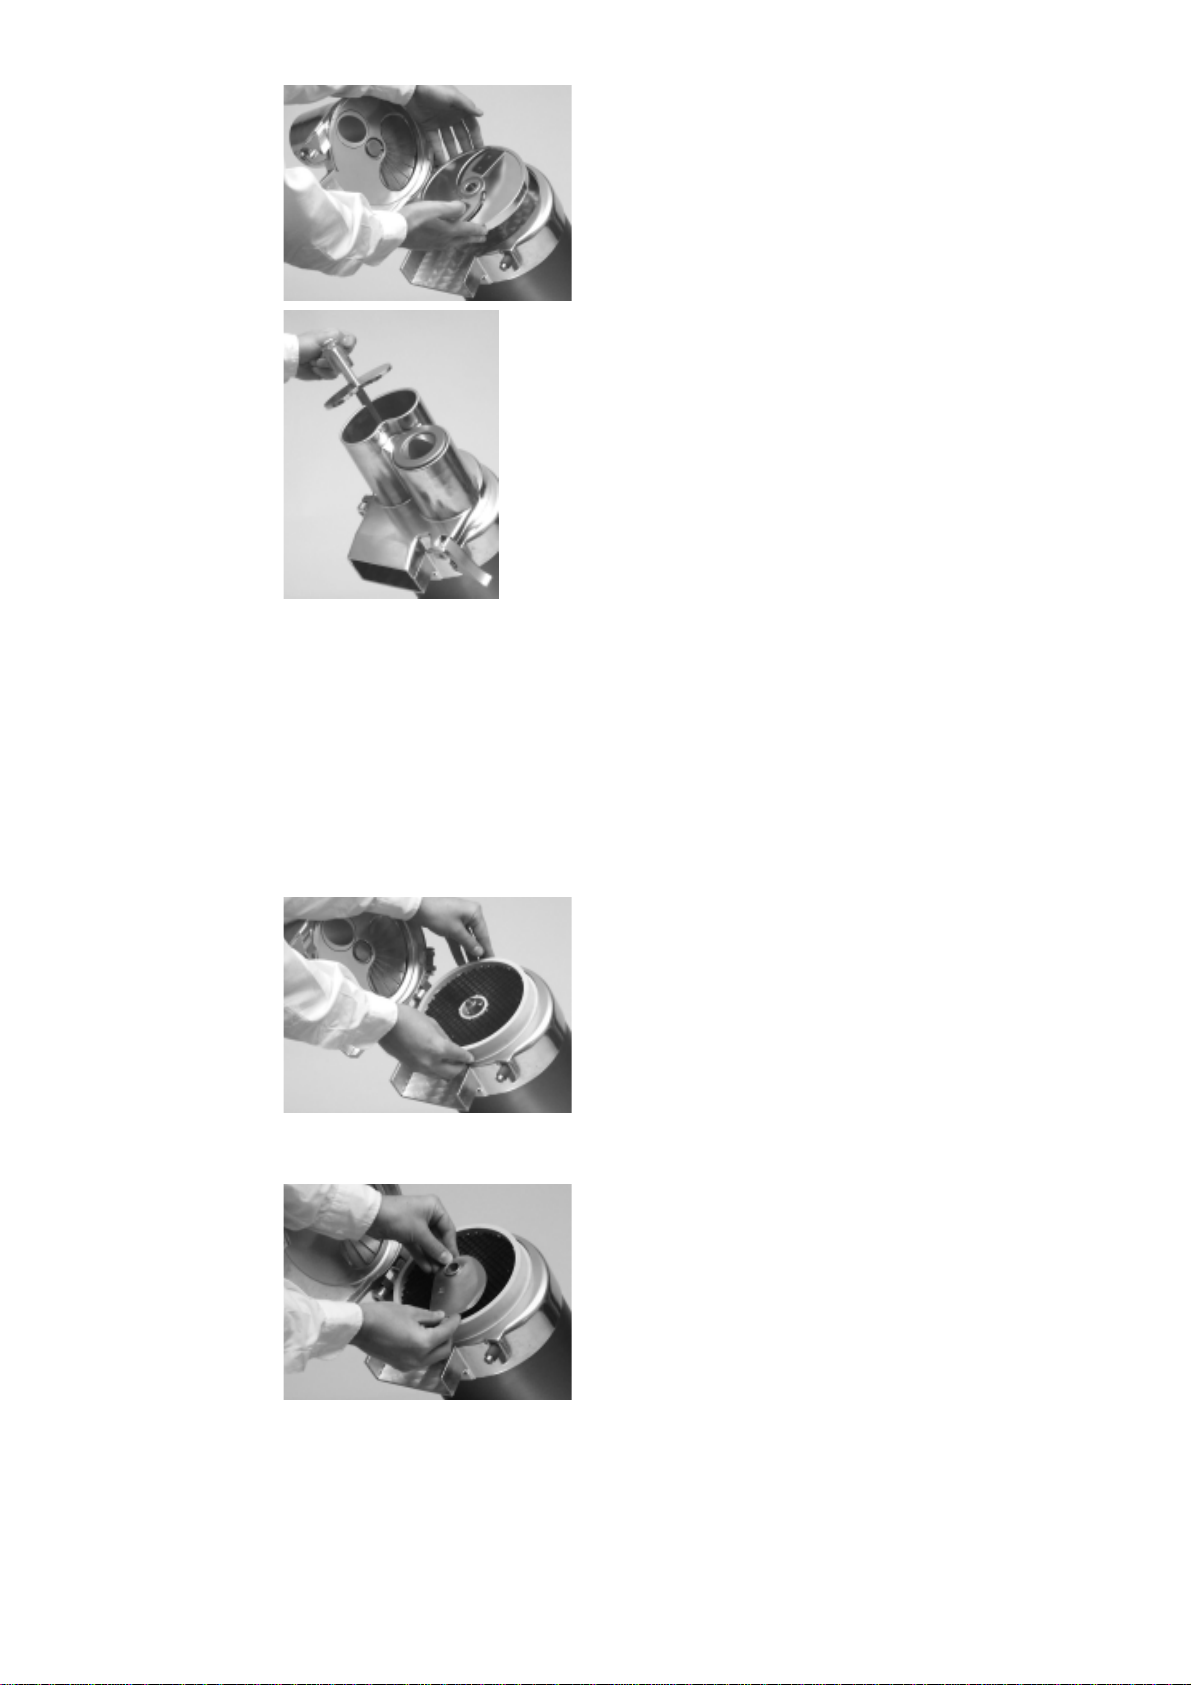
• While changing the cutting disc:
The machine turns off automatically as soon as the fastening lever is released.
The cutting discs should be gripped with both hands at the shell surfaces only.
Caution ! The blades are extremely sharply polished !
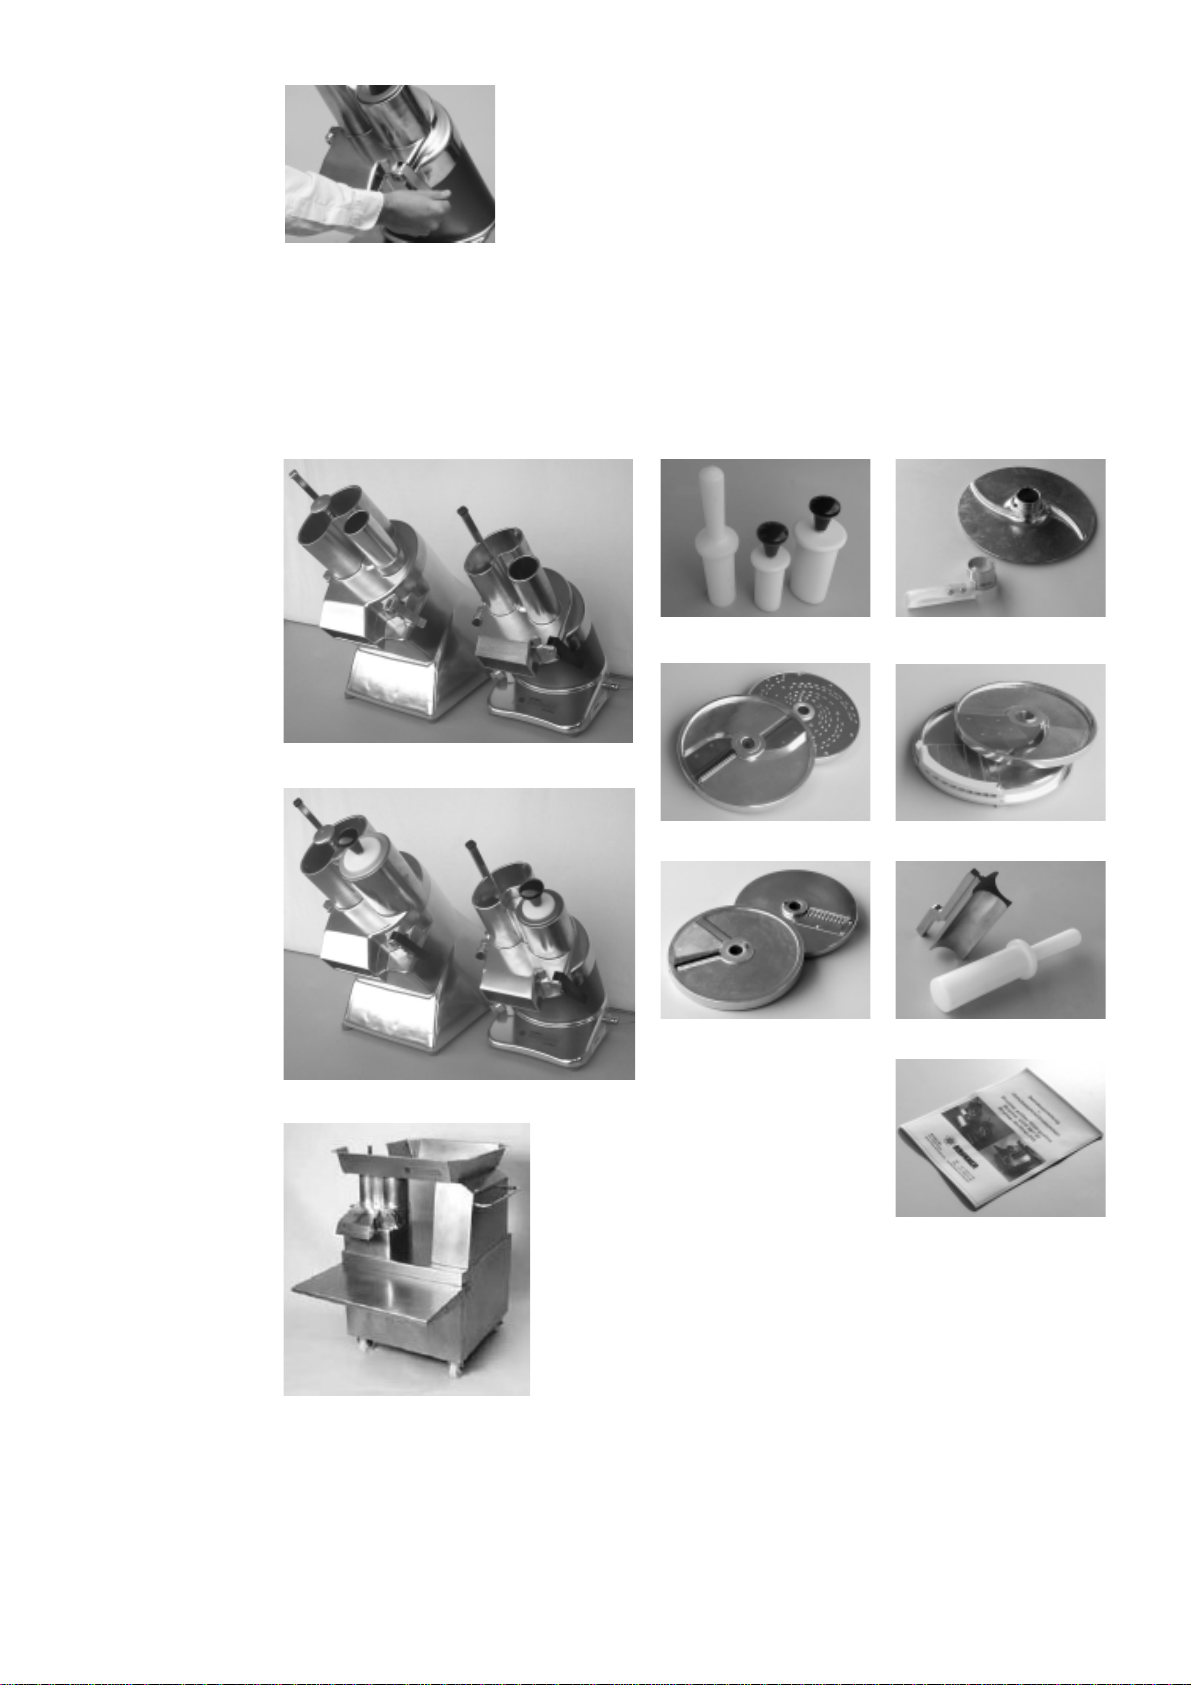
• While loading of vegetables:
No contaminant should get into the loading way. Do under no circumstances
gripp into the loading way ! Neither to distribute the vegetable nor to take out
contaminant. In this case the fastener lever should be released to stop the
machine. The cap is to be swivled to empty the cutting area entirely.
• While cleaning:
Take apart only as far as arranged for user. The vegetable cutter may not be
hoseddown withahighpressurecleaner,nordippedintorinsingwater.Therefore
it should be wiped off with a damp cloth and dish washing detergent.
• In case of disturbances: Emergency - stop
First procedure upon possible disturbances: Release the fastening lever – or, if
the occasion should arise pull out the gamma profile! Therewith the machine is
stopped.Pleasenote that thereisno special emergencystopbutton.Thepower
plug must be pulled out in case of unpleasant exhalation.

5
Equipment
The vegetable cutting machines are equipped plentiful. According to the
individual order:
Various types of cutting- and grating discs are available for many applications.
.
tappet range ejector / -plate
cutting- / grating discs inserts 2-parts
Brunner GSM 88 anliker GSM quattro
Fig. 1
Thefasteningleverisalso emergencystopbutton.It islocatedclose
to the outlet on the right site of the machine.
operating instructions
special discs gamma-profile with ram
Brunner GSM 90 anliker GSM quattro Profi
Brunner Multicut 240 Fig. 2 - 11

6
Setting up and attaching
The machine should be placed on an even, firm table with suitable operating
level. The Multicut 240 must be locked. Press the latch completely downward
with the foot. The built in folding table is turned up and safely clicked into place.
Sufficientspace shouldbe existent forthe supply andpreparation of convenient
vegetablepieces.Theplugis to be inserted intothecorrespondingpowersupply
system.
• cutter- or grater-disc
• inserts two-parts
• special discs cap for ”Profi” only, GSM 90 and Multicut 240
The fastening lever is to be released and the cap to be swivelled to the side.
Check if the ejector / -plate is inserted accordingly or insert it now. It is advised
toinsertthe eject plateforthe processing ofsoftvegetables.Thesuitable cutter-
Fig. 13
To install cutting elementes release the fastening lever and
swivel the cap to the side. On the Multicut 240 the loading
tub is to be swivelled up first.
or grater disc is now to be chosen and inserted onto the axle-drive shaft. To
check if the driver nib engages and the disc fits correctly turn the disc slightly
counter clockwise direction. The cap is to be swivelled back and the fastening
lever should be left open for the time being. On the Multicut 240 swivel the
loading tube back to horizontal position. Post a suitable container beneath the
dischargeopening. Lift the ram discout ofthe loading mouth and swivelit to the
side. Fill the amount of vegetables only leaving enough space for the ram disc
Fig. 14
The ejector / -plate is inserted onto the axle-drive shaft so
that the lower border lies on precisely.
Thus you cut vegetables
Even the standard model provides variegated possibilities for applications.The
”Profi” enlarges them additionally. The following categories of cutting elements
are to be installed such wise:
Fig. 12
The Multicut 240 must be locked on bouth rear wheels.

7
onto the axle-drive shaft. See that the pusher nib grips properly. Close the cap,
fill the machine and cut the vegetables as described above.
Fig. 16
The ram disc is lifted out of the loading mouth and swivelled to the
side so that vegetables can be filled in.
Fig. 17
To cut cubes or bâtonnets a insert in two parts is required
that is puted on here.
Turn the blade counter clockwise to take off the cubeing part. Then both parts
can be lifted out together easily.
Fig. 18
The blade belonging to the cube insert is puted on the axle-
drive shaft.
to be inserted. Start the machine by closing the fastening lever. Push the
vegetablesbygiving gentle pressureontothe ram disc.Fillin further vegetables
while the machine is running. Finally, release the fastening lever to stop the
machine.
So-called inserts are 2-parted. They are required to cut cubes or bâtonnets.
After the insertion of the cube part the corresponding blade is to be inserted
Fig. 15
A cutter- or grater disc is puted onto the axle-dive shaft.

8
vegetables. The further operations are analogous to the filling of the kidney-
shaped socket. The vegetables is fixed with the turning tappet and turns with it.
Fig. 21
The second filling mouth with the turning tappet must be used to
cut brunoise and gaufrettes.
Fig. 22
Bolt and nut are removed.
The cutting of brunoise and gaufrettes is reserved to the models ”Profi”
respectively GSM 90 and Multicut 240. The special disc allows to coturn the
oval loading socket which results in the corresponding cutting shape of the
Fig. 20
Take care on putting on the special disc that the cam to turn
theloading socketclicks intoplace andthe cab canbe closed
undoubtedly.
Fig. 19
From the outlet both parts can be lifted out together easily.
For ”long” vegetables such as cucumber or leek and similar vegetables the
gamma profile can be used. Therefore the ram disc must be removed. Release
the corresponding screw at the base of the track rod. The gamma profile is
easilyto beinsertedandthusformstwocircular filling mouthsforlongvegetables.

9
Use the therefore designed gamma ram for gentle pushing forward. Otherwise
proceed in the same way with the other operations.
Cleaning the vegetable cutter
Release the fastening lever to switch the machine off. Remove the ram disc
with the drive shaft from the cap too as acquainted by changing to the gamma
profile. Release the screw at the hinge of the cap. For cleaning swivel it and pull
it out of the hinge entirely.Also, pull off the ejector or ejector disc from the drive
shaft. The cutting space, the cap and the further individual parts thus allow to
becleanedwith a dampclothand dish-washing detergent.The cutting elements
Fig. 26 and 27
The cap can be removed
completly for cleaning.
Therfore you release the
screw or pull out the hin-
ge bolt respectively.
Fig. 25
With the gamma ram the vegetables can be pushed to the cutter
disc.
Fig. 28 and 29
The cap is removerd. Fig.
left the GSM quattro
Profi, Fig. right the GSM
90.
Fig. 23 and 24
The ram disc must be removed so that
the gamma profile can take place.

10
may be washed in a dishwasher, but it´s not to be recommended because of
wearing out the blades.
Theinstallation isto be made analogous in reverse order. Start by attaching the
ejector or ejector disc onto the drive shaft. Then the cap is to be inserted into
thehinge and secured withthescrewbelongingtoitorthehinge bolt respectively.
The further individual parts such as the ram disc with the track rod and the
cutting discs are to be installed or mounted according to the next application.
Thus the vegetable cutting machine is prepared for the next use.
Remedy for disturbances
The vegetable cutting machines in fact are constructed very durable, so that no
disturbances should occur. Otherwise the following instructions should help to
resume:
• General trouble – emergency stop
Firstprocedure if generaltrouble occurs:release fastening lever– this switches
off the machine! If unpleasant exhalation occurs the power plug must be pulled
out of the power supply.
• Blockage – nothing goes in – nothing comes out
In this case: Switch off the machine, take it apart and clean it. Do under now
circumstancestrytopokethroughthefillingoroutputmouthwithstrangeutilities.
Therefore please see page 9 ”cleaning the vegetable cutter”.
If these instructions do not result remedy or trouble occurs that is not listed in
this operating instruction the service point of the company Brunner can help
further: Tel. +41 (0) 44 814 17 44
Fig. 30
The fastening lever is also the emergency stop button.
Release it and the maschine stops.

11
Technical data
quattro / Profi GSM 88 GSM 90
motor performance 230 W 750 / 1'100 W 750 / 1'100 W
voltage diff. stages from 100 V up to 415 V
protection class IP 54 IP 54 IP 54
weight 17 kg 33 kg 38 kg
Multicut 240
motor performance 750 / 1'100 W
voltage 3 x 400 V 50 Hz
protection class IP 65
hourly rating up to 500 kg
weight 75 kg
The figures on the following pages show the main measurements of the
vegetable cutting machines Brunner anliker GSM quattro / Profi,
Brunner GSM 88 / 90 and Brunner Multicut 240.

12

13

14

15
CE - conformity explanation
The company Brunner Corp. explaines that the vegetable cutting machines
• Brunner anliker GSM quattro / Profi
• Brunner GSM 88 / 90
• Brunner Multicut 240
correspond to all relevant fundamental safety and health requirements and
complie with the following guidelines and standards.
EEC – guideline machines 98 / 37 / EEC
EN 292 -1 / -2, EN 294, EN 954 - 1, EN 1050
EN 1088, EN 1672 - 2, EN 60204
Brunner Corp.
machines and pumps
Brunnergässli 1 - 5
CH - 8302 Kloten
Kloten, March 26, 2004
Robert Brunner
managing director
This manual suits for next models
2
Table of contents