Brush Wolf Open Front Series User manual

SKID STEER BRUSH CUTTERS
Open Front/Standard Duty Series
SD6000 LF | SD6000
SD7200 LF | SD7200
Operator’s Manual
WHY READ THIS MANUAL?
Before operating your new Brush Wolf brush cutter, read this entire manual to understand
1) safety precautions, 2) operating instructions, and 3) maintenance schedule to help keep
you safe and your equipment running smoothly for years to come.

877-390-9857 | brushwolf.com
TAKE A MINUTE TO WRITE DOWN THE FOLLOWING INFORMATION
FOR FUTURE SERVICE, REPAIR, AND WARRANTY INQUIRIES.
DATE OF PURCHASE ____________________________________________________
MODEL NO. ____________________________________________________
SERIAL NO. ____________________________________________________
DEALER NAME ____________________________________________________
SALES REP NAME ____________________________________________________
DEALER PHONE NO. ____________________________________________________
DEALER EMAIL ____________________________________________________
DEALER ADDRESS ____________________________________________________
____________________________________________________
OWNER REFERENCE INFORMATION

1
877-390-9857 | brushwolf.com
THANK YOU
Welcome to the Brush Wolf family!
You’ve made a smart choice! We hope
you love your brush cutter as much as
we love making it. If you have any issues,
please contact us at any time. We’re
here to help.
Brush Wolf
877-390-9857
www.brushwolf.com
07/18/23
SAFETY FIRST! ..................................................2-3
OPERATING YOUR BRUSH CUTTER.....4-7
MAINTENANCE ............................................... 8-10
TROUBLESHOOTING ......................................11
HOW TO REPLACE BLADES.......................12
PARTS SECTION
SD6000 LF | SD6000 ................................14-15
SD7200 LF | SD7200 ................................16-17
WARRANTY INFORMATION .........................18
WHAT’S INSIDE

2
877-390-9857 | brushwolf.com
SITE INSPECTION
Before operating your brush cutter, carefully
inspect the area to be cleared. Remove any
items that may be picked up and thrown
by the cutting blades, such as wire, pipes,
rocks, etc. Mark objects that are too large
to move. This is an important step to avoid
personal injury, damage to property, the
brush cutter, or your skid steer. If an object
is struck while operating the brush cutter,
immediately shut down power to both the
brush cutter and the skid steer. Any damage
should be corrected and tested before the
continuation of cutting.
SKID STEER AUXILIARY
HYDRAULIC FLOW
Check the specifications of your brush
cutter’s rated gallons per minute (GPM) to
correctly match the hydraulic flow of your
skid steer to ensure proper operation.
FOR YOUR SAFETY, READ THESE INSTRUCTIONS.
The following safety instructions are provided to alert you to precautions that, if
not followed, may cause serious injury to yourself or to others. Please read these
instructions completely. Brush Wolf/Cross-Tech Manufacturing cannot cover every
incident that might be a hazard. Extreme caution should be used at all times. Only
use your Brush Wolf brush cutter for the purpose for which it has been designed.
EQUIPMENT INSPECTION
Disconnect the unit from the skid steer.
To inspect or to make repairs under the
cutter deck, always block the unit securely
to prevent accidental release of the lift
mechanism.
Inspect all hydraulic connections to ensure
they are tight, and hoses and shields are in
good condition before applying pressure.
Hydraulic fluid can escape under pressure
and may cause serious injury or death. If
this type of injury occurs, seek medical
attention immediately.
SAFETY GEAR
Wear safety goggles, hearing protection,
and a hard hat. Only operate the skid steer
behind a shatterproof forestry-rated door
and cab.
SAFETY FIRST!

3
877-390-9857 | brushwolf.com
BRUSH WOLF OPERATOR’S MANUAL | SAFETY FIRST!
DO NOT operate near bystanders, vehicles,
pets, livestock, or buildings. Objects may
discharge while cutting with the brush cutter
and has the potential to cause serious injury.
DO NOT operate the brush cutter until
everyone on your work crew is alerted to the
dangers of walking up to the brush cutter while
in operation.
DO NOT operate the brush cutter in conditions
with poor visibility.
DO NOT operate while intoxicated or if taking
medications that may impair your senses or
reactions.
DO NOT allow children to operate the
brush cutter. Only individuals with skid steer
experience who are well acquainted with the
rules of safe operation should be allowed to
operate the brush cutter.
DO NOT operate the skid steer without a
shatterproof forestry-rated door and cab.
DO NOT place hands, feet, or other objects
under the deck while the brush cutter is in
operation.
DO NOT raise the mower deck while blades
are rotating. Operation with the mower raised
will expose the cutting blades and may cause
serious injury or death to yourself or others.
DO NOT allow anyone or any item on top of the
mower deck while in operation.
DO NOT expose the underside of the blades
towards the cab while in operation.
DO NOT continue operation if an unexpected
object is struck. IMMEDIATELY shut down
power to both the brush cutter and the skid
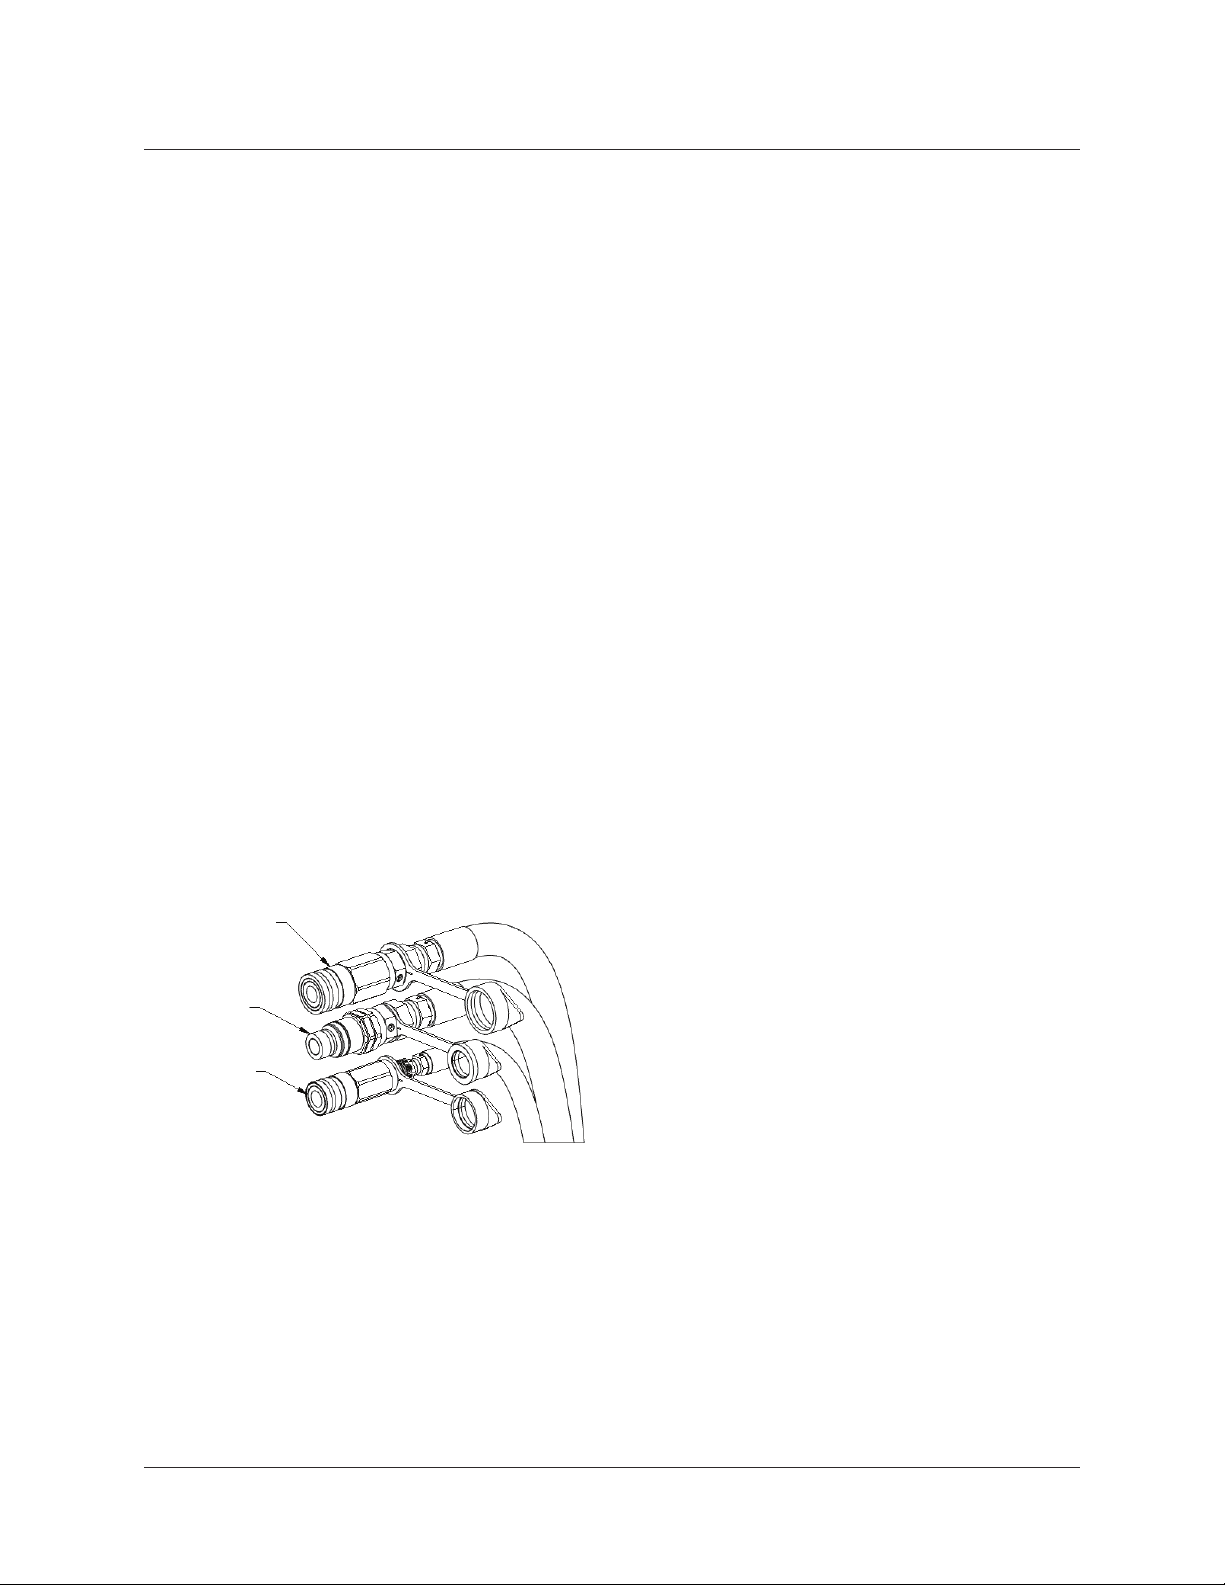
steer. Disconnect the hydraulic couplers from
the power source. Evaluate the damage, repair,
and then test the unit before operation.
DO NOT leave the brush cutter unattended
while in a raised position. Always make sure
both the runners are placed firmly on the
ground and shut down the skid steer.
DO NOT attempt to straighten blades. Order
replacement blades if blades are bent, cracked,
or damaged.

4
877-390-9857 | brushwolf.com
Verify your skid steer’s hydraulic flow
to ensure it is within the brush cutter’s
rating range. The brush cutter’s gallons
per minute (GPM) rating is located on the
serial tag of the brush cutter.
OPERATING YOUR BRUSH CUTTER
CHECK BLADES
Inspect blades to ensure they are sharp,
tightened correctly, and intact. Look for
damage, dullness, and cracks. See page 9
for details.
CHECK HYDRAULIC FLUID
A low level could indicate a leak and require
a closer inspection of your unit. See page 9
for details.
CHECK NUTS & BOLTS
Tighten the 1) blade carrier to the gearbox,
2) blade bolts/nuts, and 3) hydraulic motor
mount nuts to torque specification listed on
page 10.
INSPECT THE DRIVE COMPONENTS
Remove any foreign material.
IMPORTANT: CHECK THESE ITEMS PRIOR TO OPERATING
START HERE
FIGURE 1: SERIAL TAG

5
877-390-9857 | brushwolf.com
3) Inspect the hydraulic couplers and wipe off
water, dust, or any debris which can damage
hydraulic components. Once cleaned,
connect the couplers from the cutter to the
auxiliary hydraulic system on the skid steer.
4) Make sure the hoses are routed in a way
that allows the head to make a full range of
motion. If hoses are too long and pinching
or binding, they can be made shorter by
loosening the hose bracket and feeding
additional hose length back to the cutter
deck.
5) Confirm all safety measures have been
completed per the Safety First! section
(pages 2-3). Most importantly, make sure
the area is clear of people and pets.
1) Connect the brush cutter to your skid steer
with the universal Quick Tach Mount Plate.
2) Once connected, visually check the lock
pins to make sure the brush cutter is
securely locked into place. Raise the brush
cutter to 12” above ground level. Loop the
lift limit chain through the chain ring on your
skid steer and back to the chain bracket on
your brush cutter.
NOTE: All Brush Wolf brush cutters come
from the factory with the female flat faced
coupler on the pressure line and the male
coupler on the return line.
CONNECTING THE BRUSH CUTTER
BRUSH WOLF OPERATOR’S MANUAL | OPERATING YOUR BRUSH CUTTER
FIGURE 2: HOSE ENDS
PRESSURE
RETURN
CASE DRAIN
(IF REQUIRED)

6
877-390-9857 | brushwolf.com
When temperatures are below zero, allow
additional time for hydraulic fluid to warm
up.
4) Maintain skid steer speed appropriate for
the volume of brush to prevent stalling.
5) Stay alert for drop-offs, rocks, holes,
abandoned wells, and septic tanks. Do not
operate or drive across a steep embankment
as this may cause a rollover and possible
injuries or death.
6) To cut large diameter brush and trees,
move forward slowly to make the cut.
FIGURE 3: BLADE ROTATION
COUNTERCLOCKWISE
OPERATING STEPS
1) Enter the shatter-proof cab door, engage
the seat belt, release the brake, and start
the engine. The runners of the brush
cutter should be as close to the ground
as possible. Never raise the brush cutter
more than seven (7) inches off the ground
while in operation.
2) Slowly apply hydraulics to the brush cutter
and increase the engine speed to high idle.
Make sure the unit is operating smoothly
before moving the skid steer forward.
3) Check for proper blade rotation. Blades
should spin COUNTERCLOCKWISE as
viewed from above (see Figure 3). If
rotation is reversed (clockwise), either
inverse the flow from your machine or switch
the QD couplers on the hose ends.
BRUSH WOLF OPERATOR’S MANUAL | OPERATING YOUR BRUSH CUTTER
COUNTERCLOCKWISE

7
877-390-9857 | brushwolf.com
When done, lower lift arms, make sure the
cutter is placed flat on the ground, throttle
down on the skid steer, and shut off the
hydraulic flow to the brush cutter. Stop the
engine and engage the parking brake before
leaving the cab. Noise at shut down is normal.
DISCONNECTING HOSES:
To disconnect hoses, use proper hand
protection as the couplers may be hot. Always
replace caps on hoses once removed to
prevent contamination.
WHEN DONE CUTTING
BRUSH WOLF OPERATOR’S MANUAL | OPERATING YOUR BRUSH CUTTER

8
877-390-9857 | brushwolf.com
BRUSH WOLF BRUSH CUTTERS ARE BUILT TO STRICT STANDARDS AND
WILL DELIVER YEARS OF DEPENDABLE SERVICE WHEN YOU FOLLOW THESE
MAINTENANCE GUIDELINES...
MAINTENANCE
MAINTENANCE SCHEDULE
See pages 9-10 for details.
ITEM BEFORE
EACH USE
DAILY OR
EVERY 8 HOURS
AS
NEEDED
Blades Inspect
Gearbox Lubricant Check Oil
Blade Bolt/Nuts Torque to 775 -lbs
Gearbox Castle Nut Torque to 450 -lbs
Gear Mounting Bolts Torque to 275 -lbs
Hydraulic Motor Mount Bolts Torque to 75 -lbs
Block (high flow units only) Torque to 420 -lbs
Shear Bolt Grade 2 Torque to 75 -lbs
Hoses & Hose Safety Shield Inspect
Gearbox Shaft Inspect
Brush Cutter Clean
CAUTION: Perform maintenance on a level surface with the unit firmly on the ground and
blocked. Shut down the skid steer and remove hydraulic hoses from the power source.
DO NOT loan your brush cutter to another skid steer owner. The potential exists for hydraulic
contamination and could shorten the life of your skid steer or the hydraulic motor on your
brush cutter. Contamination of the hydraulic motor voids the warranty.

9
877-390-9857 | brushwolf.com
INSPECT BLADES
Inspect blades before each use to ensure
they are sharp, tightened correctly, and
intact. Look for damage, dullness, and
cracks. Blades should rotate freely and be
clear of obstructions. Replace the entire set
of blades if damaged.
CAUTION: Always replace the entire set of
blades. Never weld or straighten damaged
blades, as loss of blade integrity may result.
CHECK HYDRAULIC HOSES AND HOSE
SAFETY SHIELD
Check for wear, damage, or leaks. Replace if
damaged.
INSPECT THE DRIVE COMPONENTS
Inspect before each use and remove foreign
material.
BRUSH WOLF OPERATOR’S MANUAL | MAINTENANCE
BEFORE EVERY OPERATION
1
2
1. Fill Hole with
breather cap.
2.Plug for oil level.
Oil should be at
the same level.
DO NOT overfi ll.
FIGURE 4: GEARBOX LUBRICATION
DIAGRAM
CHECK THE GEARBOX FOR PROPER
LUBRICANT
To check the lubricant level, remove the
pipe plug from the side of the gearbox. The
lubricant should be the same level as the
plug (see Figure 4.) If low, add 85W-140
gear lube.
IMPORTANT: DO NOT overfill as too much
lubricant may rupture the gearbox seals.

10
877-390-9857 | brushwolf.com
BRUSH WOLF OPERATOR’S MANUAL | MAINTENANCE
BEFORE EVERY OPERATION
CHECK NUTS & BOLTS
Every Brush Wolf brush cutter is tested at
the factory and all nuts and bolts have been
tightened to specifications. We recommend
you check the nuts and bolts after the first 4
to 6 hours of operation; then daily or every
eight (8) hours.
Tighten the nuts that secure the blades
to the blade carrier every eight (8) hours.
Torque the nuts to 775 ft-lbs with a 1-11/16”
socket wrench. The nuts are located under
the access plate on the top of the blade
carrier (see Figure 5).
AS NEEDED
CLEAN THE BRUSH CUTTER as needed
and look for potential damage or obstruction
that could result in poor performance.
Make sure all SAFETY DECALS are visible.
Also, tighten the castle nut holding the blade
carrier to the output shaft of the gearbox,
torque to 450 ft-lbs with a 1-1/2” socket
wrench.
Tighten gear mounting bolts daily or every
eight (8) hours. Torque the bolts to 275 ft-
lbs.
Tighten hydraulic motor mount bolts daily or
every eight (8) hours. Torque the bolts to 75
ft-lbs.
Tighten block (high flow units only) daily or
every eight (8) hours. Torque to 420 ft-lbs.
Tighten shear bolt grade 2 daily or every
eight (8) hours. Torque to 75 ft-lbs.
Shear bolt protection (also known as
butter bolt) at the motor coupler. It is
recommended to carry additional shear
bolts (½-13 x 3” GRD 2) obtained at most
hardware stores. Only use grade 2 when
replacing.
ACCESS COVER
BLADE NUT
FIGURE 5: ACCESS COVER

11
877-390-9857 | brushwolf.com
TROUBLESHOOTING
*May damage hydraulic motor and void warranty.
ISSUE POTENTIAL CAUSES
CONSULT YOUR DEALER OR CONTACT BRUSH WOLF FOR
ANY QUESTIONS OR ADDITIONAL HELP.
Loss of Power
• Low hydraulic fluid level
• Overheated hydraulic fluid*
• Contaminated hydraulic fluid*
• Low gearbox lubricant level
• Broken gearbox/motor shear pin
• Missing input shaft key
Excessive
Unit Vibration
• Dull, broken, or damaged blades
• Bent gearbox shaft
• Blade carrier out of balance
• Loose nuts and bolts
• New blade or bolts matched with worn blade or bolts
• Wire or rope wrapped around blades
Leaking Oil
• Loose hydraulic connections
• Ruptured hydraulic motor seals
• Bent gearbox shaft
• Loose or missing motor drain plug

12
877-390-9857 | brushwolf.com
HOW TO REPLACE BLADES
1) Take off the access cover (see Figure 5
on page 10) by removing the nuts and
washers.
2) Through the exposed access hole, rotate
the blade carrier to line up the nut of the
blade for access.
3) Insert a 1-11/16” socket through the
access hole and remove the nut and
drop the bolts. Caution: once nuts are
removed, blades will fall to the ground if not
supported.
4) Clean new bolts, lock-nuts, and washer
with cleaner/degreaser. Prior to assembly,
ensure all hardware is dry and free of
any contaminants including the carrier
assembly.
5) Use Primer Loctite on the bolts and nuts
according to the directions on the label.
Apply Loctite #243 to the first 10 bolt
threads to ensure coverage.
6) Assemble the new blade, the bolt, and the
nut to the carrier. The blade carrier cuts in
one direction, counterclockwise.
7) Torque the blade bolts to 775 ft-lbs. using a
1-11/16” socket.
8) Confirm the blade carrier rotates freely and
is clear of any obstructions.
9) Reinstall the access cover plate.
Perform replacement on a level surface with the brush cutter blocked off the ground.
Shut off the hydraulic power supply and disconnect hydraulic couplers.

13
877-390-9857 | brushwolf.com
PARTS
SECTION
ONLY USE GENUINE OEM PARTS
ORDER PARTS DIRECTLY
FROM BRUSH WOLF
BY CALLING 877-390-9857

14
877-390-9857 | brushwolf.com
PARTS: SD6000 LF
|
SD6000
DETAIL A A
10
11
5
4
23
26
21
16
17
15
14
7
6
8
12
18
14
19 22 27
13
2X
20 22 29
25
24
28 4X
4X
23 26 4X
2X
2X
1
3
3
5
2

15
ONLY USE GENUINE OEM PARTS. ORDER PARTS FROM BRUSH WOLF AT 877-390-9857
ITEM ITEM QTY PART
NUMBER DESCRIPTION
1 2 15066 BOLT, D-BOLT, 1 1/8-12, BW
2 2 15148 NUT, TOP LOCK, 1 1/8-12, GRADE C, PLAIN
3 2 16190 BLADE, 22.000 X 4.000 X 0.500, NO LIFT
4 1 15057 WELDMENT, BLADE CARRIER, 25.000 DIA X .313, SPUN FORMED PAN
5 2 30089 WASHER, FLAT, 1 1/8, F436, ZINC
6 1 15054 PLATE, ACCESS, 2 HOLE, 5.250 X 3.250 X 0.250
7 1 16455 WELDMENT, FRAME, SD6000
81 16449 GUARD, COUPLING, SD SERIES
9 1 16453 DECAL KIT, SD6000
10 2 15597 HOSE WHIP ASSEMBLY, -8 ORFS, FEMALE SWIVEL COUPLINGS, 0.750 X 78.000 HOSE
11 1 16453 DECAL KIT, SD6000
12 1 15092* STANDARD FLOW BRUSH CUTTER - GEARBOX, 62HP, 1:1.46 RATIO
12 1 15093* LOW FLOW BRUSH CUTTER - GEARBOX, 62HP, 1:1.93 RATIO
13 1 15353 MOTOR, 6.2 CU IN, SAE “A” 2 BOLT, 7/8-14-12 SAE O-RING PORTS, 1.250 DIA X 1.250
KEYED SHAFT, 3500/750 RELIEF, EATON
14 4 15584 ADAPTER, STRAIGHT, #8 MORFS, #10 MORB
15 1 15417 CANISTER, OMM, INTERNATIONAL STYLE, 12.500 X 3.500
16 1 15079 COUPLER, FLAT FACED, 1/2 MALE, 7/8-14, O-RING BOSS
17 1 15078 COUPLER, FLAT FACED, 1/2 FEMALE, 7/8-14, O-RING BOSS
18 1 15123 COUPLING, STD, 1.250 MOTOR, 1.375 GB, 5.500
19 2 30026 BOLT, HH, 1/2-13 X 2 UNC, GRD 5, ZINC
20 1 30029** BOLT, HH, 1/2-13 X 3, GRD 2, ZINC
21 3 30057 BOLT, HH, FLANGED, 1/4-20 X 3/4, GRD 5, ZINC
22 3 30062 NUT, NYLOCK, 1/2-13, ZINC
23 6 30065 NUT, NYLOCK, 3/8-16, ZINC
24 4 30067 NUT, NYLOCK, 5/8-18,GRD 8 ZINC
25 2 30078 SET SCREW_CP_1_4-20X3_8 UNC
26 6 30083 WASHER, FLAT, 3/8, ZINC
27 2 15381 WASHER, NORD-LOCK, 0.500 X 1.000 OD, ZINC
28 415380 WASHER, NORD-LOCK, 0.625 X 1.210 OD, ZINC
29 1 30093 WASHER, SPRING LOCK, .500, ZINC
* DEPENDS ON THE MODEL OF BRUSH CUTTER
** SHEAR BOLT

16
877-390-9857 | brushwolf.com
PARTS: SD7200 LF
|
SD7200
DETAIL A
A
9
10
11
11
12
13 14
20
25
23
24
2X
4X
4X
2X
4X
2X
2X
23 25
1
7
8
15
16
18 21 26
17
21 19 28
3X
22
27
3
5
4
4
2
6

17
ONLY USE GENUINE OEM PARTS. ORDER PARTS FROM BRUSH WOLF AT 877-390-9857
ITEM ITEM
QTY
PART
NUMBER DESCRIPTION
1 1 15057 WELDMENT, BLADE CARRIER, 25.000 DIA X .313, SPUN FORMED PAN
2 2 15066 BOLT, D-BOLT, 1 1/8-12, BW
3 2 15148 NUT, TOP LOCK, 1 1/8-12, GRADE C, PLAIN
4 2 15314 BLADE, 28.000 X 4.000 X .500, NO LIFT
5 2 30089 WASHER, FLAT, 1 1/8, F436, ZINC
6 1 16451 DECAL KIT, SD7200
7 1 16449 GUARD, COUPLING, SD SERIES
82 15597 HOSE WHIP ASSEMBLY, -8 ORFS, FEMALE SWIVEL COUPLINGS, 0.750 X 78.000 HOSE
9 1 15054 PLATE, ACCESS, 2 HOLE, 5.250 X 3.250 X 0.250
10 1 16442 WELDMENT, FRAME, SD7200
11 4 15584 ADAPTER, STRAIGHT, #8 MORFS, #10 MORB
12 1 15417 CANISTER, OMM, INTERNATIONAL STYLE, 12.500 X 3.500
13 1 15078 COUPLER, FLAT FACED, 1/2 FEMALE, 7/8-14, O-RING BOSS
14 1 15079 COUPLER, FLAT FACED, 1/2 MALE, 7/8-14, O-RING BOSS
15 1 15123 COUPLING, STD, 1.250 MOTOR, 1.375 GB, 5.500
16 1 15092* STANDARD FLOW BRUSH CUTTER - GEARBOX, 62HP, 1:1.46 RATIO
16 1 15093* LOW FLOW BRUSH CUTTER - GEARBOX, 62HP, 1:1.93 RATIO
17 1 15748 MOTOR, 8.0 CU IN, SAE “A” 2 BOLT, 7/8-14 SAE O-RING PORTS, 1.250 DIA X 1.250 KEYED
SHAFT, 3500/750 RELIEF, EATON
18 2 30026 BOLT, HH, 1/2-13 X 2 UNC, GRD 5, ZINC
19 1 30029** BOLT, HH, 1/2-13 X 3, GRD 2, ZINC
20 3 BOLT, HH, FLANGED, 1/4-20 X 3/4, GRD 5, ZINC
21 3 30062 NUT, NYLOCK, 1/2-13, ZINC
22 4 30064 NUT, NYLOCK, 3/4-10, ZINC
23 6 30065 NUT, NYLOCK, 3/8-16, ZINC
24 2 30078 SET SCREW_CP_1_4-20X3_8 UNC
25 6 30083 WASHER, FLAT, 3/8, ZINC
26 2 15381 WASHER, NORD-LOCK, 0.500 X 1.000 OD, ZINC
27 4 15379 WASHER, NORD-LOCK, 0.750 X 1.210 OD, ZINC
28 1 30093 WASHER, SPRING LOCK, .500, ZINC
* DEPENDS ON THE MODEL OF BRUSH CUTTER
** SHEAR BOLT

18
Structural Components,
Materials, and Weldment
LIMITED WARRANTY
PROTECT YOUR PURCHASE.
Warranties are valid from date of purchase with a warranty
registration on file. Go to www.brushwolf.com for warranty details
or scan the QR code.
To file a warranty claim, call Brush Wolf at 877-390-9857
Bearing Housing
1.5-YEAR LIMITED WARRANTY
Gearbox
1.5-YEAR LIMITED WARRANTY
Hydraulic Motor
1.5-YEAR LIMITED WARRANTY
Cylinders
1.5-YEAR LIMITED WARRANTY
Other manuals for Open Front Series
2
This manual suits for next models
5
Table of contents
Other Brush Wolf Brush Cutter manuals

Brush Wolf
Brush Wolf 4200 User manual

Brush Wolf
Brush Wolf 4800X series User manual

Brush Wolf
Brush Wolf 72HD/O User manual

Brush Wolf
Brush Wolf 4200 Instructions for use

Brush Wolf
Brush Wolf Closed Front Series User manual

Brush Wolf
Brush Wolf Open Front Series User manual

Brush Wolf
Brush Wolf Standard-Duty X Series User manual

Brush Wolf
Brush Wolf Open Front Series User manual

Brush Wolf
Brush Wolf 42X HD Instructions for use

Brush Wolf
Brush Wolf 72 M-AX Instructions for use