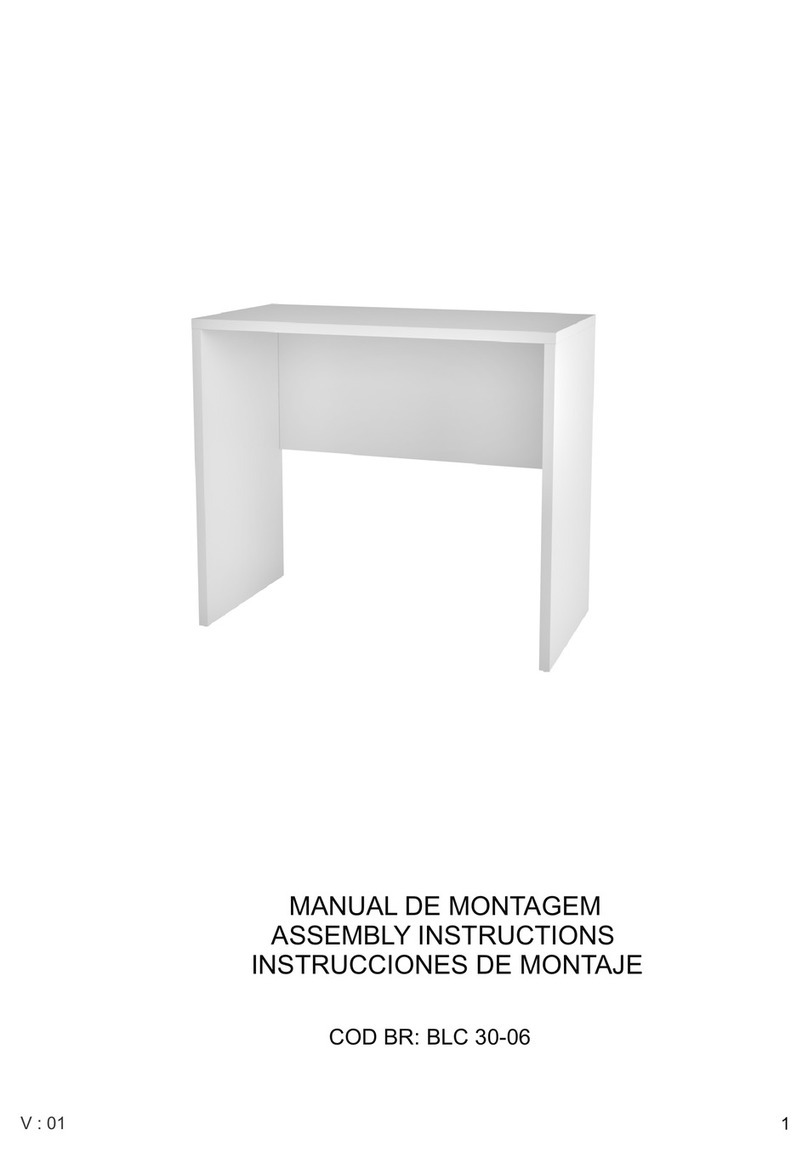
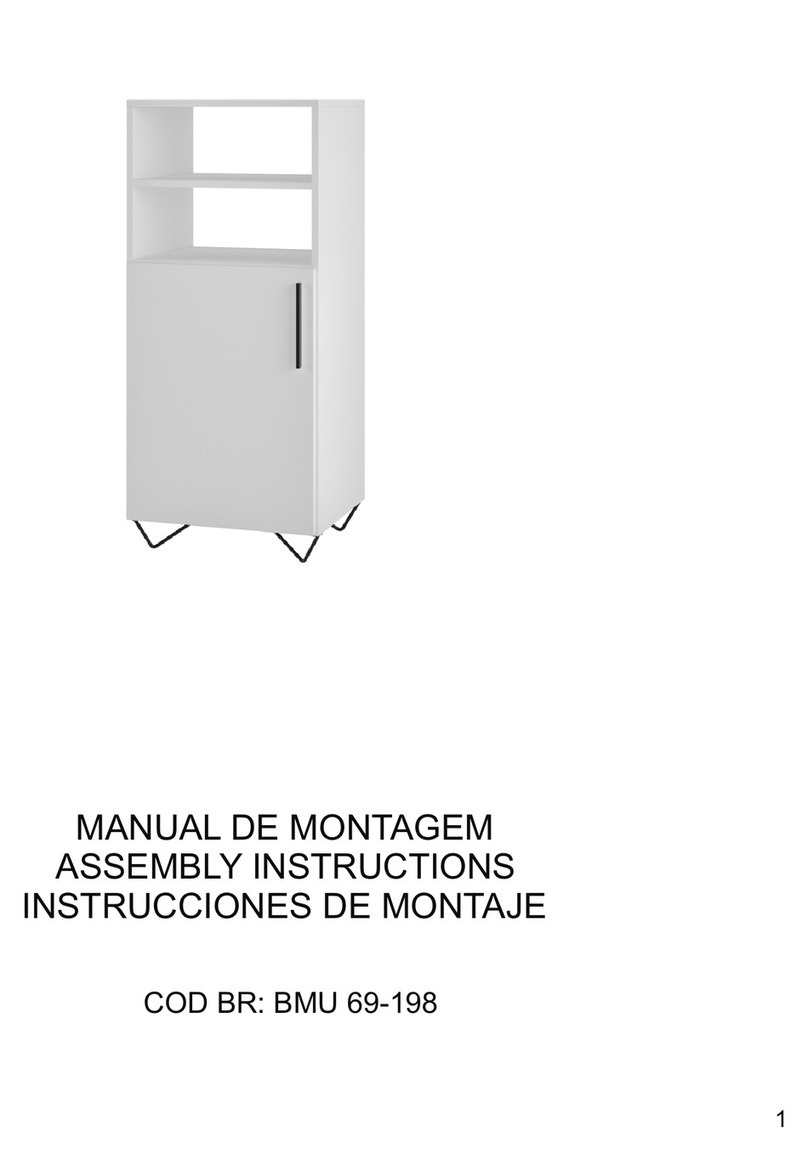
BRV 26300 User manual

1V : 01
COD BR: 26300
COD US: 27900
MANUAL DE MONTAGEM
ASSEMBLY INSTRUCTIONS
INSTRUCCIONES DE MONTAJE

3
V : 01
Introdução
Introducción
Introduction
Leia atentamente este manual e siga os passos indicados para uma perfeita montagem.
Lea este manual y siga los pasos para el ajuste perfecto.
Read this manual and follow the steps for the perfect fit.
Sumário
Resumen
Summary
3
4
5
5
4
6
Montagem do móvel
Furniture assembly
Montaje de la mueble
Introdução
Introduction
Introducción
Antes de começar
Before starting
Antes de comenzar
Identificação das peças
Identifying parts
Identificación de las piezas
Evite acidentes
Avoid accidents
Evitar accidentes
Dimensões e ferramentas
Dimensions and tools
Dimensiones y herramientas

4
V : 01
Forre a área de montagem com um
cobertor ou tapete. Assim, você evita
avarias nas peças durante o processo de
montagem.
Cubrir la zona de ensamble con una manta o
alfombra. De este modo, se evitan daños
en las piezas durante el proceso de montaje.
Cover the assembly area with a blanket or carpet,
to avoid damaging the parts during the
assembly process.
Antes de começar
Antes de comenzar
Before starting
Antes de começar a montagem prepare o ambiente, deixando-o completamente limpo e
com bom espaço para iniciar o trabalho.
Antes de comenzar el montaje preparar el ambiente, dejándolo completamente limpio y
con bueno espacio para comenzar el trabajo.
Prepare the room before starting the assembly, leaving it completely clean and the area in
good condition to start the work.
Utilize o papelão da própria embalagem,
bem como a isomanta de proteção para
separar e apoiar as peças retiradas das caixas.
Utilice el cartón de la embalaje y la espuma protectora
para separar y apoyan las piezas
desmontadas de las cajas.
Use the cardboard of the packaging and
the foam sheets protection to separate and support
the parts removed from the boxes.
Evite acidentes
Prevenir accidentes
Avoid accidents
No se suba ni se apoye en el mueble.
Do not climb or lean on the furniture.
Não escale ou se apoie no móvel.
X

5
V : 01
Número do lote de
fabricação do seu
produto.
Numero de lote
fabricación de su
producto.
Manufacturing batch
number of the product.
Para identificar o número da peça, verifique o verso da mesma, lá você encontra informações
do lote de fabricação, código de identificação do produto e o número da peça.
Para identificar el número de pieza, compruebe en la parte posterior de cada una, ahí también se
puede encontrar información del número de lote de producción, el código de indentificación del
producto y el número de la pieza.
To identify the part number, check its back. There you can find information from the production
batch, product reference code and part number.
LOT 00000 PROD 000000 PC 000
Número de
identificação
do seu produto.
Numero de
identificación
de su producto.
Reference number of
the product.
Número da peça.
LOT 000000 PRODUC 000000 PC 000
Número de pieza.
Part number.
Dimensões e ferramentas
Dimensions and tools
Dimensiones y herramientas
Dimensões:
L: 1810 A: 1708 P: 393 mm
Dimensions:
W: 71.26 H: 67.24 D: 15.47 inches
Dimensiones:
L: 1810 A: 1708 P: 393 mm

6
V : 01
COD BR: 26300
16
14
15
13
12
1717
27
22 28
26 29
23
25
24
21
40 40
012
013
014
015
016
017
021
022
023
024
025
026
027
028
029
040
PAINEL SUPERIOR
PAINEL SUPERIOR
PAINEL CENTRAL
PAINEL INFERIOR
PRATELEIRA
SARRAFO TRASEIRO
PAINEL INFERIOR
BASE
TAMPO
PAINEL SUPERIOR NICHO
FUNDO NICHO
NICHO LATERAL
INFERIOR NICHO
DIVISÓRIA MAIOR
DIVISÓRIA MENOR
SARRAFO INFERIOR
012
013
014
015
016
017
021
022
023
024
025
026
027
028
029
040
TOP PANEL
TOP PANEL
CENTRAL PANEL
BOTTOM PANEL
SHELF
BACKSIDE BATTEN
BOTTOM BACK PANEL
BASE
TOP BOARD
NICHE TOP PANEL
NICHE BACK PANEL
NICHE SIDE
NICHE BOTTOM
LONG DIVIDER
SHORT DIVIDER
BOTTOM BATTEN
PEÇA DESCRIÇÃO QUANT. CAIXA
1
1
1
1
1
2
1
1
1
2
2
2
2
1
1
2
1
1
1
1
1
1
2
2
2
2
2
2
2
2
2
2
1
1
1
1
1
2
1
1
1
2
2
2
2
1
1
2
1
1
1
1
1
1
2
2
2
2
2
2
2
2
2
2
1
1
1
1
1
2
1
1
1
2
2
2
2
1
1
2
1
1
1
1
1
1
2
2
2
2
2
2
2
2
2
2
PART DESCRIPTION QTY BOX
012
013
014
015
016
017
021
022
023
024
025
026
027
028
029
040
PANEL SUPERIOR
PANEL SUPERIOR
PANEL CENTRAL
PANEL INFERIOR
ESTANTE
SOPORTE TRASERO
PANEL INFERIOR
BASE
CUBIERTA
PANEL SUPERIOR NICHO
FONDO NICHO
NICHO LATERAL
INFERIOR NICHO
DIVISION MAYOR
DIVISION MENOR
SOPORTE INFERIOR
PIEZA DESCRIPCIÓN CANTIDAD CAJA

7
V : 01
ADESIVO
STICKER
ADHESIVO
x10 x2
x1
ACESSÓRIOS INCLUÍDOS NA CAIXA 01 - HARDWARE INCLUDED IN BOX 01 - ACCESORIOS INCLUÍDOS EN LA CAJA 01.
0599 x 13
0348 x 2 4654 x 1
0494 x 132088 x 17 1668 x 36
PASSA FIO
PASAJE DE
ALAMBRE
WIRE CHANNEL
SUPORTE TV
SOPORTE TV
TV MOUNT
0160 x 31
9069 x 14 9333 x 08
3527 x 18
3706 x 36
4157 x 14
9070 x 6
4505 x 3
6024 x 4
3557 x 20

8
V : 01
B
A
A
=30KG - 66LB =05KG - 11LB
B
BBB
21
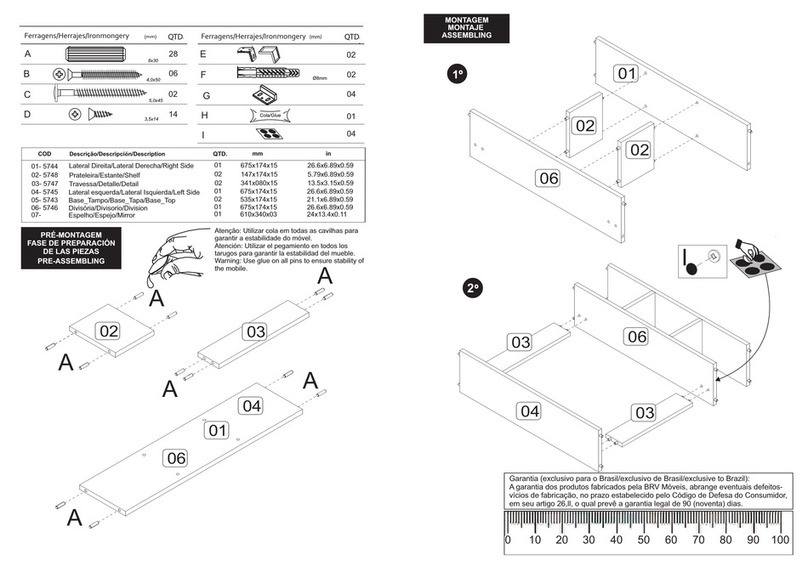
PAINEL INFERIOR / BOTTOM PANEL / PANEL INFERIOR
PASSO 01
Encaixar 4x4157 e parafusar 8x0160.
Encaixar 2x9070 e parafusar 6x3557.
STEP 01
Attach 4x4157 and screw 8x0160.
Attach 2x9070 and screw 6x3557.
PASO 01
Montar 4x4157 y atornillar el 8x0160.
Montar 2x9070 y atornillar el 6x3557.
9070
3557
4157
0160

9
V : 01
22
21
40
40
23
BASE / BASE / BASE
SARRAFO / BATTEN / SOPORTE
1668
0599
1668
0599
PASSO 03
Encaixar cavilhas 3x1668 e
parafusar minifix 5x0599
na Base 22.
STEP 03
Insert dowels 3x1668 and
screw minifix 5x0599
on Base 22.
PASO 03
Clavijas de ajuste 3x1668 y
atornillar el minifix 5x0599
en la Base 22.
PASSO 04
Encaixar cavilhas 3x1668 e
parafusar minifix 4x0599
na Tampo 23.
STEP 04
Insert dowels 3x1668 and
screw minifix 4x0599
on Top Board 23.
PASO 04
Clavijas de ajuste 3x1668 y
atornillar el minifix 4x0599
en la Cubierta 23.
TAMPO / TOP BOARD /CUBIERTA
PASSO 02
Passar cola 0348 e posicionar
o Sarrafo 40, parafusar 6x3706.
STEP 02
Apply glue 0348 and attach
Batten 40, screw 6x3706.
PASO 02
Aplicar cola 0348 y montar
el soporte 40, atornillar 6x3706.
Utilize a cola PVA antes de aparafusar.
Use the PVA glue before screwing.
El uso de pegamento PVA antes de atornillar.
0348
3706

10
V : 01
25
26
1668
0599
PASSO 06
Encaixar cavilhas 4x1668 e
parafusar minifix 1x0599
na Nicho Lateral 26.
STEP 06
Insert dowels 4x1668 and
screw minifix 1x0599
on Niche Side 26.
PASO 06
Clavijas de ajuste 4x1668 y
atornillar el minifix 1x0599
en el Nicho Lateral 26.
PASSO 07
Encaixar cavilhas 4x1668 e
parafusar minifix 1x0599
na Divisoria Maior 28.
STEP 07
Insert dowels 4x1668 and
screw minifix 1x0599
on Long Divider 28.
PASO 07
Clavijas de ajuste 4x1668 y
atornillar el minifix 1x0599
en la Division Mayor 28.
FUNDO NICHO / NICHE BOTTOM / FONDO NICHE
DIVISORIA MAIOR / LONG DIVIDER / DIVISION MAYOR
NICHO LATERAL / NICHE SIDE / NICHO LATERAL
1668
2x
PASSO 05
Encaixar cavilhas 4x1668
na Fundo Nicho 25.
STEP 05
Insert dowels 4x1668
on Niche Bottom 25.
PASO 05
Clavijas de ajuste 4x1668
en Fondo Nicho 25.
28
1668
0599
2x

11
V : 01
26 26
DIVISORIA MENOR / SHORT DIVIDER / DIVISION MENOR
1668
PASSO 08
Encaixar cavilhas 4x1668
na Divisoria menor 29.
STEP 08
Insert dowels 4x1668
on Short Divider 29.
PASO 08
Clavijas de ajuste 4x1668
en Division Menor 29.
29
29
28
PASSO 09
Encaixar Divisoria 29.
Parafusar castanhas 1x0494
e colar 1adesivo.
STEP 09
Attach Divider 29.
Screw nuts 1x0494 and place
1sticker.
PASO 09
Enganchar la Division 29.
Atornillar las tuercas 1x0494
y pegar 1adhesivos.
PASSO 10
Encaixar Laterais 26.
Parafusar castanhas 2x0494.
STEP 10
Attach Sides 26.
Screw nuts 2x0494.
PASO 10
Enganchar las Laterales 26.
Atornillar las tuercas 2x0494.
0494
ADESIVO
STICKER
ADHESIVO
0494

12
V : 01
24
24
PASSO 13
Encaixar Panel Superior nicho 24.
Parafusar 8x3706
STEP 13
Attach Niche Top 24.
Screw 8x3706
PASO 13
Montar el Panel Superior Nicho 24.
Atornillar 8x3706.
3706
23
26
26
PASSO 11
Encaixar Laterais 26 no Tampo 23.
Parafusar castanhas 2x0494
e colar 2adesivos.
STEP 11
Attach Sides 26 to Top Board 23.
Screw nuts 2x0494 and place
2stickers.
PASO 11
Montar las Laterales 26 en la Cubierta 23.
Atornillar las tuercas 2x0494
y pegar 2adhesivos.
PASSO 12
Encaixar Fundo Nicho 25 no Tampo 23.
Parafusar castanhas 2x0494.
STEP 12
Attach Niche Bottom 25 to Top Board 23.
Screw nuts 2x0494.
PASO 12
Montar el Fondo Nicho 25 en la Cubierta 22.
Atornillar las tuercas 2x0494.
0494
23
25 25
0494
ADESIVO
STICKER
ADHESIVO

13
V : 01
PASSO 15
Encaixar Inferior Nicho 27 na Base 22.
Parafusar 8x9333.
STEP 15
Attach Bottom Niche 27 to Base 22.
Screw 8x9333.
PASO 15
Montar el Fondo Nicho 27 en la Base 22.
Atornillar 8x9333.
22
0494
9333
PASSO 14.1
Parafusar 2x0494.
STEP 14.1
Screw nuts 2x0494.
PASO 14.1
Atornillar las tuercas 2x0494.
27
27
22 PASSO 14
Encaixar Base 22. Parafusar castanhas
3x0494 e colar 3adesivos.
STEP 14
Attach Base 22. Screw nuts 3x0494
and place 3stickers.
PASO 14
Montar Base 22. Atornillar las tuercas
3x0494 y pegar 3adhesivos.
0494
ADHESIVO
ADESIVO
STICKER

14
V : 01
12 13 14 15
12 13 14 15
17
17
PASSO 16
Encaixar Panel Inferior 21.
Parafusar 10x3527
STEP 16
Attach Bottom Back Panel 21.
Screw 10x3527
PASO 16
Montar el Panel inferior 21.
Atornillar 10x3527.
3527
21
PAINEL / PANEL / PANEL
Utilize a cola PVA antes de aparafusar.
Use the PVA glue before screwing.
El uso de pegamento PVA antes de atornillar.
0348
PASSO 17
Passar cola 0348 e parafusar 16x3706
fixando os sarrafos 17 nos Paineis 12,13,
14 e15.
STEP 17
Apply glue 0348 and screw 16x3706
to fix Batten 17 on Panels 12,13,14
and 15.
PASO 17
Aplicar cola 0348 y atornillar 16x3706
fijando el Soportes 17 in Panels 12,13,14
y15.
PASSO 18.
Encaixar 10x4157 e parafusar 20x0160,
nos Paineis 12,13,14 e15.
STEP 18.
Attach 10x4157 and screw 20x0160
in Panels 12,13,14 and 15.
PASO 18.
Montar 10x4157 y atornillar el 20x0160
In Panels 12,13,14 y15.
4157
0160

15
V : 01
12
13
14
15
16
16
PAINEL / PANEL / PANEL
.
4654
PRATELEIRA / SHELF / ESTANTE
PASSO 19
Encaixar 4x9070 e parafusar 12x3557
nos Paineis 12 e 15.
STEP 19
Attach 4x9070 and screw 12x3557 in
Panels 12 and 15.
PASO 19
Montar 4x9070 y atornillar el 12x3557
en el Paneles 12 y 15.
9070
3557
PRATELEIRA / SHELF / ESTANTE
1668
PASSO 20
Encaixar cavilhas 3x1668
na Prateleira 16.
STEP 20
Insert dowels 3x1668
on Shelf 16.
PASO 20
Montar clavijas de ajuste 3x1668
en la Estante 16.
PA S S O 2 0.1
Encaixar 1x4654 na Prateleira 16.
S T E P 20.1
Insert 1x4654 on Shelf 16.
PA S O 20.1
Montar 1x4654 en la Estante 16.

16
V : 01
PASSO 21
Encaixar Prateleira 16.
Parafusar 6x3527.
STEP 21
Attach Shelf 16.
Screw 6x3527.
PASO 21
Montar Estante 16.
Atornillar 6x3527.
.
PRATELEIRA / SHELF / ESTANTE
PASSO 22
Pregar 4x6024 para fixar o fio
no Painel
STEP 22
Nail 4x6027 to fix the wire on the
Back Panel..
PASO 22
Clavar 4x6027 para la fijacion del
cable en el Panel.

2
V : 01
Parede / Wall / Pared
As medidas superiores são referentes ao painel e as medidas inferiores são referentes ao home!
The upper measures are related to the panel and the lower measures are related to the Tv stand.
Las medidas encima son para el panel y las medidas más bajos están relacionadosel a la rack.
128
Medidas para realizar a furação da parede (em milimetros).
Measurement to drill the wall (in millimeters).
Medidas para realizar la perforación de la pared (en milímetros).
Piso / Floor / Piso
Painel / Panel / Panel
Home / Tv Stand / Rack
1810
2000
394
394
394
1851
827
576
563
292
640 584
896
896
896

17
V : 01
5.04
Medidas para realizar a furação da parede (em polegadas).
Measurement to drill the wall (in inches).
Medidas para realizar la perforación de la pared (en pulgadas).
As medidas superiores são referentes ao painel e as medidas inferiores são referentes ao home!
The upper measures are related to the panel and the lower measures are related to the Tv stand.
Las medidas encima son para el panel y las medidas más bajos están relacionadosel a la rack.
Piso / Floor / Piso
Painel / Panel / Panel
Home / Tv Stand / Rack
Parede / Wall / Pared
71.26
78.74
15.51
15.51
15.51
72.86
32.55
22.69
22.15
25.20
35.28
35.28
35.28
23.0
11.50

18
V : 01
PA S S O 2 3.1
Encaixar buchas 14x2088 nos furos.
S T E P 2 3.1
Fit wall plugs 14x2088 in the holes.
PA S O 23.1
Encajar tacos de pared 14x2088 en la
perforacion.
2088
PASSO 24
Posicionar 6x7090 e parafusar 12x9069.
STEP 24
Place 6x7090 and screw 12x9069.
PASO 24
Colocar 6x7090 y atornillar 12x9069.
Buchas recomendadas em paredes de alvenaria.
Wall plugs recommended for masonry walls.
Tacos de pared recomendado para pared de ladrillo.
Ø8MM
Ø8MM
Ø5/16 INCHES
PASSO 23
Furar parede com Ø8mm, conforme medidas
indicadas antes.
Os furos devem estar nivelados.
STEP 23
Drill wall with Ø5/16, according measure after.
Screw must be leveling.
PASO 23
Perforar pared con Ø8mm, de acuerdo con
las medidas atraz. Las perforaciones tener
que ser nivelado.
7090 9069

19
V : 01
PASSO 25
Encaixe Rack na Parede.
STEP 25
Attach Stand To the wall.
PASO 25
Enganchar el Rack en la pared.
ADESIVO
STICKER
ADHESIVO
4505
Pass the cables through the back before following step 26.
Lleve el cables antes atornillar paso 26.
Passar cabos antes de aparafusar passo 26.
PASSO 26
Parafusar 2x4505
e colar 2adesivos.
STEP 26
Screw 2x4505
and place 2stickers.
PASO 26
Atornillar 2x4505
y pegar 2adhesivos.
CLICK
1 2
Atenção / Attention / Atención

20
V : 01
PASSO 28.
Encaixe 2x8717.
STEP 28.
Attach 2x8717.
PASO 28.
Enganchar 2x8717.
PASSO 27
Encaixe Painel na Parede.
STEP 27
Attach the Panel on the wall.
PASO 27
Enganchar el Panel en la pared.
Pass the cables through the back before following step 27.
Lleve el cables antes de encajar el panel, paso 27.
Passar cabos antes de encaixar Painel, passo 27.
Atenção / Attention / Atención
8717
CLICK
1 2
9283
This manual suits for next models
1
Table of contents
Other BRV Indoor Furnishing manuals
Popular Indoor Furnishing manuals by other brands

Furniture of America
Furniture of America CM-BR6887 Assembly instructions

Sunjoy
Sunjoy STUDIO SPACE G104003600 Assembly instructions

Hodedah
Hodedah HIK 92-T Assembly instructions

Akuaplus
Akuaplus MED6000R instruction manual

Wholesale Interiors
Wholesale Interiors C6412A-040-7D Series Assembly instructions

Festival Depot
Festival Depot PF19223 Assembly instruction