manuals.online logo
Brands
  1. Home
  2. •
  3. Brands
  4. •
  5. BRV
  6. •
  7. Indoor Furnishing
  8. •
  9. BRV BHO 21 User manual

BRV BHO 21 User manual

COD BR: BHO 21, BPE 21
1
MANUAL DE MONTAGEM
ASSEMBLY INSTRUCTIONS
INSTRUCCIONES DE MONTAJE
2
V : 6/19
8
Acessórios incluídos na caixa
Hardware included in box
Accesorios incluidos en la caja
7
6
3
Sumário
Resumen
Summary
X
Utilize o papelão da própria embalagem
para separar e apoiar as peças retiradas
das caixas.
Use the cardboard of the packaging to
separate and support the parts removed
from the boxes.
Utilice el cartón de la embalaje para
separary apoyan las piezaz desmontadas
de las cajas.
4
Forre a área de montagem com um
cobertor ou tapete. Assim, você evita
avarias nas peças durante o processo de
montagem.
Cubrir la zona de ensamble con una manta o
alfombra. De este modo, se evitan daños
en las piezas durante el proceso de montaje.
Cover the assembly area with a blanket or carpet
to avoid damaging the parts during the
assembly process.
Antes de começar
Antes de comenzar
Before starting
Antes de começar a montagem prepare o ambiente, deixando-o completamente limpo e
com bom espaço para iniciar o trabalho.
Antes de comenzar el montaje preparar el ambiente, dejándolo completamente limpio y
con bueno espacio para comenzar el trabajo.
Prepare the room before starting the assembly, leaving it completely clean and the area in
good condition to start the work.
Evite acidentes
Prevenir accidentes
Avoid accidents
No se suba ni se apoye en el mueble.
Do not climb or lean on the furniture.
Não escale ou se apoie no móvel.
5
Dimensões e ferramentas
Dimensions and tools
Dimensiones y herramientas
Dimensões:
Dimensiones:
L: 900 A: 795 P: 445 mm
Dimensions:
W: 28.74 H: 37.40 D: 14.57 inches
L: 900 A:795 P: 445 mm
UTILIZE ALCOOL PARA REMOVER O NUMERO DAS PEÇAS
USE ALCOHOL TO REMOVE PART NUMBERS
UTILICE ALCOHOL PARA ELIMINAR EL NUMERO DE LAS PIEZAS
Para facilitar a montagem, utilize uma parafusadeira elétrica.
To improve assembly, use an eletronic screwdriver.
Para facilitar el armado, utilice un destornillador eléctrico.
TAPA
LATERAL DERECHA
FRENTE DE CAJÓN
TRAVESAÑO
LATERAL IZQUIERDA
FONDO CAJÓN
REVÉS
1
1
1
1
002
003
006
001
1
1
1
008
009
007
LATERAL DERECHA CAJÓN
REVÉS CAJÓN
LATERAL IZQUIERDA CAJÓN
1
020
1
021
1
022
01
02 03
06
07
08
09 20
21
22
COD BR: BHO 21, BPE 21
6
PEÇA DESCRIÇÃO QUANT. PIEZA DESCRIPCIÓN CANTIDAD
PART DESCRIPTION QTY
TAMPO
LATERAL DIREITA
FRENTE GAVETA
TRAVESSA
1
1
1
1
002
003
006
001
LATERAL ESQUERDA
FUNDO GAVETA
COSTA
LAT. DIREITA GAVETA
1
1
1
1
008
009
020
007
TOP
RIGHT SIDE
FRONT DRAWER
TRAVERSE
LEFT SIDE
BOTTOM DRAWER
BACK
RIGHT SIDE DRAWER
COSTA GAVETA 1
021 BACK DRAWER
LAT. ESQUERDA GAVETA 1
022 LEFT SIDE DRAWER
1
1
1
1
002
003
006
001
1
1
1
1
008
009
020
007
1
021
1
022
8x30
3,5x14 CC
Garantia (exclusivo para o Brasil/exclusivo de Brasil/exclusive to Brazil):
A garantia dos produtos fabricados pela BRV Móveis, abrange eventuais defeitos-vícios de fabricação, no prazo
estabelecido pelo código de Defesa do Consumidor, em seu artigo 26.II. o qual prevê a garantia de 90 (noventa) dias.
PÉS x 4
FEET x 4
PIES x 4
GIZ x 01
CHALK x 01
TIZA x 01
CORREDIÇAS x 2
DRAWER TRACKS x 2
CORREDERASx 2
TAPA FUROS x 10
STICKER x 10
TAPAS PLASTICAS x 10
7
ACESSóRIOS INCLUÍDOS NA CAIXA 01 - HARDWARE INCLUDED IN BOX 01 - ACCESORIOS INCLUÍDOS EN LA CAJA 01
EF 000033 x 12
EF 000106 x 8
EF 000168 X 20 EF 000216 X 10
EF 000094 x 10
22 21
20
06
02
07
Insira a ferragem EF 000033 nas peças 02, 06, 07, 20, 21 e 22.
Insert hardware EF 000033 into pieces 02, 06, 07, 20, 21 and 22.
Añade el herraje EF 000033 en las piezas 02, 06, 07, 20, 21 y 22.
PASSO 1 / STEP 1 / PASO 1
8
A= 15KG - 31.1LB B= 5KG - 11LB
B
A
02 06
21
22
07
20
EF 000094
Fixe as corrediças nas peças 02 e 07 utilizando a ferragem EF 000106.
Fije el herrajelas correderas en las piezas 02 y 07 utilizando el herraje EF 000106.
Attach the drawer tracks on pieces 02 and 07 using hardware EF 000106.
Insira a ferragem EF 000094 nas peças 01, 02, 07, 21 e 22.
Insert hardware EF 000094 into pieces 01, 02, 07, 01 and 22.
Añade el herraje EF 000094 en las piezas 01, 02, 07, 21 y 22.
PASSO 3 / STEP 3 / PASO 3
PASSO 2 / STEP 2 / PASO 2
PASSO 4 / STEP 4/ PASO 4
9
Conecte as peças 02, 07 e 06, insira a ferragem EF 000216 e gire
para apertar. Fixe os pés redondos com a ferragem EF 000168.
Connect pieces 02, 07 and 06, insert hardware EF 000216 and
turn to tighten. Attach the feet using hardware EF 000168.
Junte las piezas 02,, 07 y 06, añade el herraje EF 000216 y gire
para apretar. Fije los pies redondos usando a ferragem EF 000168.
22 21
02
07
02
07
21
22
02
07
02
07
02
06
07
01
07
Conecte a peça 01 à parte montada no passo anterior,
insira a ferragem EF 000216 e gire para apertar.
Connect piece 01 to the part assembled in the previous step,
insert hardware EF 000216 and turn to tighten.
Junte la pieza 01 a la parte armada en el paso anterior,
añade el herraje EF 000216 y gire para apretar.
22
20
21
Connect pieces 20, 21 and 22, insert hardware EF 000216 and turn
to tighten.
PASSO 5 / STEP 5 / PASO 5
PASSO 6 / STEP 6 / PASO 6
PASSO 7 / STEP 7 / PASO 7
10
Fxe a peça 09 utilizando a ferragem EF 000168.
Attach pieces 06 using hardware EF 000168.
Fje las pezas 06 utilizando el herraje EF 000168.
01
06
02
09
21
20
22
Encaixe a peça 08 entre os espaços especifico nas peças 20 e 22.
Fit piece 08 in the specific spaces in pieces 20 and 22.
Fije la pieza 08 entre los espacios especificos en las piezas 20 y 22.
Fixe as corrediças utilizando a ferragem EF 000106.
Attach the drawer tracks using hardware EF 000106.
Fije las correderas utilizando el herraje EF 000106.
PASSO 8 / STEP 8/ PASO 8
PASSO 9 / STEP 9 / PASO 9
11
PASSO 10 / STEP 10 / PASO 10
08
22
20
03
Conecte a peça 03, insira a ferragem EF 000216 e gire para apertar.
Connect piece 03, insert hardware EF 000216 and turn to tighten.
Junte la pieza 03, añade el herraje EF 000216 y gire para apretar.
PASSO 12 / STEP 12 / PASO 12
Tapa furos
Sticker
Tapas Plasticas
PASSO 11 / STEP 11/ PASO 11
Use o giz para dar o acabamento final ao produto.
Use the chalk to give the final finish on the product.
Utilice la tiza para dar el acabado final al producto.
Giz
Chalk
Tiza
12

This manual suits for next models

1

Other BRV Indoor Furnishing manuals

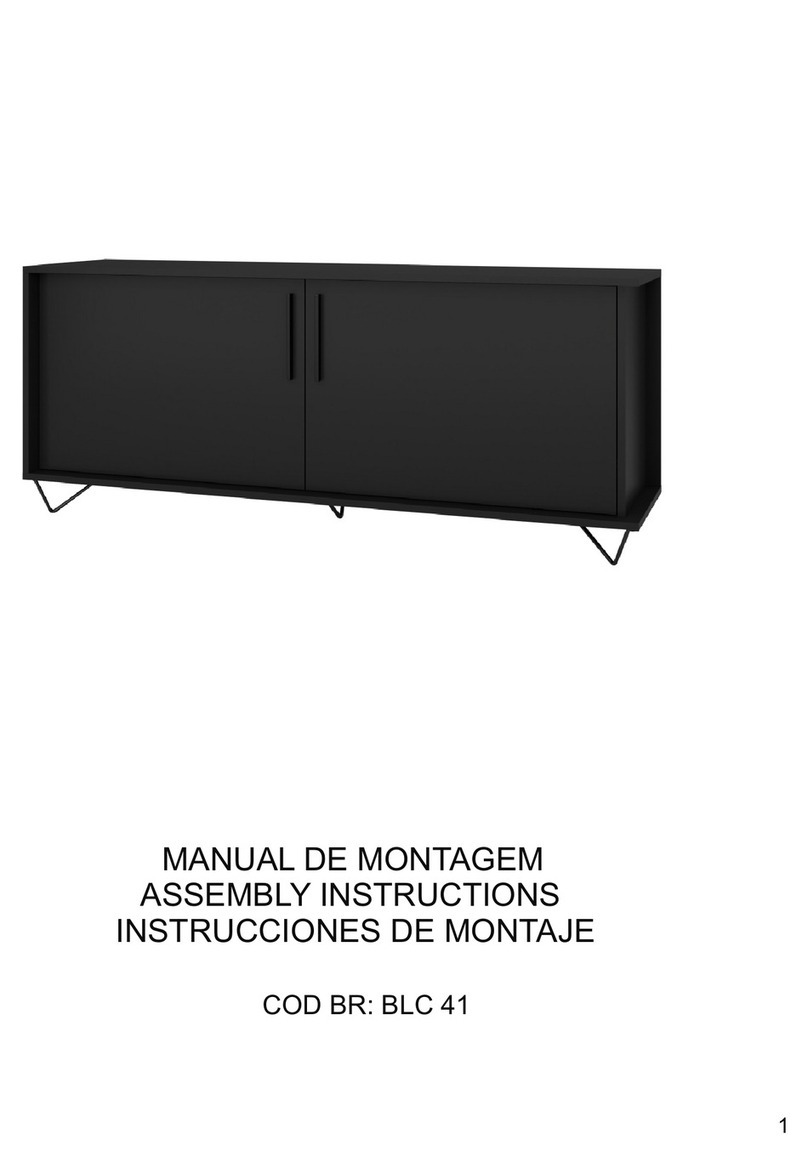
BRV BLC 41 User manual

BRV

BRV BLC 41 User manual

BRV BL 12-06 User manual

BRV

BRV BL 12-06 User manual

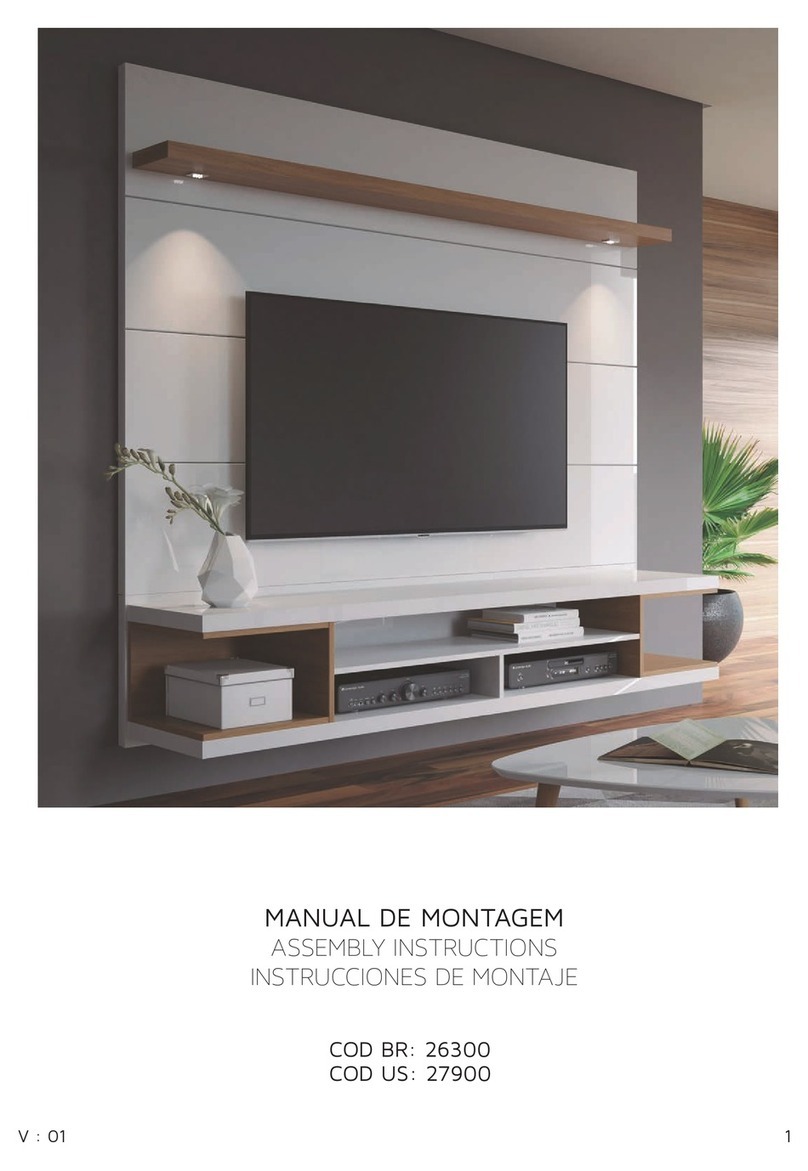
BRV 26300 User manual

BRV

BRV 26300 User manual

BRV BLC 50-184 User manual

BRV

BRV BLC 50-184 User manual

BRV BLC 21-178 User manual

BRV

BRV BLC 21-178 User manual

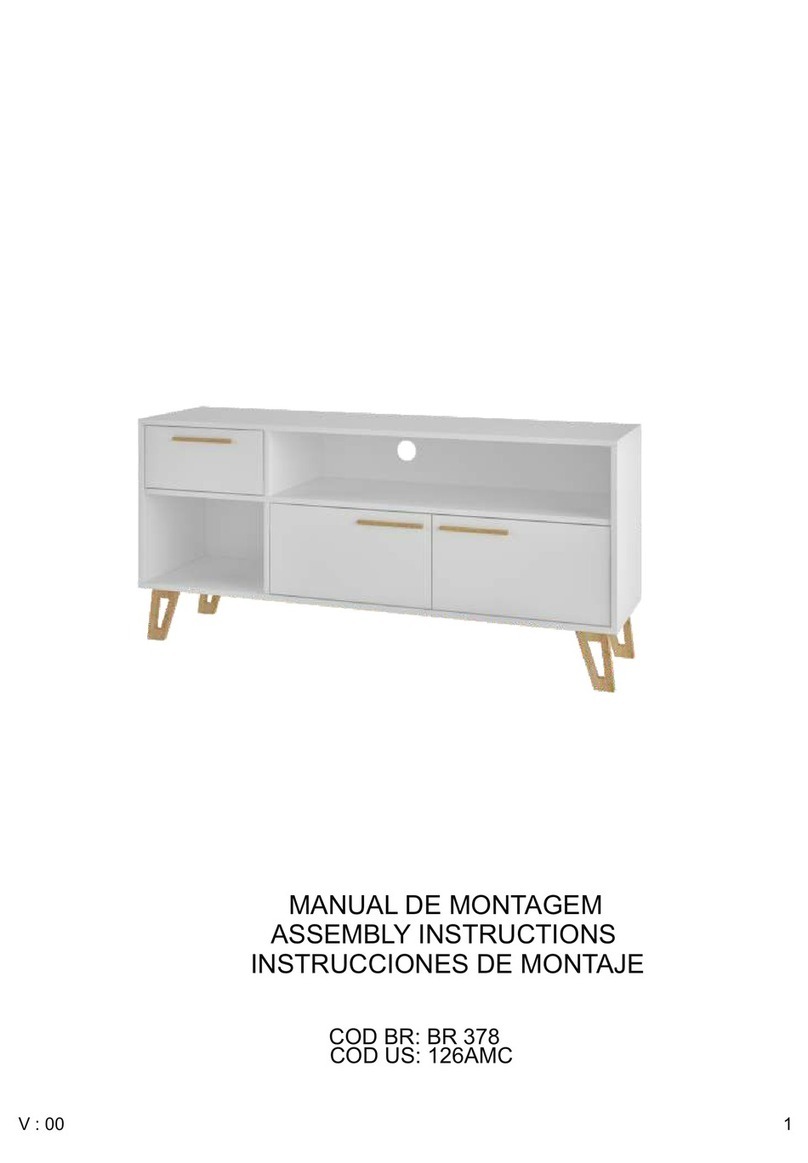
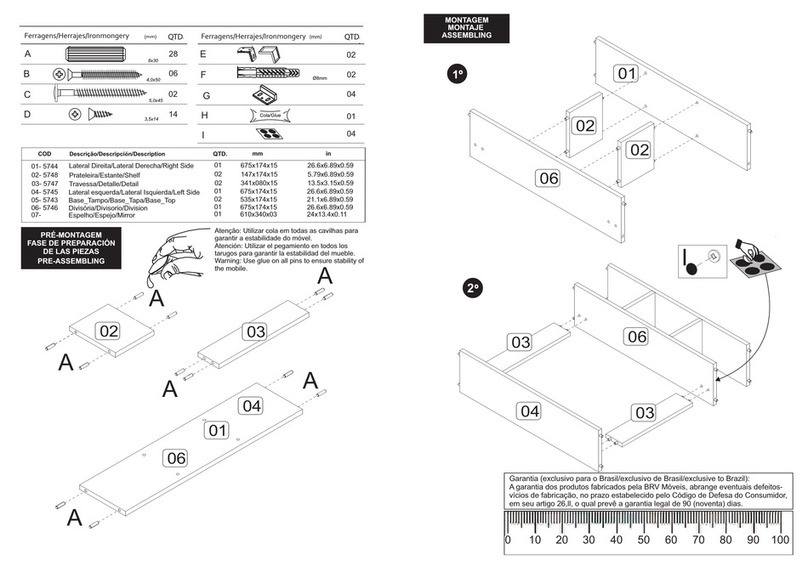
BRV BR 378 User manual

BRV

BRV BR 378 User manual

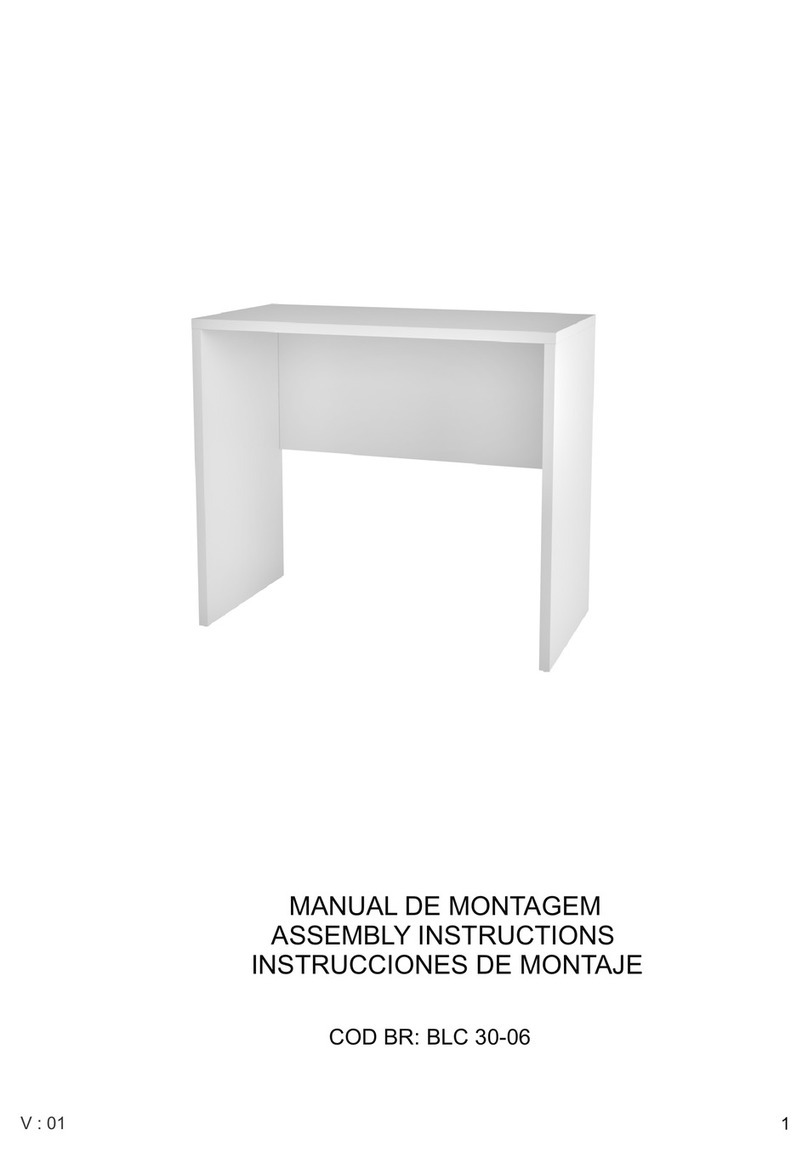
BRV BLC 30-06 User manual

BRV

BRV BLC 30-06 User manual

BRV BC 68-06 User manual

BRV

BRV BC 68-06 User manual

BRV BBN 03 User manual

BRV

BRV BBN 03 User manual

BRV 27200 User manual

BRV

BRV 27200 User manual

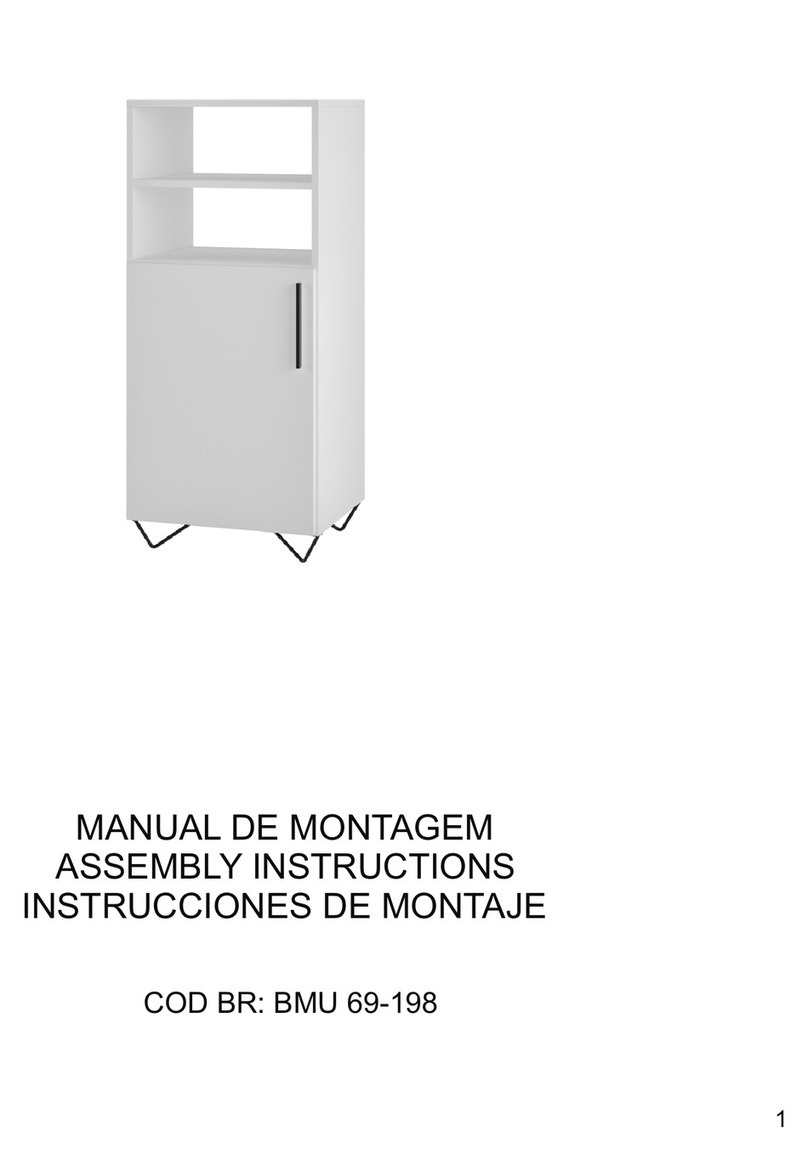
BRV BMU 69-198 User manual

BRV

BRV BMU 69-198 User manual

BRV BM 80-171 User manual

BRV

BRV BM 80-171 User manual

BRV BPP 63 User manual

BRV

BRV BPP 63 User manual

Popular Indoor Furnishing manuals by other brands

Rauch M2576 Assembly instructions

Rauch

Rauch M2576 Assembly instructions

Monarch Specialties I 3031 Assembly instructions

Monarch Specialties

Monarch Specialties I 3031 Assembly instructions

Vigilant Reliance 1000 owner's manual

Vigilant

Vigilant Reliance 1000 owner's manual

Forte OZLS62237 Assembling Instruction

Forte

Forte OZLS62237 Assembling Instruction

DURAVIT Vero VE 6414 installation instructions

DURAVIT

DURAVIT Vero VE 6414 installation instructions

Home Decorators Collection BF-24674 Assembly instructions

Home Decorators Collection

Home Decorators Collection BF-24674 Assembly instructions

APTO ADAPT BOARD instruction manual

APTO

APTO ADAPT BOARD instruction manual

Pitarch 10063 Assembly instructions

Pitarch

Pitarch 10063 Assembly instructions

Weelko 1021AB2 instruction manual

Weelko

Weelko 1021AB2 instruction manual

Staples 24825 easy instructions

Staples

Staples 24825 easy instructions

LAZBOY D71 M20913 Use and care guide

LAZBOY

LAZBOY D71 M20913 Use and care guide

rehastage Stander Pole instruction manual

rehastage

rehastage Stander Pole instruction manual

Venjakob 6555 Assembly instructions

Venjakob

Venjakob 6555 Assembly instructions

Sonoma 71SRRCU13 Assembly instructions

Sonoma

Sonoma 71SRRCU13 Assembly instructions

Allsteel Park Easel Installation Packet

Allsteel

Allsteel Park Easel Installation Packet

TUHOME Furniture ST. ANGELO Assembly instructions

TUHOME Furniture

TUHOME Furniture ST. ANGELO Assembly instructions

Zenna Home 35604BN installation instructions

Zenna Home

Zenna Home 35604BN installation instructions

physa HOVE BLACK user manual

physa

physa HOVE BLACK user manual

manuals.online logo
manuals.online logoBrands
  • About & Mission
  • Contact us
  • Privacy Policy
  • Terms and Conditions

Copyright 2025 Manuals.Online. All Rights Reserved.