manuals.online logo
Brands
  1. Home
  2. •
  3. Brands
  4. •
  5. Bticino
  6. •
  7. Monitor
  8. •
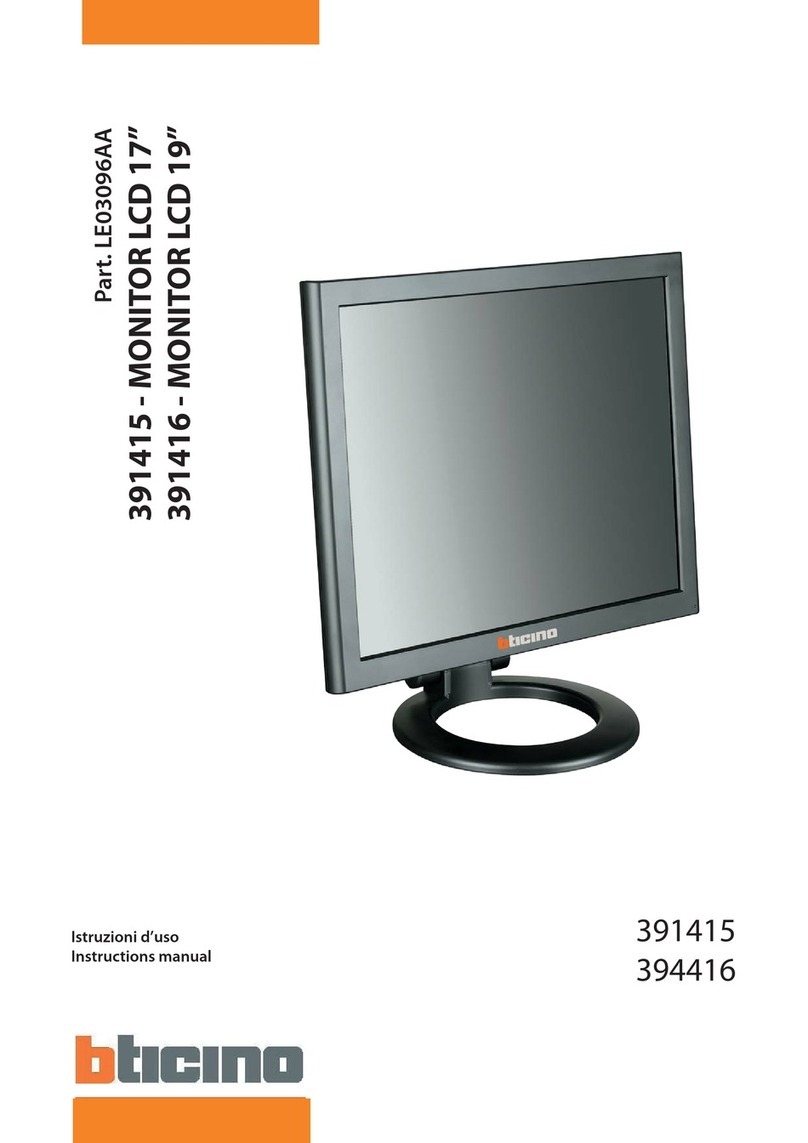
  9. Bticino 391420 User manual

Bticino 391420 User manual

Description
To avoid the risk of glass breakage which may result in minor or moderate injury:
- Handle the monitor with care to avoid breaking the screen. The display contains glass parts to break.
- Do not place foreign objects on the monitor.
Accessories
- AC Wire
- Remote control
- VGA cable
- Audio cable
- HDMI cable
- User manual
- The installation and calibration must be carried out by highly skilled
personnel.
- Do not open there may be a risk of electric shock.
Use only for the following temperature conditions: from (-10) to (+55) °C.
Do not use with voltages dierent from the ones specied.
Warning
Safety instructions
This product should be installed in line with installation rules, preferably by a qualied electrician.
Incorrect installation and use can lead to risk of electric shock or re.
Before carrying out the installation, read the instructions and take account of the product’s specic
mounting location.
Do not open up, dismantle, alter or modify the device except where specically required to do so by
the instructions. All Bticino products must be opened and repaired exclusively by personnel trained
and approved by Bticino. Any unauthorised opening or repair completely cancels all liabilities and
the rights to replacement and guarantees.
Use only Bticino brand accessories.
UK
769,8 mm 277 mm
529,8 mm
32”
81 cm
391420 391422
391420
391422
LE09075AB-01SC-16W19
This section describes the jacks on the back panel of your MONITOR.
There are several ways to connect devices.
HDMI INPUT Lets you connect a device, with an HDMI or DVI output.
HDMI (High Definition Multimedia Interface) provides an uncompressed digital connection
that carries both video and audio data by way of an integrated mini-plug cable.
Since HDMI technology is based on Digital Visual Interface (DVI), the jack on the back of your
MONITOR is also compatible with DVI devices.
HDMI Input lets you connect a device, such as a digital cable box, with an HDMI output.
VGA Connect your computer, or other device with a VGA output, to this jack using
a15 pin D-sub cable.
Connecting the Monitor Cables to your recorder
You should be sure all cable connections are secure tighten all cable screws.
Shaking and vibration may dislodge cables that are improperly connected.
Route all wiring and cabling away from heat sources and sharp metal edges to avoid damage.
Also, keep the touch screen cable away from sources of electromagnetic and radiofrequency interference.
Testing the Monitor
After connection, turn on the power switch located on the rear (or side) bezel. Before you test your monitor, make sure all cables are connected properly and routed through the cable
management system.
Be sure to tighten all cable screws.
To test that the monitor is working properly:
1. Turn on your device
2. Make sure the video image is displayed. If it is not, turn on your monitor.
Ensure the LED is blue – red indicates power but no signal.
3. Make sure the video image is centered with in the screen area.
Use the monitor controls to adjust the image, if necessary perform an Auto Cong rst, then if you wish you can adjust the horizontal and vertical position, contrast, and brightness
to better suit your video card and your personal preference.
Refer to Basic OSD setup for more information on using the on-screen menu to adjust the video display.
Controls and functions
Remote control
Explanation of connectors
If you cannot locate your remote, you can use the side panel buttons of your monitor to operate many of the monitor’s features.
Buttons on the lower-right part of the panel
LED 1 LED 2
1. POWER Turn the monitor on or o.
2. SOURCE : Accesses the available video input signals (VGA - HDMI AV1-AV2 -S-VIDEO).
3. MENU : Brings up the MONITOR Main menu. When in the OSD system, press MENU button to return to the previous menu or exit.
4. + : Increases the volume. In the MONITOR menu system, acts like the right arrow button on the remote control and adjusts menu controls.
5. - : Decreases the volume. In the MONITOR menu system, acts like the left arrow button on the remote control and adjusts menu controls.
6. LED 1: Remote control signal receiver window.
7. LED 2: Remote indicator: In red when standby mode, in blue when display.
HOW to use buttons:
Use the buttons on the right side control panel to adjust the OSD:
1. Power on the LCD monitor.
2. Press source button to accesses the available video input signals, press + or - button to enter the video mode.
3. Press MENU button then press +/- button move highlight icon left / right.
4. Press SOURCE button to enter the submenu, then press +/- button corresponding to edit.
5. When you are satised with the setting, press MENU button to return to the previous menu or exit.
Ensure the remote control is pointed toward the remote control window on the display.
No obstacles should be placed between the remote control and the remote control
window.
The eective receiving scope for the signal is 3 meters to the front of the remote
control window.
Audio
R L
Audio
IN
Video 02
OUT IN
Video 01
OUT IN S-Video VG
AH
DMI
1
234 5 67
POWER Turn ON or OFF the monitor VGA VGA signal
POWER-S Back light : high, mid, low HDMI HDMI signal
Scale: normal, center, full, 16:9 AV AV input signal
Sensor Available only built-in camera PIP Picture in picture
Freeze Still: ON & OFF Source Press it to display and select the available video
signal
Mute Switches the sound ON or OFF POP Picture on picture
Lock Menu lock, un lock 0 ~ 9 Available only password entered
Move Up/Down highlight icon SWAP POP & PIP function
Menu Display the main on-screen menu EXIT Press this button to exit the menu
Press them to turn up or turn down the
volume
Auto Auto adjust (available only VGA mode)
INFO Press it to display information on the
monitor screen
1. To ensure a normal operation, the remote control should not be dropped or damaged in any way. It should also be kept dry and away from all heat sources.
2. Battery replacement is necessary when the remote controller acts inconsistently or stops operating the LCD display.
Choose the input source
If you hope to enjoy the picture from the external input source, before to select the source ,you need to connect the devices,otherwise,when you select the source ,the none or
no signal will appears on the screen, Press source(input) button on the monitor or remote control,the menu appears on the screen ,then press source to select the monitor item,
and press“ +/- (>)”to ensure it
On the screen:
“Source”: Select from menu
“Source”: Choose source
“+”or“-”: Conrm source
OSD setup
Remark
Brightness: Adjusts the brightness of the picture.
Contrast: Adjusts the dierence between the light and dark areas of the picture.
Color temp: Press“>”button
Change the color intensity of the temperature Selected (Normal.warm.cool.s-RGB. user)
Scale: Normal.center.
Auto: (auto-adjust) press “>“ button
Performs automatic conguration of the Phase, Clock, vertical and horizontal position.
Picture mode: Press ^or vbutton to select picture mode, then press the < or > buttons to select the correct color
system, in general, you can see it as “USER”. Press < or >button to select“standard, dynamic. Soft and user” .
Equalizer: The ve-band graphic equalizer lets you adjust the audio frequency settings.
You can select one of the ve-band Equalizer. Presets or create your own personal preset.
Balance: Adjusts how much audio is sent to the left and right(-50 to +50).
The intermediate value is 0,when indication value of balance increases toward +50, sound of the right and left speaker
becomes stronger and weaker, respectively, when indication value of balance decrease toward -50 sound of the right
and left speaker becomes weaker and stronger.
Sound Mode: Provides special processing through your speakers (depending on the setting you chose as your Sound
Type). The available audio modes are: Standard. User. movie. music.
AVC: ON OFF.
SURROUND: The surround sond feature expands the audio listening eld wider and deeper to create exceptional sound
quality from the monitor’s speakers.
Language: Lets you select your preferred language for the menus: English. Chinese. German. French. Spanish.
Portuguese. Russian. Italian.
OSD H-POSITION: H-position moves the OSD position left (0-50) or press the“>“ button. H-position moves the OSD
position right (51-100).
OSD V-POSITION: Adjust the OSD image vertically by pressing the“< or > “ button.
V-position moves the OSD position up or down. 0-100.
OSD DURATION: 0-50 - OSD HALFTONE: 0-100
Sleep-timer: Lets you set the monitor to turn o after a given amount of time (o .15min.30min.45min.60min).
MEM-RECALL: Press > key will be reset to the factory defaults.
H-POSITION: Moves image horizontally on screen either left (<) or right (>).
V-POSITION: Moves images vertically on screen either up (<) or down (>).
CLOCK: If the clock setting of your image is not ne-tuned, you may observe periodic vertical bars of video noise on
your image. These bars of noise are usually adjusted out when an Auto Conguration is performed. If the bars of noise
are still present, this setting can be adjust manually.
PHASE: If the phase of your monitor is not ne-tuned, you may observe unstable horizontal.
MULTI WINDOW: OFF.PIP. POP
The default value is o, Lets you select your window for the picture: PIP . POP
Press < or > for desired adjust parameter option until satisfactory value is achieved.
When VGA signals are received, automatic mode is used for parameter adjustment.
Hsize: Horizontal size of picture can be adjust in this item.
HSTART: Horizontal position of picture can be adjust in this item.
Vsize: Vertical size of picture can be adjusted in this item.
VSTART: Vertical position of picture can be adjust in this item.
PICTURE
SOUND
SYSTEM
GEOMETRY
PIP
ADVANCE
On the remote control:
“Input”: Select from menu
“^”or “v”: Choose source
“<”or “>”: Conrm source
Care and Cleaning
CAUTION: Turn o your MONITOR before cleaning.
You can clean the MONITOR as required, using a soft lint-free cloth.
Be sure to occasionally dust the ventilation slots in the cabinet to help assure adequate ventilation.
The MONITOR’s screen may be cleaned with a soft, lint-free cloth as well.
Take care not to scratch or mar the screen. If necessary, you may use a cloth dampened with warm water.
While cleaning do not spray liquid directly on the screen, or allow liquid to run down the screen and inside the Monitor.
Also, never place drinks or vases with water on top of the monitor.
This could increase the risk of re or shock hazard or damage to the monitor.
Mounting Your MONITOR to the Wall : The monitor can be wall-mounted (VESA bracket not included).
Specication
Model 391420 391422
Size 32” 42”
Resolution 1920 x 1080
Colors 16,7 M
Viewing Angle H: 176° V: 176° H: 160° V: 160°
Viewing Lines 600 TV Lines
Contrast Ratio 800:1 1200:1
Response Time 16 ms 5 - 8 ms
Brightness 450 cd/m² 500 cd/m²
PIP / POP Yes
Speakers 2 each (10 W)
Composite Inputs BNC x 2, VGA, S-video x 1, HDMI x 1
Composite Outputs BNC x 2
Audio Input RCA x 2 (L,R)
Auto Adjustment Yes
Wall Hanging VESA Standard
OSD Language English, Spanish, French, German, and Simplied Chinese, Portuguese, Russian
Power supply 110 - 230 V~ 50/60 Hz
Power consumption < 62 W < 75 W
OSD Control Yes
Remote Control Yes
Accessories Power Cord, VGA Cable, Remote Control, User’s Guide, Audio Cable, and HDMI Cable
Dimensions 769,8 x 529,8 x 277 1023 x 529,8 x 277
Weight 19 Kg 26 Kg
Operating Temp 0 °C - 55 °C
Safety FCC-DOC, CE, RoHS

This manual suits for next models

1

Other Bticino Monitor manuals

Bticino HD 4891 Instruction Manual

Bticino

Bticino HD 4891 Instruction Manual

Bticino HC 4891 User manual

Bticino

Bticino HC 4891 User manual

Bticino Axolute 349311 User manual

Bticino

Bticino Axolute 349311 User manual

Bticino Polyx Memory 344163 Instruction Manual

Bticino

Bticino Polyx Memory 344163 Instruction Manual

Bticino 344400 User manual

Bticino

Bticino 344400 User manual

Bticino AXOLUTE Whice User manual

Bticino

Bticino AXOLUTE Whice User manual

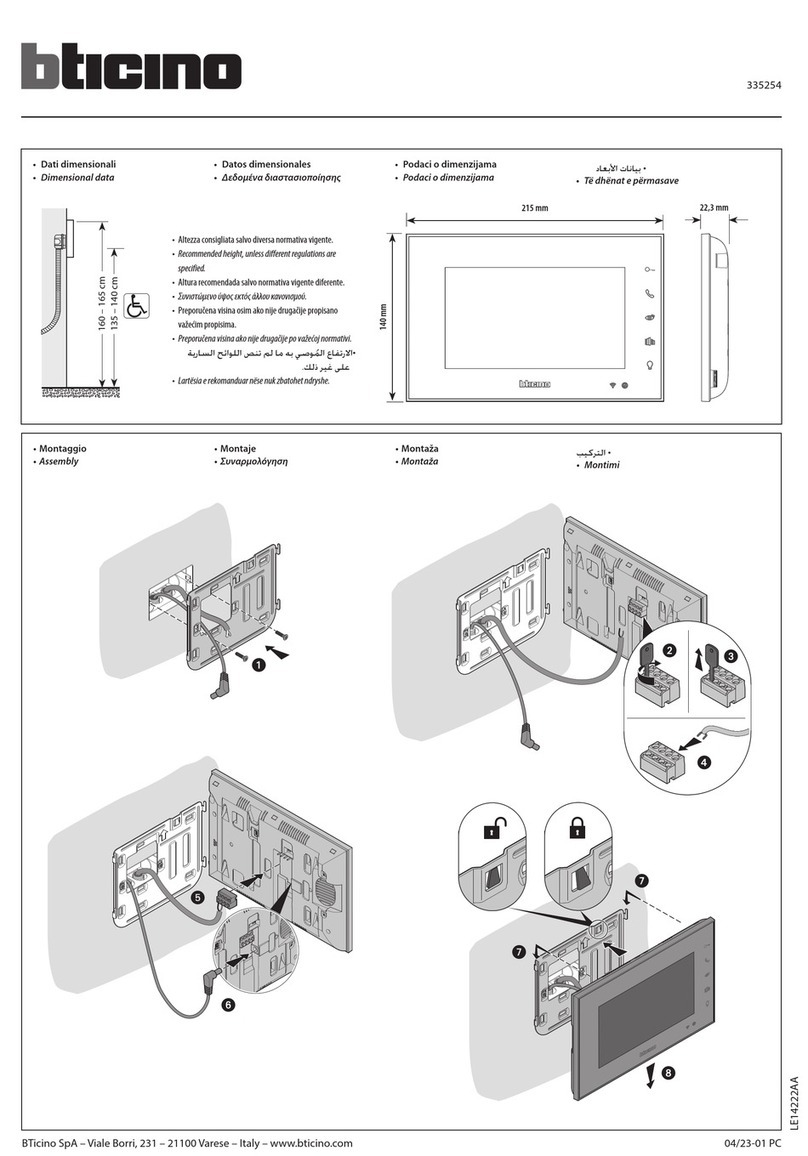
Bticino 335254 User manual

Bticino

Bticino 335254 User manual

Bticino 391415 User manual

Bticino

Bticino 391415 User manual

Popular Monitor manuals by other brands

hopf 4985LAN Technical manual

hopf

hopf 4985LAN Technical manual

LG W1953SE user guide

LG

LG W1953SE user guide

Panasonic TH-47LFT30W brochure

Panasonic

Panasonic TH-47LFT30W brochure

Siko MA501-S Additional to the Original Installation Instructions

Siko

Siko MA501-S Additional to the Original Installation Instructions

Acer V206HQL Guide

Acer

Acer V206HQL Guide

Sharp PN-E602 Specifications

Sharp

Sharp PN-E602 Specifications

AOC 831S Specifications

AOC

AOC 831S Specifications

Philips 220S W9FS /00 Service manual

Philips

Philips 220S W9FS /00 Service manual

ViewSonic VG2709-MHU user guide

ViewSonic

ViewSonic VG2709-MHU user guide

Primeview 40" user guide

Primeview

Primeview 40" user guide

Philips 150S6FB/00 Service manual

Philips

Philips 150S6FB/00 Service manual

ViewSonic LDS135-151 quick start guide

ViewSonic

ViewSonic LDS135-151 quick start guide

Kenwood LZ-702W instruction manual

Kenwood

Kenwood LZ-702W instruction manual

Philips BDL5530EL user manual

Philips

Philips BDL5530EL user manual

Acer P243W user manual

Acer

Acer P243W user manual

Jedia JMU-307B operating instructions

Jedia

Jedia JMU-307B operating instructions

Philips Brilliance 190S9FS Specification sheet

Philips

Philips Brilliance 190S9FS Specification sheet

Acer EB275K user guide

Acer

Acer EB275K user guide

manuals.online logo
manuals.online logoBrands
  • About & Mission
  • Contact us
  • Privacy Policy
  • Terms and Conditions

Copyright 2025 Manuals.Online. All Rights Reserved.