MAINTENANCE
If the motor slows or stops, this may be due to jammed food. Switch the Meat Grinder “Off” and
unplug from power source. Remove the Meat Hopper to access the Grinder Feed Head, and use a
small spatula to clear the Feed Screw. Then plug the Meat Grinder into the power source and turn the
Meat Grinder “On”. If the Meat Grinder gets jammed again, switch it “Off” again, unplug then
disassemble the Grinder/Feeder Head and clean the internal parts.
CUTTING PLATES
ATTENTION: GRINDING PLATES & KNIVES ARE NOT DISHWASHER SAFE. HANDWASH ONLY!
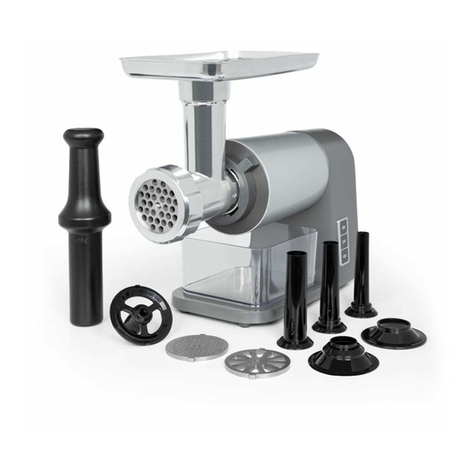
Fine Cutting Plate- For spreads, baby food, hamburgers
Medium Cutting Plate- For ground meat used in soups or relishes
Coarse Cutting Plate- For ground meat used in chili or vegetables
SUGGESTIONS
Grind stale bread pieces to help remove food residue left in the Meat Grinder after use.
Cut food into strips or cubes slightly smaller than the opening on the large die-cast hopper.
Make sure food is free of bone, tough tendon, nutshells, etc. before grinding.
Raw meat and fish should be thoroughly chilled (not frozen) before grinding to reduce the loss of juices.
Freshly ground meat should be refrigerated and cooked within 24 hours.
During extended grinding, fats from meats can build up inside the grinder tube. This may slow down
grinding and strain the motor. If this happens, stop the Meat Grinder, wash all parts in hot soapy water,
and reassemble.
Trim a handful of fat from meat. Process the fat through the hopper to lubricate grinding mechanism for
better processing results.
Before using, wash all parts with warm soapy water. Cutting knives are sharp! Use care when
handling the product and when cleaning the product to prevent injury.
Rinse parts with clear hot water and allow to dry. REMOVABLE PARTS ARE NOT DISHWASHER SAFE!
Do not use harsh or abrasive cleaners. Wipe unit with a damp cloth.
Cutting blade and cutting plate should be coated with cooking oil after washing. Then wrap in grease-proof
paper to keep them lubricated and rust-free.
MEGPRO 250 Watt Meat Grinder Assembly & Operating Instructions 7

