Power Cable
LAN Port
Insert the Ethernet cable until it clicks.
TeraStation ①②③
Power Connector
Ethernet Cable
Switch
Computer
Installation
Opening Settings (for more options)
1) Connect the TeraStation’s Ethernet and power cables and turn it on.
2017.09
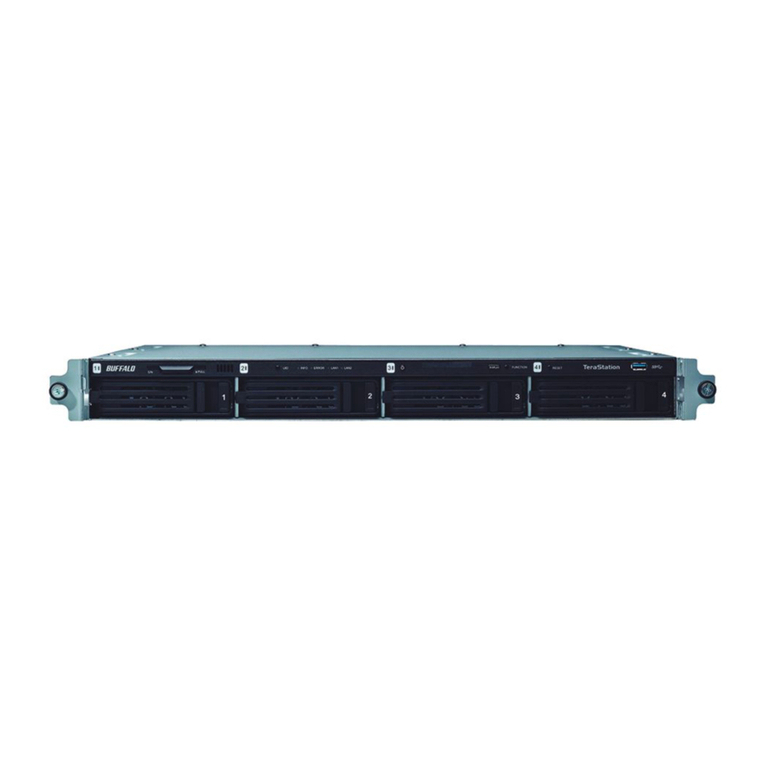
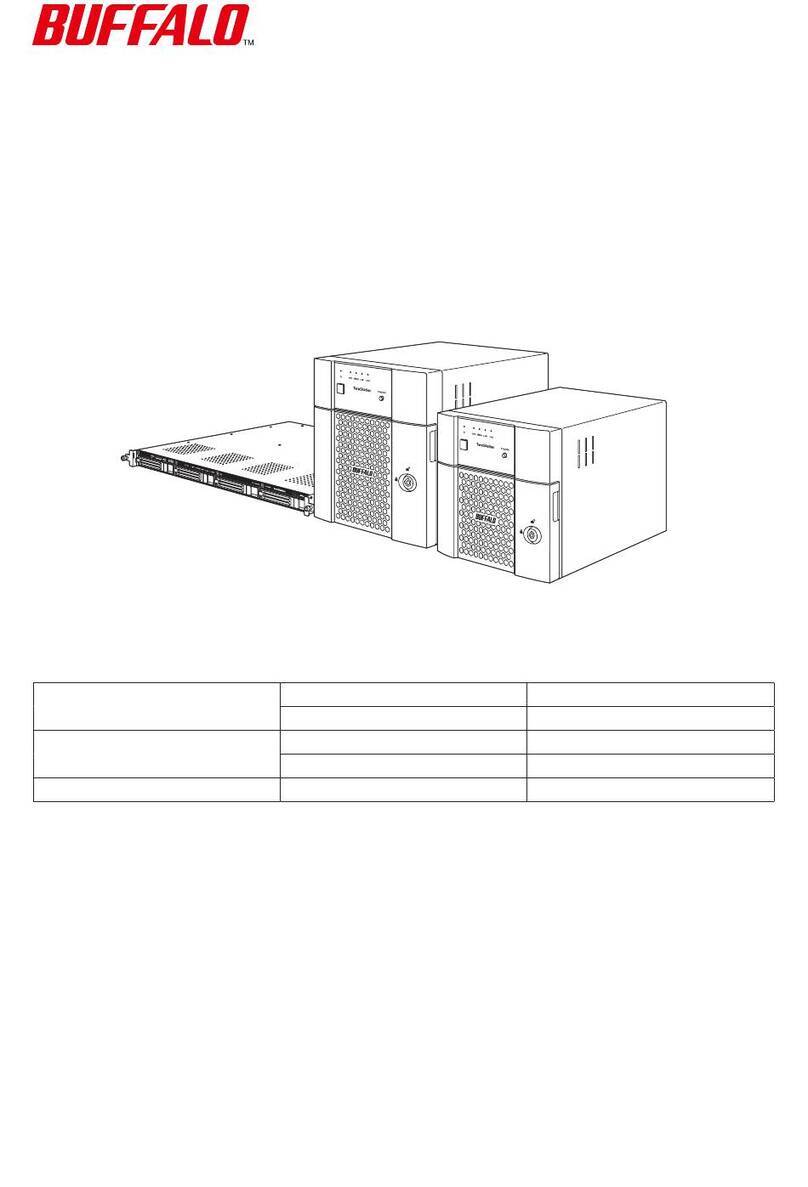
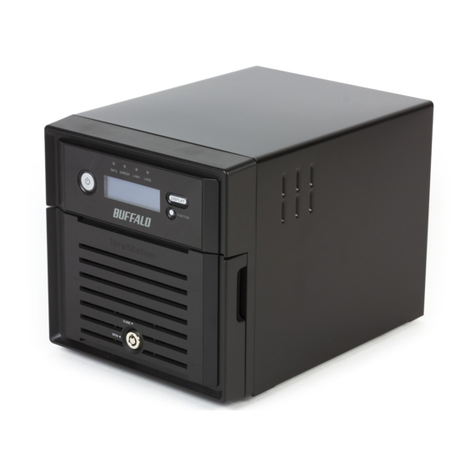
TeraStationTM 3010
TS3210DN Quick Setup Guide
Thank you for purchasing a Buffalo TeraStation.
1) After installing NAS Navigator2, your computer will have a NAS Navigator2 icon on the desktop. On a
Mac, it will appear in the Dock.
2) Double-click the icon to open NAS Navigator2, the TeraStation’s client utility. Right-click on the
TeraStation’s icon in NAS Navigator2 and select Settings. Settings will open.
3) Enter the administrator username and password, then click OK to log in to Settings. We recommend that
you change the administrator password. Until it is changed, the default username is “admin” and the
password is “password”.
2) Download the NAS Navigator2 software from http://d.buffalo.jp/TS3210DN/. Your computer must be
connected to the Internet to download NAS Navigator2.
3) Unzip the downloaded file and double-click NASNaviInst.exe in the extracted folder. NAS Navigator2 will
be installed.
After finishing initial setup, your usage environment information, such as the number of shared folders on
the TeraStation, will automatically be sent to Buffalo. If you don’t want this function, disable update
notification. For more information on this or other functions, refer to the TeraStation’s user manual,
available from http://d.buffalo.jp/TS3210DN/.
NovaBACKUP
http://d.buffalo.jp/TS3210DN/
4) Double-click the NAS Navigator2 icon to open NAS Navigator2. Right-click on the TeraStation’s
icon in NAS Navigator2 and select Properties. Set the TeraStation’s IP address, then log in to Settings (as
described below). Once you log in, step through the wizard to finish initial setup.
A label with your unit’s model name printed on it will be included in the unit package. Put the label on your
TeraStation, preferably where it can be easily recognized wherever the unit is placed. Use the blank space
under “Memo” as you desire, such as for managing your device.
Français
Installation
Merci d’avoir acheté une TeraStation Buffalo.
Deutsch
Installation
Vielen Dank für den Kauf der TeraStation von Buffalo.
Ouverture des Réglages (pour plus d’options)
1) Une fois le NAS Navigator installé, une icône NAS Navigator
apparaîtra sur le bureau de votre PC. Sous Mac, elle apparaîtra
sur le Dock.
2) Double-cliquez sur l’icône pour ouvrir le NAS Navigator2,
l’utilitaire client de la TeraStation. Effectuez un clic-droit sur
l’icône de la TeraStation dans le NAS Navigator2 et
sélectionnez [Ouvrir les paramètres Web]. Les Réglages
s’ouvrent.
3) Pour vous connecter aux Réglages, saisissez le nom
d’utilisateur et le mot de passe administrateur, puis cliquez sur
[OK]. Il est recommandé de modifier le mot de passe
administrateur. Par défaut, le nom d’utilisateur est « admin » et
le mot de passe « password ».
Öffnen von Einstellungen (für weitere
Optionen)
1) Nach der Installation von NAS Navigator2 finden Sie ein NAS
Navigator-Symbol auf dem Desktop. Auf einem Mac wird
dieses im Dock angezeigt.
2) Doppelklicken Sie auf dieses Symbol, um NAS Navigator2, das
Client-Dienstprogramm der TeraStation, zu öffnen. Klicken Sie
mit der rechten Maustaste auf das TeraStation-Symbol in NAS
Navigator2, und klicken Sie anschließend auf [Öffnen Sie die
Webeinstellungen]. Die Einstellungen werden geöffnet.
3) Geben Sie den Benutzernamen und das Kennwort des
Administratorkontos ein, und klicken Sie auf [OK], um sich bei
den Einstellungen anzumelden. Wir empfehlen, das
Administratorkennwort zu ändern. Bis es geändert wird, lautet
der standardmäßige Benutzername„admin“ und das Kennwort
„password“.
1) Connectez le câble Ethernet et les câbles d’alimentation de la
TeraStation puis allumez-la.
2) Téléchargez le logiciel NAS Navigator2 sur le site
http://d.buffalo.jp/TS3210DN/. Votre ordinateur doit être
connecté à Internet pour pouvoir télécharger NAS Navigator2.
3) Décompressez le fichier téléchargé et double-cliquez sur
[NASNaviInst.exe] dans le dossier qui a été extrait. L’installation
du logiciel NAS Navigator2 démarrera.
4) Double-cliquez sur l’icône NAS Navigator2 pour lancer NAS
Navigator2. Effectuez un clic-droit sur l’icône de la TeraStation
dans le NAS Navigator2 et sélectionnez [Propriétés]. Définissez
l’adresseIP de la TeraStation, puis connectez-vous aux
Réglages (comme décrit ci-dessous). Une fois connecté, suivez
les étapes de l’assistant pour terminer la configuration initiale.
Après avoir terminé la configuration initiale, les informations sur
votre environnement d’utilisation, telles que le nombre de
dossiers partagés sur la TeraStation, seront automatiquement
envoyées à Buffalo. Si vous ne le souhaitez pas, désactivez la
notification des mises à jour. Pour plus d’informations sur ce sujet
ou sur d’autres fonctions, consultez le manuel d’utilisation de la
TeraStation, disponible à l’adresse http://d.buffalo.jp/TS3210DN/.
L’emballage de l’unité contient une étiquette sur laquelle est
imprimée la référence de votre modèle. Collez cette étiquette sur
votre TeraStation, de préférence à un endroit où elle sera
facilement visible quelle que soit la manière dont votre
TeraStation est installée. Vous pouvez utiliser l’espace vierge situé
sous « Memo » comme vous le souhaitez, par exemple pour
l’entretien de votre TeraStation.
1) Schließen Sie das Ethernet-Kabel und das Netzkabel an die
TeraStation an und schalten Sie sie ein.
2) Laden Sie die NAS Navigator2-Software unter
http://d.buffalo.jp/TS3210DN/ herunter. Ihr Computer muss
mit dem Internet verbunden sein, um NAS Navigator2
herunterladen zu können.
3) Entpacken Sie die heruntergeladene Datei und doppelklicken
Sie im extrahierten Ordner auf [NASNaviInst.exe]. NAS
Navigator2 wird installiert.
4) Doppelklicken Sie auf das NAS Navigator2-Symbol, um NAS
Navigator2 zu öffnen. Klicken Sie mit der rechten Maustaste
auf das TeraStation-Symbol in NAS Navigator2 und klicken Sie
anschließend auf [Eigenschaften]. Legen Sie die
TeraStation-IP-Adresse fest, und melden Sie sich dann bei
Einstellungen an (wie unten beschrieben). Melden Sie sich an
und führen Sie die Schritte im Assistenten aus, um das erste
Setup zu konfigurieren.
Nach Abschluss der Ersteinrichtung werden Ihre
Anwendungsumgebungsinformationen, z. B. die Anzahl an
freigegebenen Ordnern auf der TeraStation, automatisch an
Buffalo gesendet. Wenn Sie dies nicht möchten, deaktivieren Sie
die Aktualisierungsbenachrichtigung. Weitere Informationen zu
dieser und anderen Funktionen finden Sie im
TeraStation-Benutzerhandbuch unter
http://d.buffalo.jp/TS3210DN/.
Ein Etikett mit der genauen Modellbezeichnung ist im
Lieferumfang enthalten. Bringen Sie das Etikett an der TeraStation
an, vorzugsweise an einer Position, die am entsprechenden
Standort der Einheit gut sichtbar ist. Nutzen Sie den verfügbaren
Platz unter„Memo“ individuell nach Ihren Bedürfnissen, z.B. zur
Geräteverwaltung.
