manuals.online logo
Brands
  1. Home
  2. •
  3. Brands
  4. •
  5. Bunn
  6. •
  7. Coffee Maker
  8. •
  9. Bunn Axiom Series Installation guide

Bunn Axiom Series Installation guide

Other manuals for Axiom Series

6

Other Bunn Coffee Maker manuals

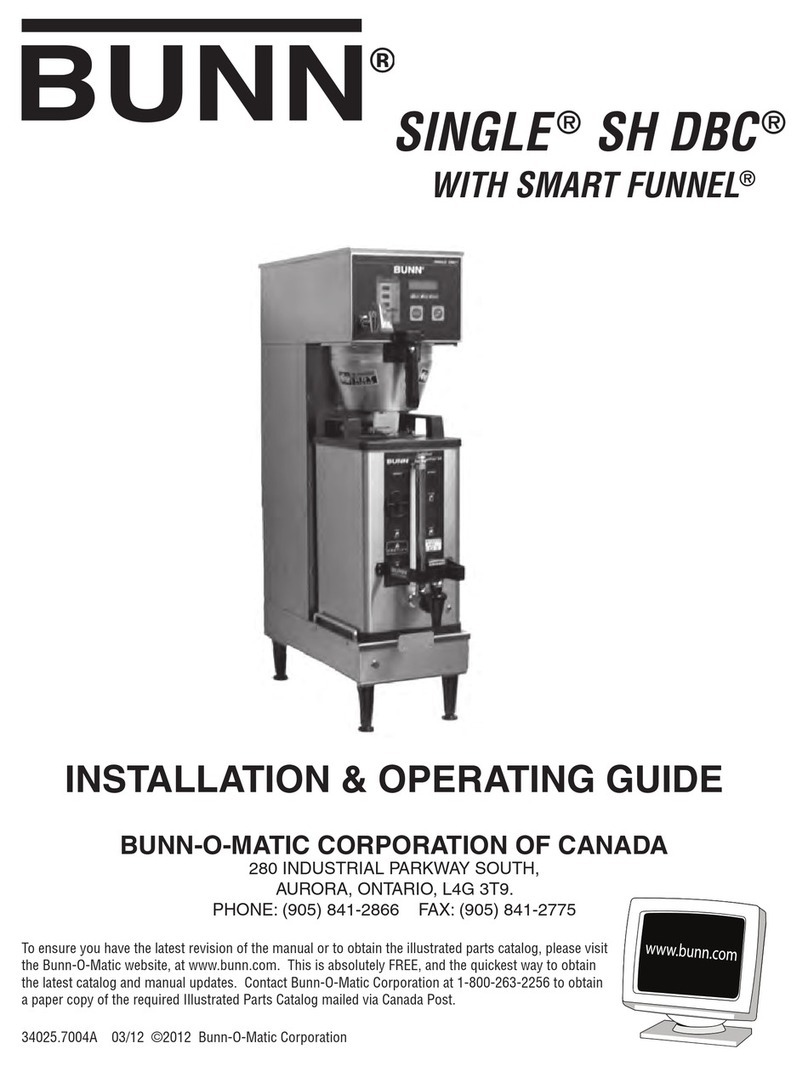
Bunn HB User manual

Bunn

Bunn HB User manual

Bunn Coffee Brewer TITAN DUAL Installation guide

Bunn

Bunn Coffee Brewer TITAN DUAL Installation guide

Bunn Single TF DBC Troubleshooting guide

Bunn

Bunn Single TF DBC Troubleshooting guide

Bunn AutoPOD Owner's manual

Bunn

Bunn AutoPOD Owner's manual

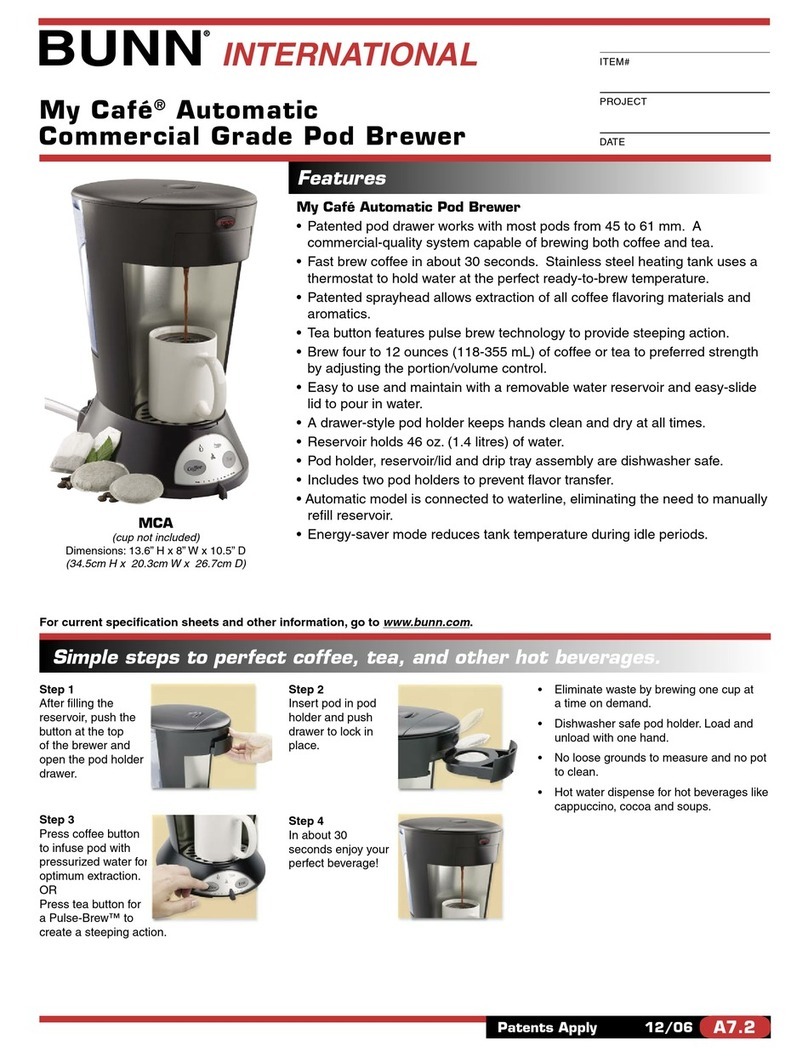
Bunn My Cafe Single Cup User manual

Bunn

Bunn My Cafe Single Cup User manual

Bunn Single SH BrewWISE DBC Instruction Manual

Bunn

Bunn Single SH BrewWISE DBC Instruction Manual

Bunn PHASE BREW User manual

Bunn

Bunn PHASE BREW User manual

Bunn A10 Automatic Installation instructions

Bunn

Bunn A10 Automatic Installation instructions

Bunn AXIOM-3L User manual

Bunn

Bunn AXIOM-3L User manual

Bunn OL User manual

Bunn

Bunn OL User manual

Bunn ITB/ITCB Owner's manual

Bunn

Bunn ITB/ITCB Owner's manual

Bunn AXIOM BREWWISE Series Instruction Manual

Bunn

Bunn AXIOM BREWWISE Series Instruction Manual

Bunn My Cafe MCO Troubleshooting guide

Bunn

Bunn My Cafe MCO Troubleshooting guide

Bunn DUAL SH DBC WITH SMART FUNNEL DUAL068000 Installation guide

Bunn

Bunn DUAL SH DBC WITH SMART FUNNEL DUAL068000 Installation guide

Bunn CDBCF15 APS User manual

Bunn

Bunn CDBCF15 APS User manual

Bunn TigerXL M-2 User manual

Bunn

Bunn TigerXL M-2 User manual

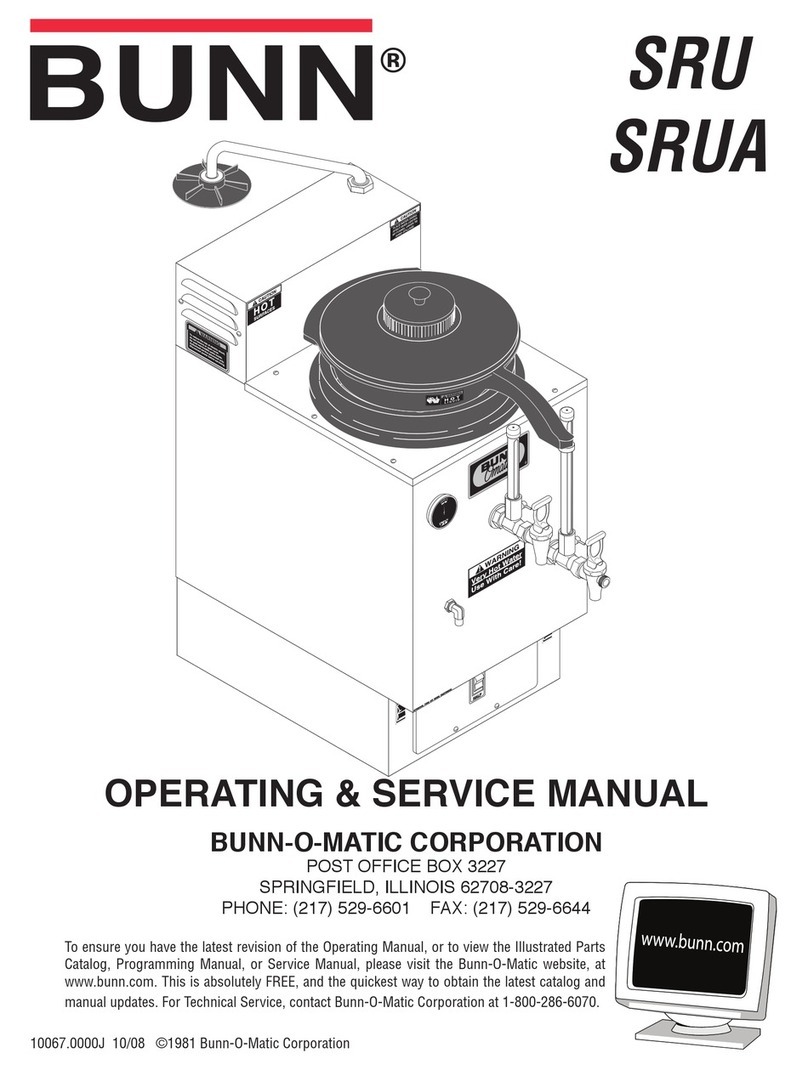
Bunn COMBO BREWER Instruction Manual

Bunn

Bunn COMBO BREWER Instruction Manual

Bunn Single SH Troubleshooting guide

Bunn

Bunn Single SH Troubleshooting guide

Bunn A10 Automatic Owner's manual

Bunn

Bunn A10 Automatic Owner's manual

Bunn VP17 Series Instruction and safety manual

Bunn

Bunn VP17 Series Instruction and safety manual

Bunn G9 HD Instruction and safety manual

Bunn

Bunn G9 HD Instruction and safety manual

Bunn VP17 Series Troubleshooting guide

Bunn

Bunn VP17 Series Troubleshooting guide

Bunn CEZF15 User manual

Bunn

Bunn CEZF15 User manual

Bunn System III Instruction and safety manual

Bunn

Bunn System III Instruction and safety manual

Popular Coffee Maker manuals by other brands

illy FrancisFrancis X7.1 user manual

illy

illy FrancisFrancis X7.1 user manual

Continental Electric CE23601 instruction manual

Continental Electric

Continental Electric CE23601 instruction manual

Electrolux EKF3 series Instruction book

Electrolux

Electrolux EKF3 series Instruction book

MIA KF 1740 instruction manual

MIA

MIA KF 1740 instruction manual

DeLonghi ECAM26455M Instructions for use

DeLonghi

DeLonghi ECAM26455M Instructions for use

Fagor CG-414 D Instructions for use

Fagor

Fagor CG-414 D Instructions for use

Somogyi Elektronic Home HG PR 14 instruction manual

Somogyi Elektronic

Somogyi Elektronic Home HG PR 14 instruction manual

Morphy Richards Accents Espresso MR47580 instructions

Morphy Richards

Morphy Richards Accents Espresso MR47580 instructions

Crux 14634 instruction manual

Crux

Crux 14634 instruction manual

Taurus Livorno 6 manual

Taurus

Taurus Livorno 6 manual

Delta-q QUICK instruction manual

Delta-q

Delta-q QUICK instruction manual

Chris Coffee Service Silvano owner's manual

Chris Coffee Service

Chris Coffee Service Silvano owner's manual

Black & Decker BLACK DECKER HOME DE790 Use and care book

Black & Decker

Black & Decker BLACK DECKER HOME DE790 Use and care book

Saeco Vienna Plus Sup 018M operating instructions

Saeco

Saeco Vienna Plus Sup 018M operating instructions

INCAPTO BXCO1470E Instructions for use

INCAPTO

INCAPTO BXCO1470E Instructions for use

Bosch TASSIMO finesse TAS16B Series user manual

Bosch

Bosch TASSIMO finesse TAS16B Series user manual

Exido 245-072 Specifications

Exido

Exido 245-072 Specifications

Animo OptiVend Choco user manual

Animo

Animo OptiVend Choco user manual

manuals.online logo
manuals.online logoBrands
  • About & Mission
  • Contact us
  • Privacy Policy
  • Terms and Conditions

Copyright 2025 Manuals.Online. All Rights Reserved.

AXIOM®
RFID Technology
Technical Training
Objectives
AXIOM® with RFID Technology
Given a realistic scenario in which the learner has access to the machine’s internal components, the learner
will understand the composition and functions of the RFID system within an AXIOM brewer.
The learner will be able to discuss the similairities and differences between a standard AXIOM and an AXIOM
equipped with RFID.
The learner will be able to identify the components and functions of the RFID system.
Given an operating machine the learner will be able to give a general explanation of how the unit operates.
The learner will be able to recognize and explain the purpose of the freshness default time.
The learner will able to access and explain the RFID service program menus.
The learner will be able to identify the LED color sequence.
Bunn-O-Matic Corporation
3
Axiom with RFID
The Axiom brewer with RFID will automatically scan and monitor the glass carafe or
thermal carafe on all of the warming elements for fresh coffee. The corresponding
freshness time message will display with the use of RFID (radio frequency identication).
In addition to the visual freshness message on the display, the warmer LED will
correspond by changing color and sounding an alarm to inform the operator that the
coffee is either fresh or expired. The warmer element will turn on and off automatically by
reading the assigned date and time that is recorded at time of brew to a glass carafe.
The brewer will detect when a RFID Thermal Fresh carafe is being used and will keep the
corresponding warmer plate in the off position.
AXIOM with RFID Differences
Software
• Additional Adjustment and Optional Service Program Menus (Left Hidden Switch)
• Programming Access Switch (Right Hidden Switch)
• Additional Digital 3 Click Brew Volume Setup
• Additional LED Color Change for Freshness Indicator
• Warning Alert Message and Warmer Shut-off
Mechanical
• Additional RFID Board and TIC Clock
• Additional Beeper
• Additional RFID Coil
• Revised Faucet Components
• Additional RFID Collar and Strap to the Glass Carafe
• Additional RFID Housing to the Thermal Carafe
• Additional 3 Wire plus Ground 12 Guage Power Cord with L14-20 with L14-20 Plug
Software
The brewer automatically distinguishes what type of carafe is being used for the allotted
freshness time-remaining message.
• Glass Carafe Fresh Hours - 0.5 (30 minutes)
• Thermal Carafe Fresh Hours - 2.0 (2 hours)
The Axiom RFID software will include an entire set of adjustment and service menus that are logically located sepa-
rate from the BUNN standard programming menus.
Left Access Programming
The service and adjustment menus are located by depressing the left hidden button. The right hidden button is used
to scroll through the twelve menus.
AXIOM® RFID Training
4
To access to the standard Axiom programming menus, depress the right hidden button in the same manner as the
original Axiom brewer. Although the menu screens are the same, they are arranged in a different order than the
original Axiom brewer.
The program time-out feature remains the same for the right hidden button, but does not time-out within two minutes
for the left hidden button. You will need to manually exit the left side of programming.
Miscellaneous Operation
The warmer plate can be turned on manually as long as the RFID board does not see a RFID glass carafe. If the
RFID coil/sensor detects the RFID glass carafe, then the warmer will automatically turn on or off, depending on the
date and time that is assigned to the RFID carafe. The date and time is assigned to the RFID carafe when it is placed
on the main warmer and the brew switch has been depressed. An asterisk will appear in the upper-right corner when
the date and time has successfully been assigned to the RFID carafe.
Note: If two or more pieces of the same equipment are going to be installed in the same location, it’s very important
to make sure that all the date and time settings are set identical throughout the equipment for the “glass freshness
time remaining” message.
Additional Adjustment and Optional Service Program Menus
These are the programming menus that are accessed by pressing the left hidden button.
This screen allows the user to monitor the frequency of the RFID coils. It can also be
used to monitor the adjustment capacitors, which are used to keep the coil frequency at
it’s nominal value (125.0 khz).
This menu can be used as a tool to troubleshoot the RFID board and circuit. The asterisk
will display when a carafe is placed on a warmer and will not display when a carafe is
taken off or not detected.
This allows you to read the “age” of any brewed batch in a particular carafe, as long as
it’s equipped with an RFID chip. The sensor coil will read the chip and the brewer will
display the time of day it was brewed.
This screen will automatically scan through all RFID coil/sensors and display the
recorded brew date and time from the RFID carafe. If no RFID carafe is present on the
warmer plate, the date and time will be shown as a blank value.
Bunn-O-Matic Corporation
5
This allows you to monitor the individual coil/sensors and RFID board.
If a carafe is placed on a particular warmer, a solid box will appear next to the warmer’s
abbreviation. The box indicates that the RFID carafe is present. RFID Thermal carafe is
identied by a hollow box.
Fresh hours sets the “ x:xx Glass Remaining” message and expiration time for
freshness. The expiration time is the amount of time the product is allowed before the
“Glass Expired” message is displayed. Default: .5, Range: 0.5 to 4.0 Hrs. If the range
adjustment is set to off, the setting will automatically revert to 0.5 after exiting the
programming menus.
Thermal Fresh Hours is the same denition as the Glass Fresh Hours.
Note: Brewer senses a Thermal carafe on any warmer plate, warmer plates will not
operate.
Sets the amount of time that the warmers will turn off after an alert message is
displayed. Default: 5, Range: Off/ 1 -30 min
This screen allows the brewer to continually scan the RFID coil/sensors and display
freshness time remaining message. If “No” is selected, the brew will not continually scan
sensors for the “freshness time remaining” message assigned to the RFID carafes.
The machine will display the regular home screen “Date and Time” and scroll to “Ready
to Brew”, “Water Temp 200°” screen.
Note: You do have the capability to view the freshness time remaining message or
expired message when you depress and hold the warmer on/off button on warmers
except for the main warmer.
AXIOM® RFID Training
6
This menu allows the user to enable or disable the beeper alarm.
Enabled: See the “Expiration Seconds” menu.
Disabled: The disabled setting will also include the pre-expire alarm.
Sets the amount of delay between the expired alarm beeps.
Default: 10, Range: 5-300 sec.
Select “Yes” to adjust the beeper volume.
Sets the volume of the beeper for expiration and pre-expire alarm.
Default: 14, Range: Off/ 1-14
Off: another option for disabling the beeper.
Select “Yes” to set the date and time.
Press “+” or “-” to adjust the year.
Press “+” or “-” to adjust the month.
Press “+” or “-” to adjust the day
Bunn-O-Matic Corporation
7
Press “+” or “-” to adjust the hour.
Press “+” or “-” to adjust the minutes.
Press “+” or “-” to adjust the seconds.
Enable/disable the 5 minute warning beep sequence for a carafe that’s about to expire.
Sequence: The last 5 minutes of the freshness time remaining message or the
corresponding warmer ashing yellow LED; the pre-expire alarm will beep once a
minute with a total of 5 beeps before the every 10 second expiration alarm takes over.
Digital 3-Click Brew Volume Setup
The digital 3-click volume setup is added for the convenience of setting pot levels. The segment of adding or sub-
tracting an ounce of water during setup is not possible. This method of calibrating pot levels is more user friendly to
the operator than entering the programming menus using the right hidden switch and then making the volume adjust-
ment.
Note: The brew oz. volume will automatically change on this screen when you perform
the optional 3-click brew volume setup. If the program lockout switch is in the lock
position on the control board, while performing the 3-click volume setup procedure, the
new calibration time or volume will not hold and will go back to the original setting. You
have the perception of calibrating a new volume without any warning of the lockout
switch being locked.
Freshness Indicator LED Color Sequence
The freshness time remaining message will operate in conjunction with the warmer element LED color sequence.
Green LED
The green color means you are within the freshness time limit (0.5 hrs/glass).
Flashing Yellow LED
The yellow color is a warning indicator, which tells the operator that the glass freshness time is about to expire. The
LED will change from green to yellow when the freshness time reaches the last ve minutes of the freshness time
limit (0.5 hrs/glass).
Flashing Red LED
The red color means that the freshness time has expired and the warmer element is about to turn off automatically.
Note: When the “Freshness Expired” message or the ashing red LED appears, the warmer will turn off automatically
after ve minutes.
AXIOM® RFID Training
8
Mechanical
RFID Board
The board is located in the hood assembly on the right-hand side. The board contains the TIC clock. Three connec-
tors are represented at the top of the RFID board, where the RFID coil/sensors are connected. The three connectors
are labeled and identied above the connector.
Warmer Sensor
1. Top Front (J7-1)
2. Main (J6-1)
3. Top Rear (J5-1)
4. TIC Clock
The RFID board operates in a range between 124.0 and 127.0 khz while writing and reading the date/time to the
RFID carafes through the use of the RFID coil/sensor. The RFID board can be monitored for frequency and tested by
a test menu in programming using the left hidden button. The menu option is “Freq&AdjustCaps”.
Beeper
The Axiom brewer with RFID utilizes a beeper along with the freshness
indicator LED sequence. Two beeper alarms are represented within the
operation of the unit with the capability of adjusting the volume and
activation of the audible alarms.
• The expiration alarm will sound an audible beep when the coffee
freshness time has expired or when the ashing red LED is visible.
The alarm will beep once every ten seconds.
• The pre-expiration alarm will sound an audible beep when the coffee
freshness time had reached the remaining ve minutes or when the
ashing yellow LED is visible. The pre-expire alarm will beep once a
minute before the expiration alarm.
The beeper harness and lock nut can be accessed through the front panel and the beeper is removed from the top or
hood assembly.
RFID Coil/Sensor
A RFID sensor is represented by each warmer plate. The
sensor picks up the recorded brew date/time from the RFID
carafe and will show it on the display. All of the sensors can
be checked for operation by utilizing the test menus that are
accessed by using the left hidden button. The menus are ab-
breviated on the display.
• M = Main
• TF = Top Front
• TR = Top Rear
If a box appears to the right of the abbreviation while a RFID carafe is on the
corresponding warmer plate, this indicates that the sensor or circuit is operating.
The block will disappear when the RFID carafe is removed from the warmer plate.
Beeper
1 2 3
4
Bunn-O-Matic Corporation
9
Freq&AdjustCaps Menu
* An asterisk will appear if a RFID carafe is placed on a warmer
element.
The 4-digit number located in the middle of the main, top front
and top rear warmers can be used as a reference during trouble-
shooting.
• 4-digit number steady: Means the coil frequency is staying
tuned to the nominal value of 125.0 khz.
• 4-digit number ashing: Means the coil frequency is at the
low end of tuning, which will result in intermittent or failure of
writing and reading of the RFID carafes.
Faucet Assembly
The tube that’s connected from the tank to the faucet is now stainless with an
insulation wrap around it to help insulate the tube from temperature loss. The
requirement for the oatmeal mixing is 185°F water and a ow dispense of 5
ounces within 15 seconds.
RFID Glass Carafe
The glass carafe has an attached collar and strap that contains the RFID
transponder. The transponder is located within the strap holder, which contains
the assigned date and time recorded from the initial start of a brew cycle. The
operational range for reading and writing from the RFID sensor is approximately
.3/4 inches.
The collar and strap with transponder can be replaced as a complete kit (Bunn
PN: 42930.1000) on the glass carafe. See instruction sheet 43520.0000.
RFID Thermal Carafe
The thermal carafe has an attached RFID transponder holder adhered to the
side wall of the stainless housing. The brewer RFID board automatically can
sense when a thermal carafe is set on the warmer and will use the “Thermal
Fresh Hours” menu which is set at a 2 hours. The display will read “Ready To
Brew Thermal Carafe”. Anytime a thermal carafe is sensed, the corresponding
warmer will not activate or turn on. The operation range is the same distance as
the glass carafe but the transponder is not replaceable on the thermal carafe. A
new carafe will need to be ordered if the transponder fails or housing releases
from the stainless carafe housing.
4-Digit Numbers
Asterisk Indicates
Carafe is on Main
Warmer