Burco 069764 User manual

1 08/54070/0 (Issue 5)
Instruction Manual
Autofill Countertop Water Boilers
(Filtration & Non-Filtration models)
These instructions cover the following Burco models:
5L
10L
20L
Burco Filtration Autofill’s
069764
069771
069788 &069795
Burco Autofill’s (without Filter)
N/A
069825
069832
Burco Slimline Autofill’s
070012 &070043
070029 & 070050
N/A
© Glen Dimplex. All rights reserved. Material contained in this publication may not be reproduced in whole or in part, without prior
permission in writing of Glen Dimplex
Glen Dimplex UK LTD, trading as,
Glen Dimplex Heating & Ventilation
Web: www.gdhv.com
Millbrook House, Grange Drive, Hedge End, Southampton, SO30 2DF.
Customer Service Tel: +44 [0]344 879 3588
Email: customer.services@glendimplex.com
www.burco.co.uk

2 08/54070/0 (Issue 5)
Table of Contents
1.0 About my product .................................................................................................................................... 3
2.0 Scope of delivery...................................................................................................................................... 4
3.0 Warnings and Precautions ....................................................................................................................... 4
4.0 Introduction ............................................................................................................................................. 6
5.0 Warranty Information.............................................................................................................................. 6
6.0 Technical Data.......................................................................................................................................... 7
7.0 Burco boiler Installation........................................................................................................................... 8
7.1 Before connecting to the power supply............................................................................................ 8
7.2 Connecting to the water supply........................................................................................................ 8
7.3 Electrical Connection......................................................................................................................... 9
7.4 Fitting or replacing a plug (3kW models). ......................................................................................... 9
7.5 6kW Twin Tap Model ...................................................................................................................... 10
7.6 Overflow and Drainage ................................................................................................................... 10
8.0 Operating Instructions ........................................................................................................................... 11
8.1 Boiler Overview ............................................................................................................................... 11
8.2 Controller Overview ........................................................................................................................ 12
8.3 Controller Set Up............................................................................................................................. 13
9.0 Descaling & Cleaning advice and information ....................................................................................... 17
9.1 Descaling.......................................................................................................................................... 17
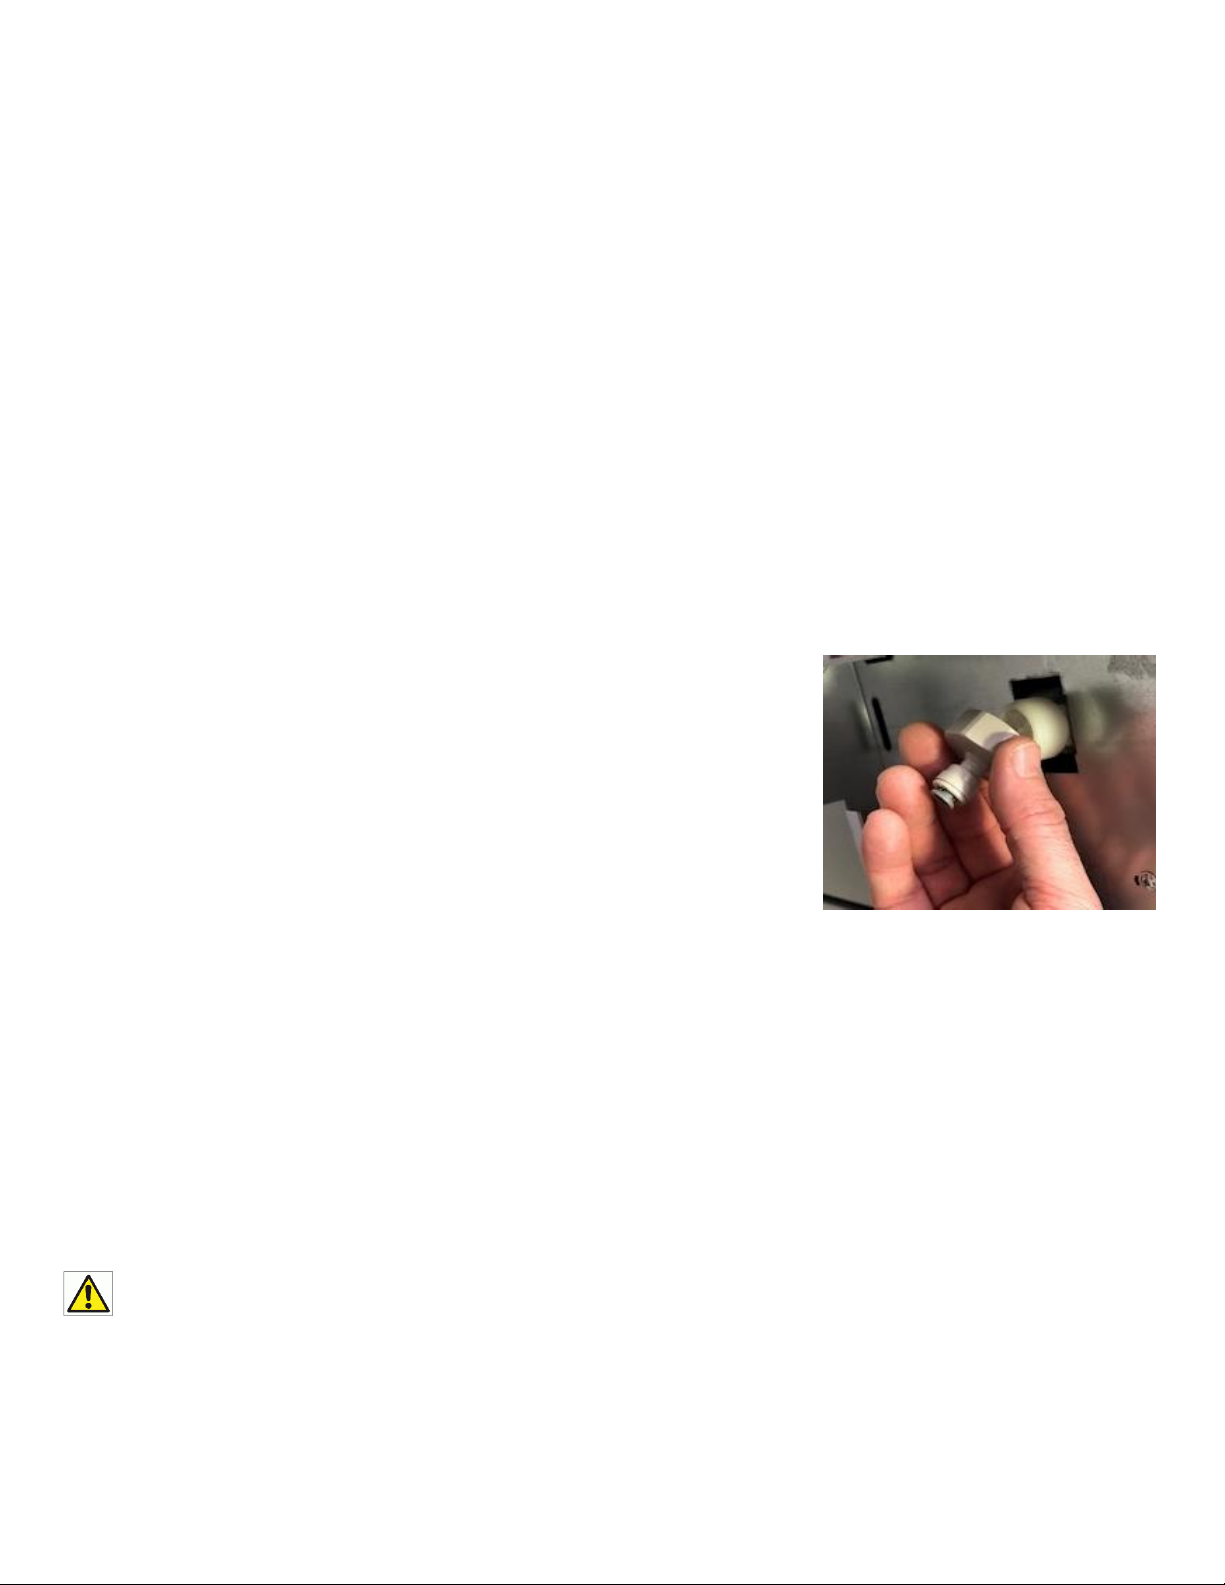
10.0 Changing Water Filter (Filtered models only)...................................................................................... 18
11.0 Cleaning Instructions............................................................................................................................ 19
12.0 Troubleshooting................................................................................................................................... 19
13.0 Disposal ................................................................................................................................................ 20
14.0 Spare / Replacement Parts List ............................................................................................................ 21
14.1 Countertop Version....................................................................................................................... 21
14.2 Slimline Countertop Version ......................................................................................................... 22
15.0 Frequently Asked Questions (FAQ’s). .................................................................................................. 23
16.0 Warranty Information.......................................................................................................................... 25
17.0 Terms and Conditions .......................................................................................................................... 27

3 08/54070/0 (Issue 5)
1.0 About my product
Please take some time to complete the information below, it may save time if you need to contact us for
any reason.
Model Number
0
Serial Number
(this can be found on the data badge on the back of
the product)
Date of purchase
Purchased from
In your instruction pack you will find a duplicate data badge which contains all the critical information
above. You can peel of the backing and stick in the box below:

4 08/54070/0 (Issue 5)
2.0 Scope of delivery
The contents of this package include:
•Chosen Burco Boiler variant
•Drip Tray & Drip Tray Insert
•Accessories kit (Descale Drain Tube & Water Inlet Hose)
•Filter for filtered models
•Instruction Booklet
3.0 Warnings and Precautions
WARNING. THIS SYMBOL MEANS THERE IS A RISK OF PERSONAL INJURY.
IMPORTANT. THIS SYMBOL MEANS THERE IS A RISK OF DAMAGING THE
APPLIANCE.
THIS APPLIANCE MUST BE INSTALLED, COMMISSIONED AND SERVICED BY A
QUALIFIED PERSON IN ACCORDANCE WITH THE NATIONAL AND LOCAL
REGULATIONS IN FORCE IN THE COUNTRY OF INSTALLATION. ALSO TAKE INTO
CONSIDERATION.
•HEALTH AND SAFETY AT WORKS ACT
•IEE REGULATIONS
•BS CODES OF PRACTICE
•LOCAL AND NATIONAL BUILDING REGULATIONS

5 08/54070/0 (Issue 5)
•LOCAL AND NATIONAL WATER REGULATIONS
THIS APPLIANCE MUST BE INSTALLED:
•IN LOCATIONS OVERSEEN BY TRAINED PERSONNEL
•ON A FLAT, HORIZONTAL SURFACE
THIS APPLIANCE CAN BE USED BY CHILDREN AGED FROM 8 YEARS AND ABOVE
AND PERSONS WITH REDUCED PHYSICAL SENSORY OR MENTAL CAPABILITIES OR
LACK OF EXPERIENCE AND KNOWLEDGE IF THEY HAVE BEEN GIVEN SUPERVISION
OR INSTRUCTION CONCERNING USE OF THE APPLIANCE IN A SAFE WAY AND
UNDERSTANDING THE HAZARDS INVOLVED. CHILDREN SHALL NOT PLAY WITH
THE APPLIANCE. CLEANING AND USER MAINTENANCE SHALL NOT BE MADE BY
CHILDREN WITHOUT SUPERVISION.
DISCONNECT APPLIANCE BEFORE SERVICING, MAINTENANCE OR CLEANING.
IF THE SUPPLY CORD IS DAMAGED, IT MUST BE REPLACED BY THE
MANUFACTURER, ITS SERVICE AGENT OR SIMILARLY QUALIFIED PERSONS IN
ORDER TO AVOID A HAZARD.
DO NOT IMMERSE CORD, PLUG, OR WATER BOILER IN WATER OR ANY OTHER
LIQUID.
THE FLEXIBLE HOSE CONNECTED FROM THE OVER FLOW ALSO ACTS AS A VENT
FOR THE APPLIANCE. UNDER NO CIRCUMSTANCES SHOULD THIS FLEXIBLE HOSE
BECOME BLOCKED OR RESTRICTED IN ANY WAY.
THIS APPLIANCE MUST ONLY BE USED FOR HEATING WATER.
DURING OPERATION PARTS & SURFACES MAY BECOME HOT –AVOID
ACCIDENTAL CONTACT.
THIS APPLIANCE IS NOT SUITABLE FOR OUTDOOR USE OR AN AREA WHERE
WATER JET COULD BE USED.

6 08/54070/0 (Issue 5)
4.0 Introduction
Thank you for purchasing this Burco Autofill Water Boiler.
To ensure you obtain the full benefits from your new appliance:
•Please read this instruction book carefully and follow all advice given. Please pay attention to any
warnings.
•If you are unsure of any aspects of the information provided, or the setup and performance of the
product, please contact our Customer service team on +44 [0]344 879 3588.
The products are intended for commercial use as detailed in these instructions. The company has a policy
of continuous improvement in product quality and design. The company therefore reserves the right to
change the specification at any time.
5.0 Warranty Information
Non-Filtered Burco boilers come with a comprehensive 1-year parts and labour warranty (069825 &
069832). If you have purchased a Burco boiler with a water filter, then the warranty is 2 years parts and
labour.
(Please see page 17 &18 for full warranty information)
The warranty does not cover:
•Consequential damage arising out of any failure acceptable under warranty.
•Accidental damage or misuse as detailed in these instructions.
•Unauthorised alterations made to the appliance that aren’t made by a Burco-approved engineer.
•Consumable items such as filter cartridges and drip trays.
•Any damage due to incorrect installation, or build-up of scale or food debris.
It is important that you descale your water boiler regularly, particularly in hard water areas.
FAILURE TO DESCALE your water boiler or replace your filter cartridge when prompted to do so, will
INVALIDATE YOUR WARRANT

7 08/54070/0 (Issue 5)
6.0 Technical Data
Model
CT5L
CT20L
CT20L TT
SL5L, PB
SL10L,PB
Height (mm)
457
695
518
627
Width (mm)
358
215
Depth (mm)
464
373
Capacity (Litres)
5
20
5
10
Weight (Kg)
13
16
18
13
14
Ambient
Temperature (°C)
5°C –30°C
Water Inlet
Pressure (Bar)
1 –8 (Bar)
Voltage (V)
220-240V (50/60Hz)
Power Rating
(kW)
3kW
6kW
3kW
Sound level (db)
<60db

8 08/54070/0 (Issue 5)
7.0 Burco boiler Installation
7.1 Before connecting to the power supply
•Remove all packaging and plastic coating from the appliance.
•Check the unit has not been damaged in any way during transportation. Report any damage to the
company who sold you the boiler right away.
•Check the available power supply corresponds to that shown on the rating label of the appliance,
which must be A.C. (Alternating Current).
•Ensure the yellow steam cap is removed from the steam vent prior to powering appliance.
•The location must be frost free.
7.2 Connecting to the water supply
•Connection from the cold-water supply to the appliance should only be made by the hose supplied.
•In hard water areas, it is always advisable to fit an inline filtration unit to limit scale build-up. If you
have purchased a Burco boiler that does not have a water filter system included, we recommend
you fit a separate water filter between the boiler and the mains
supply.
•Always ensure mains water supply is turned off, or localised
isolation valves are closed before attempting to connect boiler
to the mains water supply.
•The inlet water connection to the inlet solenoid valve is ¾” BSP,
this should be connected to the mains water supply via an
accessible isolating tap.
•The blue pipe connects to the grey fitting which can be found underneath the appliance.
•Firmly push the blue pipe into the small outlet hole on the grey fitting.
•Ensure grey connection is screwed tight on the appliance and not leaking.
•Locate the second grey connection fitting. Connect the other end of the blue pipe to this. This
second grey connection fitting is connected to the mains water supply forming a cold-water feed
from the mains water supply to the Burco boiler.
•Do not use old water hose.
THIS APPLIANCE MUST BE INSTALLED IN LOCATIONS OVERSEEN BY TRAINED PERSONNEL & ON A
FLAT, HORIZONTAL SURFACE.

9 08/54070/0 (Issue 5)
7.3 Electrical Connection
•All electrical work must comply with all relevant wiring regulations and carried out by a qualified
electrician.
•To protect against fire, electric shock and personal injury, do not immerse cord, plug, or water boiler
in water or any other liquid.
•If the supply cord is damaged, it should be replaced by the manufacturer, its service agent or
similarly qualified persons in order to avoid hazard.
This appliance must be earthed.
7.4 Fitting or replacing a plug (3kW models).
If the socket outlets are not suitable for the plug supplied with the appliance, the plug should be removed
and an appropriate one fitted.
An appropriate plug must be fitted as follows:
The wires in the mains lead are coloured in accordance with the following code:
Wire Colour
Wire Name
Wire Code
Green & Yellow Wires
Earth
E
Blue Wire
Neutral
N
Brown Wire
Live
L
The supply cord on the 3kW appliance is of a special type. If replaced, only a Burco supply cord must be
used. Note: the supply cord may become warm when the appliance is in use.
Make sure the connections are tight and there are no loose strands of wire and no insulation trapped
under the terminals. Tighten the clamp in the plug making sure that it grips the outer covering of the cord.
If fitting a BS 1363 13A fused plug, then fit a 13A fuse and tighten the plug cover securely. If you are in any
doubt, consult a qualified electrician. Means of isolation with at least 3mm contact separation in all poles
must be incorporated into fixing of this appliance.
The fixed wiring insulation must be protected by insulated sleeving having a temperature rating of at least
60˚C.
Supply cords should be oil resistant, sheathed flexible cable not lighter than ordinary polychloroprene or
equivalent elastomer sheathed cord (code 60245 IEC 53).

10 08/54070/0 (Issue 5)
The appliance is supplied with a terminal block suitable for flexible wires up to 6mm².
Always destroy a plug that has been removed from the mains lead as a plug with bared flexible cord
is hazardous, if plugged into a live socket outlet.
7.5 6kW Twin Tap Model
The 6kW appliance is supplied with an internal terminal block for connection to the main power supply.
This must be connected using suitable flexible cable. The supply end of the cord must be fitted with an
easily accessible, all pole disconnection isolator switch, with a minimum of 3mm contact separation. For
safety regulations the means of disconnection must be accessible after installation.
7.6 Overflow and Drainage
Due to the electronic function of this water boiler, it is highly unlikely that an overflow would occur. The
boiler is primarily designed so that any overflow occurrence and condensation is directly vented to the
spillage tray. As an option, the boiler overflow outlet may be connected to a drainage system.
There may be some steam emitted from the vent at the base of the appliance during the initial fill
stages (or if the tank is refilled after being fully emptied) but this will reduce as the volume of water
increases in the tank. As an alternative, a flexible hose may be used to redirect steam to a sink/draining
board.
The flexible hose connected from the over flow also acts as a vent for the appliance. Under no
circumstances should this flexible hose become blocked or restricted in any way.
Should the boiler overflow, the water will be collected in the drip tray. The water in the drip tray can then
be emptied out into a drain. Check and empty the drip tray on a regular basis.
Optional drip tray connection to a waste water supply (not supplied).

11 08/54070/0 (Issue 5)
The drip tray may be connected directly to the waste water supply if required. However, we still
recommend this is disconnected and the drip tray cleaned regularly. The drip tray is dishwasher proof.
1. Turn the drip tray over
and locate the black lug
2. Carefully drill the plastic
barrier inside the lug
3. Connect to the waste
drainage with a flexible
pipe
8.0 Operating Instructions
Burco boilers are designed for continuous operation and should only be switched off for the
purpose of maintenance or emergency.
8.1 Boiler Overview
On/Off Switch
Lift off lid for
access to descale
cap
Controller Screen
Piping for
connection to
potable water
Hot Water Tap
Water Filter Access
Drip Tray

12 08/54070/0 (Issue 5)
8.2 Controller Overview
Before general use, please follow these important commissioning steps:
•Ensure boiler is connected to the mains water supply.
•Turn on the mains power and press and hold the power button for 10 seconds. The boiler
should begin filling and heating.
•Ensure boiler is set to 98˚C, fully drain the boiler contents from the tap and repeat. Boiler should
be fully drained twice before general use.

13 08/54070/0 (Issue 5)
8.3 Controller Set Up
Touch Screen Display (filtered models only): The LCD screen
will illuminate with the Burco logo. The default temperature
and the time will flash waiting to be set. The hour figure will
flash. Use the scroll buttons and press MENU to set when the
correct time is shown. To change default temperature, press
UP/DOWN SCROLL buttons to adjust to required temp.
Touch Screen Safety Lock:
Pressing and holding both the MENU and the UP-SCROLL
button for 3 seconds activates the screen lock function.
When the Screen Lock function is active settings cannot be
changed. Press and hold the same buttons to deactivate the
screen lock function. If in locked mode, the lock logo will
blink on the screen for a couple of seconds if any button is
pressed.
Set Time:
Press MENU, SET CLOCK will be highlighted. Press MENU to enter the SET CLOCK menu. The time will be
displayed, and the hour value will be flashing. Use the SCROLL buttons to select the correct value then
press MENU. The minute values will now be flashing. Use the SCROLL buttons again to select the correct
values. To store the time press MENU button again, this will also take you back to the SET UP menu. To
exit the SET UP menu, press the STANDBY button.
UP
STANDBY
ECO MODE
STANDBY

14 08/54070/0 (Issue 5)
Set Temperature:
Use the UP and DOWN buttons to adjust the temperature. Press and hold the UP or Down button for 3
seconds before setting desired temperature.
Screen Settings:
Press MENU and navigate down using the SCROLL button until SCREEN SETTINGS is highlighted, and then
press MENU. For the backlight brightness, the values will flash. Use the SCROLL buttons to choose between
5 levels of backlight brightness. Hold MENU to store. Now the contrast values will flash. Repeat for the
contrast. Hold MENU to store and to exit.
Language:
Press MENU and navigate down using the SCROLL button until LANGUAGE is highlighted, the press MENU.
Scroll down to which language you want. Hold MENU to store and exit. Luxembourgish can also be selected
in this menu.
LANGUAGE
ECO MODE
SCREEN SETTINGS
SET CLOCK
ECO MODE
LANGUAGE
SET CLOCK SCREEN
SETTINGS
ENGLISH
DEUTSCH
FRANÇAIS
ESPAÑOL
HOLANDÈS
ITALIANO

15 08/54070/0 (Issue 5)
Eco Mode (Filter models only):
When no water is drawn from the boiler in 2 hours, the eco mode is engaged. The backlight turns off and
the only data displayed is the Burco logo along with the time and the status indicator. Water should be
drawn off to resume normal operation. To set the Eco mode timer, simply scroll down to ‘ON’ to set the
desired time. Once you are happy with the time that has been set, press the menu button to confirm this.
This will then take you to ‘OFF’, where you can then set the time that you want the Eco mode to finish. If
you want to turn the Eco mode off altogether, simply scroll down and select ‘OFF’.
TO EXIT MENUS, PRESS THE STANDBY BUTTON
Heating up:
HEATING will flash on controller screen during the heating up
period. LOW TEMP may be shown on the screen during this time.
When selected temperature is achieved –READY is shown.
Filling:
Once the INITIAL SET UP is complete, the filling process will
start. The LCD Screen will show the word FILLING. After the
filling is complete, the heating will start until it reaches the set
temperature. The LCD Screen will show the word HEATING.
Filter Life (Filtration models only):
During operation, the bars fill to represent filter usage. Once
exhausted, all the bars are solid and the fault code for changing
the filter is displayed. The unit should be powered down. Filters
replaced and filter counter reset (refer to replacement parts).
ECO MODE
SET CLOCK
SCREEN SETTINGS
LANGUAGE

16 08/54070/0 (Issue 5)
Power Down:
To power down the product, the STANDBY button should be
held when on the normal operation screen for 10 seconds. The
shutdown screen will appear and using the scroll buttons, ‘Yes’
should be selected by pressing MENU. The unit will then
shutdown.
Tap function:
The tap can be changed between a controllable and
constant flow. For ‘Controllable’ flow, simply pull the
plastic handle towards you to dispense water and
release to stop, see image 1. If you turn the plastic
tap handle through 180 degrees, the tap will be in
‘Constant’ mode, see image 2. Now when you pull the
tap towards you, it will remain locked downwards in
an ‘open’ state until you lift the black handle back
upwards to stop. The tap function is the same on tap
models on both our Filtered and Unfiltered boilers.
Push Button function:
To operate the push button simply place a cup under dispense
nozzle, then press and hold the push button. When the button
is released the water will stop flowing.
Always take care when operating the tap or push button as the water will be boiling hot.
1.
2.

17 08/54070/0 (Issue 5)
9.0 Descaling & Cleaning advice and information
9.1 Descaling
The descaling procedure must be performed by suitable personnel as it requires the removal of panels
from the boiler and access to live electrical components.
Always use a descaling agent suitable for stainless steel.
1. Isolate the boiler from electrical supply.
2. Allow the water to cool to approximately 60°C (Heat insulated gloves are recommended)
3. Lift the lid on the top of the boiler & twist the black tank cap clockwise and remove it. (Picture 1)
4. Add descaling agent through opening (Picture 2) in accordance with manufacturer’s instructions.
5. Replace the black tank cap (anti-clockwise) and ensure it is secure.
6. Turn on the electricity and allow the boiler to operate normally for approximately 45 minutes.
7. Isolate / turn off the boiler and allow to cool down.
8. Remove the tank cap again to inspect the tank and level detectors for scale deposits.
9. Drain and flush the de-scaling agent from the tank, using tap on the front of theappliance.
10. STANDARDWIDTH MODELS ONLY Todrain the tank completely, locate the drain valve at base (picture 4).
11. SLIMLINE MODELSONLY To drain tank completely, locate drain valve behind filteraccess panel.
12. Attach appropriate drain pipe from accessories kit & open drain valve to drain water through flexible pipe
(pictures 5,6).
13. Connect a hose from the overflow pipe to suitable waste water disposal unit and open the valve to drain the
tank.
14. When empty,close the drain valve. CHANGE WATER FILTER AT THIS STAGE, SEE PAGE 18 OF INSTRUCTIONS.
15. Replace tank cap, lift off lid & turn the boiler back on.
1.
2.
3.
4.
5.
6.
4.

18 08/54070/0 (Issue 5)
10.0 Changing Water Filter (Filtered models only).
The boiler will alert when a new filter cartridge is required. Please ensure all packaging is removed before
inserting new filter. The boiler should be descaled in conjunction with the filer change, see page 17 of
instructions.
The water filter cartridge is unique to Burco. Only Burco “BC02” replacement filter (Part No.
01/74334/0) will fit these models. Please either purchase a replacement from your catering
equipment supplier, or alternatively order replacements via:
+44 [0]344 879 3588
www.burco.co.uk
It is important that you descale your water boiler regularly, particularly in hard water areas.
Failure to descale your water boiler or replace your filter cartridge when prompted to do
so will invalidate your warranty
1. Standard Width: With the
boiler empty and lying on
it back, locate the filter at
base of the boiler.
2. Twist cartridge
anticlockwise to remove
(some residual water may
be present).
3. Slimline Water Boiler: Push
the filter access panel, the
magnetic catch releases the
door, pull to open.
The filter must be installed before use to allow the product to function for filtered versions

19 08/54070/0 (Issue 5)
11.0 Cleaning Instructions
It is recommended that your water boiler is cleaned on a regular basis. Failure to do so may result in the
appliance not operating to its full potential and may invalidate your warranty.
Disconnect from the electrical supply before cleaning and allow water boiler to cool.
Do not immerse the water boiler in water or any other liquids and take care to keep water away
from the supply cord and connections. Do not use a water jet or steam cleaner.
External Cleaning
Wipe the external surfaces & dispensing tap of the appliance with a damp cloth. It is recommended that
this is done daily to prevent lime scale build up. Stubborn stains may be removed using a good stainless-
steel cleaner or non-abrasive cleaner. Hard to reach areas should be cleaned using a soft brush & mild
cleaning solution.
Failure to clean on a regular basis may invalidate your warranty
12.0 Troubleshooting
If you experience any problems with the water boiler, please contact our Aftersales team on +44 [0]344
879 3588. To ensure we can offer you the best possible service, please ensure you have the product code
and serial number available (from page 2).
6. Press & hold the UP &
DOWN buttons for 3
seconds to reset filter alarm
on controller.
5. Twist new cartridge
clockwise until locked in
position
4. Twist cartridge
anticlockwise to remove
(some residual water may
be present).
Failure to use the correct filter cartridge will affect performance and invalidate the boilers
warranty.

20 08/54070/0 (Issue 5)
Your boiler is fitted with a fault system that can detect fault conditions. Some of the conditions are less
serious and the boiler will continue to operate normally, while other faults are more serious and will
disable the appliance. Before calling the service line, switch off appliance at the main supply, then draw
off a small amount of water and switch back on after 10 minutes. If the fault continues, please call the
service line for advice on +44 [0]344 879 3588.
QR codes that appear on the screen can be scanned using an iPhone, Android and Windows device, which
will take you to the Burco website.
If you believe your Burco Boiler isn’t working correctly, please contact our Aftersales Team on
+44 [0]344 879 3588.
13.0 Disposal
At the end of the appliance’s useful life, it should not be disposed of with household waste. Please recycle
where facilities exist. Check with your local authority for recycling facilities and advice in your area
For electrical products sold within the European Community. At the end
of the electrical products useful life it should not be disposed of with
household waste. Please recycle where facilities exist. Check with a Local
Authority or retailer for recycling advice in your country. Batteries should
be disposed of or recycled in accordance with WEEE Directive
2012/19/EU. Packaging should be recycled where possible.
This manual suits for next models
24
Table of contents
Other Burco Boiler manuals

Burco
Burco MFGS20SS User manual

Burco
Burco C10STHF Operator's manual

Burco
Burco 76700 User manual

Burco
Burco CT5L User manual

Burco
Burco AFF10WM User manual

Burco
Burco 5L Operator's manual

Burco
Burco C8T Operator's manual

Burco
Burco AFU7WM User manual

Burco
Burco 069801 User manual

Burco
Burco 69795 User manual
Popular Boiler manuals by other brands

Baxi
Baxi Duo-tec Instruction manual for users and fitters

Laars
Laars Mighty Therm 2 200 User's information manual

Keston
Keston Heat2 45 user guide

Centrometal
Centrometal EKO-CUP SV3 2500 Technical instructions

DeDietrich
DeDietrich MCA 45 user guide

DeDietrich
DeDietrich INNOVENS MC 35E Instructions for use