9
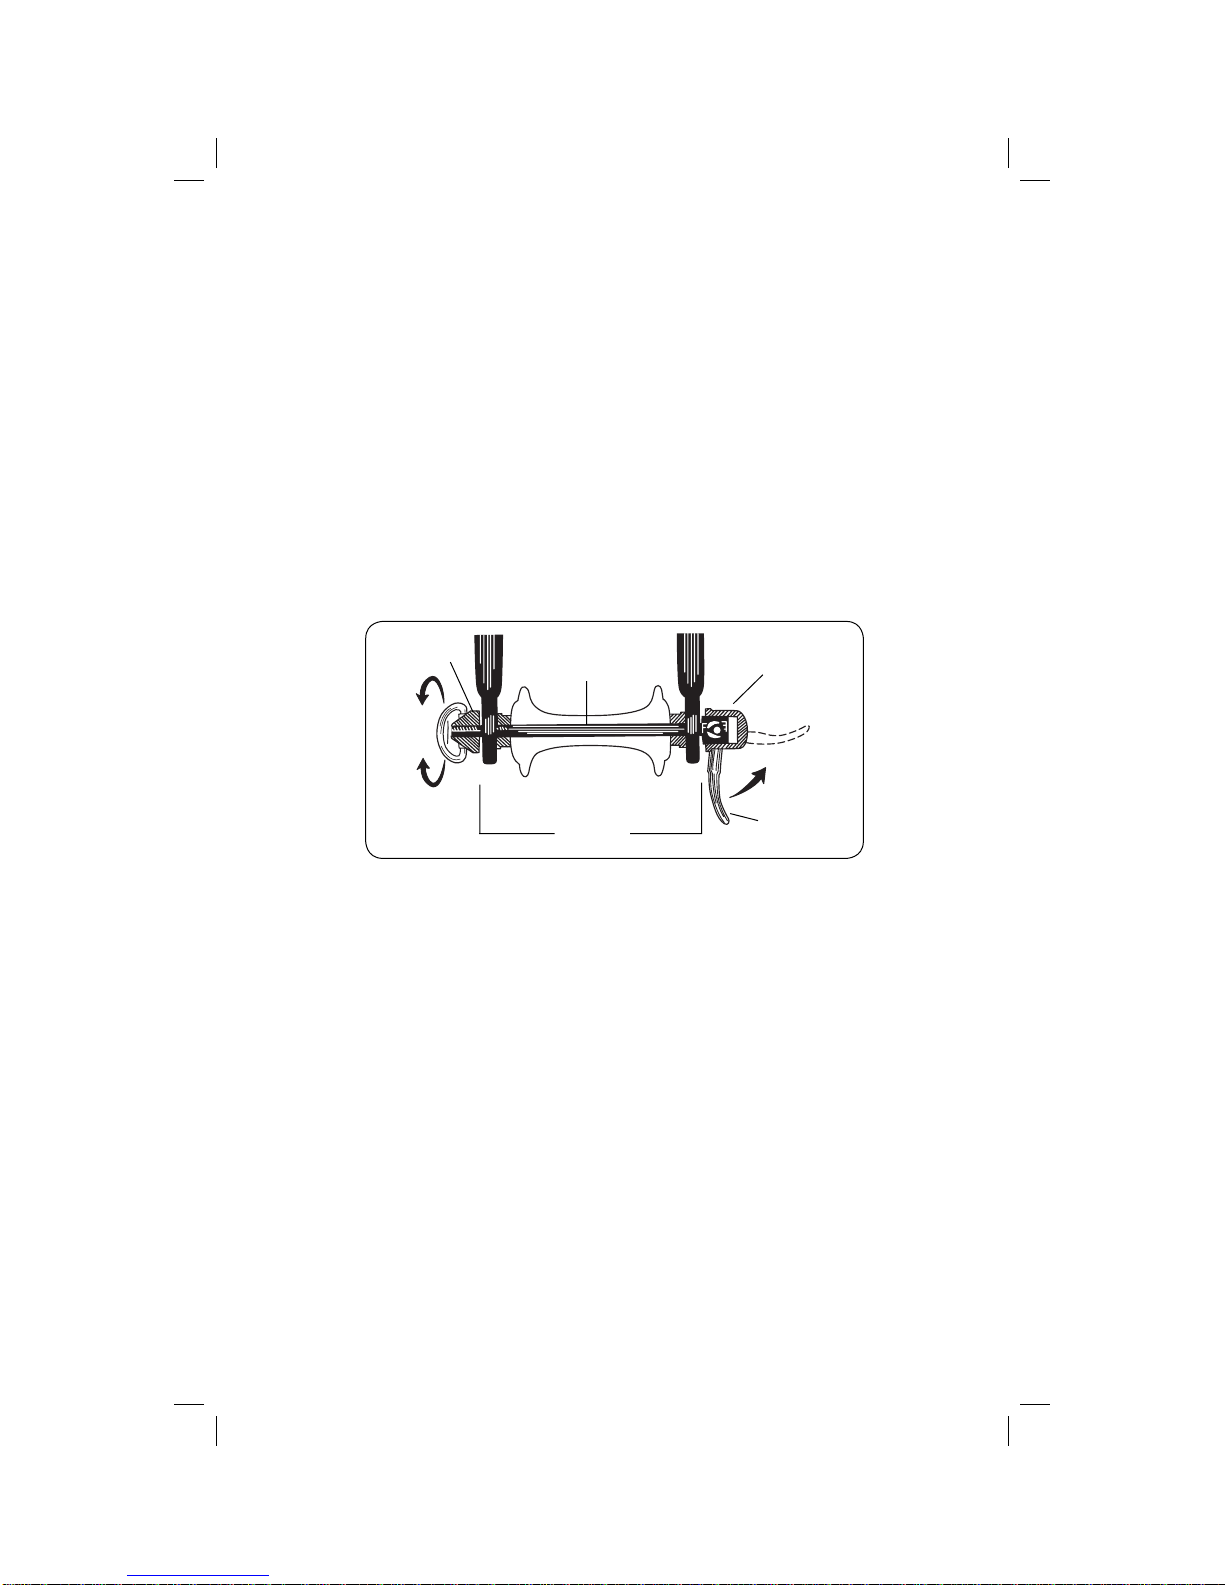
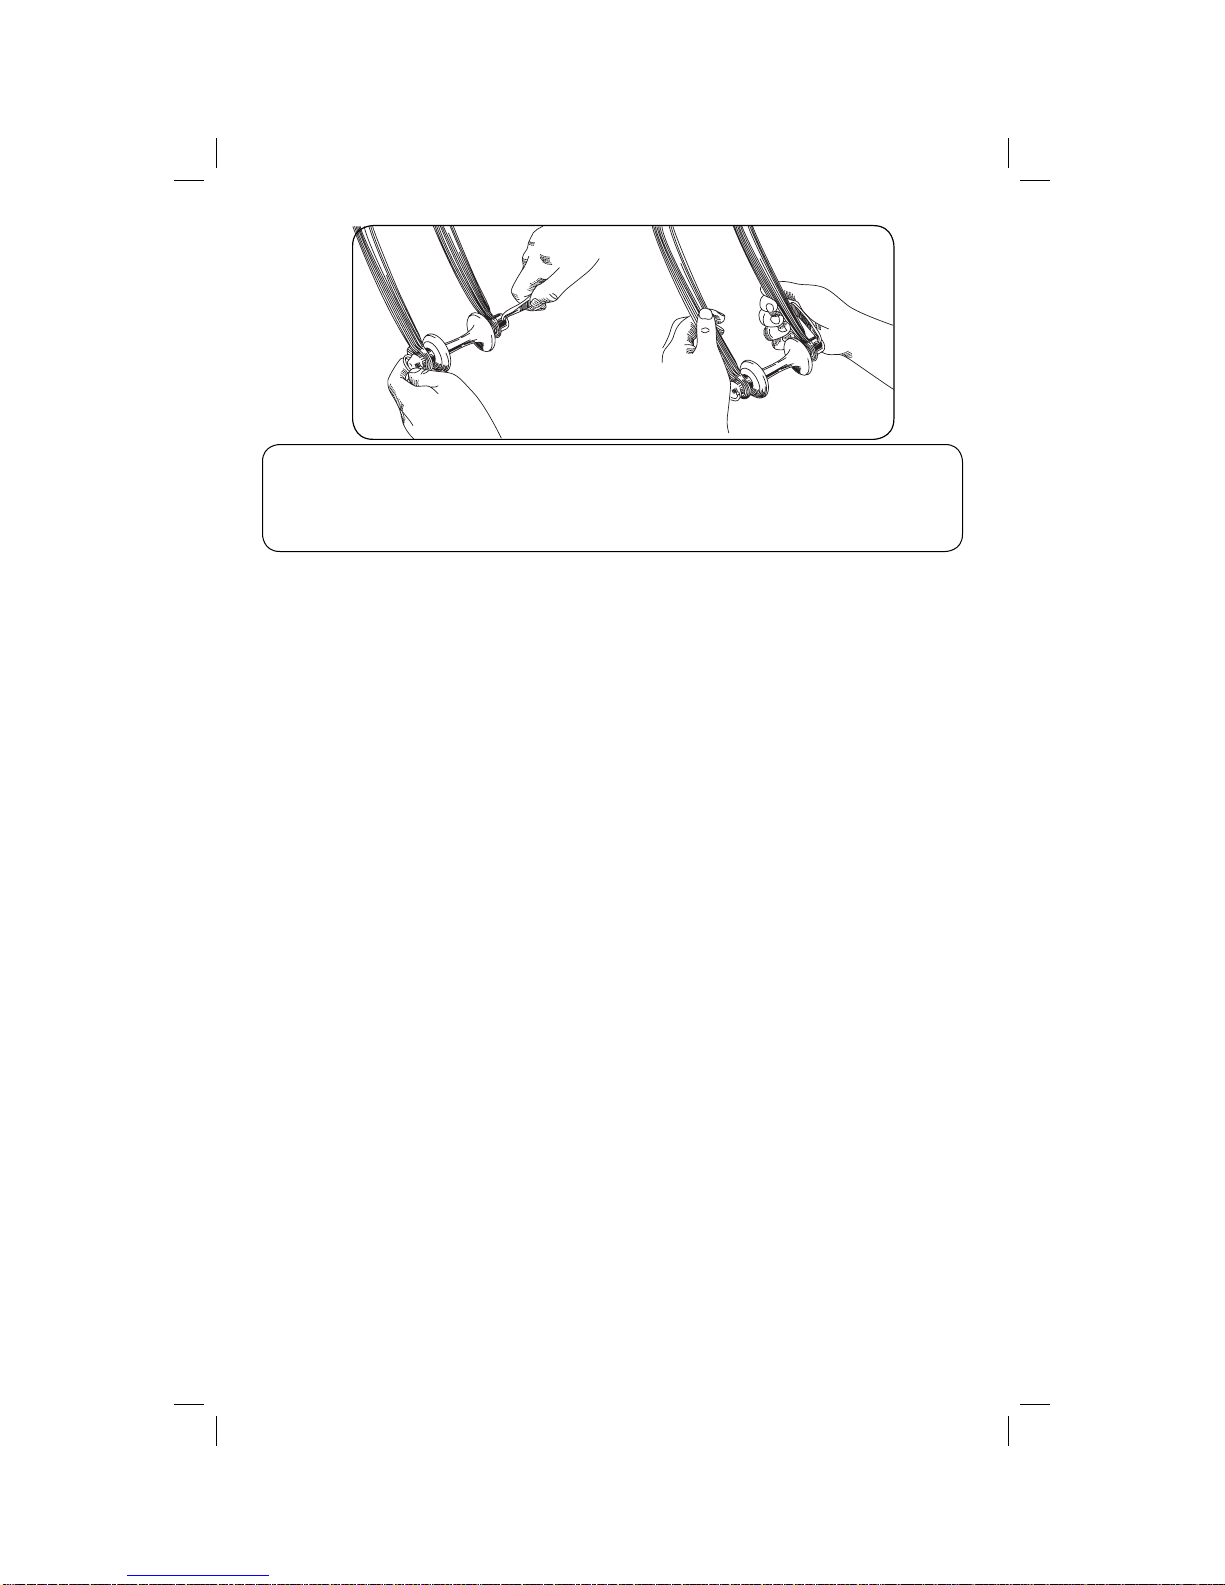
Burley Tandem Suppplement
3. Don’t force vehicles to repass you needlessly—You’re riding along a narrow,
busy road and motorists are having trouble getting by.There are a dozen cars
waitingat the next red light,all of whichhavealready patiently overtaken you.Do
you maintain your place in line,or do you zip past everyone on the right so you’ll
get the jump when the light changes? If you do the latter,you might gain 50 feet
and save a few seconds,but you’ll also probably create 12 anti-bicyclists when
they get caught behind you again.
4. Ride predictably—Maintain a straight line when you’re cruising,and use hand
signals when turning or changing lanes.If you ride erratically,it’s difficult for
drivers to know when to pass.
Hand signals are a courtesy and an important part of safe cycling.Motorists
feel more comfortable dealing with cyclists who communicate their intentions.
Use the same hand signals that motorists use,except for a right turn,which is
indicated by pointing with your right arm.
5. Avoid busy roads—It’s surprising how often you see cyclists on a busy highway,
ruffling the delicate feathers of already edgy commuters.An alternate route
doesn’t have to be a residential street with stop signs every block or a glass-
littered,jogger-strewn bike path.Examine a detailed map of your area and you’ll
probably find a relatively quiet road that takes you where you want to go.
6. Make yourself visible—In conditions where motorists might not readily
see you (an overcast day,for example),it’s a courtesy and plain good sense to
wear brightly colored clothes.Drivers will never blame themselves when they
almost pull into your path after a too-casual look.Unfair,yes;but you can greatly
enhance your safety by dressing to be seen.
7. Be careful about“provocative”actions—At a red light,even friendly drivers
are likely to be irritated by a cyclist riding in circles in front of them.Many view it
as a challenge to their right-of-way,even when none is intended.
8. Return the favor—Cyclists come to appreciate little unexpected courtesies
from motorists.For instance,we all nod a thank you to the driver who has the
right-of-way but waves us through anyway,returning the favor.You might,for
example,motion a driver to make his turn in front of you if you’ll be slow getting
under way.Who knows?That driver might look a bit more favorably on the next
cyclist down the road.
9. Obey traffic laws—Probably nothing irritates motorists more than watching a
cyclist blithely sail through a stop sign or light with barely a reduction in speed.If
we want to be treated with courtesy and respect by motorists,acting as if we’re
superior won’t make it happen.And legally,we’re bound by the same laws as
drivers in all states.
10. Brake with caution—Be especially careful when riding in wet weather when
traction of the tires is impaired by wet roads.