Burmester 175 User manual

OWNER’S MANUAL
175 TURNTABLE
REFERENCE LINE


.....................................................
Symbols and markups used .........................................................5
Meaning of warning symbols and words ..............................................5
.........................................
The record player ..................................................................8
Rear panel of the record player ......................................................9
Tonearm .........................................................................10
Power supply unit .................................................................11
Back panel of the power supply unit .................................................12
...........................................
...............................................
Switch phase .....................................................................14
Adjust the impedance to the cartridge................................................14
Set up anti-skating ................................................................15
Adjust the colour of the Power LEDs .................................................16
Set automatic shutdown ...........................................................16
Turning the record player on and off .................................................17
Set speed ........................................................................18
Lift and lower the tone arm .........................................................18
Play a record .....................................................................19
............................................................
...........................................................

About this device
4
After more than 35 years of experience in the processing of nest audio signals,
Burmester now crowns its series of successful phono preampliers with a turntable.
Recognizable as a typical Burmester even from the very rst glance, the 175 turntable
makes use of characteristic design elements of the Reference Line. The integrated
signal processing derived from the Burmester 100 phono pre-amplier processes the
ne phono signals at the highest level.
The 175 turntable is driven by four motors located in the outer square around the sub-
platter. This squaring of the circle and the use of multiple belts ensures that no irregular
tension arises on the central bearing. The two-fold design of this arrangement shortens
the ramp-up time and improves synchronization. This simultaneously results in an
improved sound and a fast starting time for the drive.
Alongside the mechanical system and the arrangement of the drive components, the
control electronics and the motors are also crucial for a great audio experience. The AC
synchronous motors used are driven by digital motor electronics which perform their
task with a high-precision oscillator and perfect sine and cosine voltages. The
electronics are completely immune to uctuations in the mains voltage frequency. Due
to the high level of efciency of the electronics, driver stages and motors, the entire
unit remains cool and free from heat-related impairments.
• Digital motor electronics with high level of efciency
• Chassis from a massive aluminium block
• Multi-layer carbon arm tube
• Length of pick-up arm: 9 inches
• Exclusive Burmester MC pickup
• Needle: Shibata cut
• Magnetic damper in oor plate for isolation
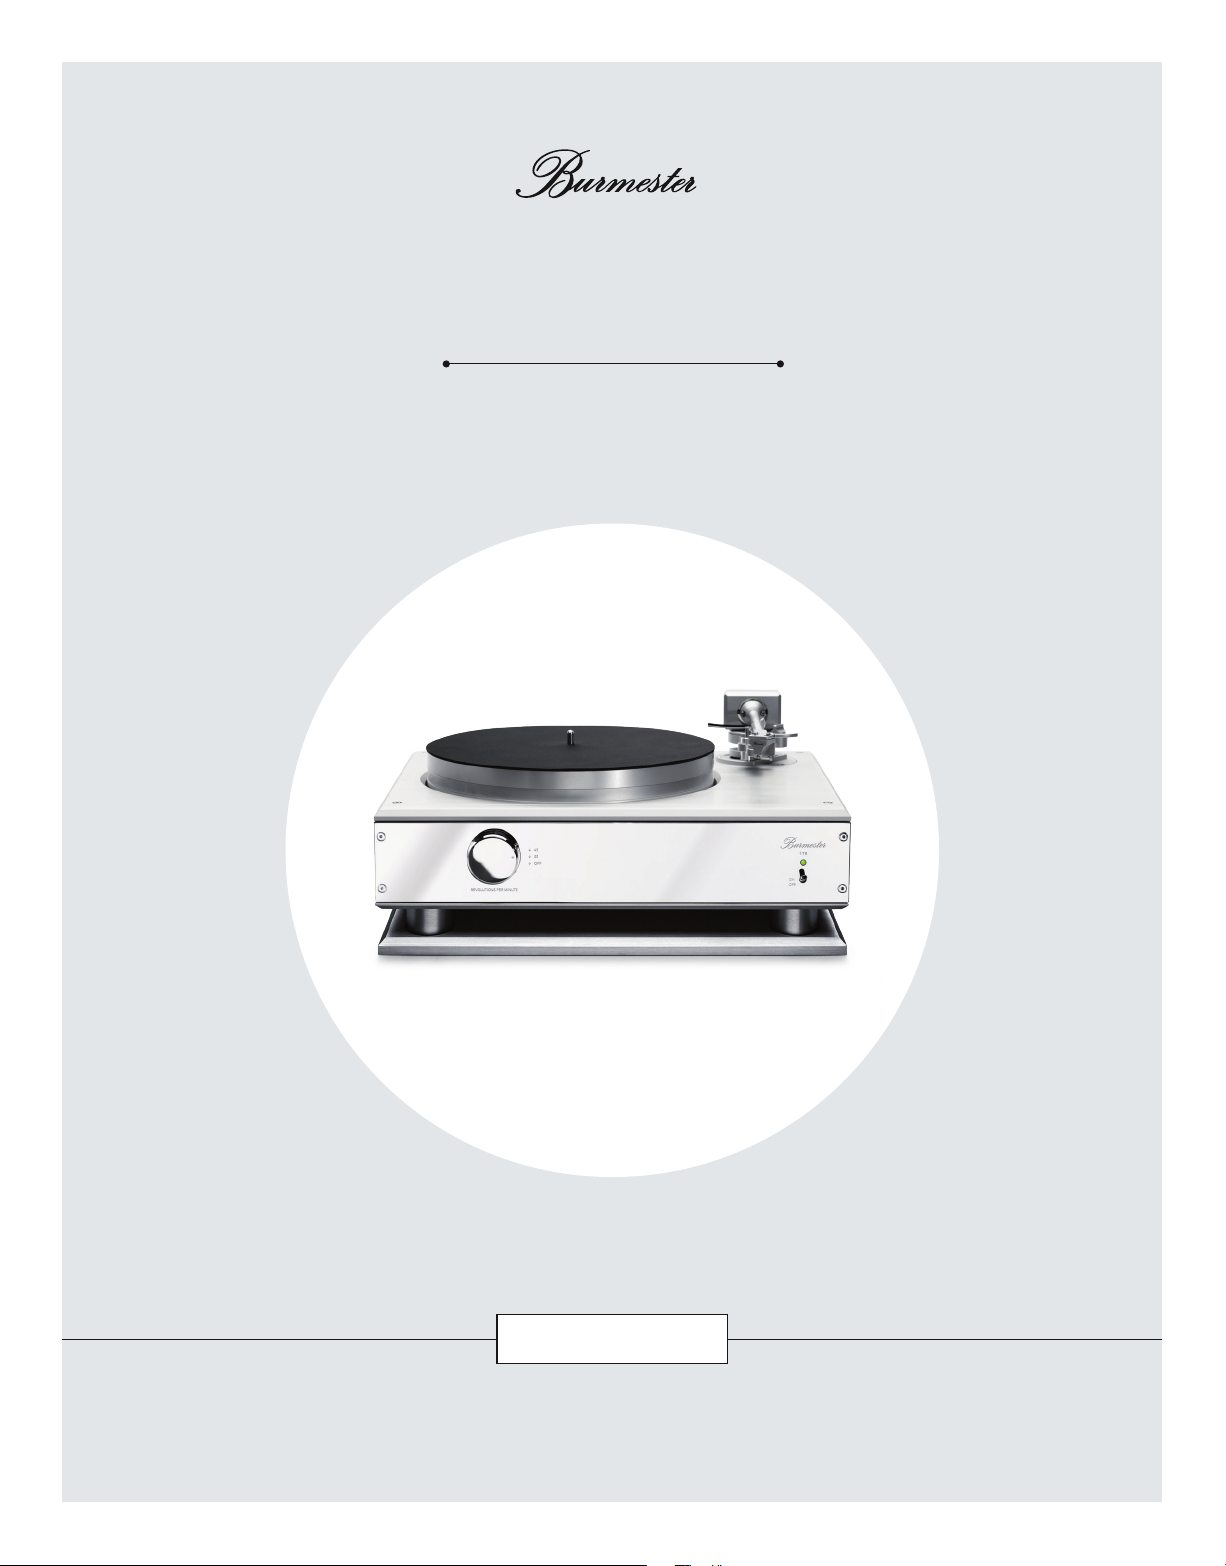
Dear Music Enthusiast,
congratulations on your selection and thank you for your trust.
You have chosen a product that combines absolute delity and uncompromising
quality with technological innovation and maximum exibility.
Please read through these operating instructions at least once before initially installing
the product so you can fully benet from all the functions of this truly high-delity
device. Should any of your questions remain unanswered, please contact your
specialist dealer or us directly.
Talk to us about any special requests you may have – even if they seem exceptional. We
love accepting technically feasible challenges.
We wish you many hours of high-delity listening.
The Burmester team

About these operAting instructions
175 Turntable 5
These operating instructions describe the operation of the 175 turntable.
Indicates a prerequisite that must be fullled before a subsequent action can be
carried out.
►
Indicates a single action step.
Indicates a sequence of action steps that must be carried out in the order given.
Indicates the result of an action.
In this document, the following warning messages, symbols and words are used:
The general hazard symbol is used together with the words
CAUTION, WARNING and HAZARD when there is risk of serious
injury. Follow all subsequent
messages to avoid injury or death.
The lightning symbol is used with the warning word HAZARD to
warn of life-threatening electric voltage.
WARNING! The warning word CAUTION indicates a hazard that can lead to
damage of the device.
CAUTION The warning word CAUTION indicates a hazard that present a low
or moderate threat of injury.
WARNING The warning word WARNING indicates a hazard that can lead to
death or serious injury.
HAZARD The warning word HAZARD indicates a hazard that leads
immediately to death or serious injury.
►Read and follow the messages that are given, in particular safety and warning
messages.
►Keep these operating instructions.

importAnt sAfety instructions
6
►Please read the operating instructions for your device fully and keep them.
Note the following points:
• Avoid direct sunlight.
• Avoid excessive heat, cold, humidity and dust.
• Do not expose the record player to any drops or splashes of water and do not put
any container with liquid on the record player.
• The record player is not suitable for use outside.
• Only put the record player on horizontal surfaces that can carry at least 75 kg.
WARNING
Weight of the record player.
►The record player may only be unpacked and installed by a specialist who is used
to handling heavy loads.
►Turn off the amplier you are connecting to before connecting to the record player.
If not used properly, this record player poses many injury risks. Therefore, never leave
your children alone with this device.
If there is a temporary power supply interruption, the record player can switch the
operation mode from ON to STANDBY. This is not an unexpected operation mode
change, but rather to protect the device.
To completely separate the 175 from the power supply, use the easily accessible power
switch on the back of the external power supply unit and then separate the power
cable from the device.

scope of delivery
175 Turntable 7
►Please check the scope of delivery for completeness and damages. Contact you
authorised specialist dealer if parts of the delivery are missing.
• 175 Turntable
• Base plate
• Sub-platter
• 1 set of belts (4 pieces)
• Turntable
• Carbon slipmat
• External power supply unit
• Power cable
• Multi-pole power supply cable
• Burmester Reference Check record
• Operating Instructions
• Catalogue
• Warranty certicate
• Design drawing

overview of the record plAyer
8
12 3 4
5 6 7 8
1
2
3
4
5
6
7
8

overview of the record plAyer
175 Turntable 9
9 10 11 12 13
9
10
11
12
13

overview of the record plAyer
10
161514
17 18 19
14
15
16
17
18
19

overview of the record plAyer
175 Turntable 11
20
20

overview of the record plAyer
12
21 22
23
21
22
23

connect the record plAyer
175 Turntable 13
►Note the operating instructions of the connected components before connecting.
Make sure that the amplier the record player is to be connected to is turned off.
Insert any end of the multi-pole power supply cable into the
of the record player (observe guide slot).
Connect the other end of the cable to the of the external
power supply unit (observe guide slot).
Make sure that the ) on the back of the external power supply is
switched to .
Check that power voltage provided by your electricity grid matches the voltage
information of the external power supply.
note: You can nd information on the voltage required under the .
Connect the power cable with the and plug the power plug into
the socket.
Connect the symmetrical with the desired of your
system.
WARNING
Damage to the record player or the amplier
►Never connect the record player to a phono input.
Switch the to .

tune the record plAyer
14
It is possible to align the pin assignment of the to your music
system.
►Turn the to position .
The pin assignment is set to 0°.
1= GND
►Turn the to position .
The pin assignment is set to 180°.
1= GND
You can adjust the impedance to your cartridge. For the pre-assembled cartrifge by
Burmester, the optimal value is already set (4.7 kΩ).
►Select the optimal setting for your pickup:
1: 4.7 kΩ
2: 1.0 kΩ
3: 470 Ω
4: 330 Ω
5: 220 Ω
6: 100 Ω

tune the record plAyer
175 Turntable 15
With anti-skating, you can set up the counterforce to balance the power of the tonearm.
This guarantees a awless audio experience.
The record player is turned off.
Place the Burmester reference check record with facing upwards on the
turntable and switch on the record player.
Turn the to the value 45.
The record begins to turn.
Loosen the if necessary.
Lift the tonearm with the .
Move the to the middle of the free area.
Lower the tonearm with the .
The cartridge must maintain its position and not drift inwards or outwards.
Turn the slowly clockwise.
If the drifting gets worse, change the direction you are turning.
Turn in the direction required until the cartridge maintains its position.
note: Sometimes it can benet the sound if you set up anti-skating so that the tonearm drifts
slightly outwards.

tune the record plAyer
16
You can adjust the colour of the . There are two separate colour schemes
available. Each colour scheme applies globally, for the record player as well as the
power supply unit.
In delivery state, the Power LEDs are red in standby mode. When the device is switched
on, the light is green. If the device is turned off, the Power LEDs are not lit.
The device is turned on.
Turn the to the value 45.
Press the for .
The colour of the LED changes.
The record player and the power supply unit are changed to the other colour
scheme.
Scheme
1 green red off
2red orange off
The device has an automatic shutdown (Auto Power Down).
If this is activated, the device automatically goes into standby mode after 20 minutes of
inactivity (the must be set to .
The is set to .
►Switch the to .
Automatic shutdown is activated.
The is set to .
►Switch the to .
Automatic shutdown is deactivated.

operAte the record plAyer
175 Turntable 17
CAUTION
Sound with high intensity
►Set the amplier connected to a low level volume before you turn it on.
The ) is on ().
The is not on.
Set the on the front of the device to the middle setting.
The Power LED (4) is on.
Push the upwards to the setting.
The changes colour.
The device is turned on.
The Power LED (4) is on.
►Push the upwards to the setting.
The device switches to standby mode.
The changes colour.
The device is turned on or in standby mode.
The is on.
►Push the downwards to the setting.
The device turns off.
The Power LED (4) is not on.

tune the record plAyer
18
The device is turned on.
Turn the to the required setting
45 Generally used for Maxis and Singles
33 Generally used for LP records.
The turntable does not turn.
Loosen the if necessary.
Move the backwards.
The tone arm is raised.
Move the forwards.
The tone arm is lowered.

operAte the record plAyer
175 Turntable 19
The device is turned on.
The is on .
Place the record you wish to hear on the .
Turn the to the required setting.
The record begins to turn at the set speed.
Loosen the if necessary.
Lift the tonearm with the .
Move the to the desired position.
Lower the tonearm with the .
Playback begins.

service, repAirs And mAintenAnce
20
WARNING
Damage to the surface
►Make sure that no liquid gets into the record player.
►Do not use chemicals to clean it.
Legislators stipulate that this device may not be disposed over in household waste
(grey bin, yellow bin, green bin, paper or glass). Instead it should be handed in at a
community recycling centre or at a voluntary take-back system.
We provide a warranty of 2 years for this device.
.
A requirement for this is that the device is connected properly and without overload
and mechanical integrity.
The guarantee does not apply if not-authorised personal interfere or if parts of the
casing, connections or xings have been disassembled.
Table of contents
Other Burmester Turntable manuals