manuals.online logo
Brands
  1. Home
  2. •
  3. Brands
  4. •
  5. C.P. Electronics
  6. •
  7. Security Sensor
  8. •
  9. C.P. Electronics EBDSPIR User manual

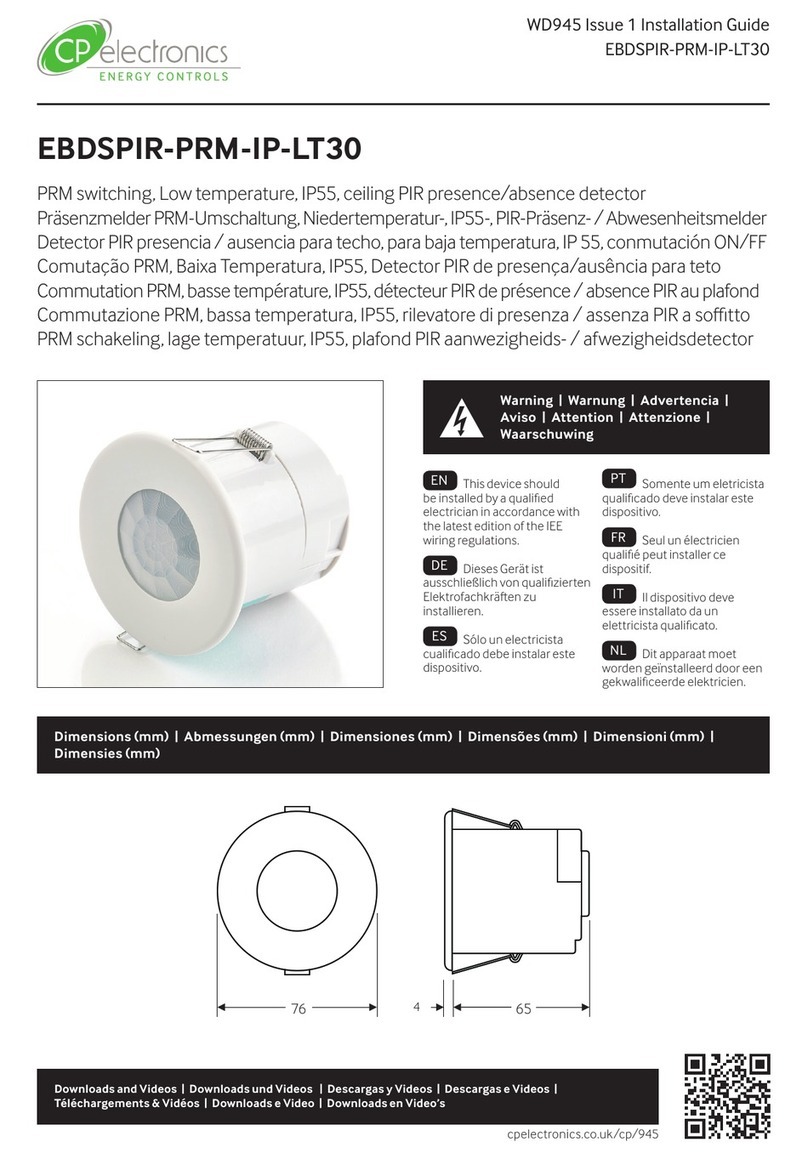
C.P. Electronics EBDSPIR User manual

Load
Normally closed contact
2 Amp maximum
Minimum load 100mA
Normally open contact
6 Amp fluorescent lighting and resistive
3 Amp compact fluorescent lighting
3 Amp low energy lighting
3 Amp low voltage lighting (switch primary of
transformer)
Fluorescent lighting (max 6 fittings recommended)
For fluorescent lighting total power factor correc-
tion capacitance must not exceed 40μF.
3 Amp fans and ventilation equipment
Switch SON lighting loads via a contactor
Minimum load 100mA
Supply voltage 220-240 Volts AC 50 Hz
Time out period Adjustable 10s to 30m
Light level Light to dark
Terminal capacity 2.5 mm2
Material Flame retardant ABS
Rated Impulse voltage2500V
Purpose Sensing control
Construction Independent, flush
mounted, electronic
Type of action Type 1.B action
Pollution Degree 2
Software Class A
Temperature -10°C to 35°C
Compliance EMC-2014/30/EU
LVD-2014/35/EU
Part Numbers
Specification
Detection Pattern
EBDSPIR-VFC Ceiling mounted presence detector voltage free output contact
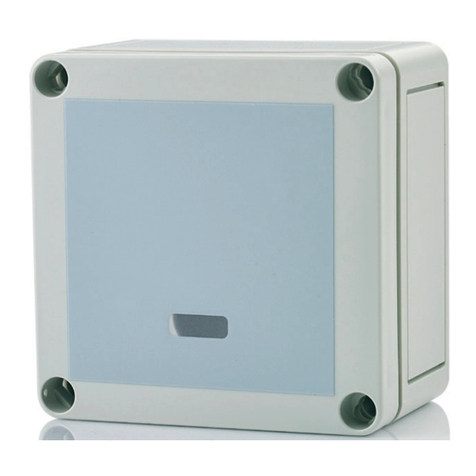
DBB Surface mounting back box
Ref #WD234 Issue 4
IMPORTANT NOTICE!
This device should be installed by a qualified electrician in
accordance with the latest edition of the IEE wiring regulations.
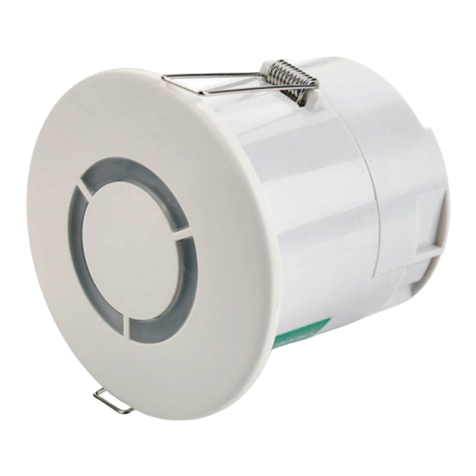
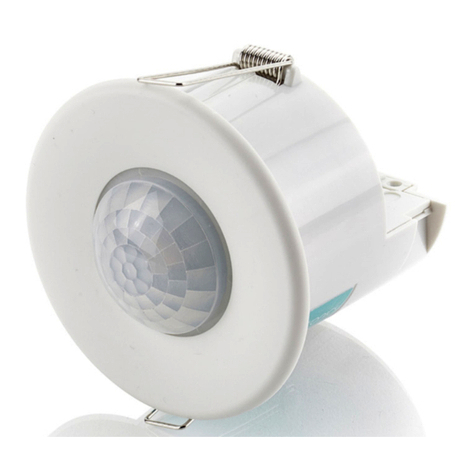
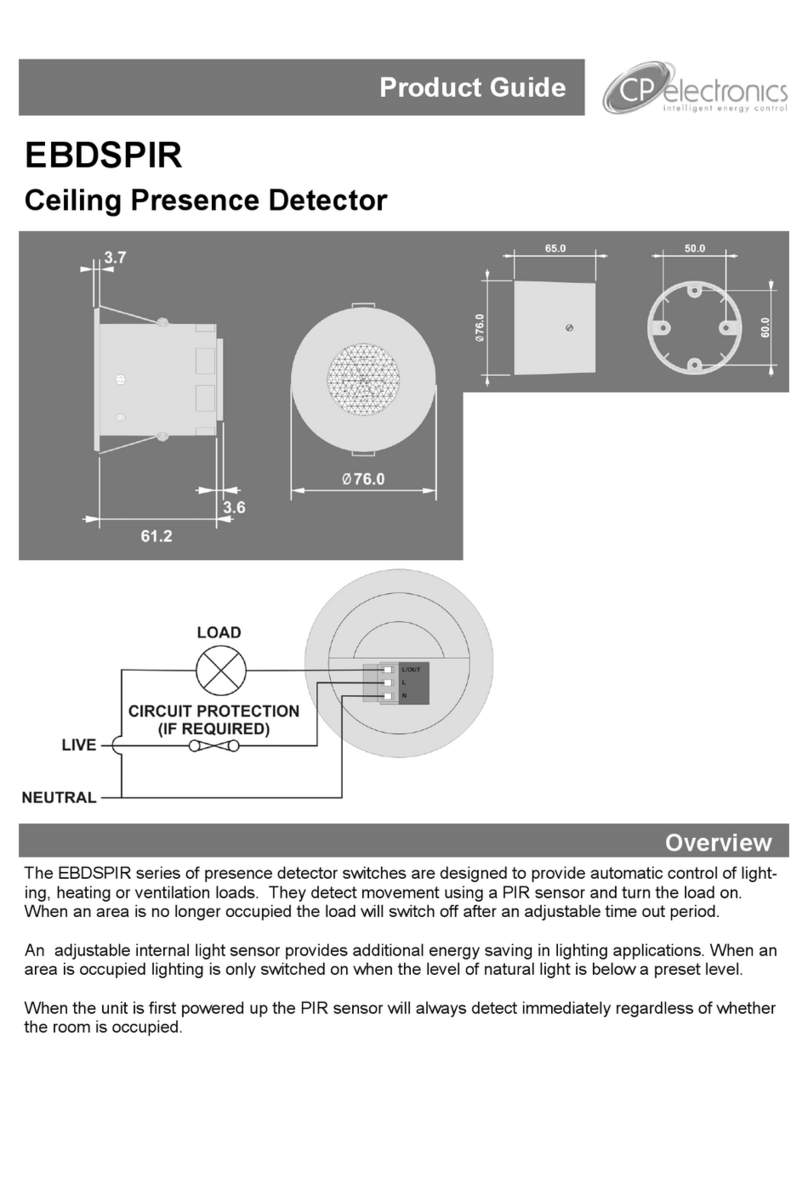
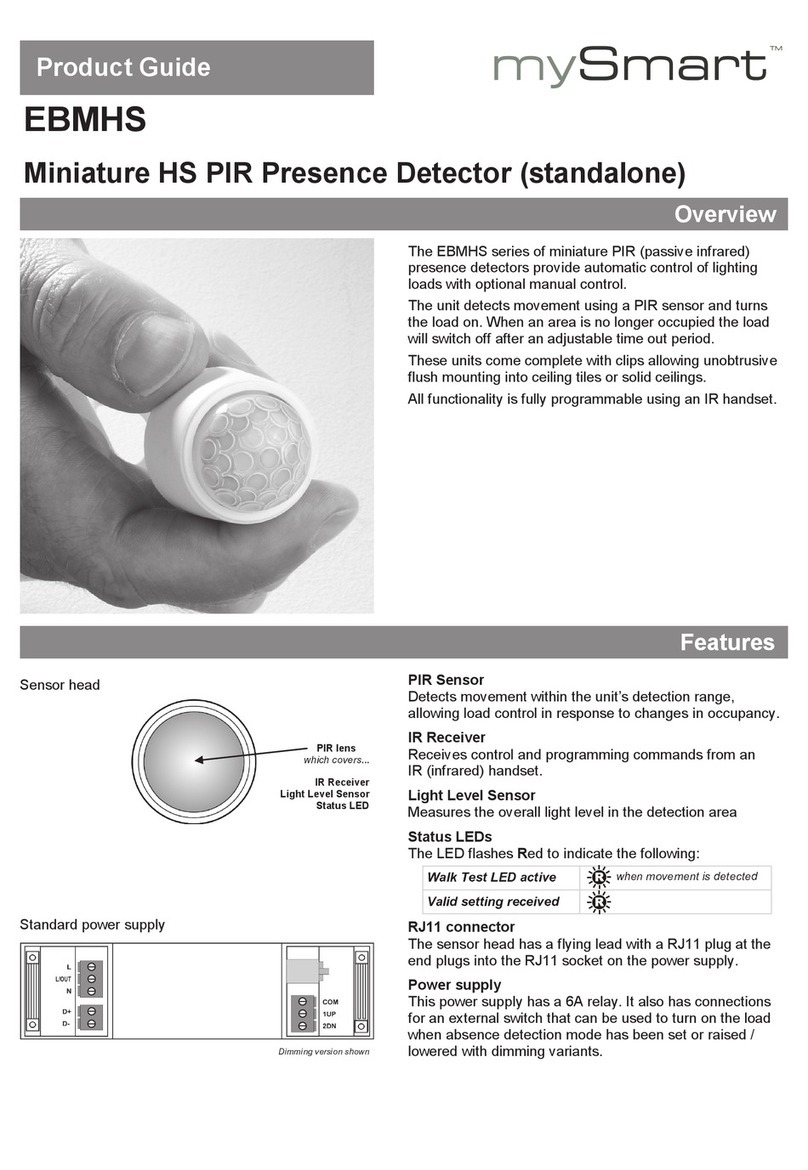
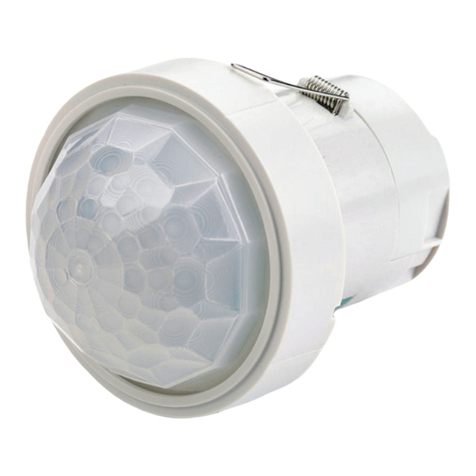
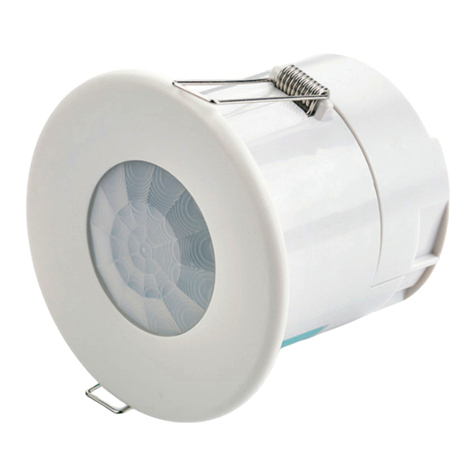
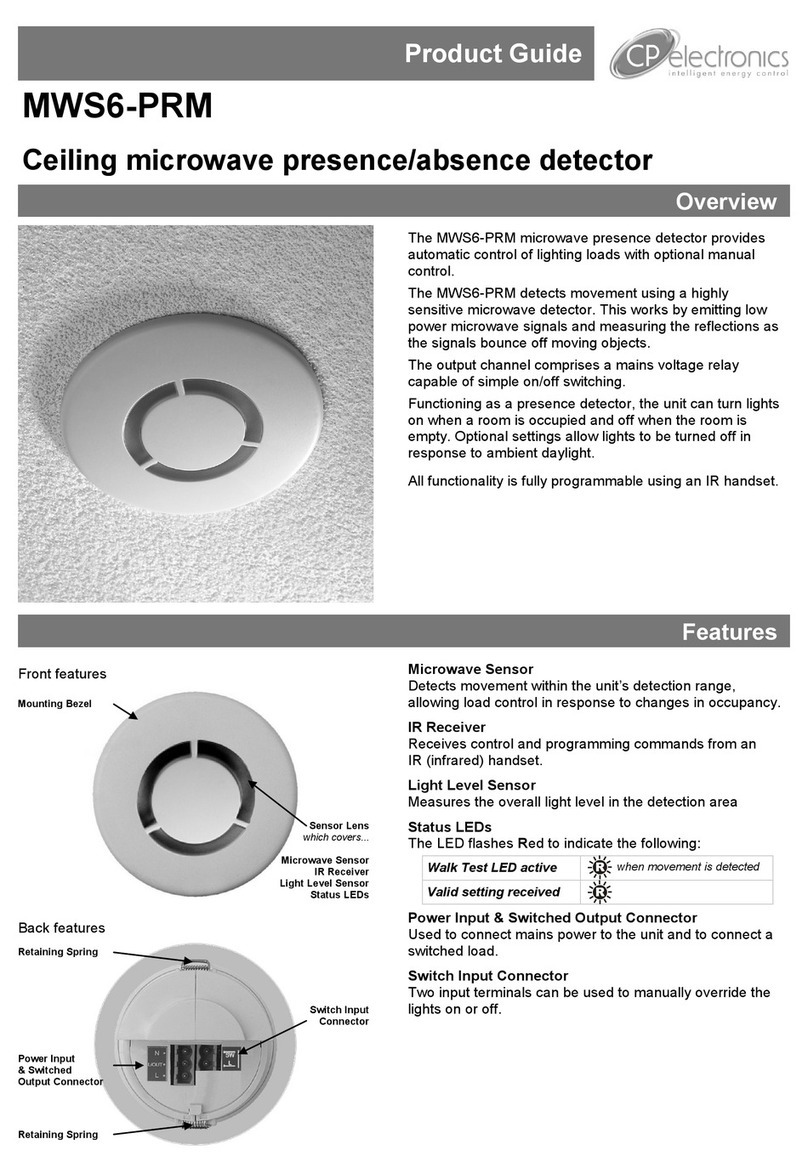
The EBDSPIR series of presence detector switches are designed to provide automatic control of light-
ing, heating or ventilation loads. They detect movement using a PIR sensor and turn the load on.
When an area is no longer occupied the load will switch off after an adjustable time out period.
An optional adjustable internal light sensor provides additional energy saving in lighting applications.
When an area is occupied lighting is only switched on when the level of natural light is below a preset
level.
When the unit is first powered up the PIR sensor will always detect immediately regardless of whether
the room is occupied.
This unit has a mains voltage power supply and provides an isolated voltage free contact output.
Overview
Product Guide
EBDSPIR-VFC
Ceiling Presence Detector
Installation
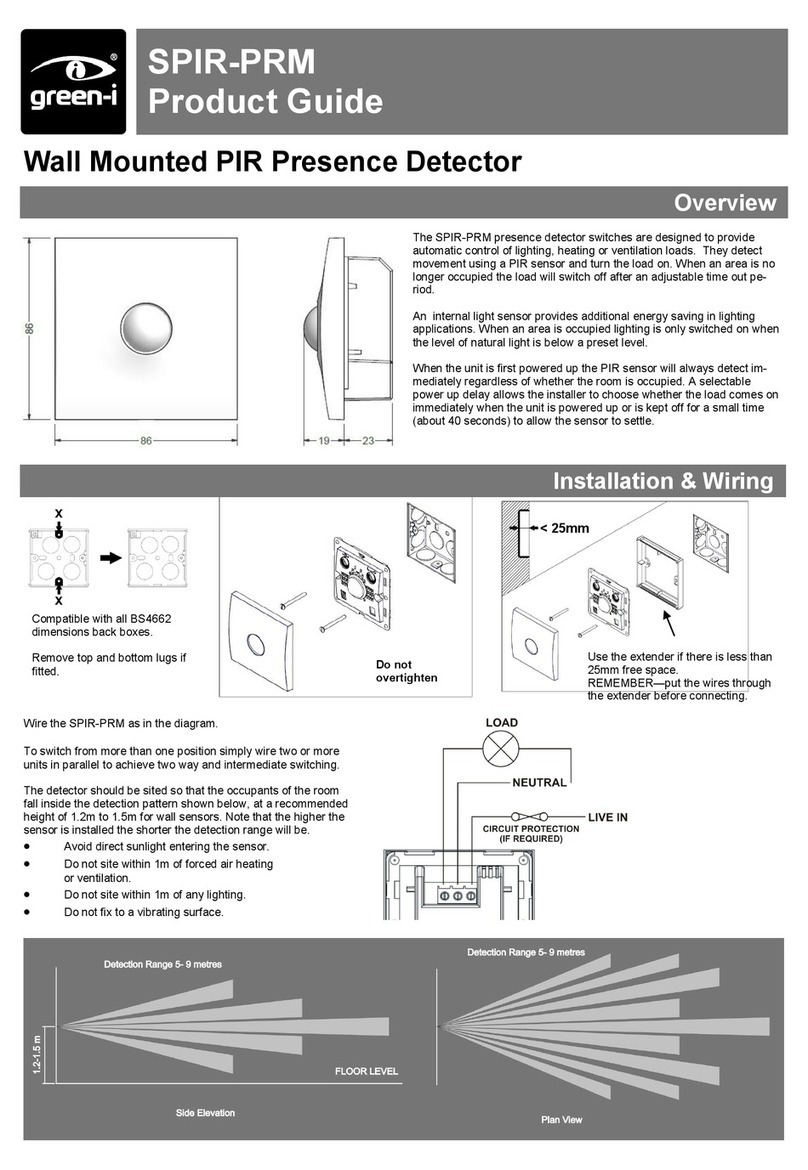
 The detector should be sited so that the occupants of the room fall
inside the detection pattern shown overleaf, at a recommended height of
2.8m on the ceiling. Note that the lower the sensor is installed the
smaller the detection range will be, subject to the parameters shown on
the diagram.
 Avoid direct sunlight entering the sensor.
 Do not site within 1m of forced air heating
or ventilation.
 Do not site within 1m of any lighting.
 Do not fix to a vibrating surface.
 Wire the product using the connector using the diagram on the front
page.
 Mount using one of the two options above.
 For lux enabled products, set the LUX level to maximum and the time to
minimum.
 Power the unit up—the load should come on immediately.
 Vacate the room or remain very still and wait for the load to switch off
(should take no more than 2 minutes).
 Check that the load switches on when movement is detected.
 To set the final LUX level wait until the level of natural daylight is just
enough that lighting is required. Starting with the LUX control fully clock-
wise (at minimum), very slowly turn the control anti-clockwise until the
lights come on. Note that when the LUX control is at maximum then the
lights will always come on with occupancy.
 Set the time required.
FLUSH FIXING
SURFACE FIXING
1 2
21
Hole Ø64mm
Warning - be careful bending
springs when mounting unit.
Pull out spring tab and rotate
spring arm as shown
50mm or 60mm fixing centres
Installation
 The detector should be sited so that the occupants of the room fall
inside the detection pattern shown overleaf, at a recommended height of
2.8m on the ceiling. Note that the lower the sensor is installed the
smaller the detection range will be, subject to the parameters shown on
the diagram.
 Avoid direct sunlight entering the sensor.
 Do not site within 1m of forced air heating
or ventilation.
 Do not site within 1m of any lighting.
 Do not fix to a vibrating surface.
 Wire the product using the connector using the diagram on the front
page.
 Mount using one of the two options above.
 For lux enabled products, set the LUX level to maximum and the time to
minimum.
 Power the unit up—the load should come on immediately.
 Vacate the room or remain very still and wait for the load to switch off
(should take no more than 2 minutes).
 Check that the load switches on when movement is detected.
 To set the final LUX level wait until the level of natural daylight is just
enough that lighting is required. Starting with the LUX control fully clock-
wise (at minimum), very slowly turn the control anti-clockwise until the
lights come on. Note that when the LUX control is at maximum then the
lights will always come on with occupancy.
 Set the time required.
LOAD DOES NOT COME ON
Check to see if the live supply to
the circuit is good.
If the supply and wiring are good,
for lux enabled versions, check
the LUX level setting. Increase the
LUX level setting to allow the
controller to turn on at higher
ambient natural light level.
If the detection range is smaller
than expected, check the diagram
above. Rotating the sensor slightly
may improve the range.
LIGHTS DO NOT GO OFF
Ensure that the area is left unoccu-
pied for longer than the selected
timer setting.
Make sure that the sensor is not
adjacent to circulating air, heaters
or lamps.
Fault Finding
3 5
3 4 5
4
6
Other manuals for EBDSPIR

1

This manual suits for next models

1

Other C.P. Electronics Security Sensor manuals

C.P. Electronics EBDSPIR-PRM-L3 User manual

C.P. Electronics

C.P. Electronics EBDSPIR-PRM-L3 User manual

C.P. Electronics VITESSE PLUS VITP7-MWS6 User manual
C.P. Electronics

C.P. Electronics VITESSE PLUS VITP7-MWS6 User manual

C.P. Electronics MWS6-PRM-LV User manual

C.P. Electronics

C.P. Electronics MWS6-PRM-LV User manual

C.P. Electronics MWS6-PRM-VFC User manual

C.P. Electronics

C.P. Electronics MWS6-PRM-VFC User manual

C.P. Electronics UNLCDHS Owner's manual

C.P. Electronics

C.P. Electronics UNLCDHS Owner's manual

C.P. Electronics MWS6-KNX User manual

C.P. Electronics

C.P. Electronics MWS6-KNX User manual

C.P. Electronics MWS1A-C-PRM-LV User manual

C.P. Electronics

C.P. Electronics MWS1A-C-PRM-LV User manual

C.P. Electronics MWS1A-IP-PRM-VFC User manual

C.P. Electronics

C.P. Electronics MWS1A-IP-PRM-VFC User manual

C.P. Electronics EBDHS-SR User manual

C.P. Electronics

C.P. Electronics EBDHS-SR User manual

C.P. Electronics MWS1A-C-IP-PRM-LV User manual

C.P. Electronics

C.P. Electronics MWS1A-C-IP-PRM-LV User manual

C.P. Electronics EBMPIR-MB-PRM User manual

C.P. Electronics

C.P. Electronics EBMPIR-MB-PRM User manual

C.P. Electronics EBDSPIR-AT-DD User manual

C.P. Electronics

C.P. Electronics EBDSPIR-AT-DD User manual

C.P. Electronics MWS6-PRM-LV User manual

C.P. Electronics

C.P. Electronics MWS6-PRM-LV User manual

C.P. Electronics EBDHS-B01-PRM User manual

C.P. Electronics

C.P. Electronics EBDHS-B01-PRM User manual

C.P. Electronics MWS5-DD-SA-C User manual

C.P. Electronics

C.P. Electronics MWS5-DD-SA-C User manual

C.P. Electronics MWS3A-PRM-VFC-LV User manual

C.P. Electronics

C.P. Electronics MWS3A-PRM-VFC-LV User manual

C.P. Electronics EBDMR-PRM User manual

C.P. Electronics

C.P. Electronics EBDMR-PRM User manual

C.P. Electronics MWS3A User manual

C.P. Electronics

C.P. Electronics MWS3A User manual

C.P. Electronics MWS3A-AT-DD User manual

C.P. Electronics

C.P. Electronics MWS3A-AT-DD User manual

C.P. Electronics MWS6-PRM-VFC User manual

C.P. Electronics

C.P. Electronics MWS6-PRM-VFC User manual

C.P. Electronics EBDMR-DNET1 User manual

C.P. Electronics

C.P. Electronics EBDMR-DNET1 User manual

C.P. Electronics EBMHS-AD-SA-C User manual

C.P. Electronics

C.P. Electronics EBMHS-AD-SA-C User manual

C.P. Electronics MWS3A User manual

C.P. Electronics

C.P. Electronics MWS3A User manual

C.P. Electronics EBMHS series User manual

C.P. Electronics

C.P. Electronics EBMHS series User manual

Popular Security Sensor manuals by other brands

Doepke Dupline DPM 1 operating instructions

Doepke

Doepke Dupline DPM 1 operating instructions

Jung 3360 operating instructions

Jung

Jung 3360 operating instructions

Wieland Sensor PRO STS 01 Series installation instructions

Wieland

Wieland Sensor PRO STS 01 Series installation instructions

EpiSensor ZDI-20 user guide

EpiSensor

EpiSensor ZDI-20 user guide

AMC SMILE 20 quick start guide

AMC

AMC SMILE 20 quick start guide

Tattletale Borderguard Tech sheet

Tattletale

Tattletale Borderguard Tech sheet

Omron K8AC-H11CC-FLK manual

Omron

Omron K8AC-H11CC-FLK manual

Sintrol S304 user manual

Sintrol

Sintrol S304 user manual

Smoke Guard M2500 Smoke Operation & maintenance manual

Smoke Guard

Smoke Guard M2500 Smoke Operation & maintenance manual

Tequipment NGD8800 user manual

Tequipment

Tequipment NGD8800 user manual

Trotec BE16 operating manual

Trotec

Trotec BE16 operating manual

Interlogix DDV1016AM Installation sheet

Interlogix

Interlogix DDV1016AM Installation sheet

MALTEC SafeSensor2000 instruction manual

MALTEC

MALTEC SafeSensor2000 instruction manual

System Sensor 6424 Installation and maintenance instructions

System Sensor

System Sensor 6424 Installation and maintenance instructions

Velleman PIR416 user manual

Velleman

Velleman PIR416 user manual

Ansul PIRANHA owner's guide

Ansul

Ansul PIRANHA owner's guide

Sensor Partners 3H-IR14C user manual

Sensor Partners

Sensor Partners 3H-IR14C user manual

System Sensor CO1224T Frequently asked questions

System Sensor

System Sensor CO1224T Frequently asked questions

manuals.online logo
manuals.online logoBrands
  • About & Mission
  • Contact us
  • Privacy Policy
  • Terms and Conditions

Copyright 2025 Manuals.Online. All Rights Reserved.