manuals.online logo
Brands
  1. Home
  2. •
  3. Brands
  4. •
  5. C.P. Electronics
  6. •
  7. Security Sensor
  8. •
  9. C.P. Electronics EBDSPIR User manual

C.P. Electronics EBDSPIR User manual

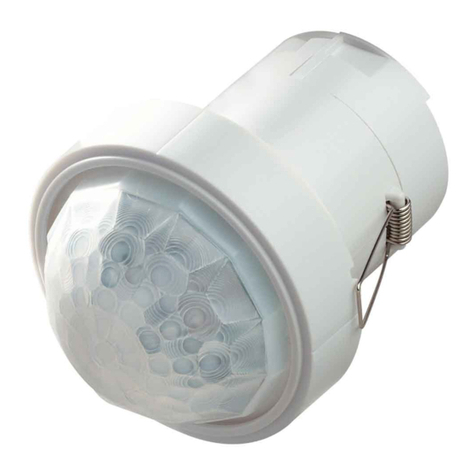
The EBDSPIR series of presence detector switches are designed to provide automatic control of light-
ing, heating or ventilation loads. They detect movement using a PIR sensor and turn the load on.
When an area is no longer occupied the load will switch off after an adjustable time out period.
An adjustable internal light sensor provides additional energy saving in lighting applications. When an
area is occupied lighting is only switched on when the level of natural light is below a preset level.
When the unit is first powered up the PIR sensor will always detect immediately regardless of whether
the room is occupied.
Overview
Product Guide
EBDSPIR
Ceiling Presence Detector
Installation
 The detector should be sited so that the occupants of the room fall
inside the detection pattern shown overleaf, at a recommended height of
2.8m on the ceiling. Note that the lower the sensor is installed the
smaller the detection range will be, subject to the parameters shown on
the diagram.
 Avoid direct sunlight entering the sensor.
 Do not site within 1m of forced air heating
or ventilation.
 Do not site within 1m of any lighting.
 Do not fix to a vibrating surface.
 Wire the product using the connector using the diagram on the front
page.
 Mount using one of the two options above.
 To switch from more than one position simply wire two or more units in
parallel.
 Set the LUX level to maximum and the time to minimum.
 Power the unit up—the load should come on immediately.
 Vacate the room or remain very still and wait for the load to switch off
(should take no more than 2 minutes).
 Check that the load switches on when movement is detected.
 To set the final LUX level wait until the level of natural daylight is just
enough that lighting is required. Starting with the LUX control fully clock-
wise (at minimum), very slowly turn the control anti-clockwise until the
lights come on. Note that when the LUX control is at maximum then the
lights will always come on with occupancy.
 Set the time required.
FLUSH FIXING
SURFACE FIXING
1 2
21
Hole Ø64mm
Warning - be careful bending
springs when mounting unit.
Pull out spring tab and rotate
spring arm as shown
50mm or 60mm fixing centres
Installation
 The detector should be sited so that the occupants of the room fall
inside the detection pattern shown overleaf, at a recommended height of
2.8m on the ceiling. Note that the lower the sensor is installed the
smaller the detection range will be, subject to the parameters shown on
the diagram.
 Avoid direct sunlight entering the sensor.
 Do not site within 1m of forced air heating
or ventilation.
 Do not site within 1m of any lighting.
 Do not fix to a vibrating surface.
 Wire the product using the connector using the diagram on the front
page.
 Mount using one of the two options above.
 To switch from more than one position simply wire two or more units in
parallel.
 Set the LUX level to maximum and the time to minimum.
 Power the unit up—the load should come on immediately.
 Vacate the room or remain very still and wait for the load to switch off
(should take no more than 2 minutes).
 Check that the load switches on when movement is detected.
 To set the final LUX level wait until the level of natural daylight is just
enough that lighting is required. Starting with the LUX control fully clock-
wise (at minimum), very slowly turn the control anti-clockwise until the
lights come on. Note that when the LUX control is at maximum then the
lights will always come on with occupancy.
 Set the time required.
LOAD DOES NOT COME ON
Check to see if the live supply to the circuit is good. Strap across
the L and LIVE OUT terminal to turn the load on.
If the supply and wiring are good, check the LUX level setting.
Increase the LUX level setting to allow the controller to turn on at
higher ambient natural light level.
If the detection range is smaller than expected, check the dia-
gram above. Rotating the sensor slightly may improve the range.
LIGHTS DO NOT GO OFF
Ensure that the area is left unoccupied for longer than the se-
lected timer setting.
Make sure that the sensor is not adjacent to circulating air, heat-
ers or lamps.
Fault Finding
3 5
3 4 5
4
6
LOAD
8 Amp resistive and incandescent lighting
6 Amp fluorescent lighting
3 Amp compact fluorescent lighting
3 Amp low energy lighting
3 Amp low voltage lighting (switch primary of transformer)
Fluorescent lighting (max 6 fittings recommended)
For fluorescent lighting total power factor correction ca-
pacitance must not exceed 40μF.
3 Amp fans and ventilation equipment
Switch SON lighting loads via a contactor
SUPPLY VOLTAGE 220-240 Volts AC 50 Hz
TIME OUT PERIOD Adjustable 10s to 30m
LIGHT LEVEL Light to dark
TERMINAL CAPACITY2.5 mm2
MATERIAL Flame retardant ABS
TYPE Class 2
TEMPERATURE -10°C to 35°C
CONFORMITY EMC-89/336/EEC
LVD-73/23/EEC
Part NumbersSpecification
Detection Pattern
EBDSPIR Ceiling mounted presence
detector
DBB Surface mounting back
box
Ref #WD101 Issue 7
C.P. Electronics Ltd
Brent Crescent
London
NW10 7XR
United Kingdom
Tel: + 44 (0) 333 900 0671
Fax: + 44 (0) 333 900 0674
www.cpelectronics.co.uk
enquiry@cpelectronics.co.uk
IMPORTANT NOTICE!
This device should be installed by a qualified electrician in
accordance with the latest edition of the IEE wiring regulations.
Due to our policy of continual product improvement CP Electronics reserves the right
to alter the specification of this product without prior notice.
FM 45789 EMS 534520

Other manuals for EBDSPIR

1

Other C.P. Electronics Security Sensor manuals
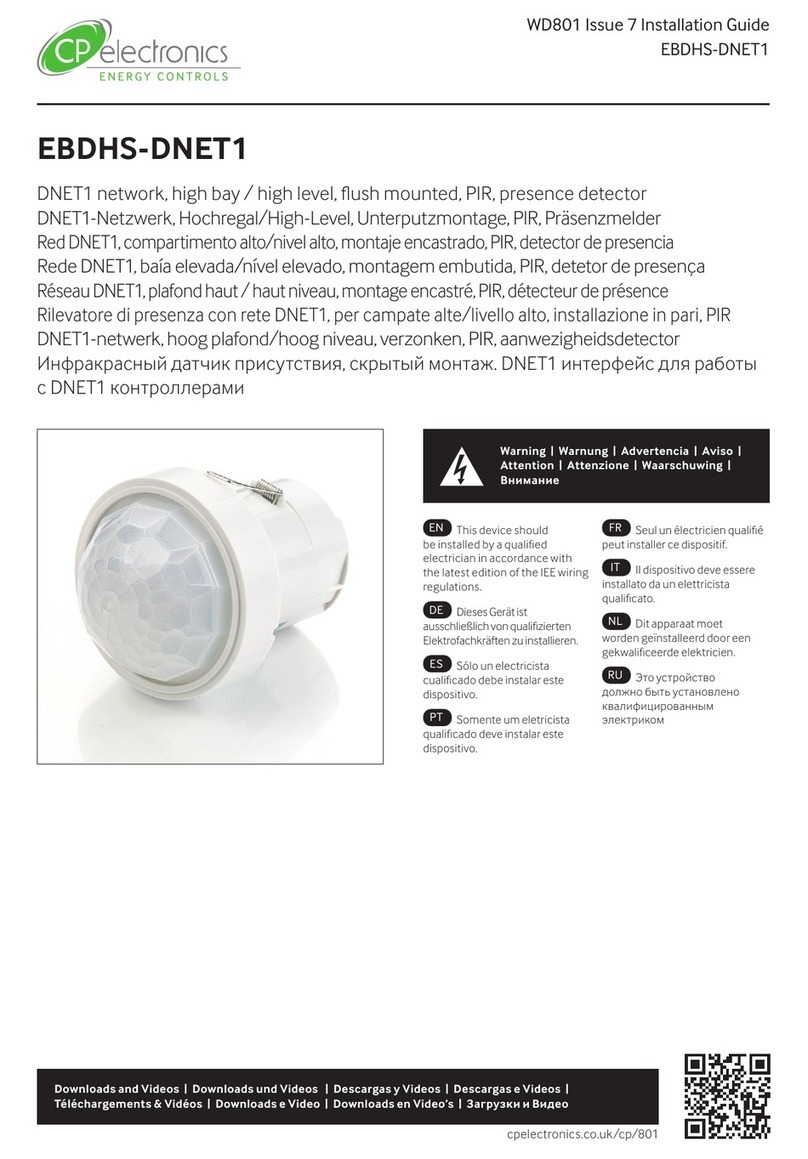
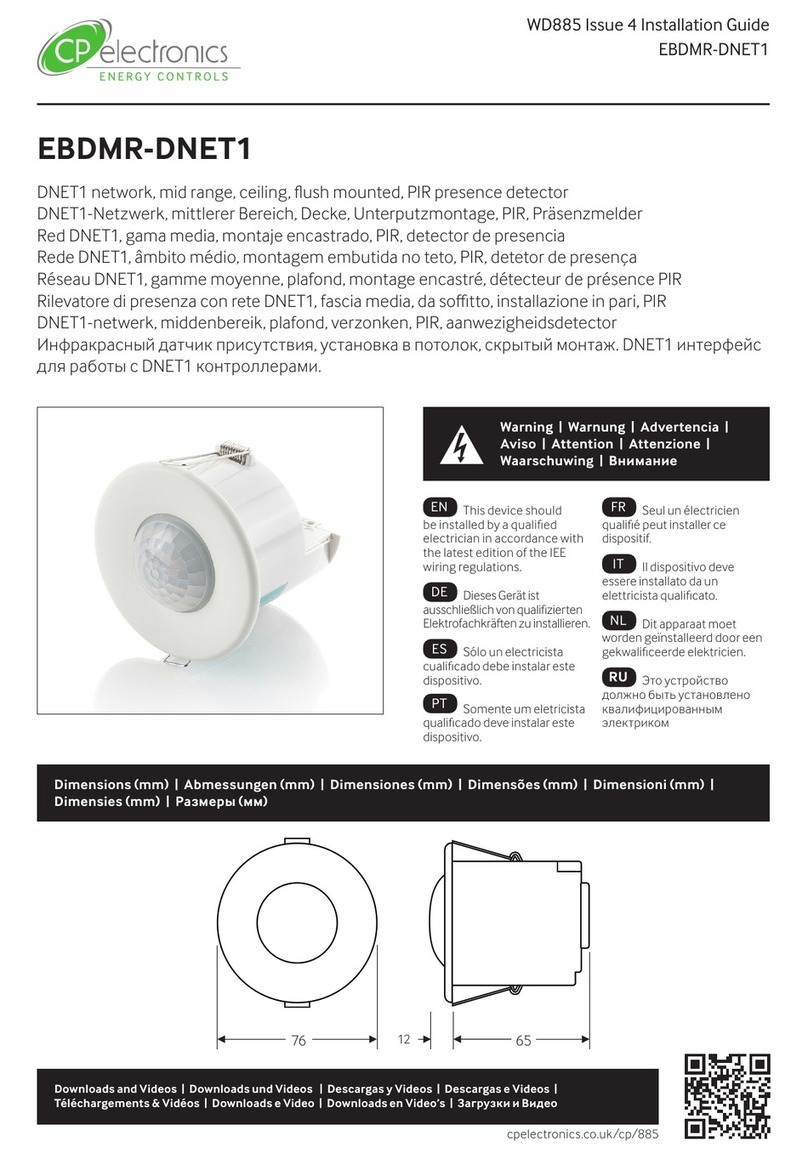
C.P. Electronics EBDHS-DNET1 User manual
C.P. Electronics

C.P. Electronics EBDHS-DNET1 User manual

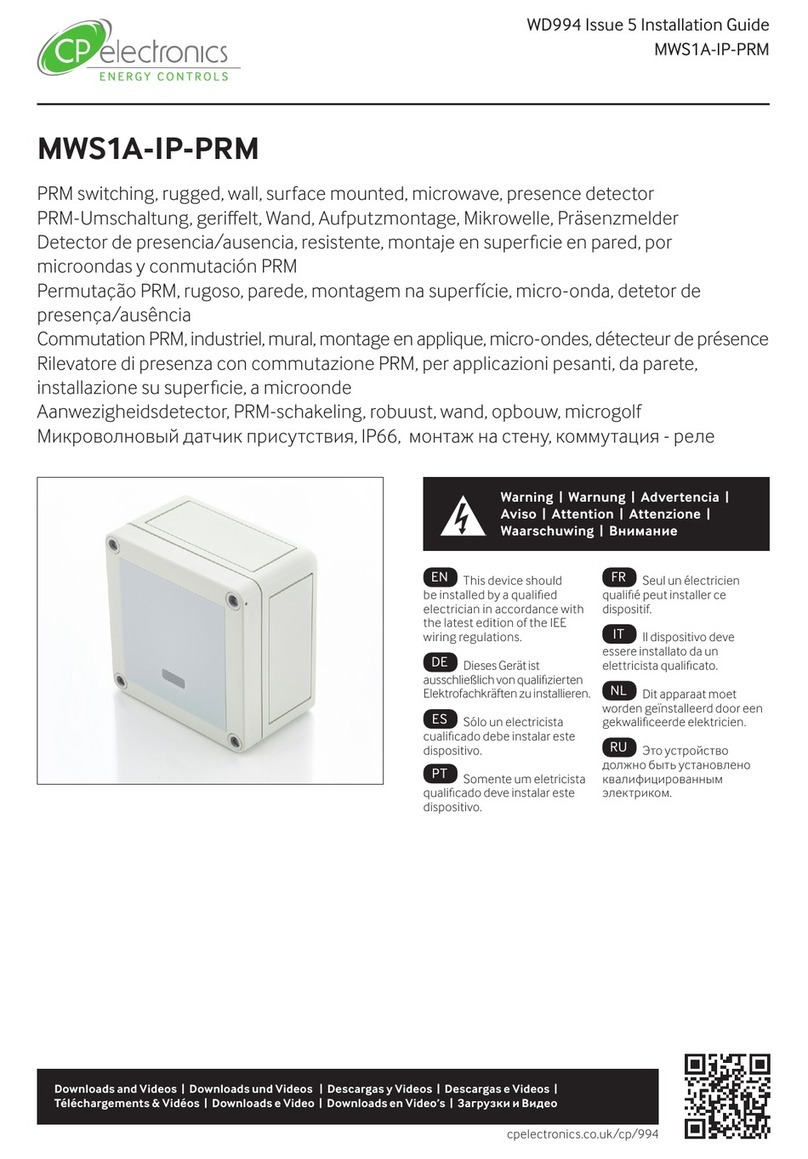
C.P. Electronics MWS1A-IP User manual

C.P. Electronics

C.P. Electronics MWS1A-IP User manual
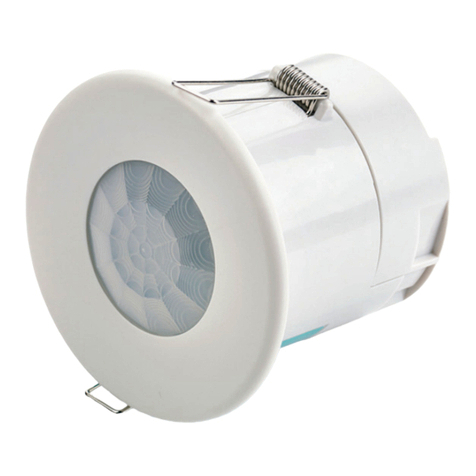
C.P. Electronics EBDSPIR-AT-DD User manual
C.P. Electronics

C.P. Electronics EBDSPIR-AT-DD User manual

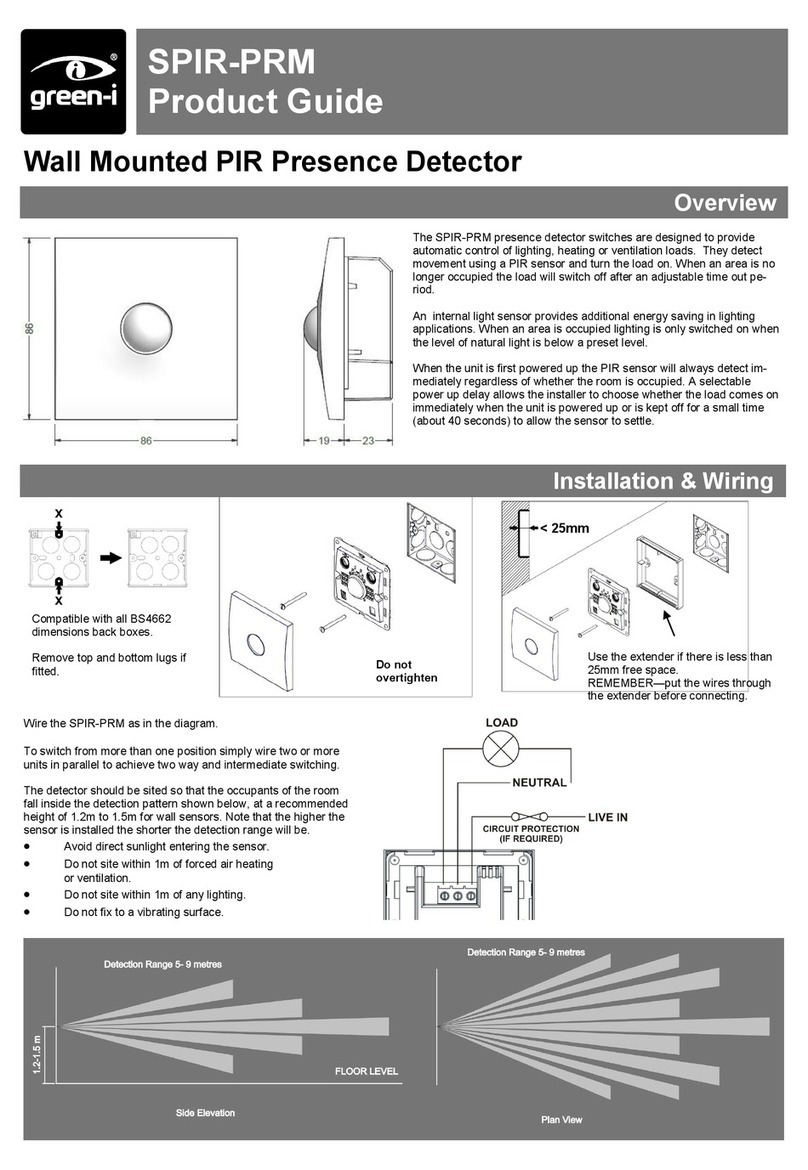
C.P. Electronics SPIR-PRM User manual

C.P. Electronics

C.P. Electronics SPIR-PRM User manual
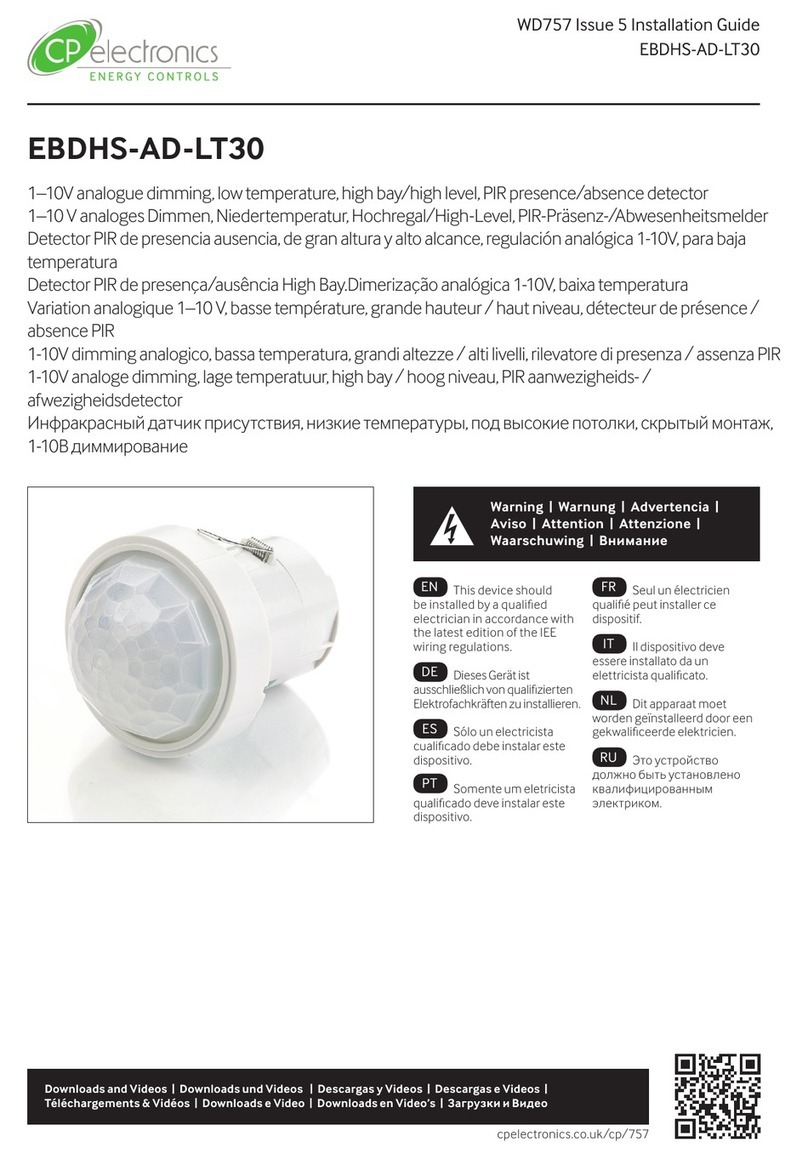
C.P. Electronics EBDHS-AD-LT30 User manual
C.P. Electronics

C.P. Electronics EBDHS-AD-LT30 User manual

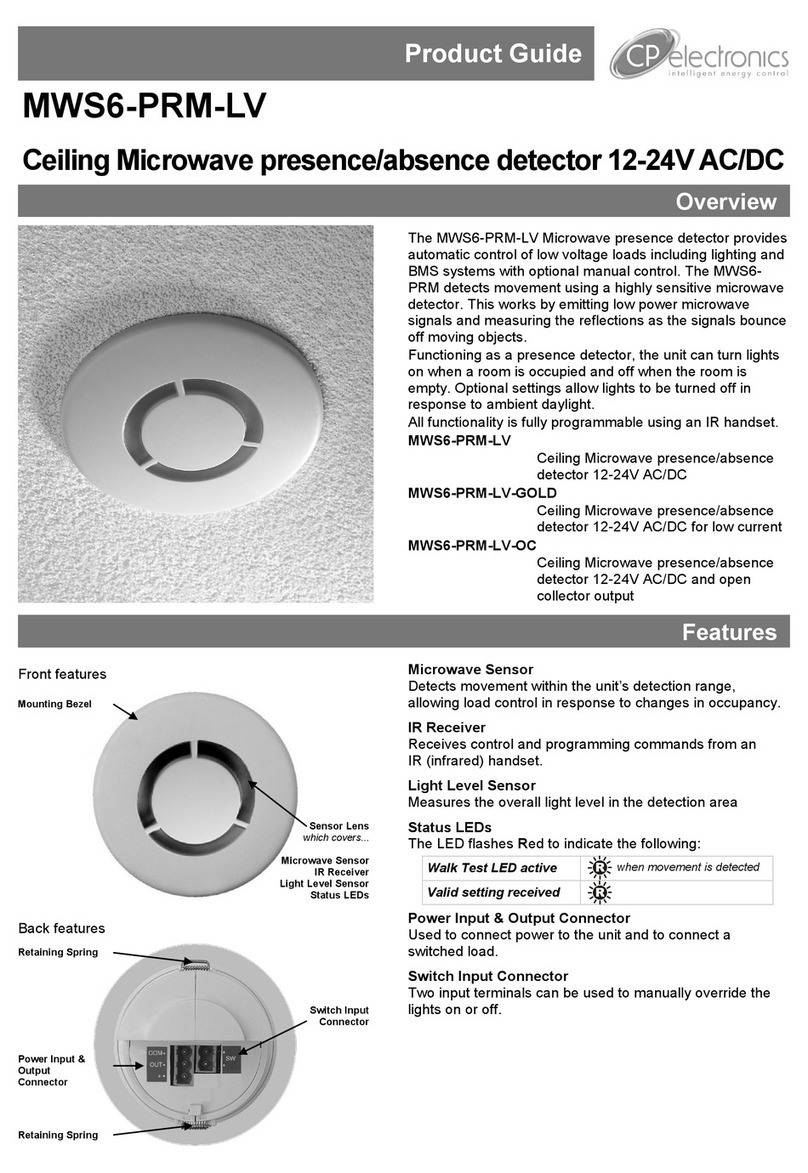
C.P. Electronics MWS6-PRM-LV User manual
C.P. Electronics

C.P. Electronics MWS6-PRM-LV User manual

C.P. Electronics MWS6-AD User manual

C.P. Electronics

C.P. Electronics MWS6-AD User manual
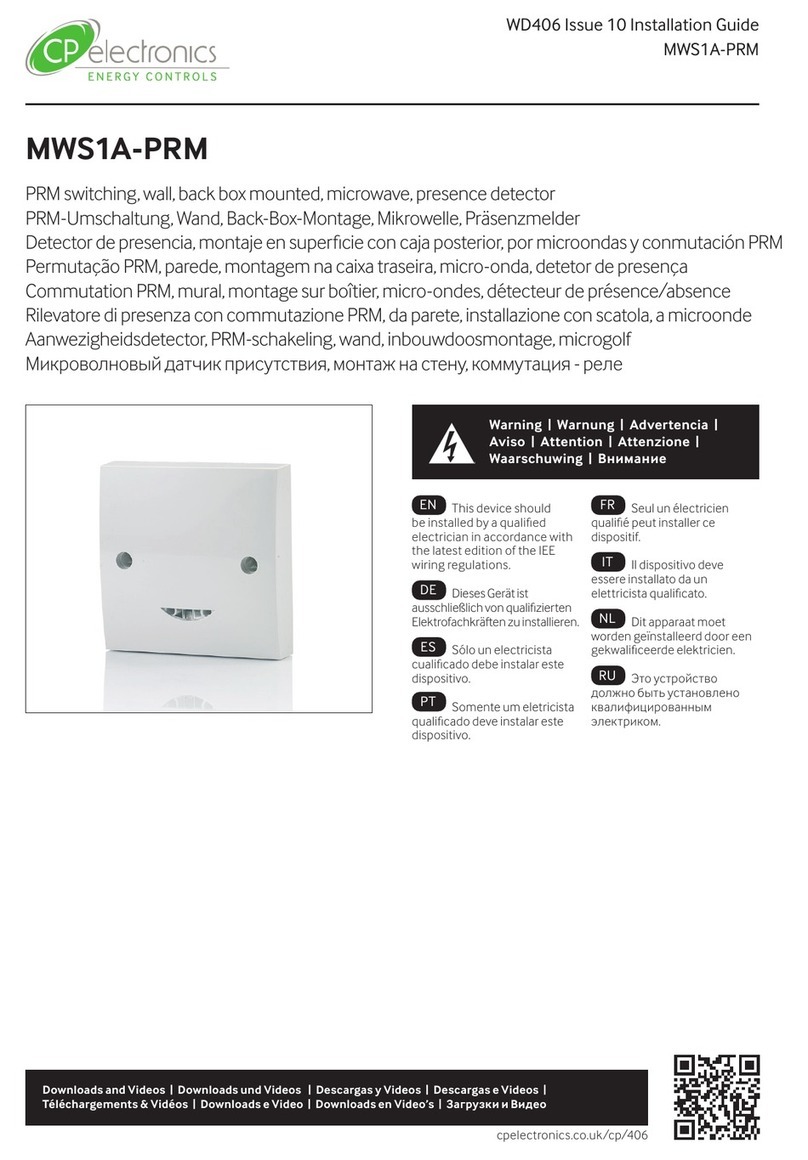
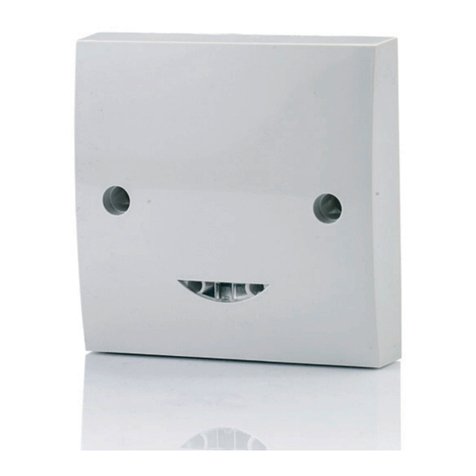
C.P. Electronics MWS1A-PRM User manual
C.P. Electronics

C.P. Electronics MWS1A-PRM User manual

C.P. Electronics MWS1A-C-PRM-LV User manual

C.P. Electronics

C.P. Electronics MWS1A-C-PRM-LV User manual

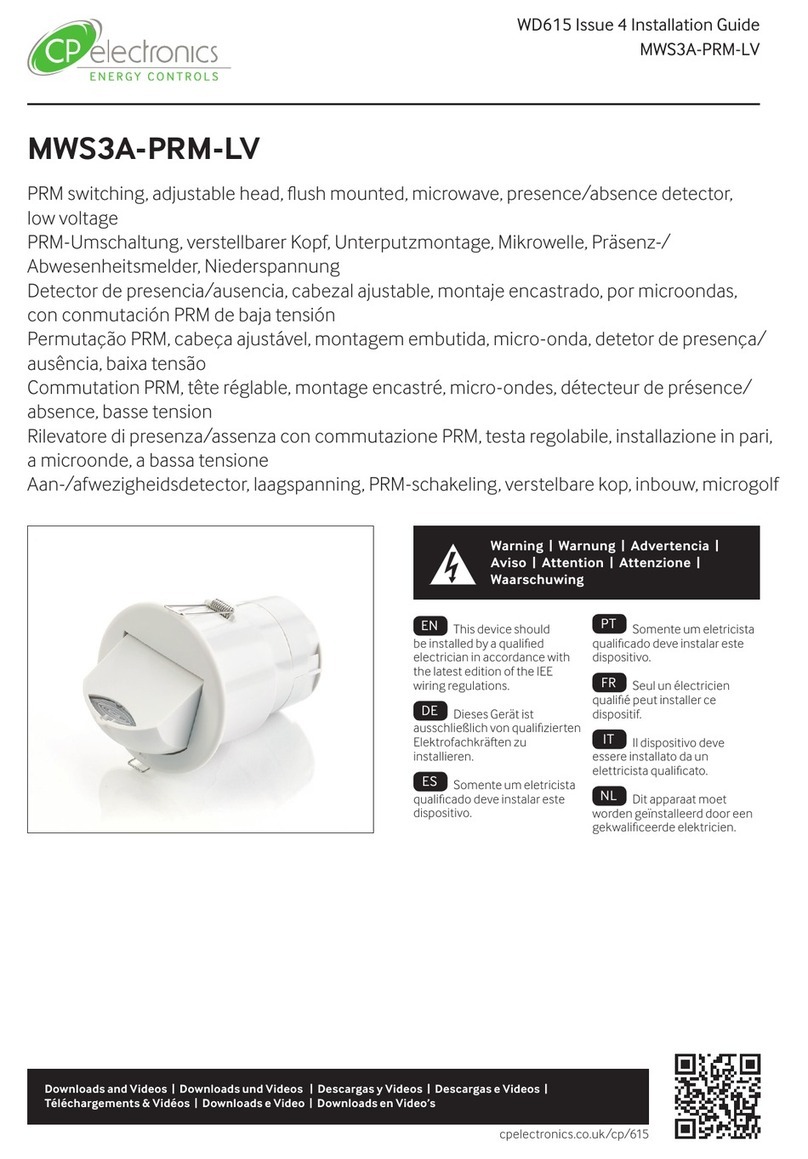
C.P. Electronics MWS6-PRM-LV User manual
C.P. Electronics

C.P. Electronics MWS6-PRM-LV User manual

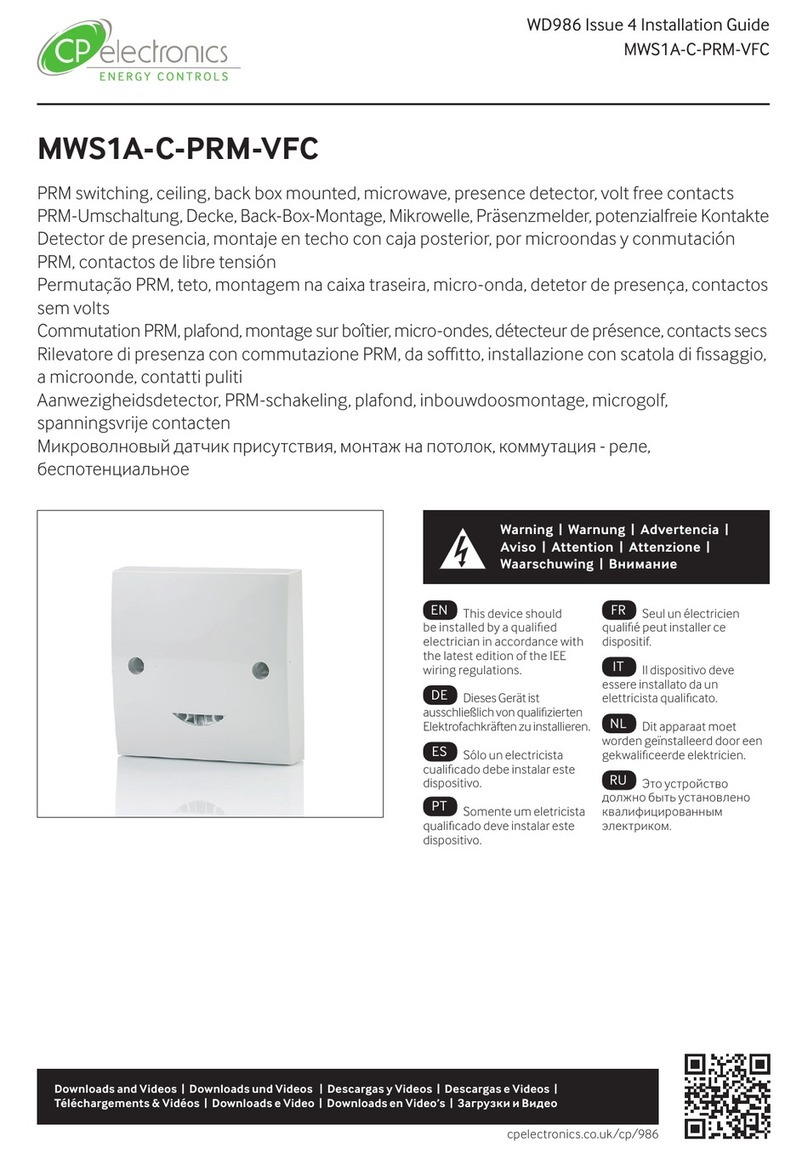
C.P. Electronics MWS3A-PRM-LV User manual
C.P. Electronics

C.P. Electronics MWS3A-PRM-LV User manual

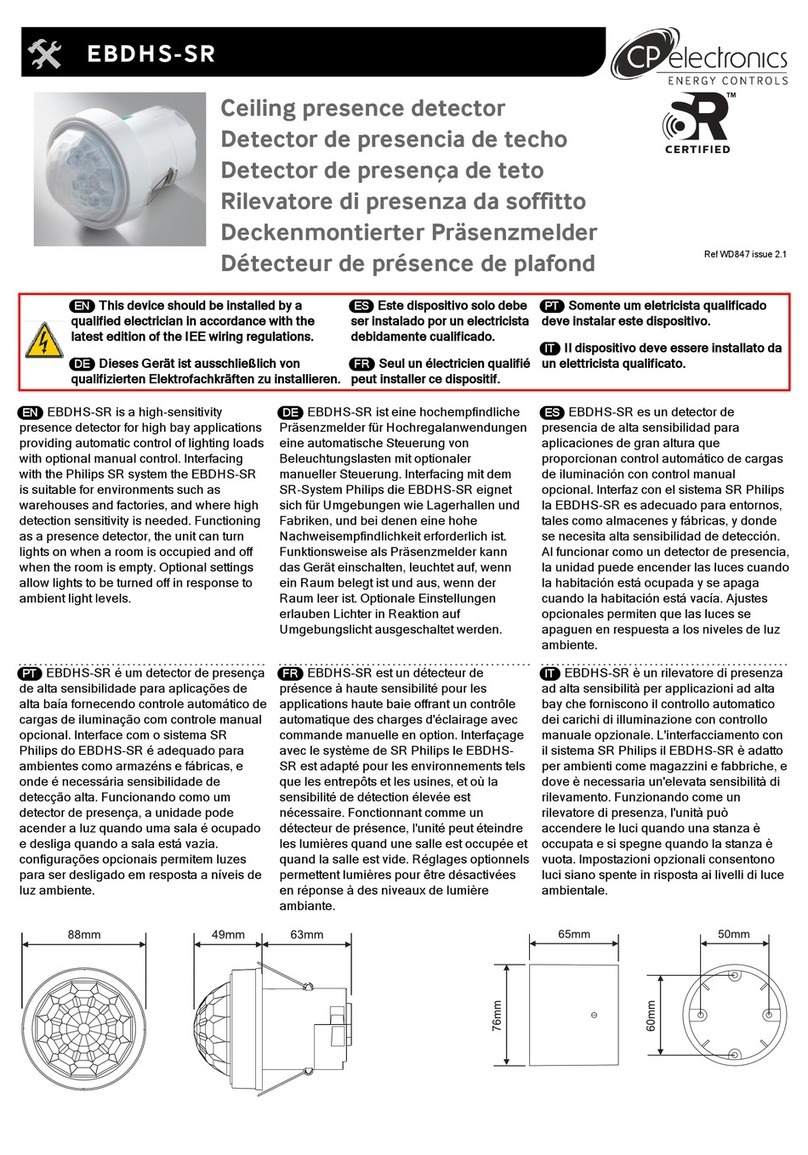
C.P. Electronics MWS1A-C-PRM-VFC User manual
C.P. Electronics

C.P. Electronics MWS1A-C-PRM-VFC User manual

C.P. Electronics EBDHS-SR User manual

C.P. Electronics

C.P. Electronics EBDHS-SR User manual
C.P. Electronics MWS6-KNX User manual

C.P. Electronics

C.P. Electronics MWS6-KNX User manual
C.P. Electronics EBDMR-PRM User manual
C.P. Electronics

C.P. Electronics EBDMR-PRM User manual

C.P. Electronics MWS6-PRM-VFC-LV User manual
C.P. Electronics

C.P. Electronics MWS6-PRM-VFC-LV User manual

C.P. Electronics EBDRC-PRM User manual
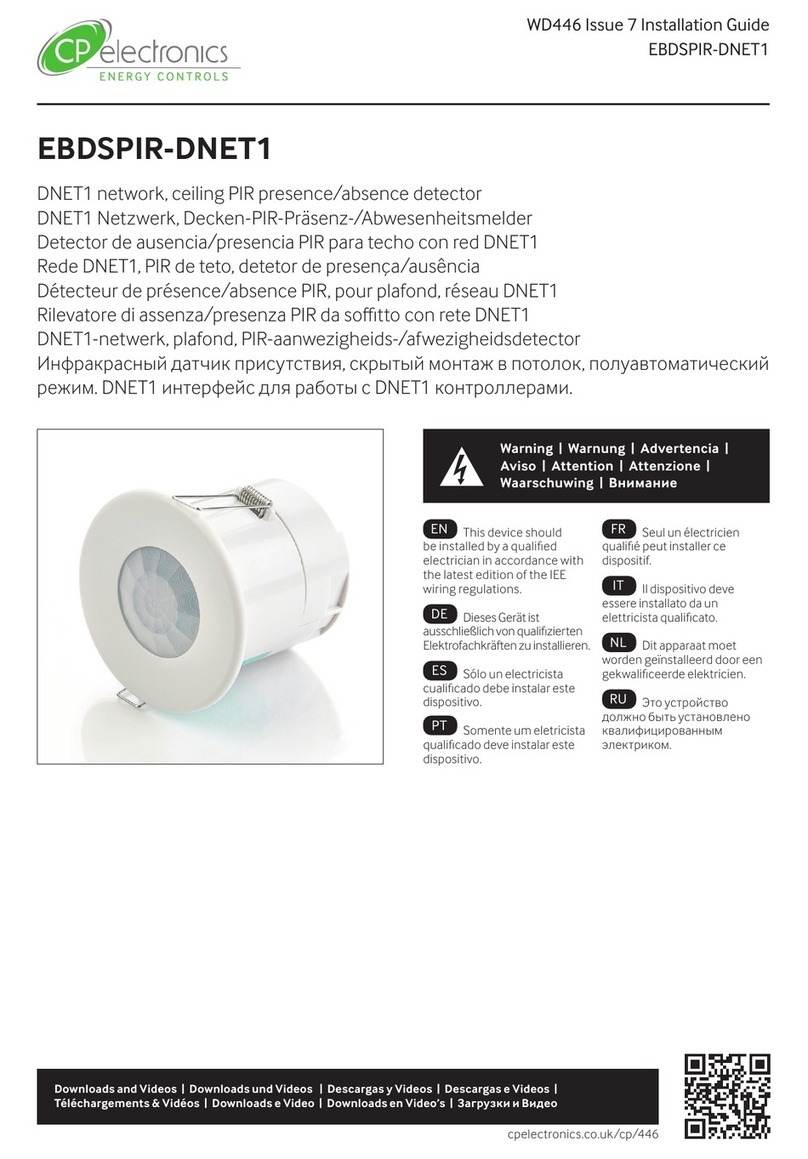
C.P. Electronics

C.P. Electronics EBDRC-PRM User manual

C.P. Electronics EBDSPIR-DNET1 User manual
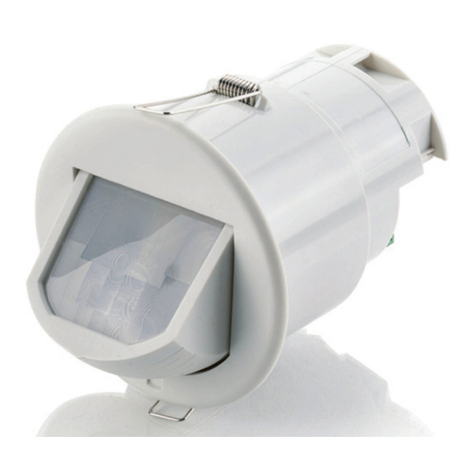
C.P. Electronics

C.P. Electronics EBDSPIR-DNET1 User manual

C.P. Electronics EBDRC-AD User manual

C.P. Electronics

C.P. Electronics EBDRC-AD User manual
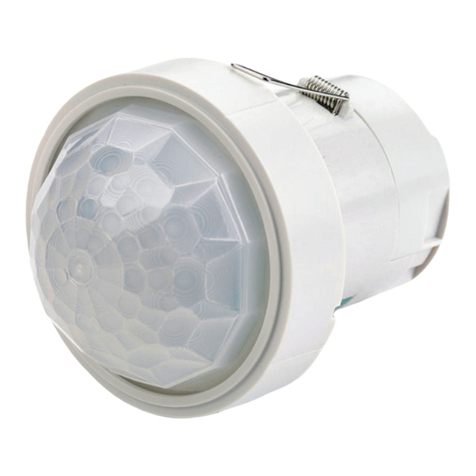
C.P. Electronics EBDHS-PRM User manual

C.P. Electronics

C.P. Electronics EBDHS-PRM User manual

C.P. Electronics EBDMR-DNET1 User manual

C.P. Electronics

C.P. Electronics EBDMR-DNET1 User manual

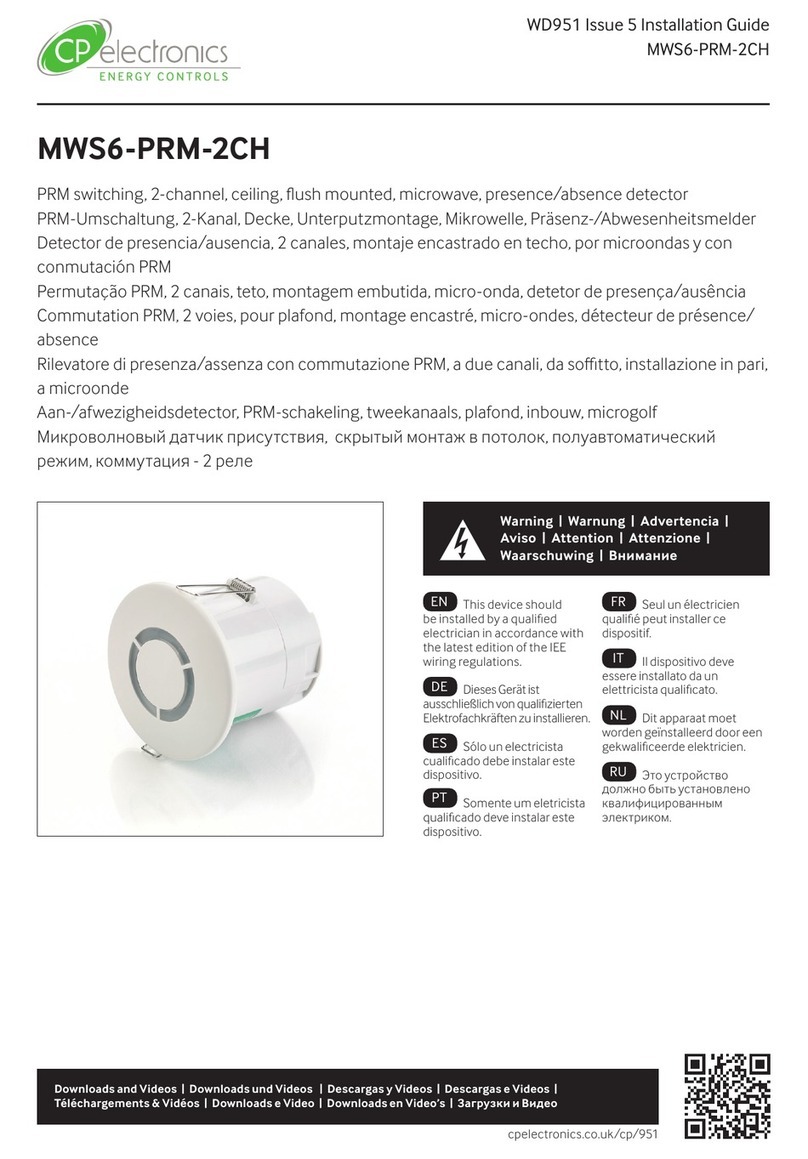
C.P. Electronics MWS6-PRM-2CH User manual

C.P. Electronics

C.P. Electronics MWS6-PRM-2CH User manual

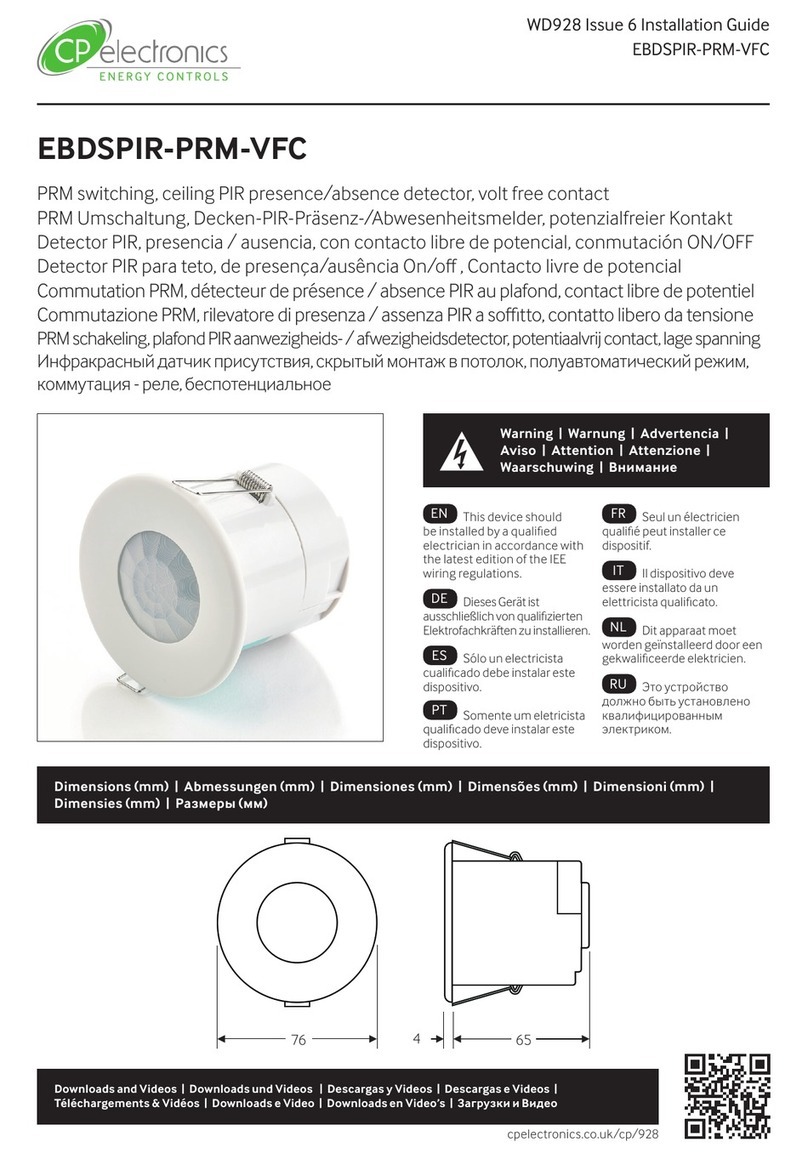
C.P. Electronics EBDSPIR-PRM-VFC User manual

C.P. Electronics

C.P. Electronics EBDSPIR-PRM-VFC User manual

C.P. Electronics EBDHS -KNX Manual

C.P. Electronics

C.P. Electronics EBDHS -KNX Manual

Popular Security Sensor manuals by other brands
Inovonics EE1260 EchoStream Installation and operation manual

Inovonics

Inovonics EE1260 EchoStream Installation and operation manual

careium Motion 9200 user guide

careium

careium Motion 9200 user guide

Honeywell Gamewell FCI 2151 manual

Honeywell

Honeywell Gamewell FCI 2151 manual

schmersal RSS 36-SD-ST manual

schmersal

schmersal RSS 36-SD-ST manual

Suresafe SH-055U8W user manual

Suresafe

Suresafe SH-055U8W user manual

ZCS DETELUX 360GS instruction manual

ZCS

ZCS DETELUX 360GS instruction manual

ion science TIGER user manual

ion science

ion science TIGER user manual

Guardall Vega DX installation instructions

Guardall

Guardall Vega DX installation instructions

Teletek electronics SensoIRIS S130 installation instructions

Teletek electronics

Teletek electronics SensoIRIS S130 installation instructions

F&F DRM-02 quick start guide

F&F

F&F DRM-02 quick start guide

HikRobot SC3000X Series quick start guide

HikRobot

HikRobot SC3000X Series quick start guide

Kaipule IX32 user guide

Kaipule

Kaipule IX32 user guide

STEINEL professional Series manual

STEINEL

STEINEL professional Series manual
System Sensor B501A Installation and maintenance instructions
System Sensor

System Sensor B501A Installation and maintenance instructions

Interlogix DDI602AM Installation sheet
Interlogix

Interlogix DDI602AM Installation sheet

Philio Technology Corporation PSM01 quick start
Philio Technology Corporation

Philio Technology Corporation PSM01 quick start

Diablo Controls DSP-50 user manual

Diablo Controls

Diablo Controls DSP-50 user manual
DANLERS CBU-HBWD IP66 quick guide

DANLERS

DANLERS CBU-HBWD IP66 quick guide

manuals.online logo
manuals.online logoBrands
  • About & Mission
  • Contact us
  • Privacy Policy
  • Terms and Conditions

Copyright 2025 Manuals.Online. All Rights Reserved.