C.P. Electronics UNLCDHS Owner's manual


This manual suits for next models
17
Table of contents
Other C.P. Electronics Security Sensor manuals
C.P. Electronics
C.P. Electronics MWS3A-DBB User manual
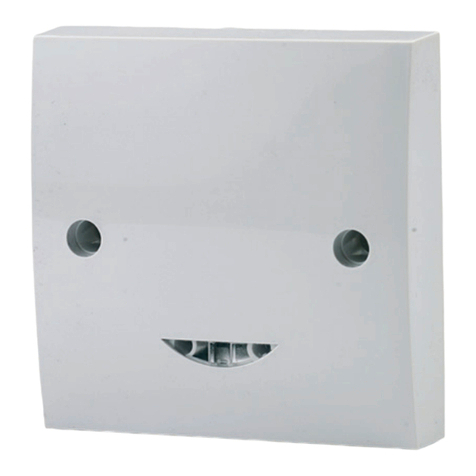
C.P. Electronics
C.P. Electronics MWS1A-PRM-VFC User manual
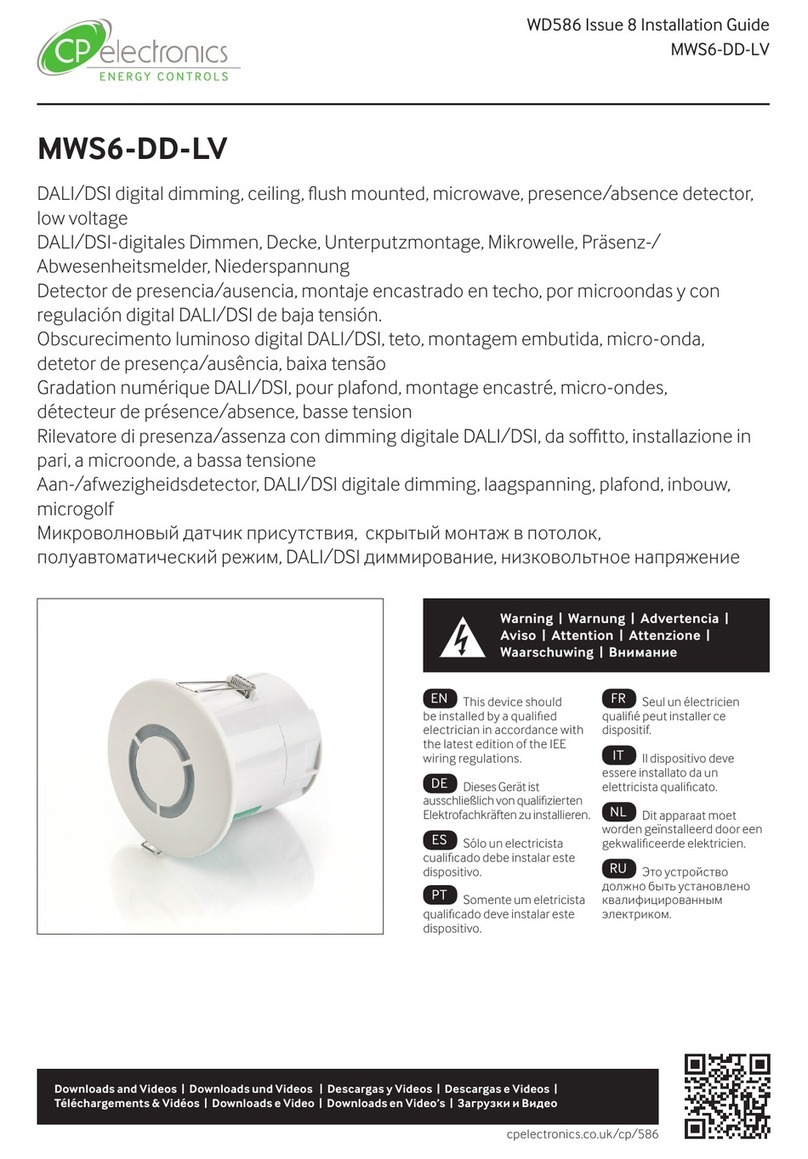
C.P. Electronics
C.P. Electronics MWS6-DD-LV User manual
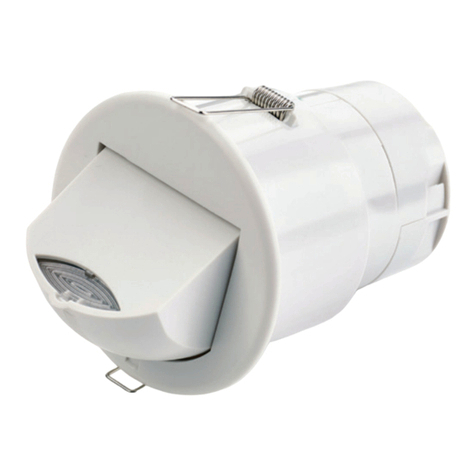
C.P. Electronics
C.P. Electronics MWS3A-AD User manual
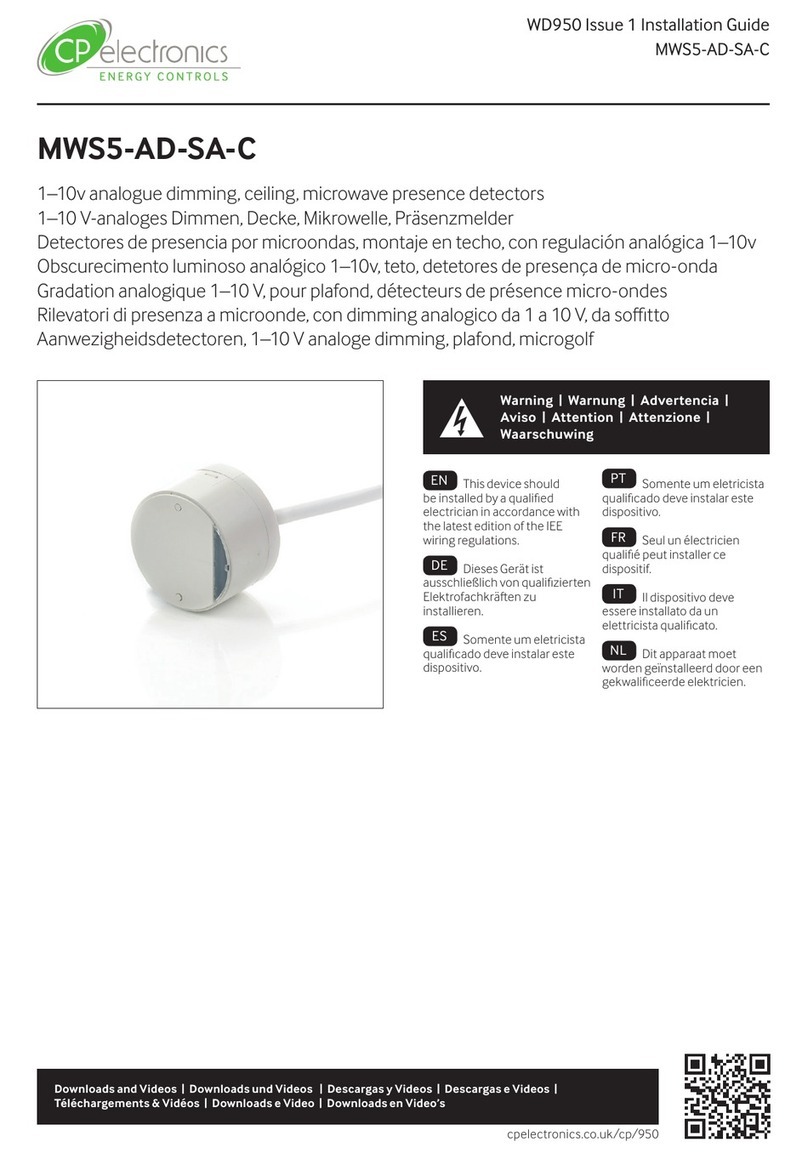
C.P. Electronics
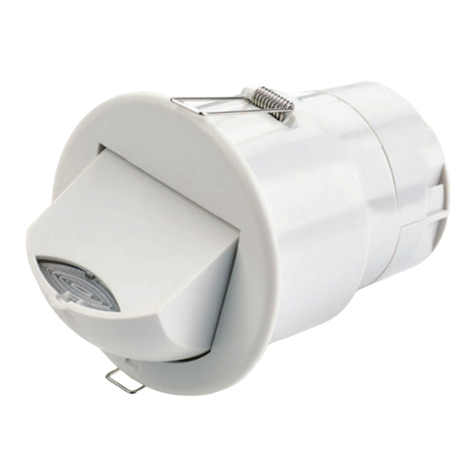
C.P. Electronics MWS5-AD-SA-C User manual
C.P. Electronics
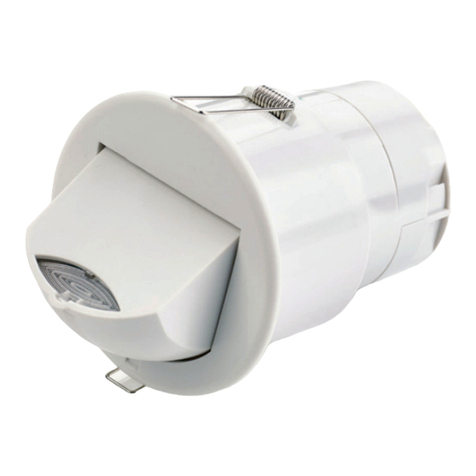
C.P. Electronics MWS3A-PRM-2CH-NC User manual
C.P. Electronics
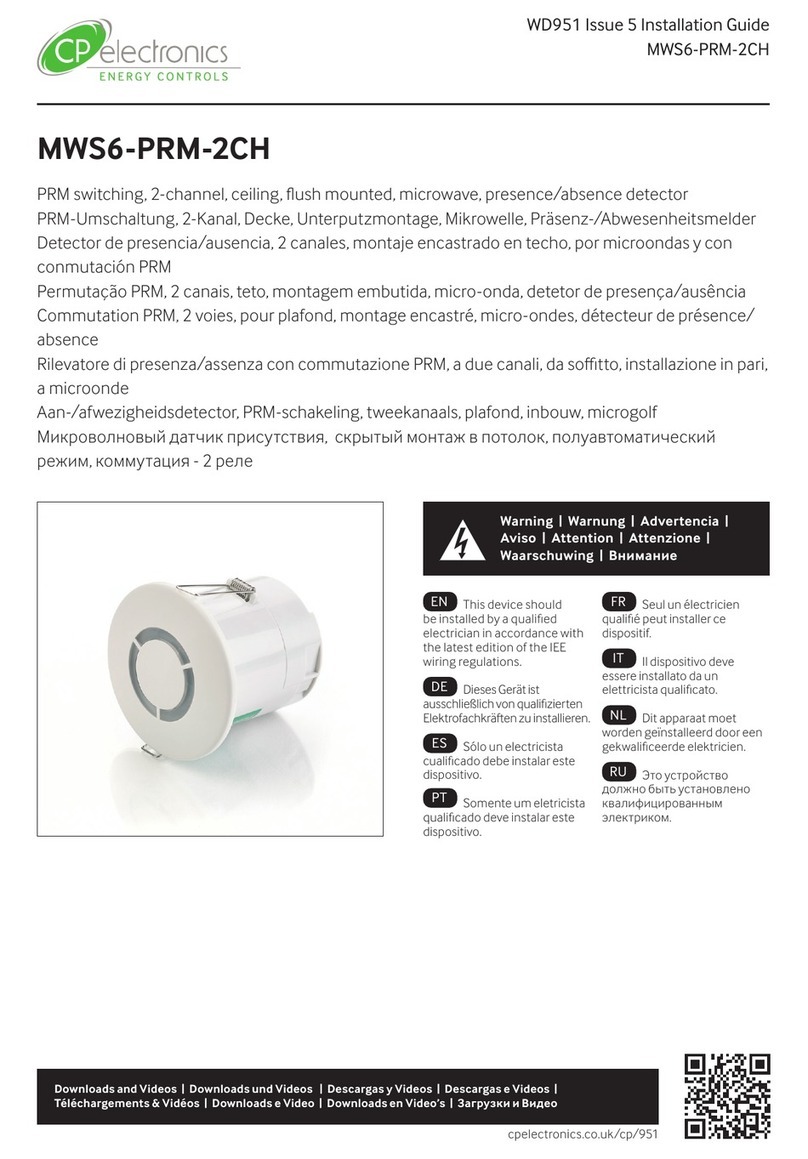
C.P. Electronics MWS3A-PRM-VFC User manual
C.P. Electronics
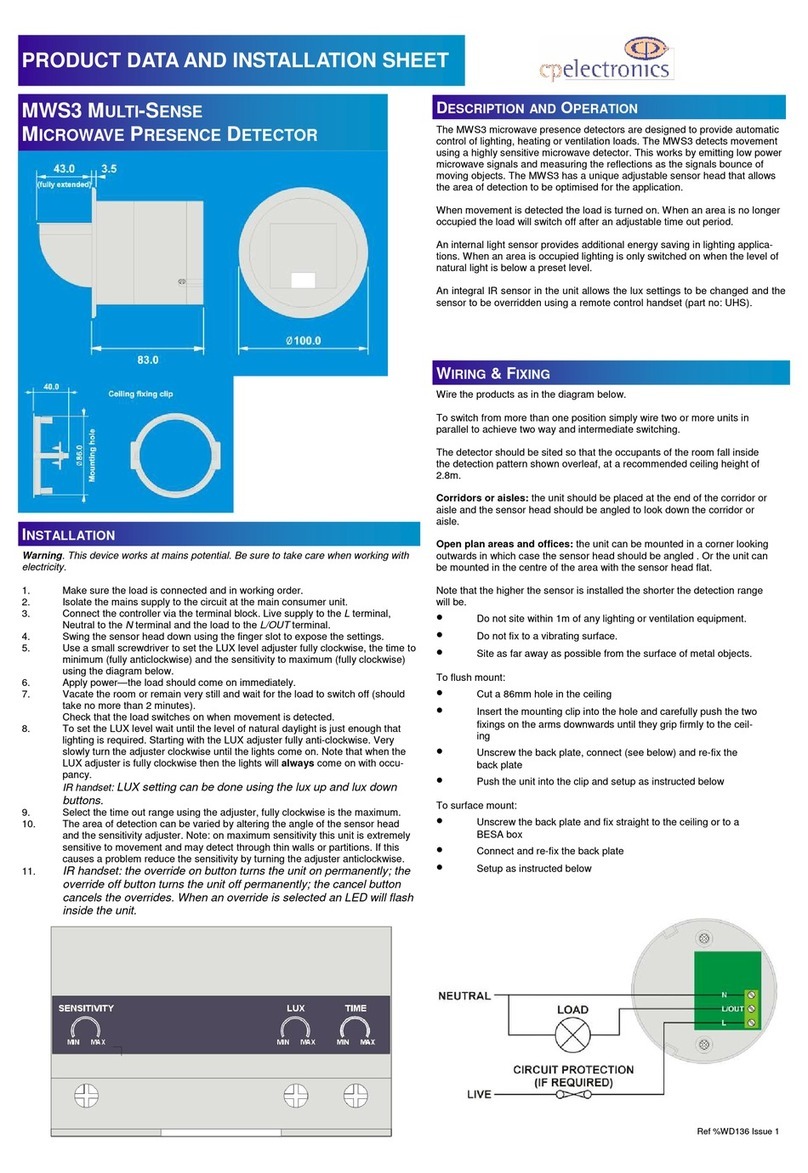
C.P. Electronics MWS6-PRM-2CH User manual
C.P. Electronics
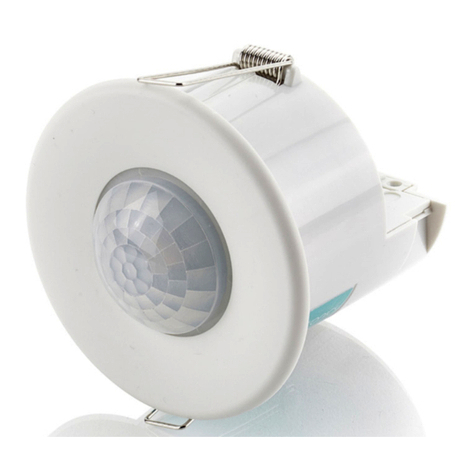
C.P. Electronics MWS3 Instruction manual
C.P. Electronics
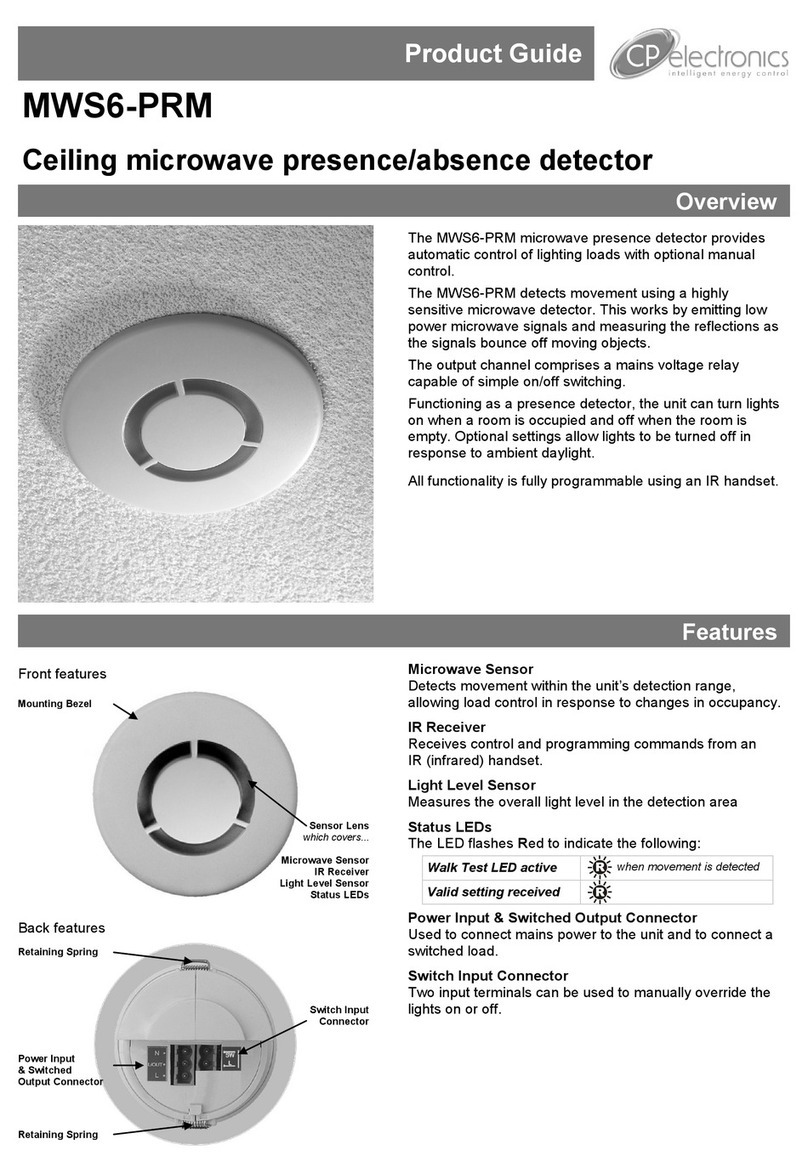
C.P. Electronics EBDMR-PRM User manual
C.P. Electronics
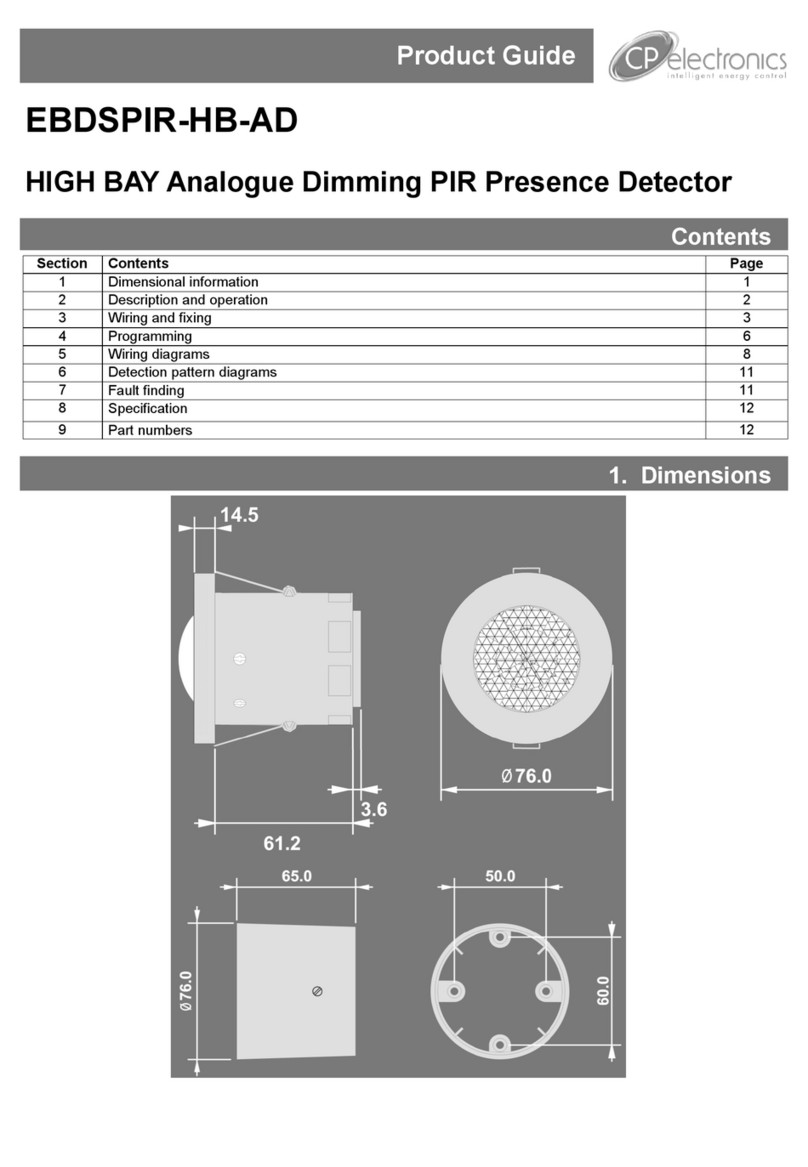
C.P. Electronics MWS6-PRM User manual
C.P. Electronics
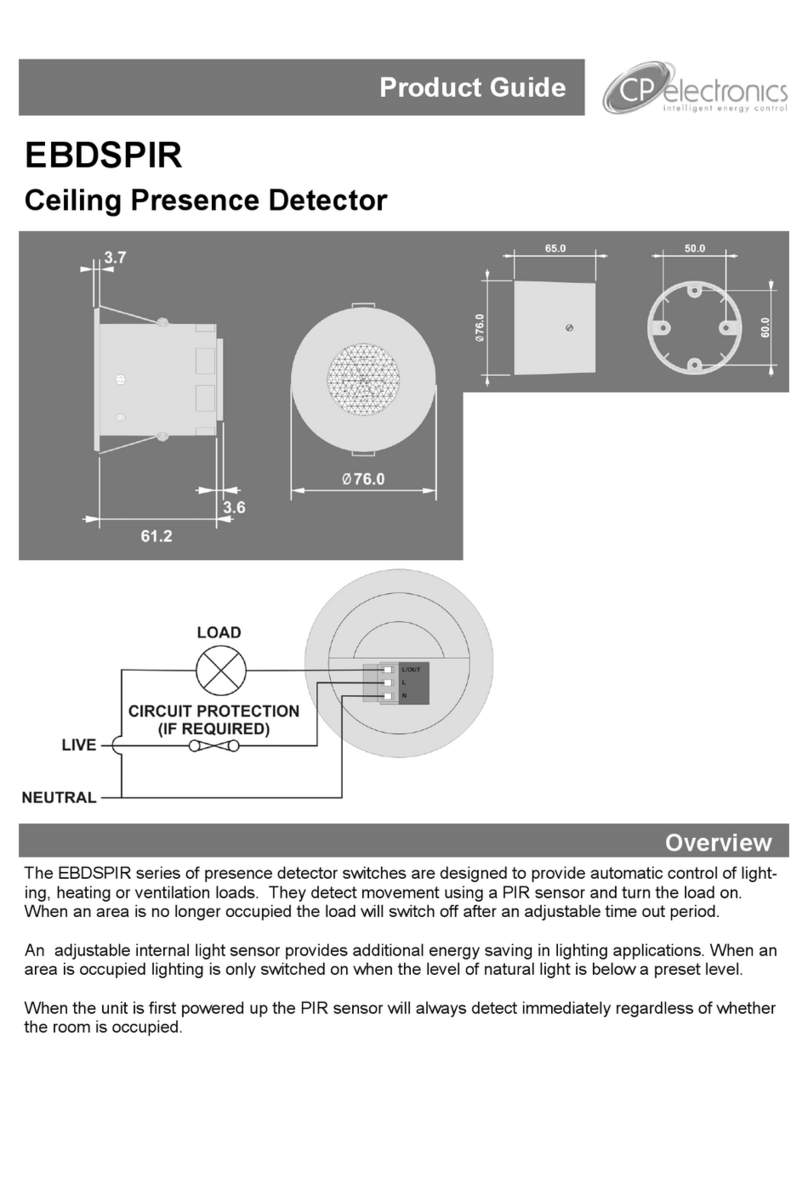
C.P. Electronics EBDSPIR-HB-AD User manual
C.P. Electronics
C.P. Electronics EBDSPIR User manual
C.P. Electronics
C.P. Electronics EBDHS-PRM User manual
C.P. Electronics
C.P. Electronics MWS1A-C-IP-PRM-LV User manual
C.P. Electronics
C.P. Electronics EBDSPIR-KNX User manual
C.P. Electronics
C.P. Electronics MWS3A-DD-LV User manual
C.P. Electronics
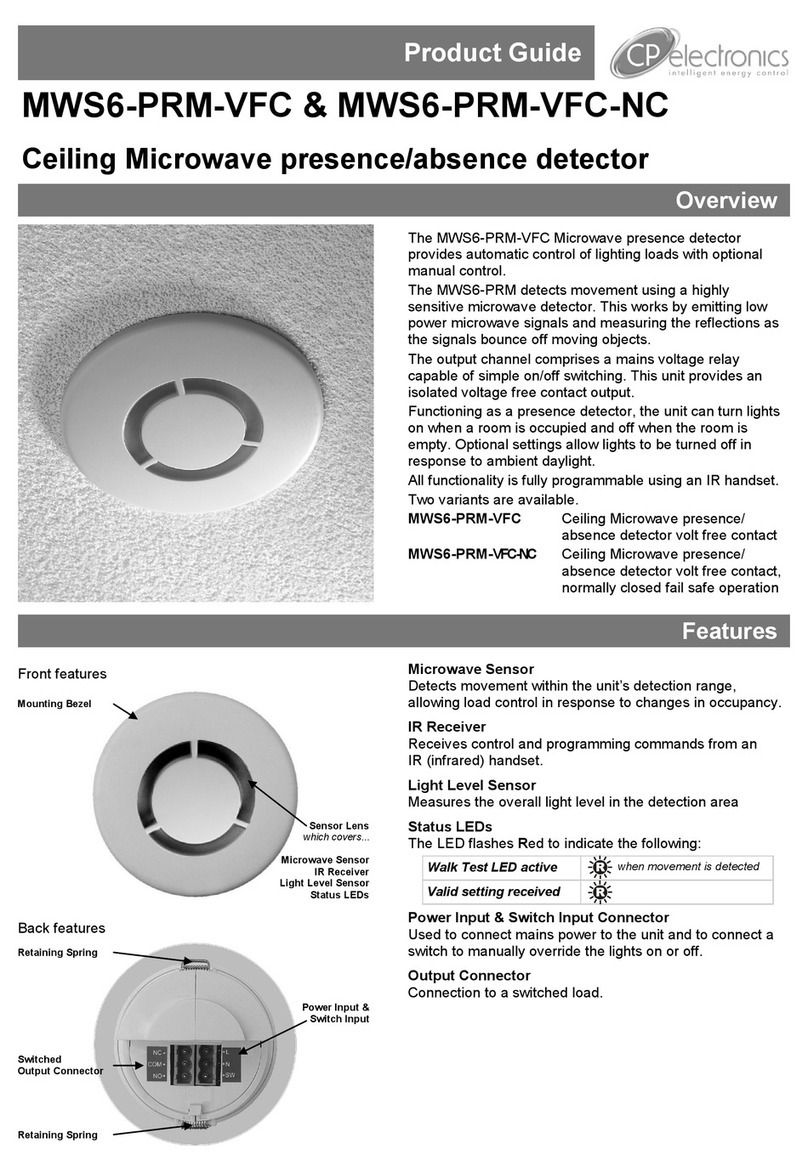
C.P. Electronics MWS6-PRM-VFC User manual
C.P. Electronics
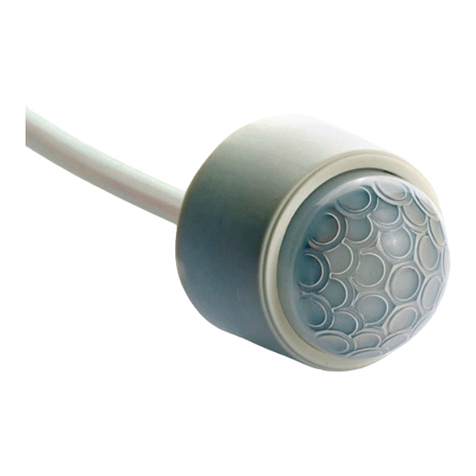
C.P. Electronics EBMHS-AD-SA-C User manual
C.P. Electronics
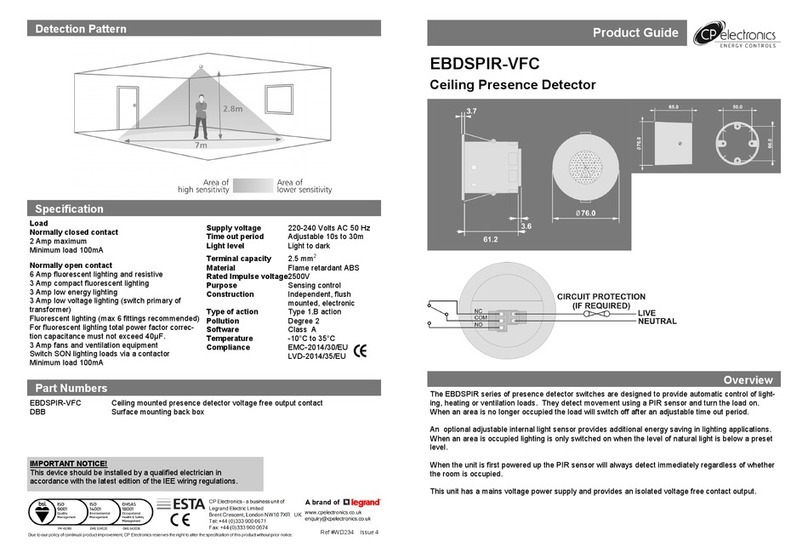
C.P. Electronics EBDSPIR User manual
Popular Security Sensor manuals by other brands

Lechange
Lechange WP1 Series quick start guide
Honeywell
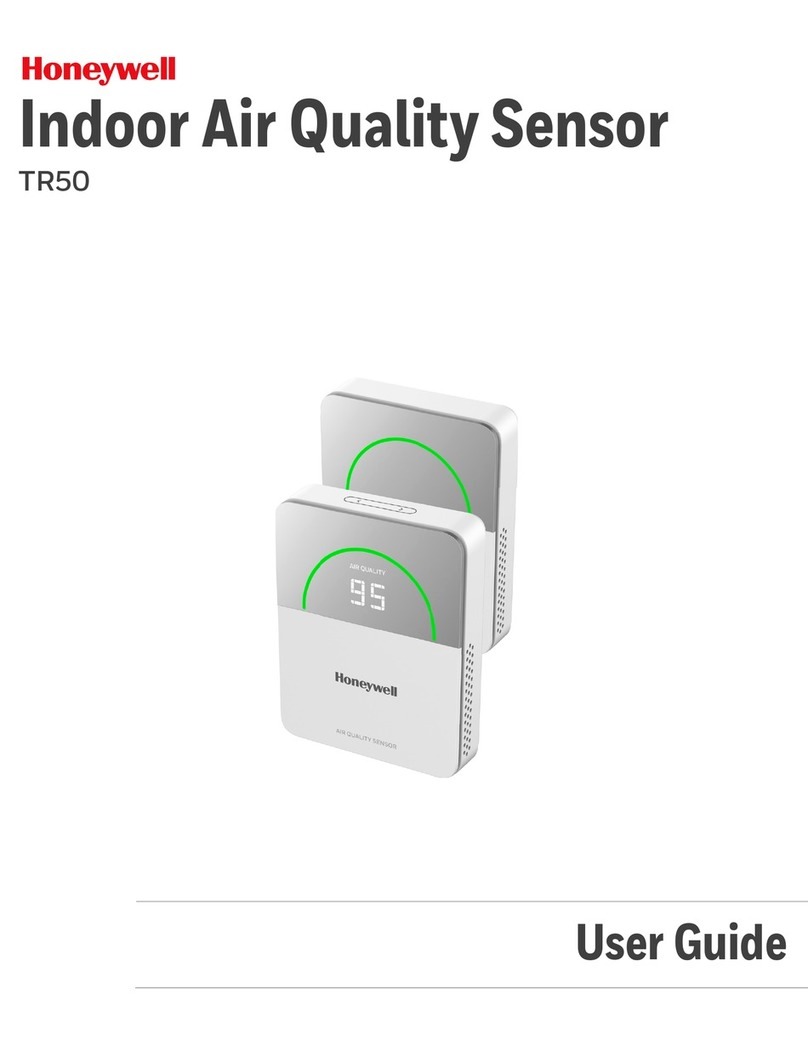
Honeywell Miller Titan TR50 user guide
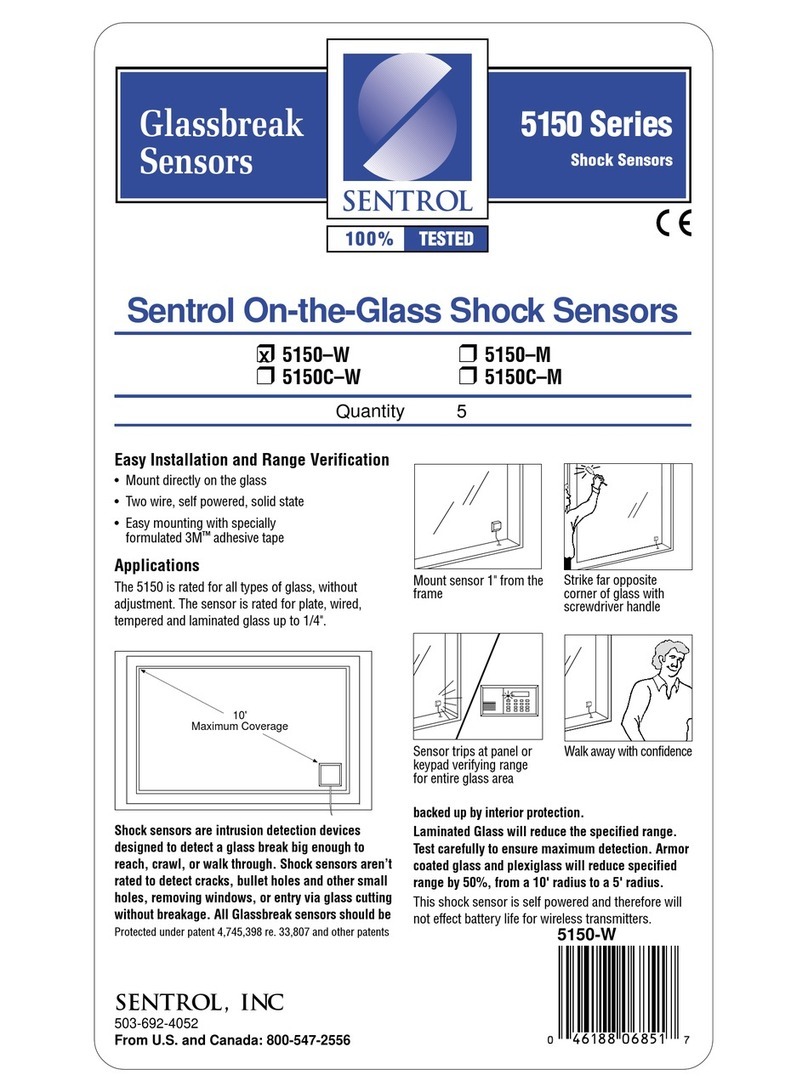
Sentrol
Sentrol 5150-W - Security Glassbreak Shock Sensor installation instructions

Conrad
Conrad HZK202 operating instructions
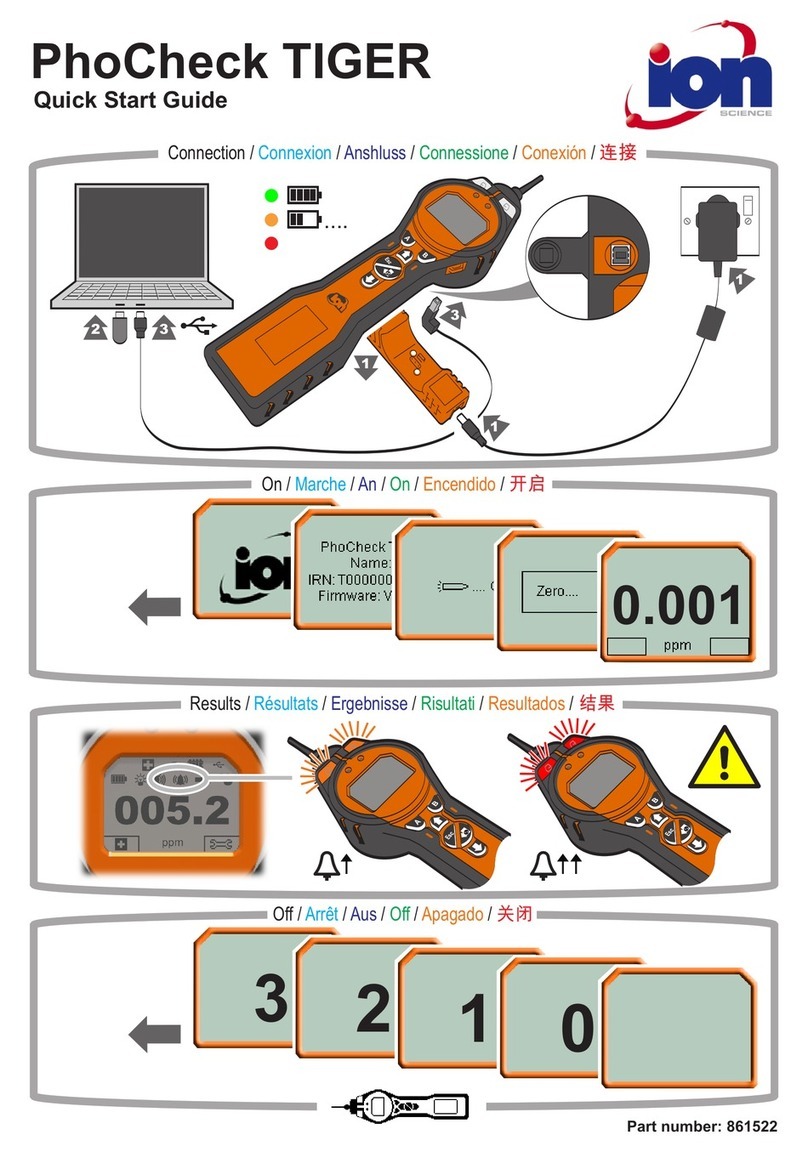
ion science
ion science PhoCheck TIGER quick start guide
Inficon
Inficon HLD6000 Translation of the original operating instructions

Imperial
Imperial LD900 user manual
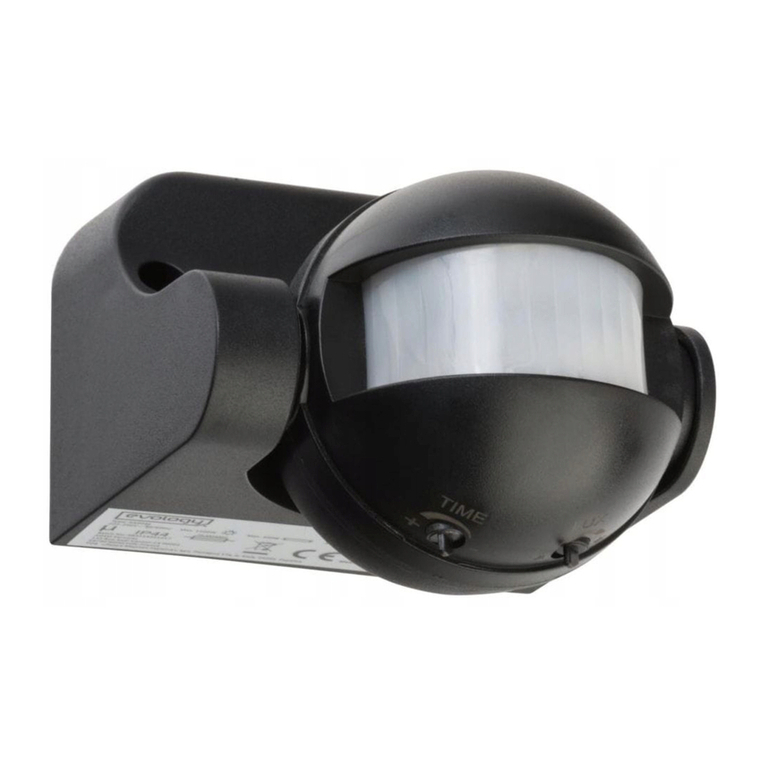
evology
evology SA003E-B Assembly, Use, Maintenance Manual

Winland
Winland BZ-1 instruction manual

EDWARDS SYSTEMS TECHNOLOGY
EDWARDS SYSTEMS TECHNOLOGY CRC Technical reference manual
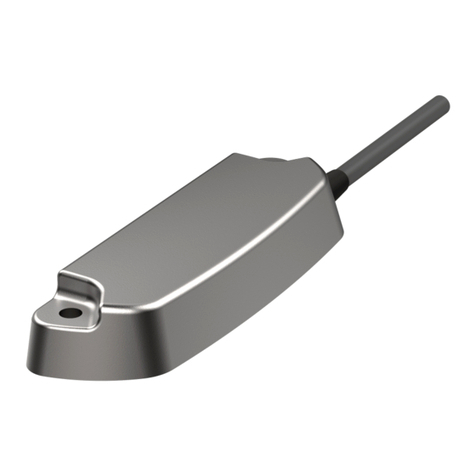
elobau
elobau 1655 V Series Translation of the original operating instructions

Beltronics
Beltronics Professional Series owner's manual
