Callaway GPSync User manual


INTRODUCTION
The Callaway GPSync Watch combines elite
performance on the course with an elegant,
fashionable design. Hit more greens and
minimize penalty strokes by knowing precise
distances to the front, center, and back of the
green, as well as distances to hazards and
doglegs. Synchronize with your Smartphone to
receive texts, missed calls, and other
notications.
SPECIFICATIONS
Product Callaway GPSync Watch
# of Courses 30,000+
Battery 220mAh Lithium Ion Polymer
Battery Life Golf: 9 hours / Time: 90 Days
Weight 2.24 oz.
Display Size 1.28” (128 x128 pixels)
Band Length 10.25”
Water Resistant Yes 1ATM Designation
2INTRODUCTION

CHARGING
1. Power watch Off. Hold [POWER ] until
screen goes blank. (See watch diagram page 4)
2. Connect Charger Pins on the charger to
the Charging Ports on the watch.
Note: Charger Pins and Charging Ports
must be aligned properly (Easiest to align
while looking at back of watch).
3. Secure Charger Clamp on the charger to
Charger Socket located on opposite side
of watch.
4. Plug USB cord end into USB port.
5. When connection is
made, watch will
power on and Battery
Icon bars will pulsate
to indicate charging.
Note: Battery Icon bars will stop pulsating
when charging is complete. (2-3 hours)
ENGLISH 3
CHARGING PINS
CHARGING PORTS
CHARGER CLAMP CHARGER SOCKET

DESCRIPTION OF TERMS
• PRESS - Press & Release button quickly.
• HOLD - Press & Hold button until desired
screen appears or change happens.
WATCH DIAGRAM
A. [POWER ]- HOLD to Power On/Off, PRESS
to turn Backlight On/Off
B. Charging Ports
C. [UP ]- Scroll Up
D. [OK ]- PRESS to Toggle Screens, Select
Options, Acknowledge messages - HOLD to
access Main Menu.
E. [DOWN ]- Scroll Down
4HOW TO USE

ENGLISH 5
DISPLAY DIAGRAM
A. Distance to the Center of Green
B. Distance to the Back of Green
C. Distance to the Front of Green
D. Distance to front and back of Dogleg
E. Distance to layup or carry Water
F. Distance to layup or carry Bunker
PLAY MODE
HAZARD MODE

SYNC WITH SMARTPHONE
To receive notications complete the
following steps:
Note: Notications must be turned on in
Settings on the watch. (See page 17).
Note: Bluetooth®must be enabled on
Smartphone.
1. Download and install
GPSync APP
(Search “GPSync”)
2. Open APP on smartphone.
3. For AppleTM:Click icon (top right corner)
For AndroidTM:Click Scan (top right corner)
4. Press & Hold the [DOWN]
button until Bluetooth®icon
appears on top left corner
then Release button.
5. Select Callaway GPSync device on APP.
6. Watch and application are now paired.
Notications can now be received on
the Watch. (Missed Calls, Text, etc.)
• Saved round data will be uploaded from
the watch to the application. (See page 11).
6HOW TO USE
APP ICON
*ANDROID IS A TRADEMARK OF GOOGLE INC.

ENGLISH 7
7. Connection range is approximately 15-30 ft.
If the two devices are separated by more than
15-30 ft, the pairing will disconnect. Watch &
Smartphone will automatically reconnect once
devices are back within the connection range.
8. While out of connection range, Bluetooth®
icon will ash. Once reconnected, Bluetooth®
icon will stop ashing and remain solid. There
could be a delay (1-3 min.) after reconnecting
and receiving a notication on the watch.
Note: Compatibility depends on model of
Smartphone and version of operating software.
Features may vary or could be limited due to
compatibility conicts.
For AppleTM:Compatible with iPhone®4S
or later.
For AndroidTM:Compatible with Samsung
Galaxy S5, Nexus 4&5, hTC One M8,
(must be originally installed with OS 4.4 or later).
Compatibility and functionality can vary from
one Smartphone to another.
*ANDROID IS A TRADEMARK OF GOOGLE INC.
• View full list of compatible Smartphones at:
www.callawaydmd.com/gpsync-watch
03:10
168
171
145
PAR 4
1
Note: Bluetooth®icon is
located at the bottom of the
screen while in Play Mode.
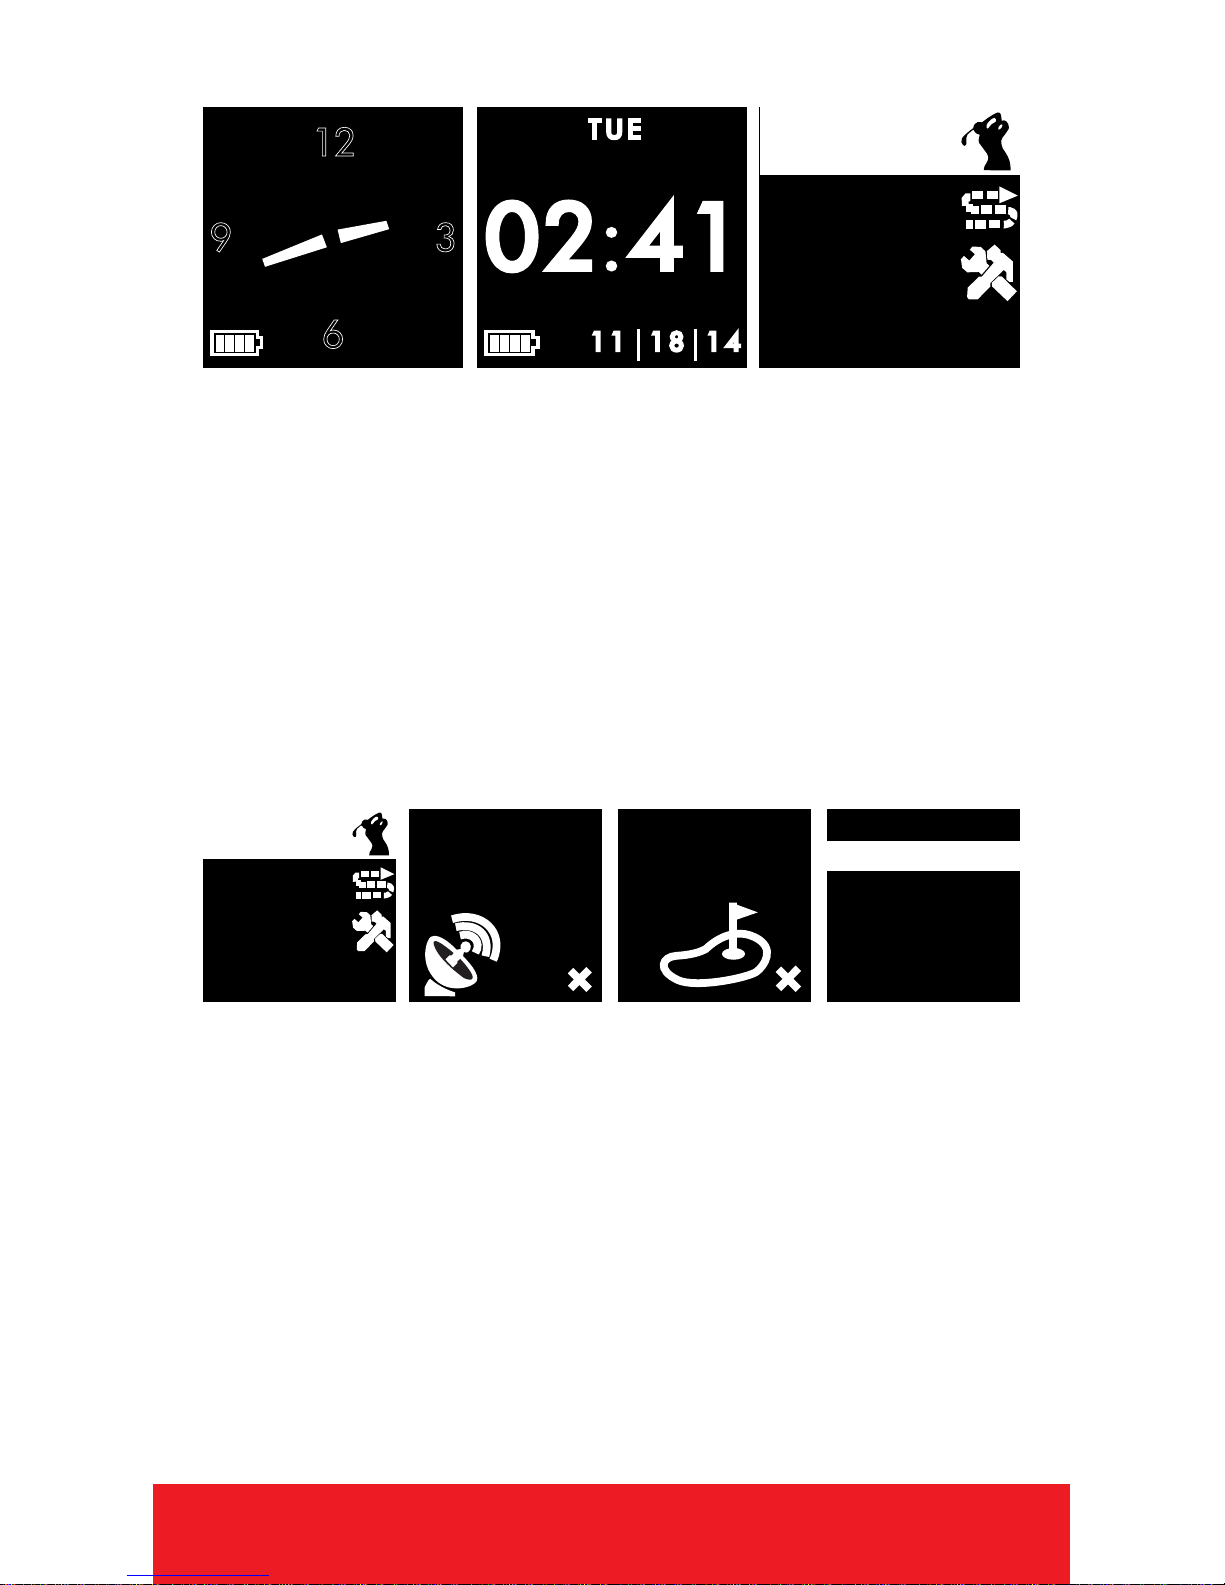
TIME MODE
1. PRESS [OK ]button to toggle between
Analog or Digital Time Display.
2. PRESS [POWER ]button to turn Backlight
On/Off.
3. To set time and date, see Settings. (Pg. 14)
4. HOLD [OK ]button to access Main Menu.
AT GOLF COURSE
1. From Time Screen, HOLD [OK ]button to
access Main Menu.
2. PRESS [OK ]button to select Play Golf.
3. Device will begin searching for satellite
signal (HOLD [OK ]button to cancel).
4. Once satellite connection is established,
the nearest golf courses will be listed. Use
[UP/DOWN ]buttons to scroll to desired
course, PRESS [OK ]button to select course.
12
6
9 3
PlayGolf
Odometer
Settin gs
Locating
Satellite s
Auto Course
Searching
Course L ist
Crooked_Pines_Golf_C
Perinton_Golf_&_Count
BLUE_HERON_HILLS
Greystone_Golf_Club
Cobblestone_Creek_Co
PlayGolf
Odometer
Settin gs
8HOW TO USE

ENGLISH 9
PLAY MODE
1. PRESS [OK ]button to toggle between
Hazard, Scorecard, and
Shot Distance Screens.
2. To exit Play Mode at any time,
HOLD [OK ]button.
HAZARD VIEW Note: If no hazards are
present, screen will be blank.
1. PRESS [OK ]button to access the
Hazard Screen.
2. Only 3 hazards will show at a time. If a hole
has more than 3 hazards, scroll by using
[UP/DOWN ]buttons. (Hazards that are
behind you will not be displayed).
3. PRESS [OK ]button to view next/previous
screen.
10 HOW TO USE
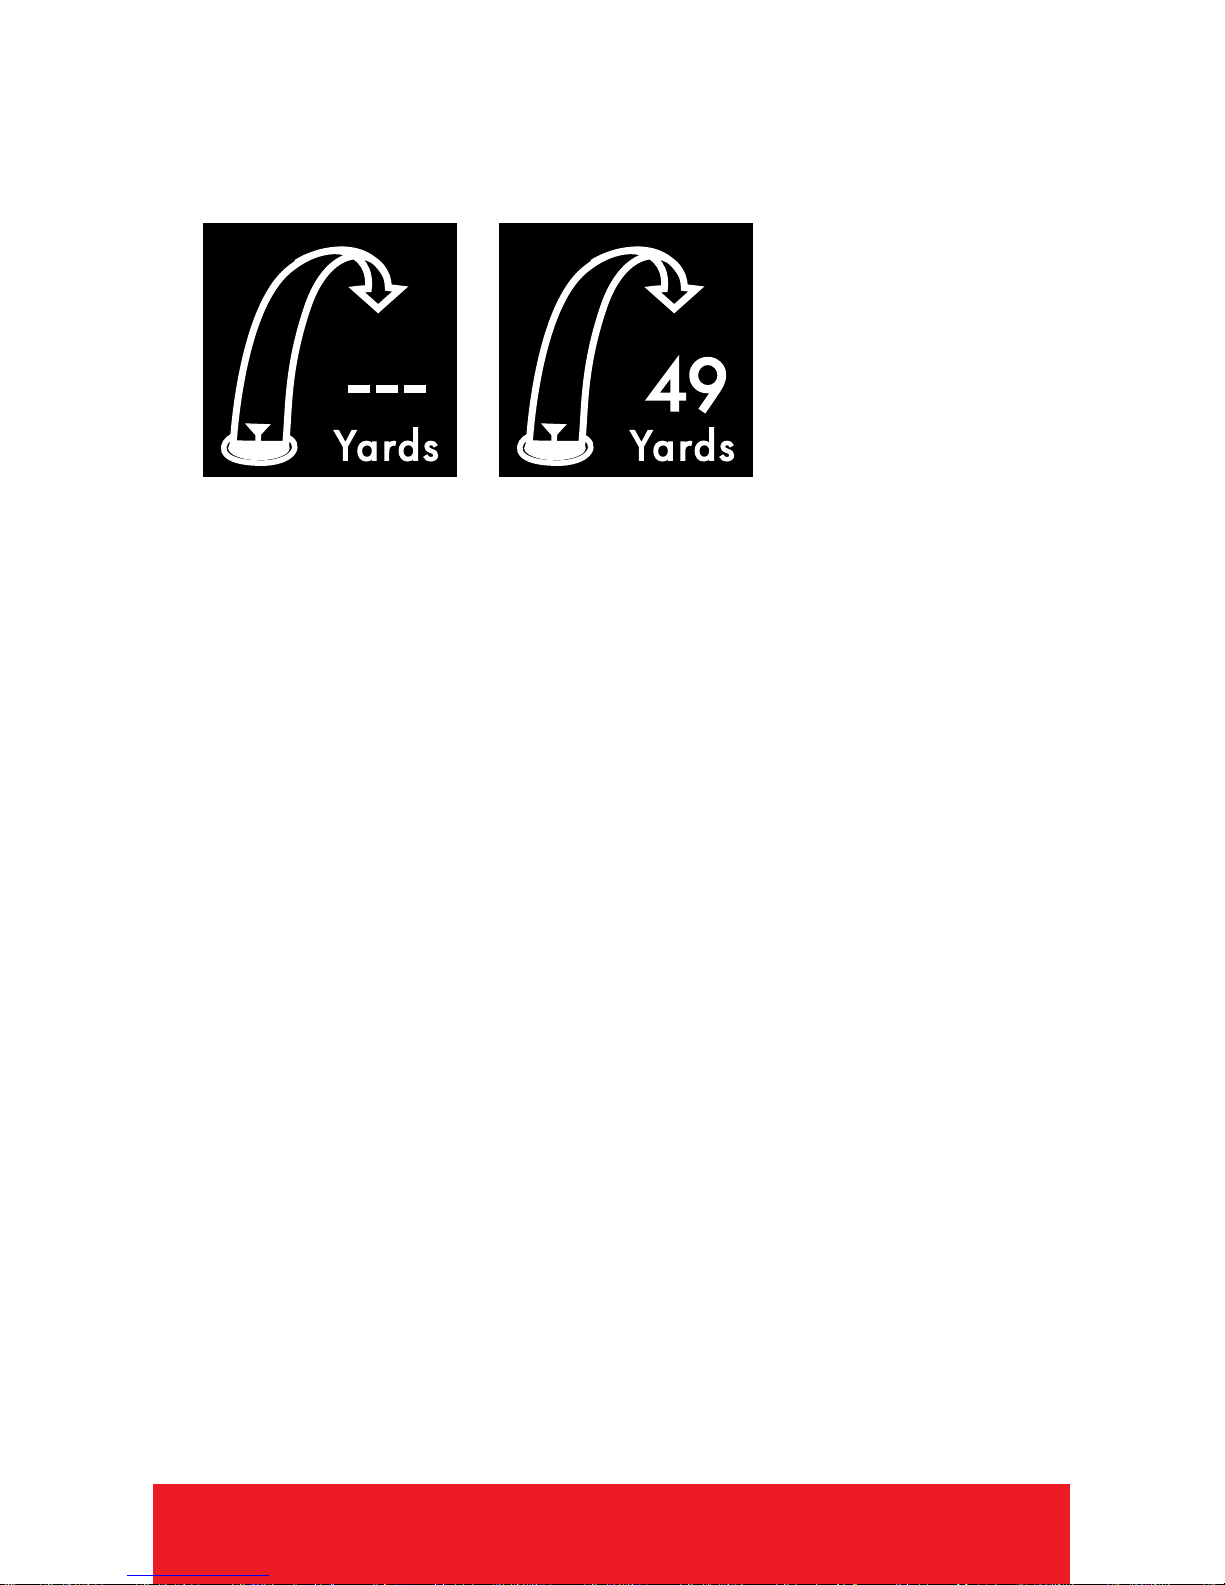
SHOT DISTANCE
Note: Shot Distance must be turned On
in Settings.
1. PRESS [OK ]button to access Shot
Distance.
2. To start measuring Shot Distance, PRESS
the [DOWN ]button.
3. As you travel to your ball, the distance will
begin calculating.
4. Once you arrive at your ball, the distance
displayed is the distance of your previous
shot (the distance you traveled).
5. To reset, PRESS the [DOWN ]button.
6. PRESS [OK ]button to view next/previous
screen.
Table of contents
Languages:
Other Callaway Watch manuals


